


Justintoxicated
ArboristSite Member
Pretty sure I use the nickel never seize here.. You can buy S/S hardware online at places like this: Nuts and Bolts and Screws - Metric Bolts and Fasteners - Stainless Steel Fasteners ...
Ray
I found a place that has all kinds of stainless hardware near my work. I almost got it all right the first try.
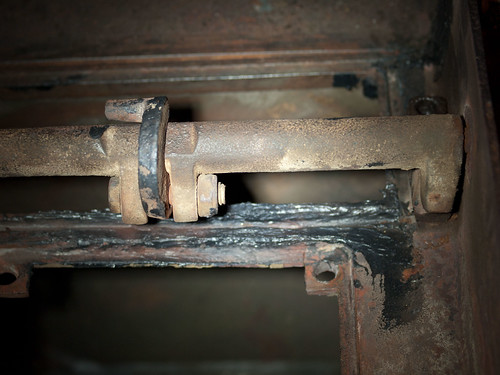
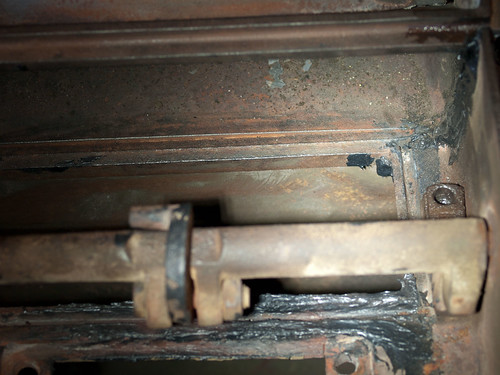
I'm wondering if allen head bolts would make more sense for the damper hinge parts?
I'm in the middle of regasketing the front doors. For all the doors the manual says to use 1/2" gasket. The kit I bought only seems to have 7/16th" I'm guessing it would be fine to use since it is so close. Now for the doors, in the center where the right door overlaps the left when closed, which side do I attach the gasket material on? I'm assuming the gasket material goes around the grove behind the door, and then wraps around and down the groove on the front of the door? The door was missing all the material so I have no idea how it used to be. It's either that or it goes on the right hand side, but there isn't really a grove on the right side.
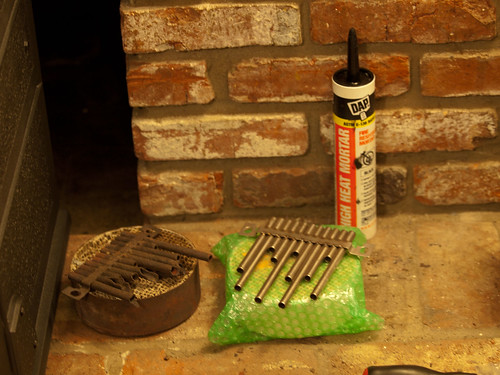
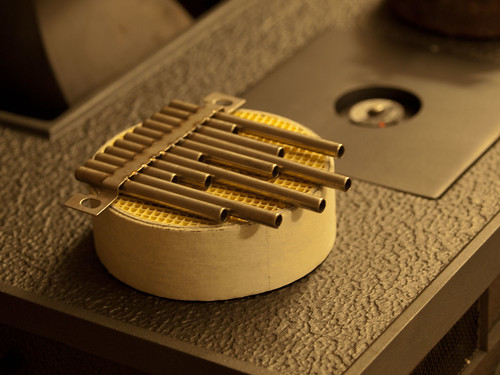
The baffle that goes under the airtubes has smaller holes drilled into it on one side than the other. I'm not sure which direction the side with the smaller holes should face, can someone take a quick peak at theres and let me know? Does the orientation of the combustor chamer matter?
The same store (Marshals in San Diego) had the nickel anti seize too but only in a large container and it was almost about $40 after tax, so I picked up a smaller bottle of the copper stuff instead for $9. It's rated to 1800 degrees so hopefully that will be good enough.
Its pretty wet outside today so I'm going top prep some more pieces for paint, but I'll have to hold off on the painting for a warmer dryer weekend. The paint says I should be using their primer, which I did not do. I have been using one of those paint stripper wheels for my drill press hand drill and or wire crush wheels to scuff up and clean the surfaces before applying paint. I don't have any experience with stove paint so I',m just wondering if I should hold on painting the remaining pieces and order the primer too? or just go ahead and spray them and be done with it.
Also, I got the inner grate mounted. The mounting holes did not line up so I had to bore out one of the oval slots a bit larger with my largest cobalt drill bit. (was about an 1/8th of an inch off. Seems to have done the trick.
Last edited:
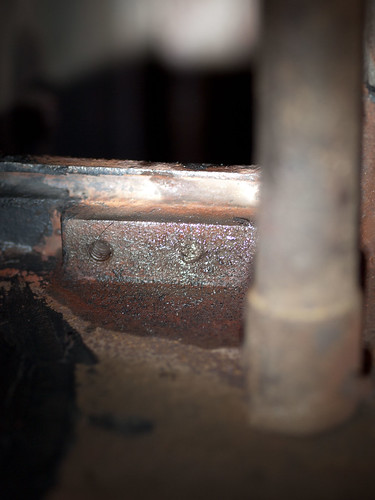
 This project has taken a crappy turn. I was using my new Irwin alignment taps. I tapped one of the holes in the top for the damper but the tap was starting to bing hard so I removed it check the threads with a 1" stainless screw, and came up about 1/16th of an inch short. Decided I could probably get another turn or two in with the tap. Well I was wrong. I went another turn with the tap and then started to remove it and it froze. I could not move the tap in either direction. So I decided that I should force it in reverse (unthread it), when I heard a creek. I stopped and looked at my friend who was watching. It was an "Oh ####" moment. So I did what I had to do and turned the tap in reverse again and SNAP!. Tap snapped off completely threaded into the new hole
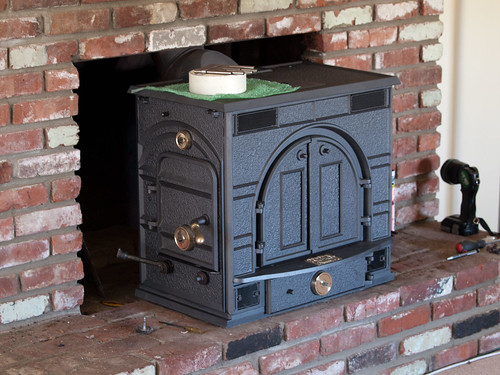
 .
.