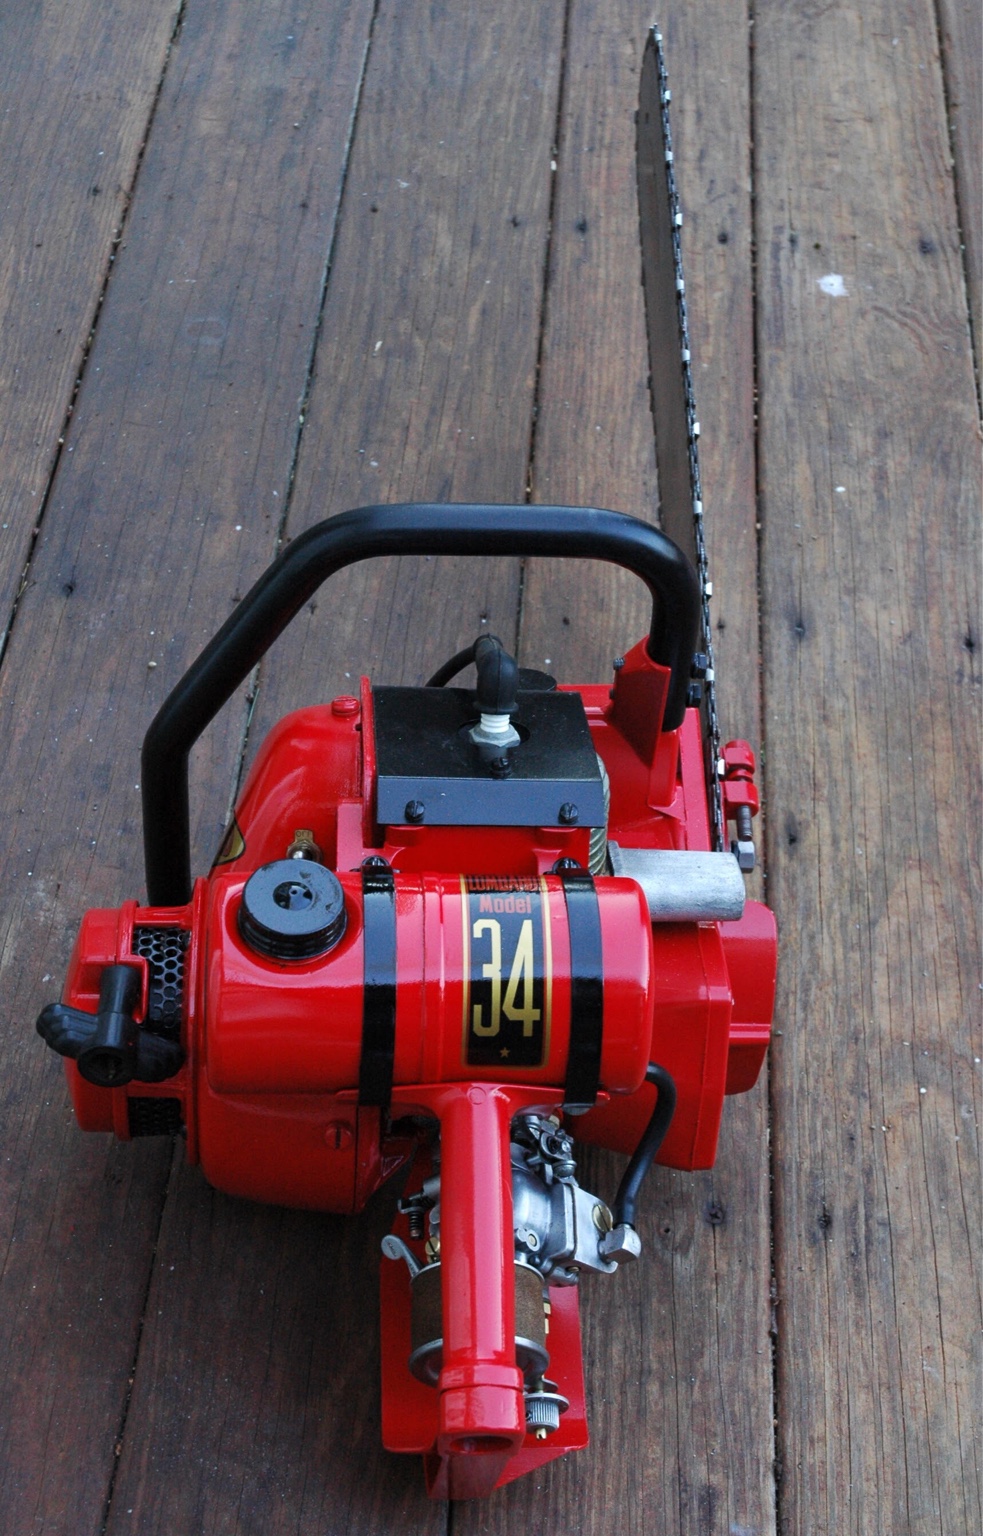
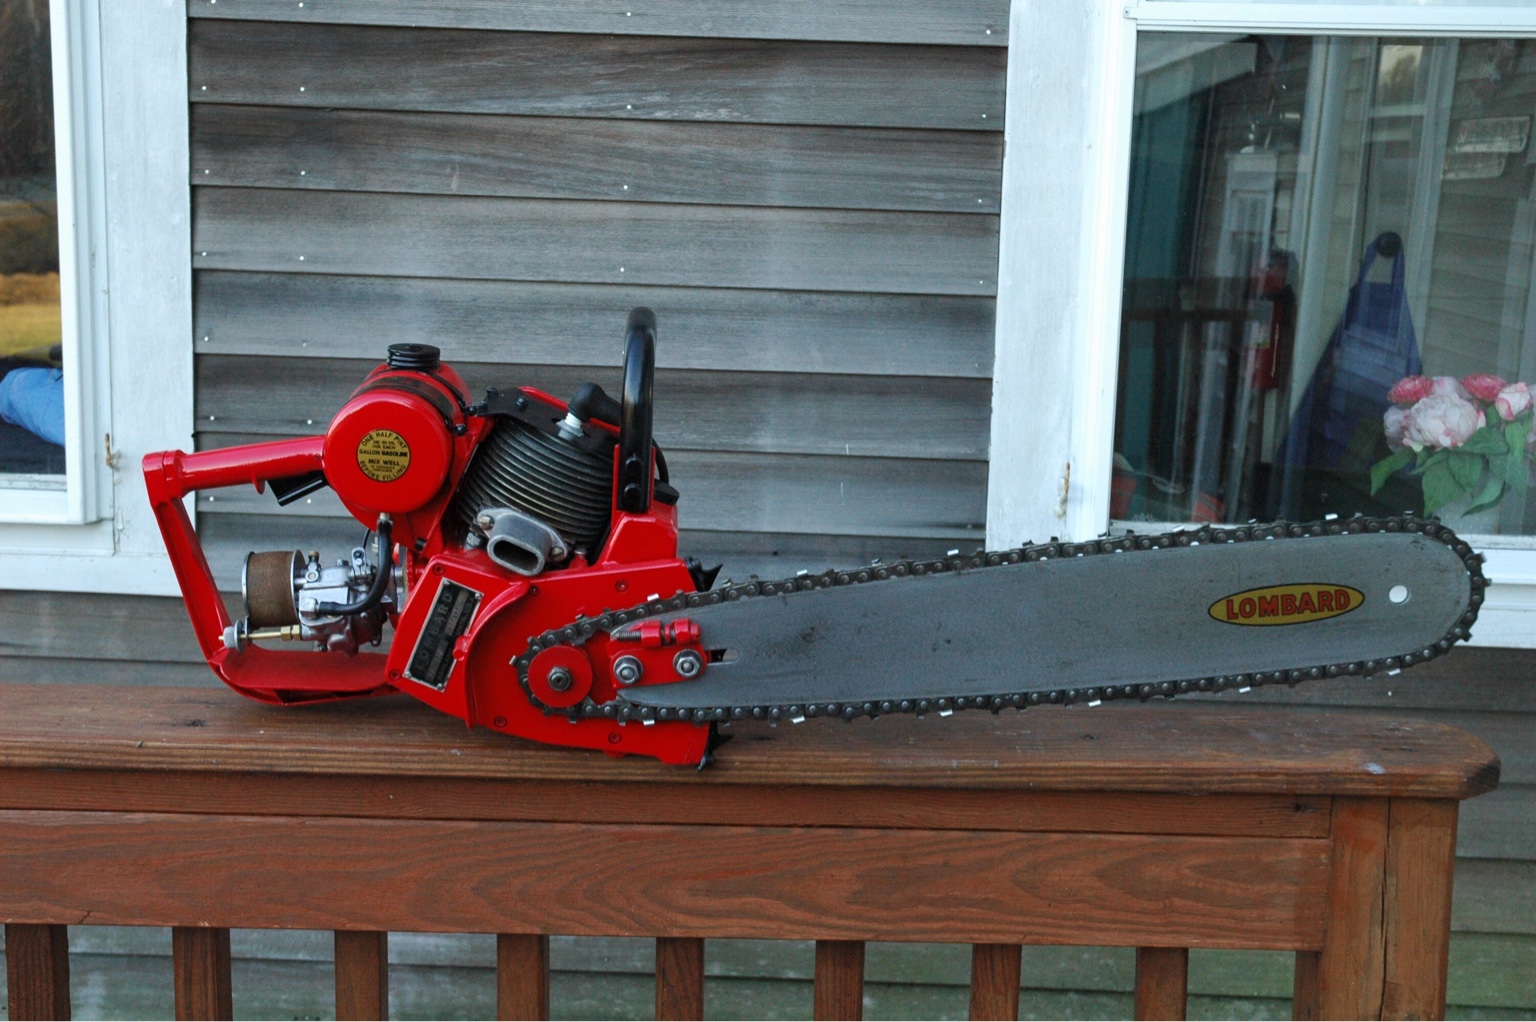
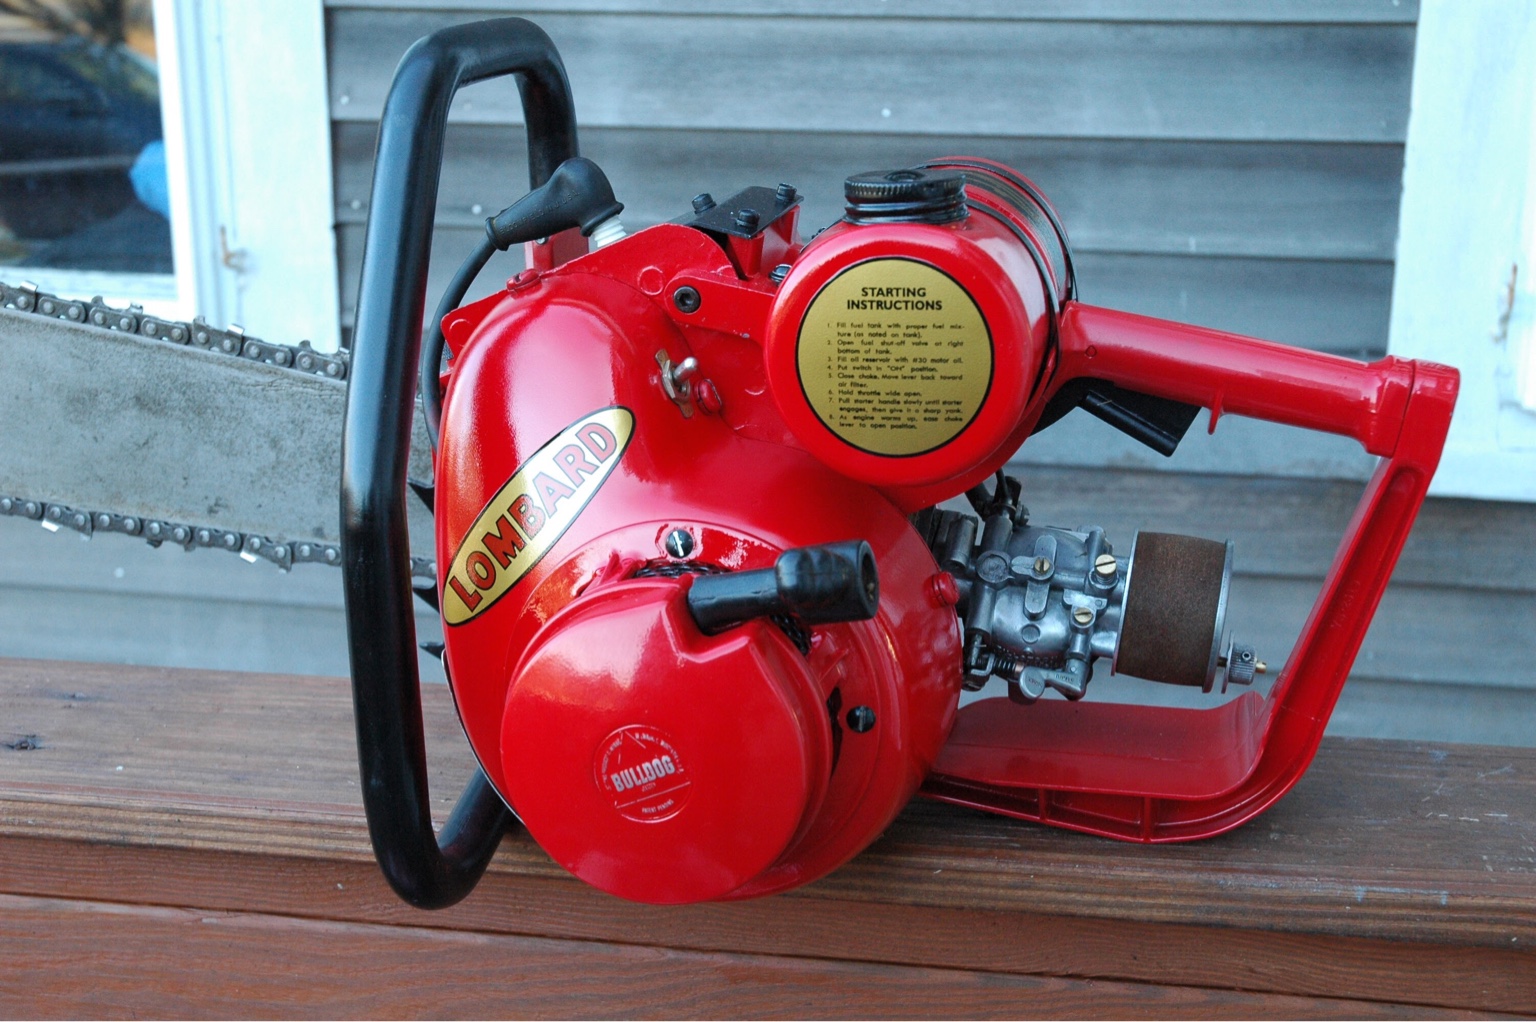
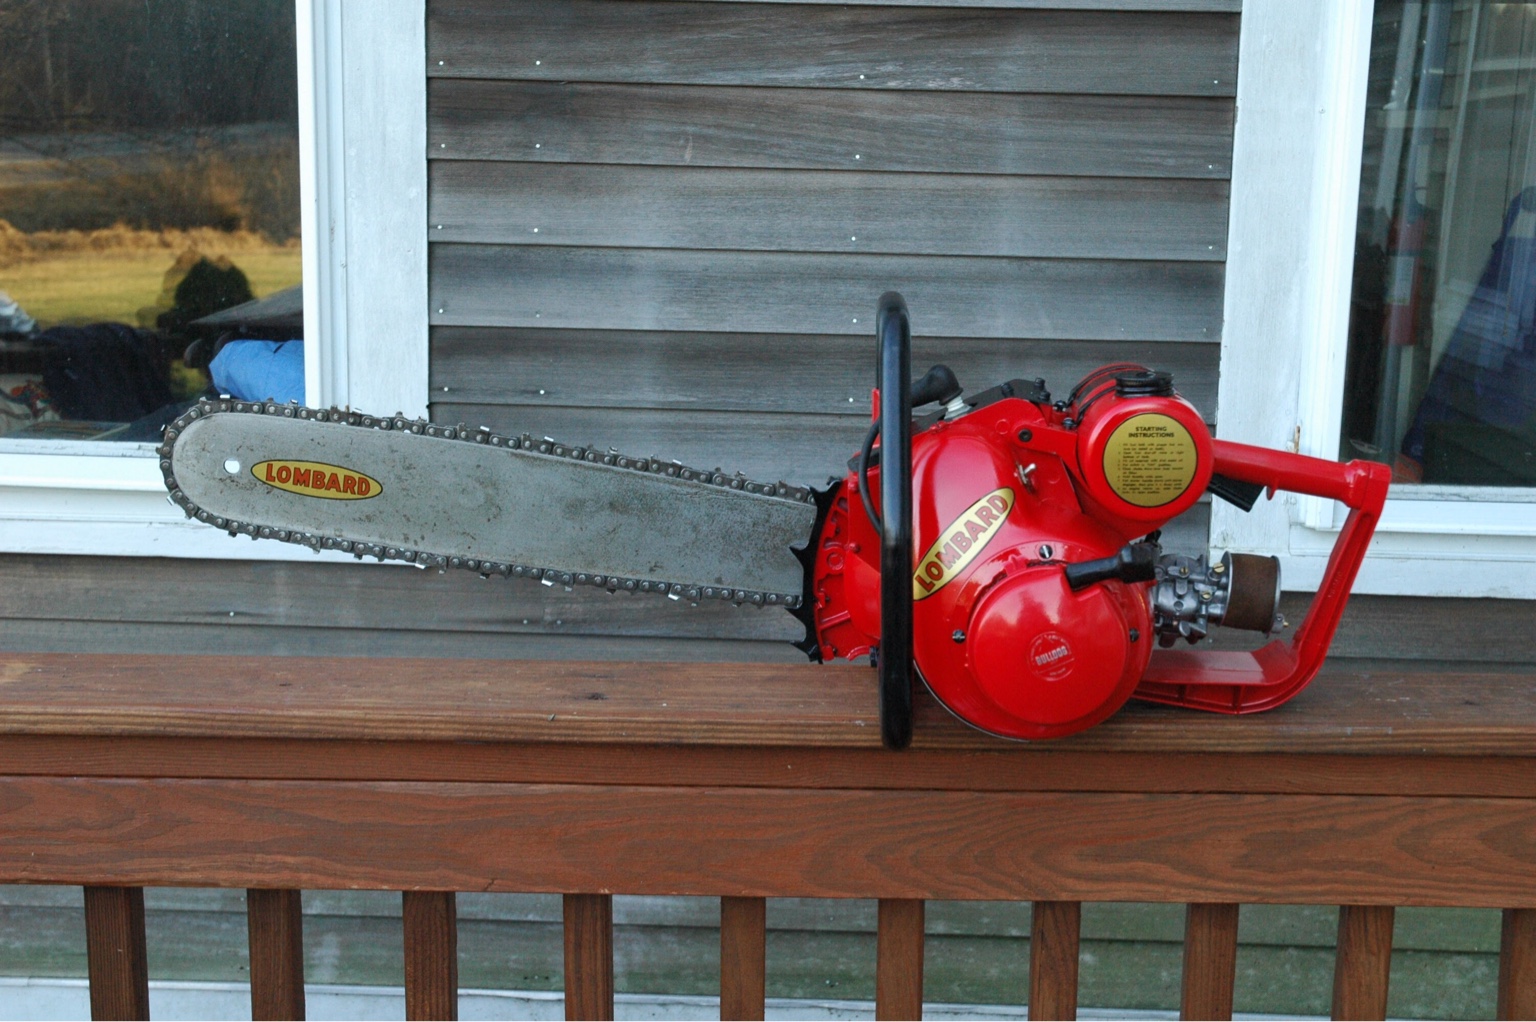
I have the same sentiments as Lee.
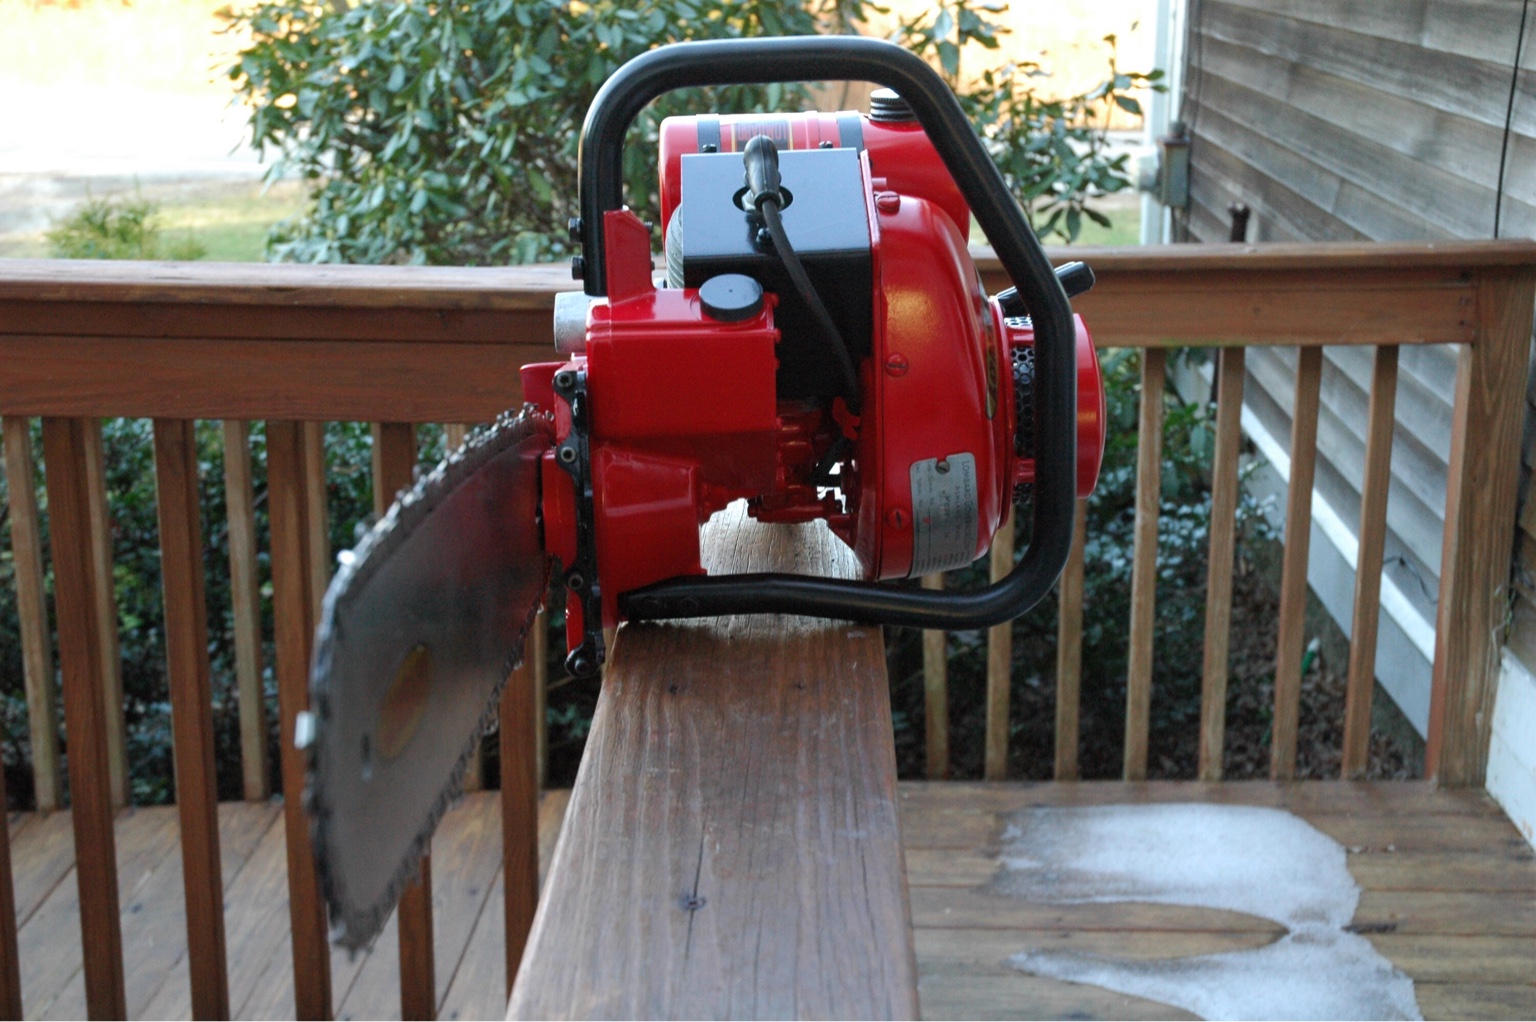
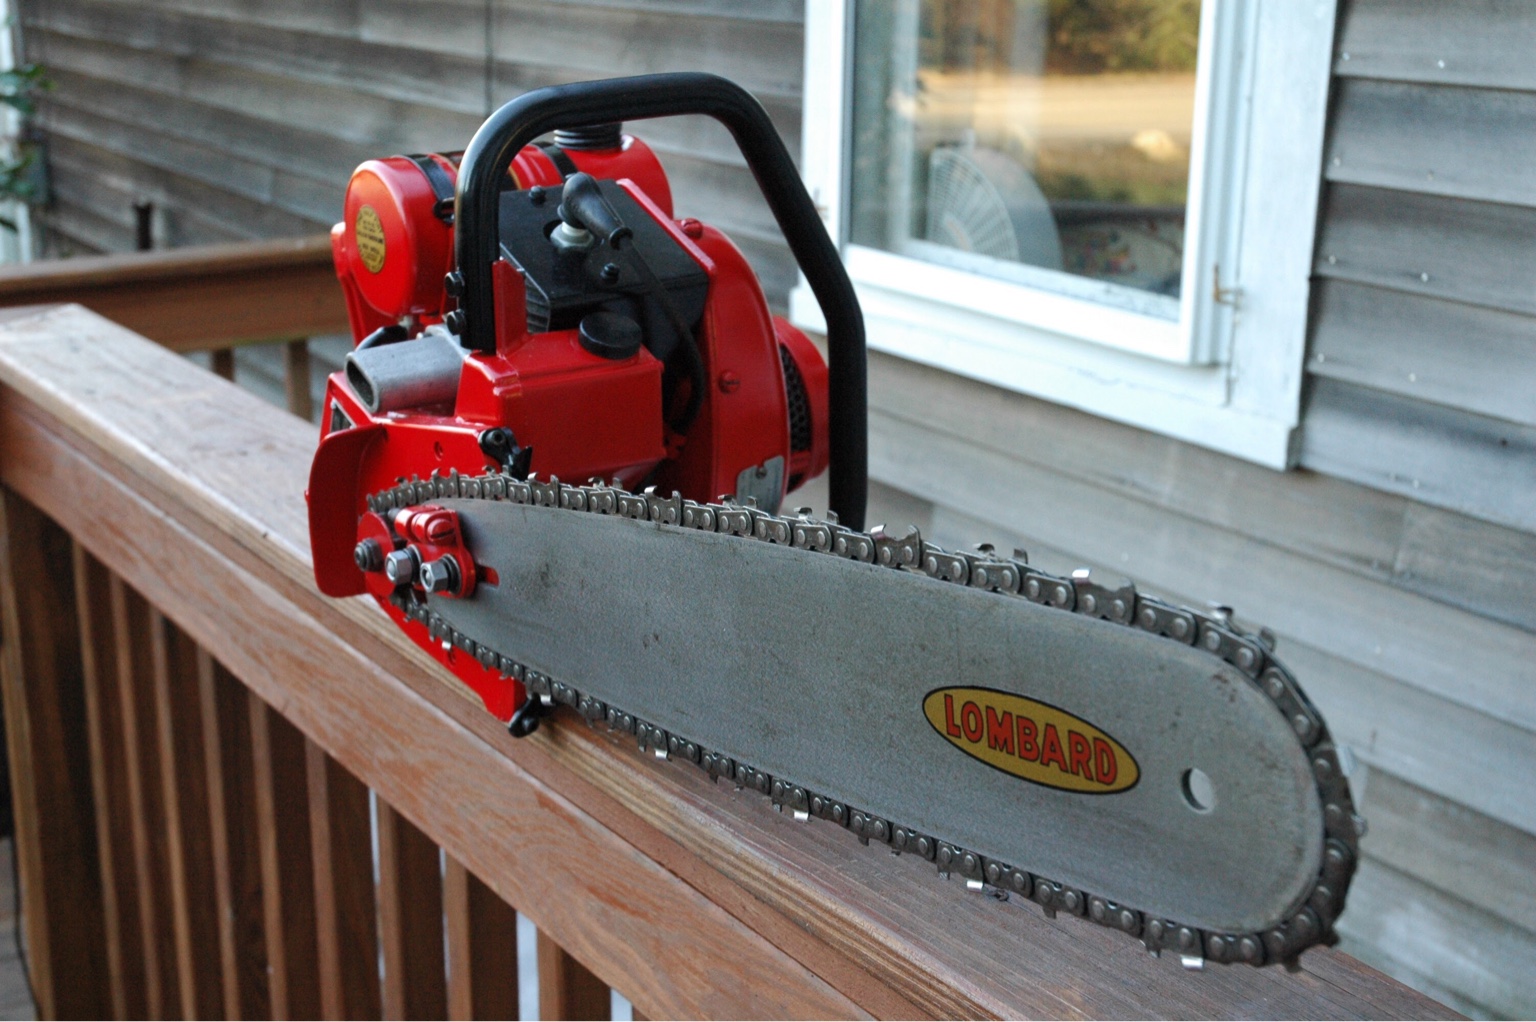
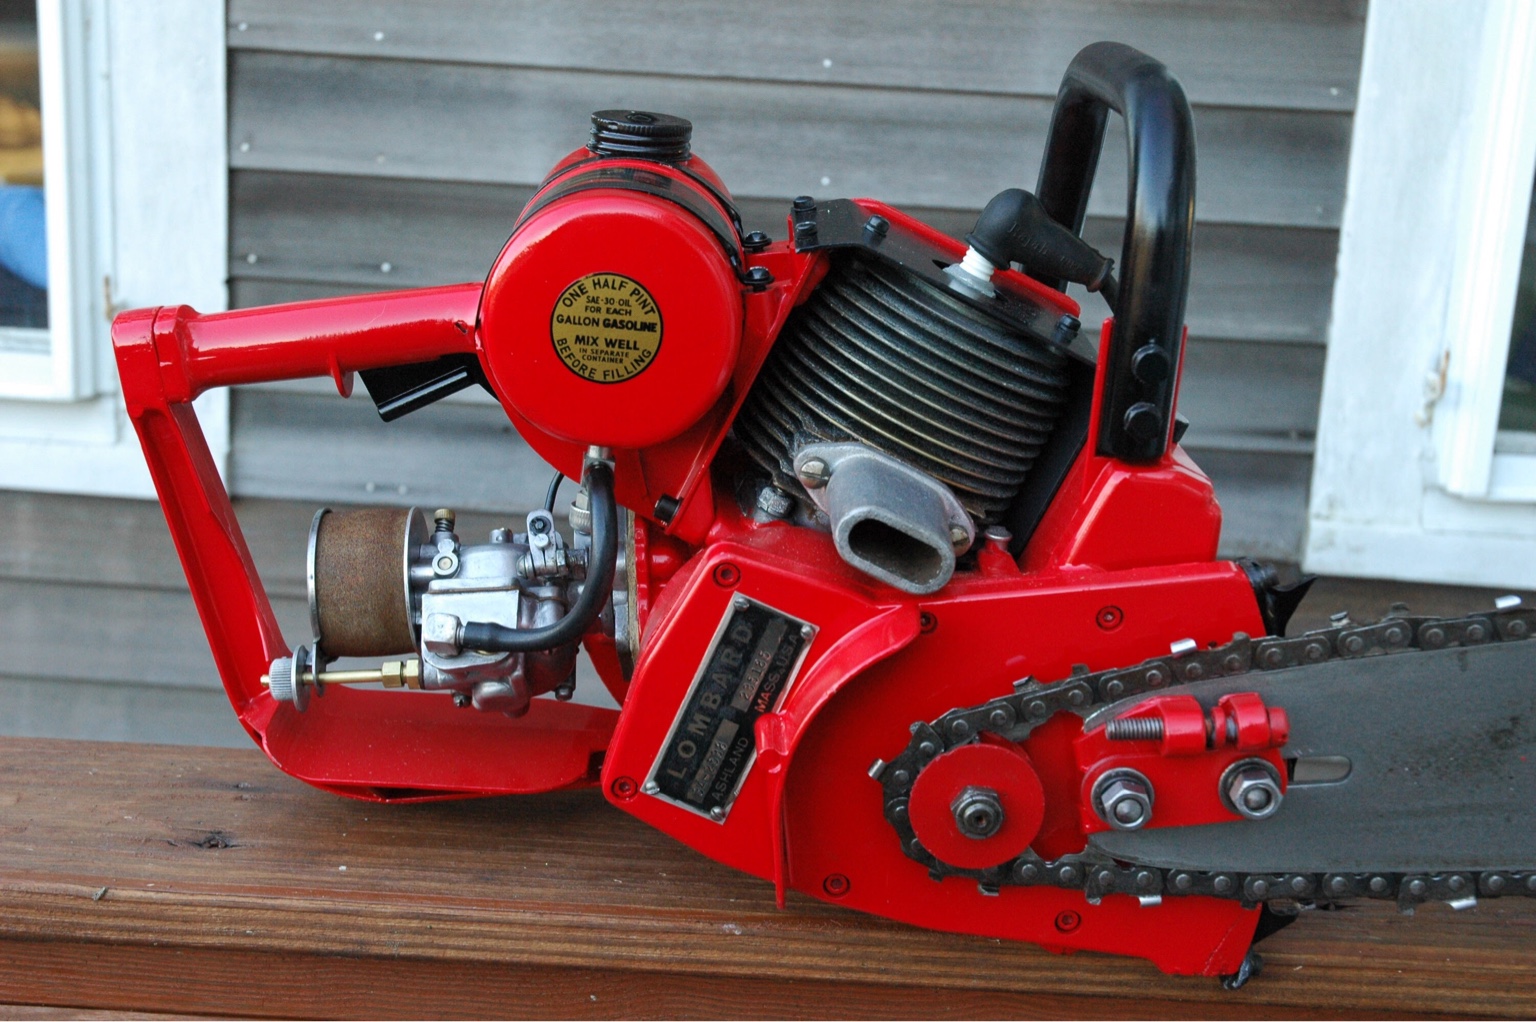
The whole job is just great, love it but the tag really puts it over the top.
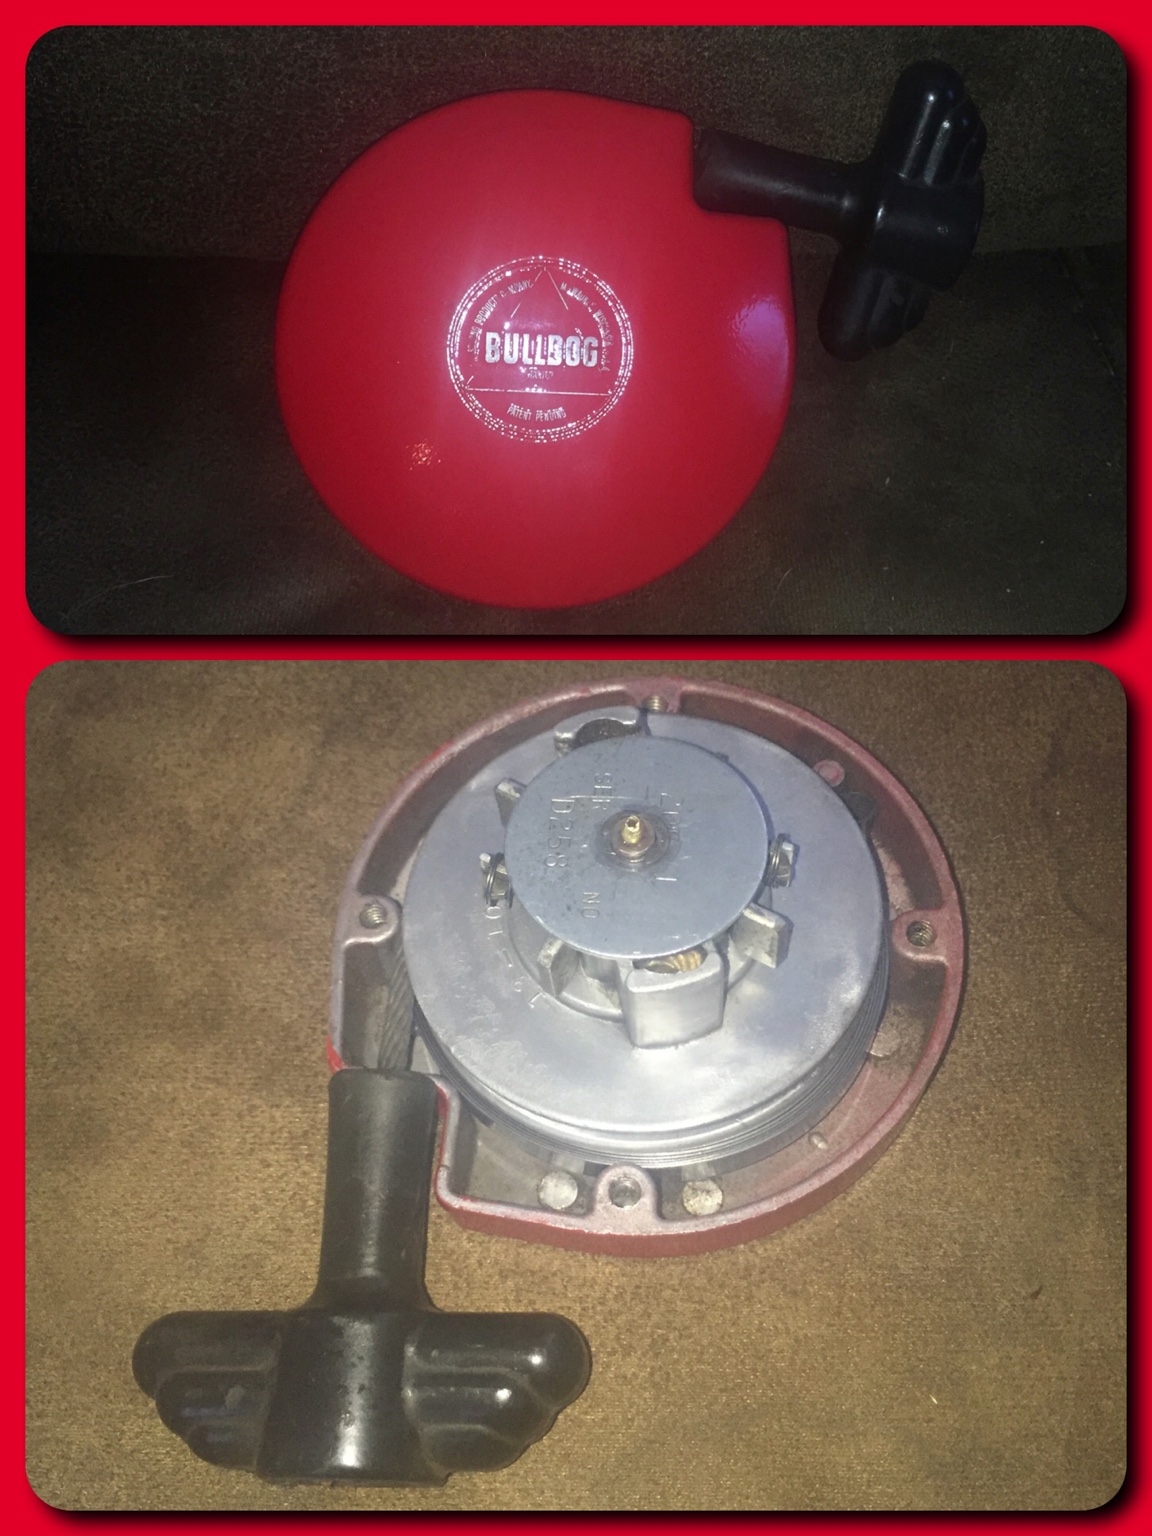
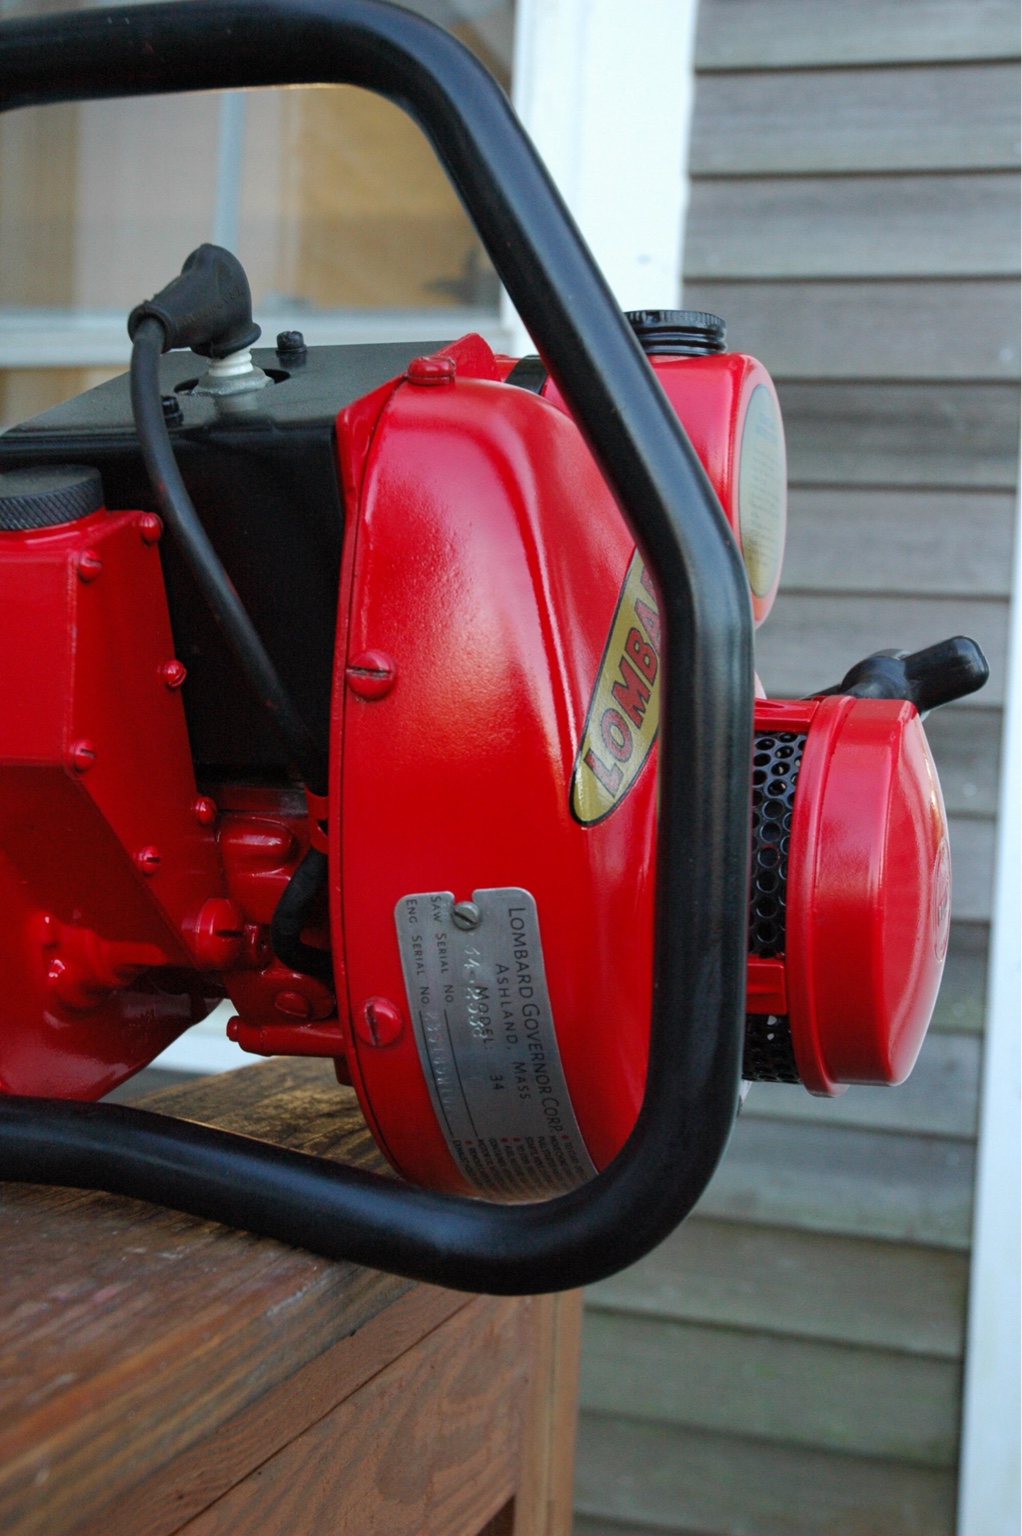
I have a couple restored saws that could sure use their tags restored. They'r aluminum tags with red paint on them so I knew I better leave well enough alone as I'm pretty sure they would look even worse if I tried to "help" them any..
The whole job is just great, love it but the tag really puts it over the top.
I have a couple restored saws that could sure use their tags restored. They'r aluminum tags with red paint on them so I knew I better leave well enough alone as I'm pretty sure they would look even worse if I tried to "help" them any..