McCulloch Chain Saws

Arborist Forum

Help Support Arborist Forum:

This site may earn a commission from merchant affiliate links, including eBay, Amazon, and others.
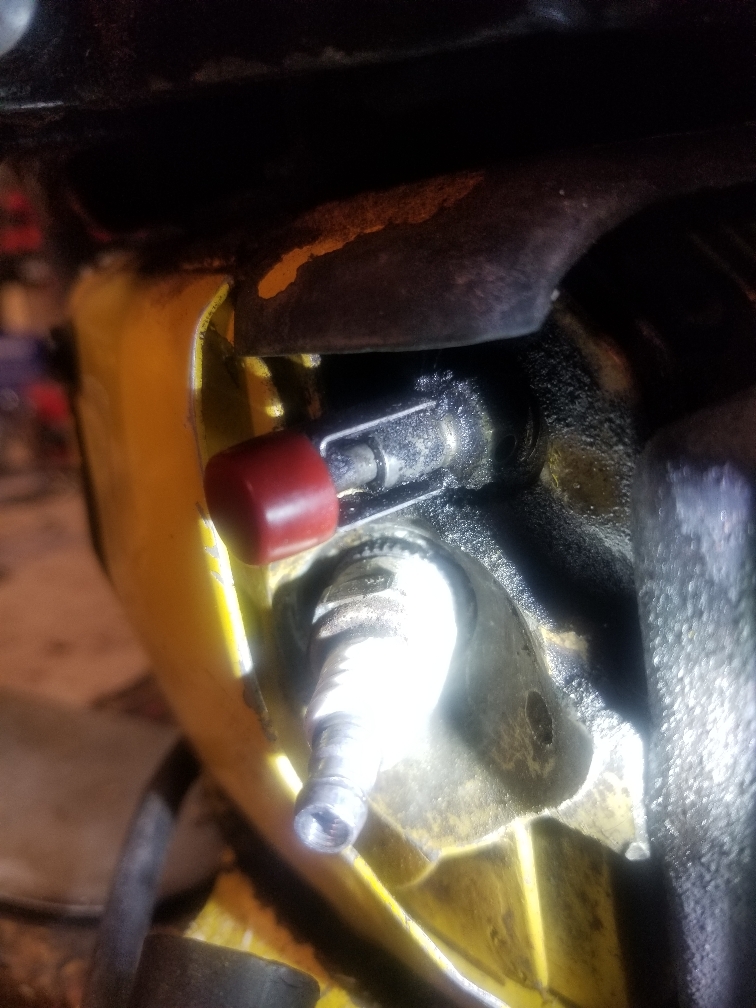
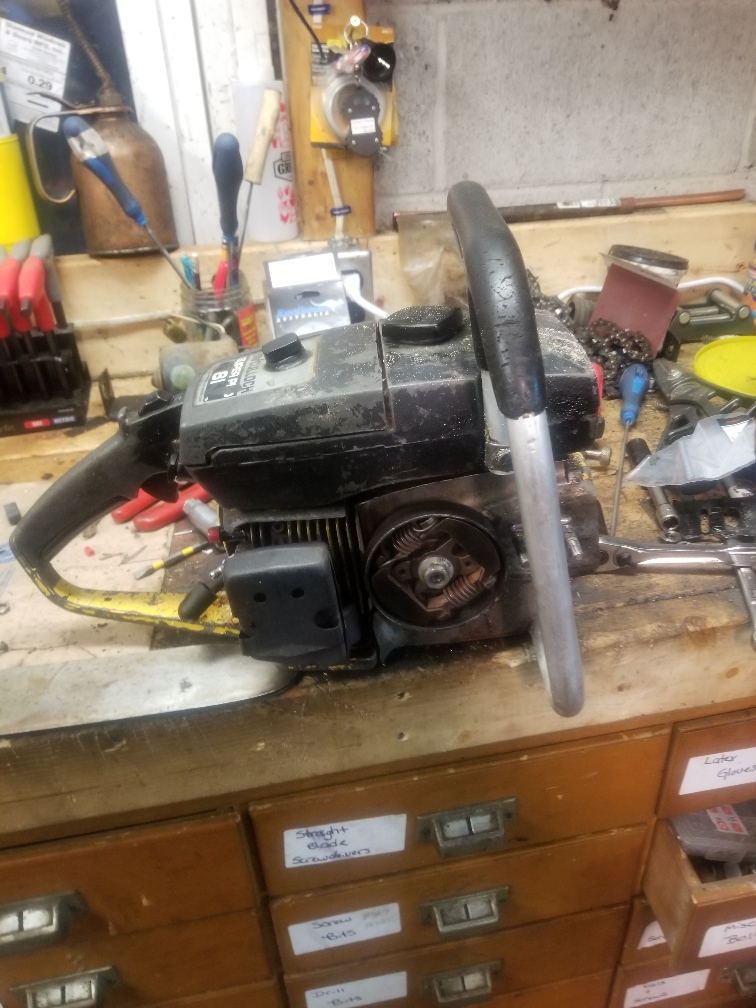
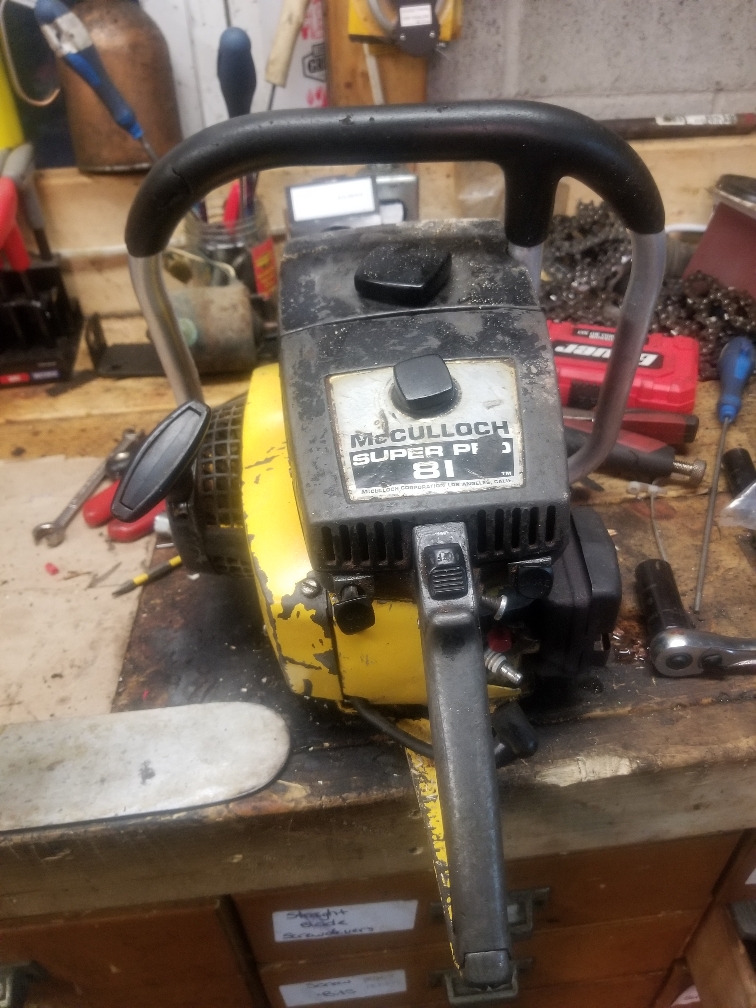
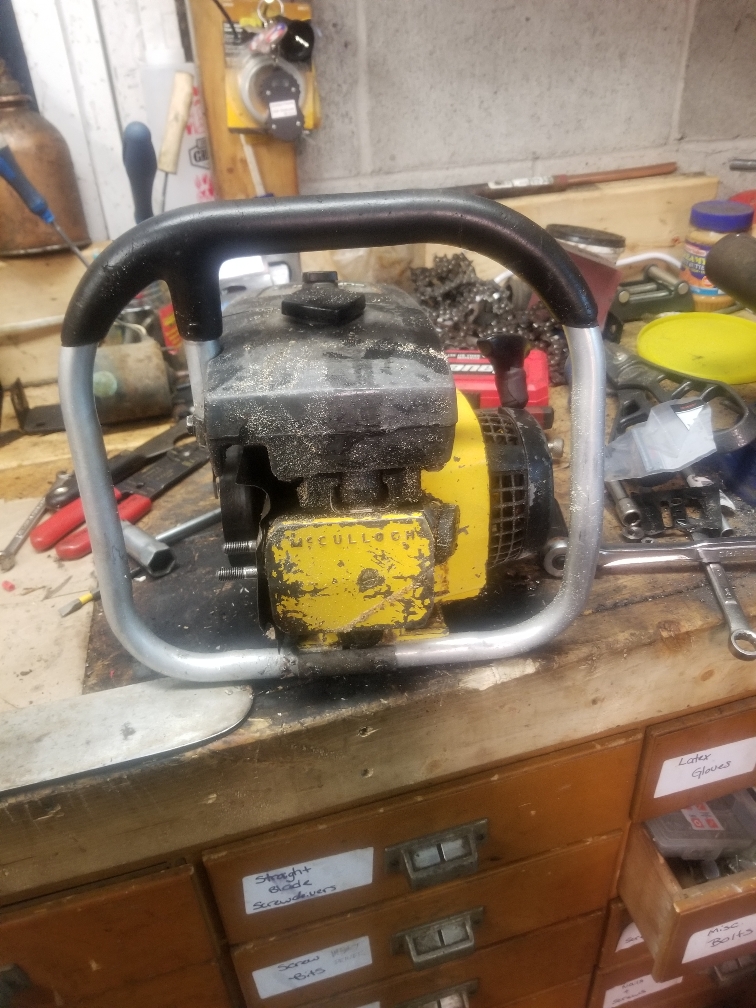
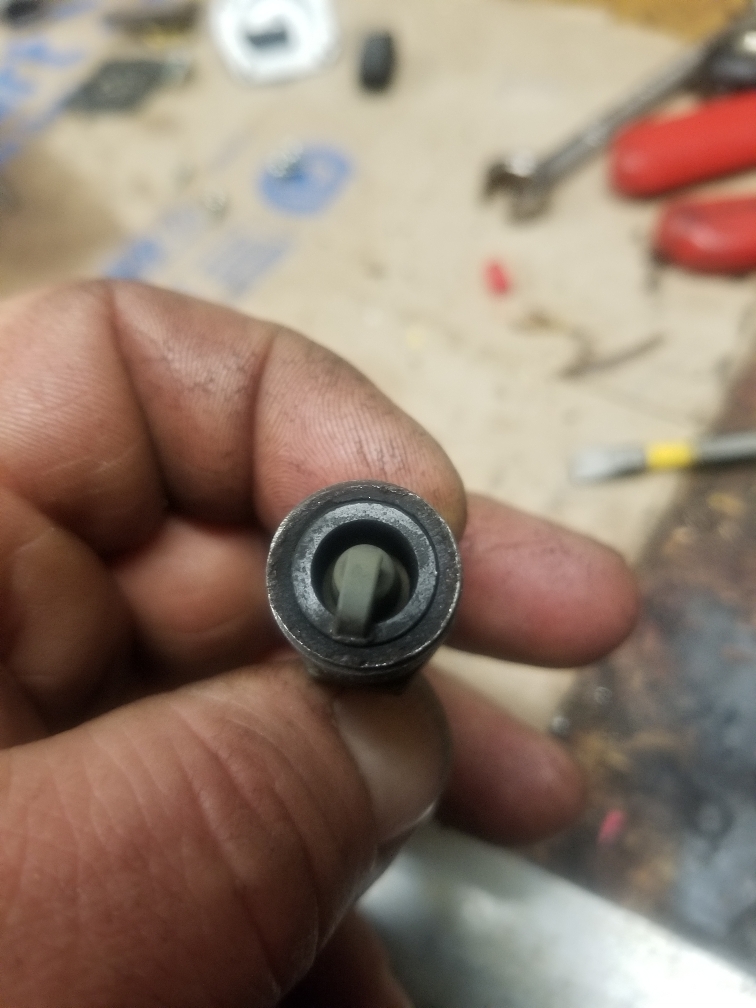
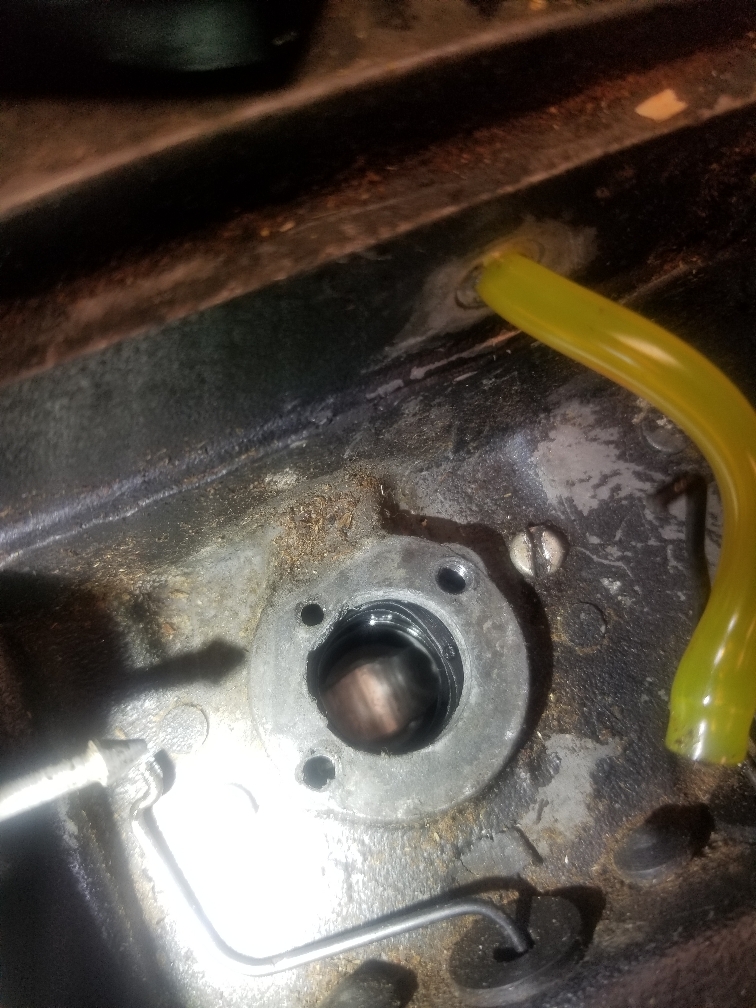
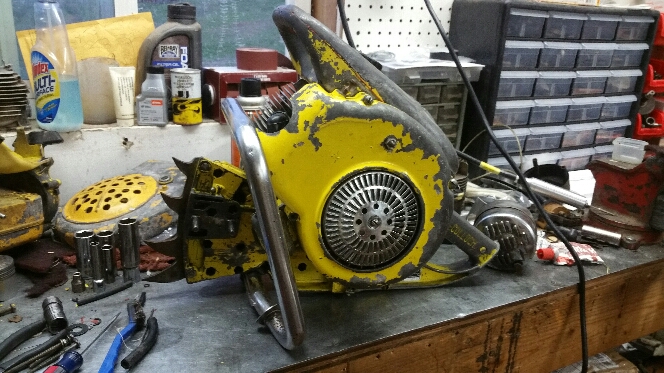
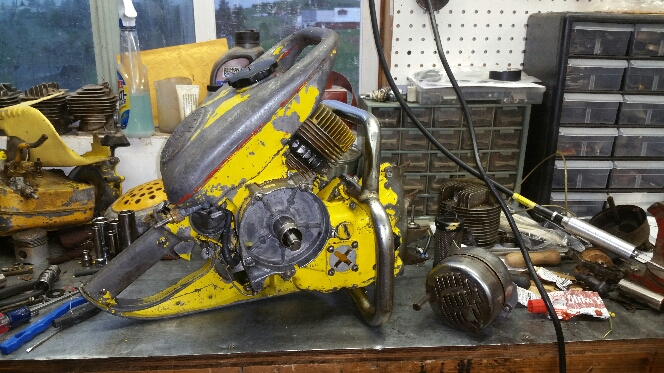
Got an old model 47 in awhile back that I just got to. Came to me with a scored piston, no spark and severely gummed up fuel system. I found a cylinder that had been bored .020 over back in the day by a Mcculloch dealer and paired it with a nos .020 piston. Got the fuel tank cleaned up and resealed up. Found some nos gaskets and valve for the fuel pump. Put some fuel in today and no leaks! The fuel tank was by far the most tedious job. There was a little bit of old fuel left in there that looked like chocolate milk. It definitely didn't smell like chocolate milk though! However where the tank was a pain I lucked out with the carb. It needed a cleaning but otherwise was in really good shape! Diaphragm was still intact and supple. Only thing I'm waiting on now is a starter. The starter clutch spring was damaged and rather than pay 35 bucks for a nos one I ordered a good used starter from customchainsawparts. It should be here tomorrow and I think this 47 will live again!
efa47b87d1bc58e3f8b45b8d30c6fda8.jpg
60265ecf4fb0e3422534a492829b0a80.jpg
f234987cb1f83d4b90d8358496f9f4db.jpg
9bc94bc21e93247c070963eaf1d4b1be.jpg


Sent from my SM-N910V using Tapatalk
 
So this was on my doorstep this evening. Purchased from a member here with some disclosed issues but it does run and has ridiculous compression.
Some photos showing the issues. What are my options going to be for these spark plug threads? The tapped threads in the cylinder are ok but I dont think they are tapped deep enough because the plug sits out of the hole and if you go deeper there will be nothing to stop it from falling all the way through.
I tried a couple test cuts and it was erratic and didn't really respond well to tuning so I pulled the carb thinking a rebuild would be in order. Is something missing in the intake? One side of the boot seems to be falling in, the picture is bad sorry.
I have never had or worked on one of the antivibe saws so this is all new to me. Also, the manual oiler seems to.not worknbut the automatic does. What should I be looking for there?
42cc4e97e02c514d63ceb2d628edf306.jpg
a71eca28cd9c7a414eedd17863e37cf7.jpg
5c1c022d0d9a1eb2318d5da6ecbf72af.jpg
8947909916ae308db233d249e0c7f5f6.jpg
c42a3aaf4b90fe9151d94f5306781d53.jpg
7155e9700bb23b465d08253b4674a438.jpg
640f3a0bde51702dc8373bb8bb76cf59.jpg
be3899b6d4e3eb729da5738703d4f0f7.jpg
c7e4957182db63db1e41abfbd72faef5.jpg
a02077d9729f02b8996c69e561ffd91b.jpg


Sent from my SM-G950U using Tapatalk

The thread insert may need replaced. Ive used those with success but it needed to be sealed. It doesnt appear it was peened over. Once the insert in in place theres a tool to peen a lip onto it so it doesnt fall in. As thats done those knurls are kinda driven into the threads to hold it in place. I ended up using jb weld on it to hold it in and keep it in. Works fine but once its done you dont want to overtighten the plug.

The boot looks a bit out place to. Running erratic says air leak. Likely culprit is the boot. Itll have to come apart to check and seat properly. Tank off the tank that is. Takes some wiggling but its not hard to do. Rear antivibe is the worst of it.
Tank needs to come off anyway so n.v I can address the oiler. Manual does not work but the aut seems to kind of work. What should I he looking for there? Is it the same as the rigid saws? I've never had one that the manual oiler didnt work.

Sent from my SM-G950U using Tapatalk
 
The thread insert may need replaced. Ive used those with success but it needed to be sealed. It doesnt appear it was peened over. Once the insert in in place theres a tool to peen a lip onto it so it doesnt fall in. As thats done those knurls are kinda driven into the threads to hold it in place. I ended up using jb weld on it to hold it in and keep it in. Works fine but once its done you dont want to overtighten the plug.

The boot looks a bit out place to. Running erratic says air leak. Likely culprit is the boot. Itll have to come apart to check and seat properly. Tank off the tank that is. Takes some wiggling but its not hard to do. Rear antivibe is the worst of it.
I have the saw at work with me today, myself and a fellow technician are going to attempt to repair the "repair" wish me luck that I dont end up with an expensive paper weight.

Sent from my SM-G950U using Tapatalk
 
So went to look at a pile of Macs yesterday. Most were real rough.
20200425_113108.jpg

I did manage to grab this real nice 10-10s from the pile. Got it home cleaned it up, thought what the heck, put some fuel to it and it fires right off and seems to run great. I sold a real clean one of these a while back, think I'll hang onto this one.20200429_161515.jpg20200429_161525.jpg20200429_161532.jpg

Also grabbed the 6-10 and another 10-10s....but they both need a lot of parts and work.20200429_161603.jpg20200429_161551.jpg
 
NIce scores!! If they didn't want too much for it, I would've got that Spiegel just for the bar! The Super 10-10 isn't something very common like that, at least from what I've seen. Cool stuff.
Eric
 
Joey,

I can't make out the corners from your pictures, but I understand that ideally you match up the top and bottom corner -hard for me to do. I rigged up an old Granberg and below is about the best I have been able to do. My angle needs to be a tad steeper and the file a tad higher. It also needs to be sharper. I wore out the only square file I have getting one that close. I won't show you the others. Hope to take it up again in the coming off season.

View attachment 823640

Ron

Day two of filing practice, getting better.

Still need to adjust angle

8471541e8a66dbef7785bc17b56c9e98.jpg
 
I have the saw at work with me today, myself and a fellow technician are going to attempt to repair the "repair" wish me luck that I dont end up with an expensive paper weight.
The thread insert may need replaced. Ive used those with success but it needed to be sealed. It doesnt appear it was peened over. Once the insert in in place theres a tool to peen a lip onto it so it doesnt fall in.

That insert could probably be used again if it can be removed from the plug without damaging the threads and the correct tool is used to properly seat it. I've salvaged one just like the one in the pic.

The insert is NOT designed to be peined over with the Heli-Coil Save-a-Thread kit, but rather should simply be installed flush with the top of the threads to obtain a level mating surface for the plug washers to seal. The punch tool is for spreading the knurled edge of the insert into the adjacent aluminum to keep the insert from rotating when you install or remove a plug. It doesn't work like a typical helical insert. The first one I ever did just came back to me for lack of ass when I whacked the insert to seat it along with just using Dirko to seal it rather than high temp Loctite. They recommend high temp sealant for the outside threads of the insert but I now use ample amounts of red Loctite instead.The main key is whacking the snot out of the insert with the tapered punch to get that knurled ring to seat regardless of sealant choice. I've had no issues since switching to Loctite over a silicone based sealant.

Best price I've found on the kits and replacement inserts is here. https://www.opentip.com/product.php?products_id=4231480 Do yourself a favor and get one.
 
NIce scores!! If they didn't want too much for it, I would've got that Spiegel just for the bar! The Super 10-10 isn't something very common like that, at least from what I've seen. Cool stuff.
Eric
Unfortunately there was no Super 10-10 in that pile, just the lid. In first pic it's actually on the 10-10s I grabbed, he let me switch lids around. I checked model numbers on all of them. Saws I left were a pm55 (seized up tight), a points pm700, 2 electronic pm700, and rest were Pro 10-10.
 
I hang out in the Mac thread so sorry if this off topic bothers anyone. I thought I’d share and may help anyone and mostly you guys help me learn.

Yesterday’s beak.....

f5ee3e735183eacfbb0fc9b4e85774a8.jpg


Today’s is much better thanks to a couple guys here

af6045549ed58ff8c07902b7d28ef06e.jpg
Most certainly MAC related. I got some of my initial square file angles from a MAC operator manual after my attempts to use a unused factory tooth as a guide failed.

Ron
 
Most certainly MAC related. I got some of my initial square file angles from a MAC operator manual after my attempts to use a unused factory tooth as a guide failed.

Ron

I’ve noticed that just when I think I’m doing better, I swap to the other side teeth and screw up. Then my wrist is cramping from all the reshaping. Time to call it quits today and come back tomorrow.

I only hand file so you’d think I would cramp up but the angles are so different.
 
With a jig I thought it would be simple. Just put the factory tooth in, fit the file to it, replace with the chain and have at it. Nope. Eyes not what they used to be and too many interrelationships with the angles.

Ron
 
That insert could probably be used again if it can be removed from the plug without damaging the threads and the correct tool is used to properly seat it. I've salvaged one just like the one in the pic.

The insert is NOT designed to be peined over with the Heli-Coil Save-a-Thread kit, but rather should simply be installed flush with the top of the threads to obtain a level mating surface for the plug washers to seal. The punch tool is for spreading the knurled edge of the insert into the adjacent aluminum to keep the insert from rotating when you install or remove a plug. It doesn't work like a typical helical insert. The first one I ever did just came back to me for lack of ass when I whacked the insert to seat it along with just using Dirko to seal it rather than high temp Loctite. They recommend high temp sealant for the outside threads of the insert but I now use ample amounts of red Loctite instead.The main key is whacking the snot out of the insert with the tapered punch to get that knurled ring to seat regardless of sealant choice. I've had no issues since switching to Loctite over a silicone based sealant.

Best price I've found on the kits and replacement inserts is here. https://www.opentip.com/product.php?products_id=4231480 Do yourself a favor and get one.
I may have said it differently but in my mind whacking the snot out of it with the tool to spread the knurled edge into the aluminum is the same as using the tool to peen the edge to not fall thru and at the same time get the knurls into the aluminum. 6 of one half a dozen of the other.
 
That insert could probably be used again if it can be removed from the plug without damaging the threads and the correct tool is used to properly seat it. I've salvaged one just like the one in the pic.

The insert is NOT designed to be peined over with the Heli-Coil Save-a-Thread kit, but rather should simply be installed flush with the top of the threads to obtain a level mating surface for the plug washers to seal. The punch tool is for spreading the knurled edge of the insert into the adjacent aluminum to keep the insert from rotating when you install or remove a plug. It doesn't work like a typical helical insert. The first one I ever did just came back to me for lack of ass when I whacked the insert to seat it along with just using Dirko to seal it rather than high temp Loctite. They recommend high temp sealant for the outside threads of the insert but I now use ample amounts of red Loctite instead.The main key is whacking the snot out of the insert with the tapered punch to get that knurled ring to seat regardless of sealant choice. I've had no issues since switching to Loctite over a silicone based sealant.

Best price I've found on the kits and replacement inserts is here. https://www.opentip.com/product.php?products_id=4231480 Do yourself a favor and get one.
I picked up this kit. I'm going to try that first. If it doesnt work we have a double oversize time-sert kit here at work that is designed to work when these fail.
6a92035779d5ca787562ab3a4f1cdeb3.jpg


Sent from my SM-G950U using Tapatalk
 
I think I have performed a successful repair. Now, who thinks I should swap to a gasket seat plug? Someone on another site who seems knowledgeable suggested that.
bd0cbbfecc33c5b915f27ba9c4793efa.jpg


Sent from my SM-G950U using Tapatalk
 

Latest posts

Back
Top