Piped 046 - On A Budget

Arborist Forum

Help Support Arborist Forum:

This site may earn a commission from merchant affiliate links, including eBay, Amazon, and others.
According to Jennings header length should be 6-8 times the diameter of the exhaust port at the piston, which is 1.25 x .625:

The port has semi circles at each end with a square in between, so calculated port diameter is the area of a circle with .625 D plus the area of a .625 square.

- The radius of the circle is half of .625 or .3125
- The area of a circle = pi r squared or 3.14 x (.3125x.3125)=.306
- The area of a square = L x W or .625 x .625 = .391
- Total area = .306+.391 or .697

So 6 x .697=4.182" and 8 x .697=5.576"
The pipe's header is approx. 5.25", so it's in the ball park.

How do you figure the diameter and legth of the expansion chamber in conjunction with overall length of the pipe?
 
How do you figure the diameter and legth of the expansion chamber in conjunction with overall length of the pipe?

In a Nut Shell:

- Determine Tuned Length.
- Determine Header Dia and calculate length, (see above)
- Belly Dia = 10 x Exhaust port Dia, (at piston)
- Stinger Dia = .58 to .62 x Header Dia.
- Cone inlet / outlet Dia's are determined by Header, Belly and Stinger Dia's
- Cone length is determined by the angles you choose
- Belly length = Tuned Length - (Header + Exhaust Nozzle + Cone1 + Cone2)
- Stinger Length = 12 x Stinger Dia.

For details go to Kraftzion's link on post #52 or do a search for Timberwolf's Pipe Build Thread...He makes it simple, Thanks
 
Last edited:
Status Update

Decided to pull the muffler after running it for the first time the other day and don't like what I see. Looks like the rings are getting nicked in the same spot where it was originally scored. Pulled the jug to get a better look and can see some corresponding marks on the lower edge of exhaust port.
Need to do a better job on chamfering the port edges, clean up the piston a little more and then try it again.
 
In a Nut Shell:

- Determine Tuned Length.
- Determine Header Dia and calculate length, (see above)
- Belly Dia = 10 x Exhaust port Dia, (at piston)
- Stinger Dia = .58 to .62 x Header Dia.
- Cone inlet / outlet Dia's are determined by Header, Belly and Stinger Dia's
- Cone length is determined by the angles you choose
- Belly length = Tuned Length - (Header + Exhaust Nozzle + Cone1 + Cone2)
- Stinger Length = 12 x Stinger Dia.

For details go to Kraftzion's link on post #52 or do a search for Timberwolf's Pipe Build Thread...He makes it simple, Thanks

Thanks, Id read it before, it just didnt register!!!:dizzy:
 
There was a high spot on the front of the piston where it was originally scored. When rolled on a plate of glass you could feel it.
Polished it up, cleaned up the port chamfers and put it back together.

This Old Dogs working days are over
 
Do you roll your own steel? Any advice or tricks to help with it?


It's been a while, but here I go:

Build a poster board model first, (like shown previously). By going through the motions you get a visual as to how it should look.
I used 20g sheet steel, but most others use a lighter gage.
Rolled it myself using a wood baseball bat as a form
The stinger is the cut off handle of an ice scraper
The Header was fabricated from a tail pipe extension
When rolling be patient...Start the edges first by crimping them over a little bit more than the rest of the bend.
Used a rubber dead blow hammer, but there's a lot of bending, stretching, pushing, pulling, tapping and pounding going on.

Do it

Good advice and help. Thanks.:cheers:
 
Ran it again for a minute or two... checked the rings/piston and they look good.
Found a brake handle and had to replace the clutch drum...found one off a 361.
The 8 pin came with the saw.
 
Do you roll your own steel? Any advice or tricks to help with it?

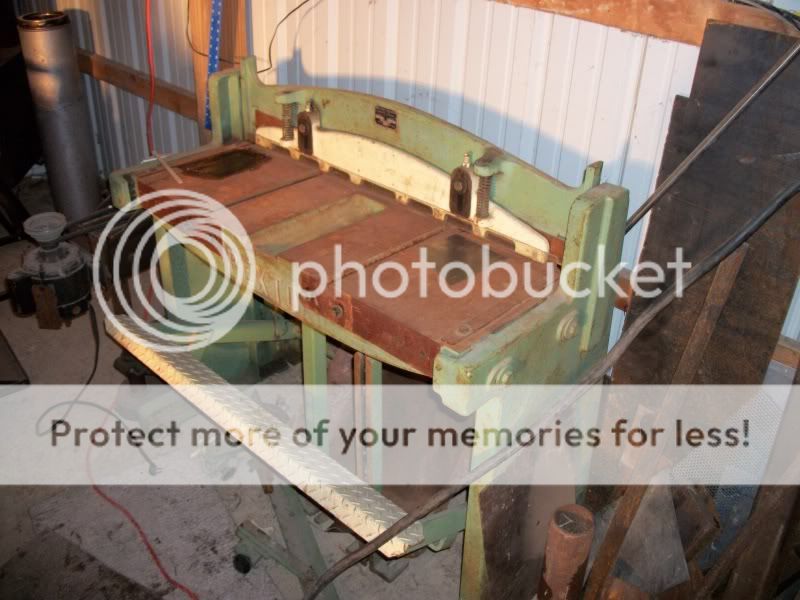
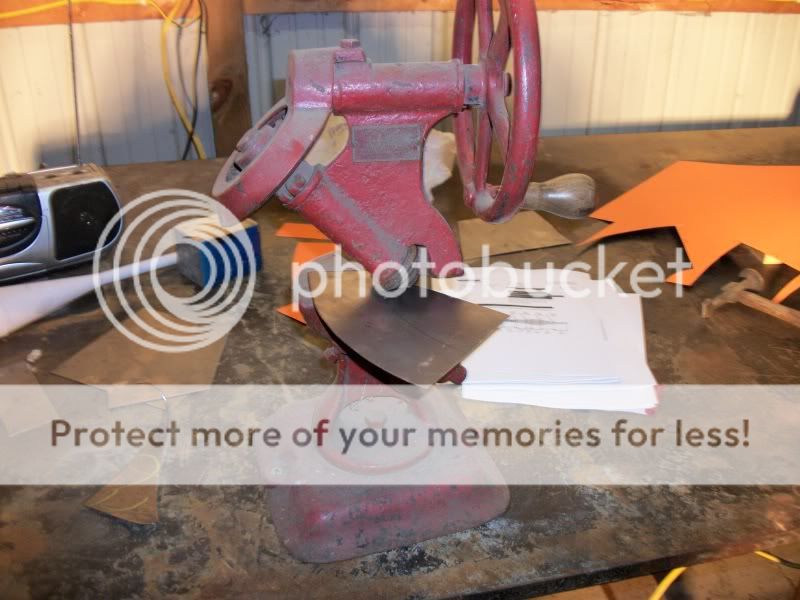
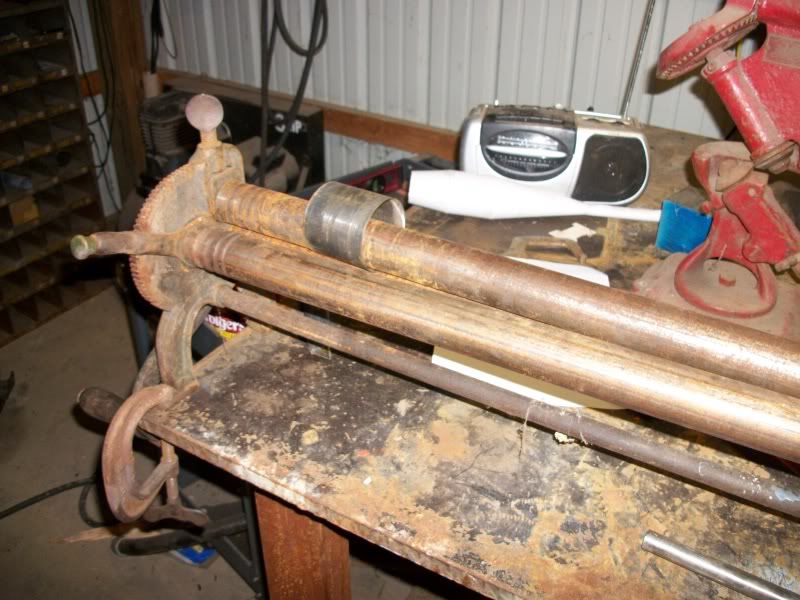
I use a couple peices of equipmet that make the pieces go together nicely, I have a 4' Pexto Stomp sheer, a slip roll and a wheel sheer. I think taking the extra time to cut the pieces out will pay dividends when welding, the better fit up the better the welding.

7900pipe002.jpg


7900pipe001.jpg


7900pipe011.jpg
 
Thats some kool equipment. Hand forming probable does make a nice seem fit, would love to try them out, but Im not for sure how to get to Hooterville from here. :hmm3grin2orange:


You got directions?
 
Thats some kool equipment. Hand forming probable does make a nice seem fit, would love to try them out, but Im not for sure how to get to Hooterville from here. :hmm3grin2orange:


You got directions?

Yep. First come get me. Then, i will let you know how to get there.:givebeer:
 
awsome work ,great read thanks ,keep it comming:clap::clap::clap::clap:


Thanks,
Ran it with the pipe for the first time the other day and was stunned. I ported the original 046 a bit conservatively, so it never really came on pipe. This one is a bit peaky with an 8-pin rim and 20” bar so it takes some finesse to keep it on pipe, but when it comes on…holy moly! Going to try it with a 7-pin and a 16” bar and shoot a video.
 
my new hero

dan i know this thread is half a year old but after reading the magnum build on the husky 50 i went and got one, now i want to put a pipe on it. My dad is a engineer and surveyor ill let him do the math and draw out some templets for me, i gots me a nice mig and plenty of mechanical knowledge to put the paper into metal. Did you ever think of putting one on your white top??
 
Back
Top