mtngun
Addicted to ArboristSite
Impressive. 


wow, that is really nice...what he said......Impressive.
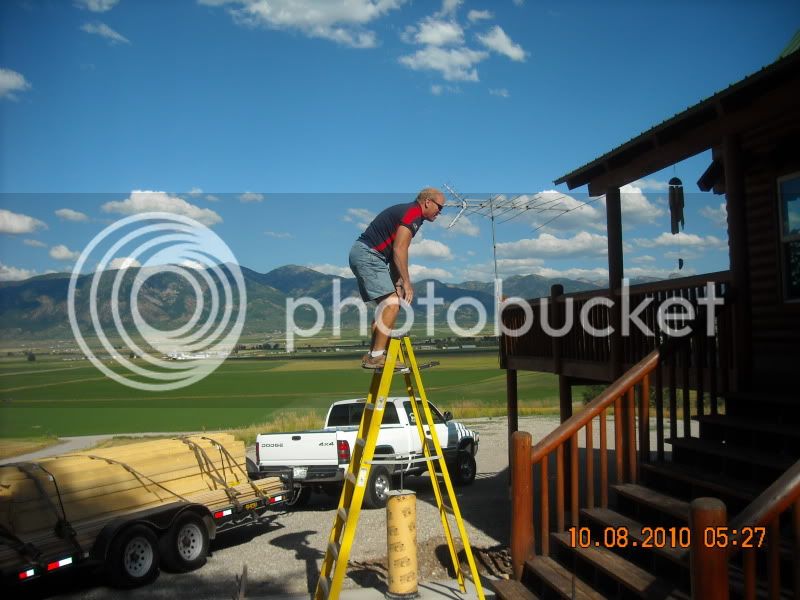
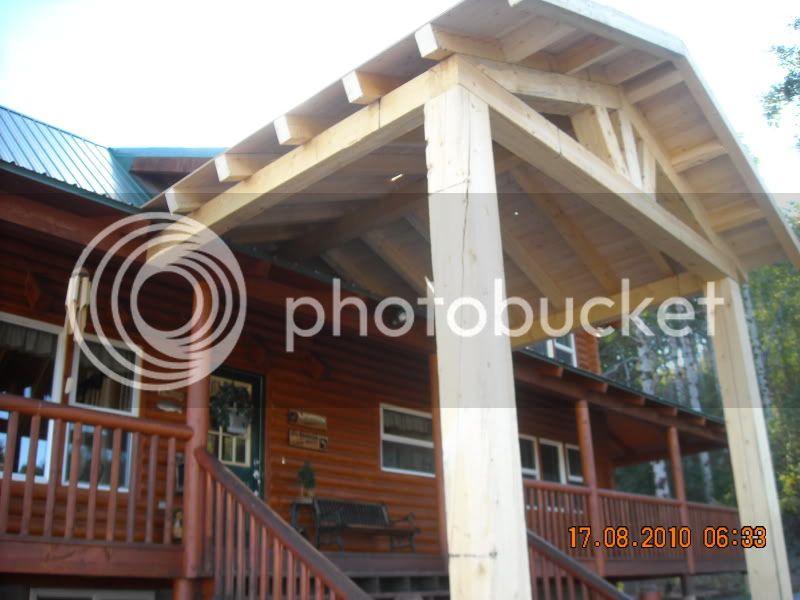
Three more verticals today. Doesn't sound like much, but that's hard work. It's all I can do to lift up the post and set it in the mortise.


 I also using my WW machines outside - come to think of it I have two permanently on the back veranda
Impressive.


Brad, is that a cutting board, or do you use it for playing ping pong ? Looks nice, in any case.
Thanks for the tip on filling holes with CA.
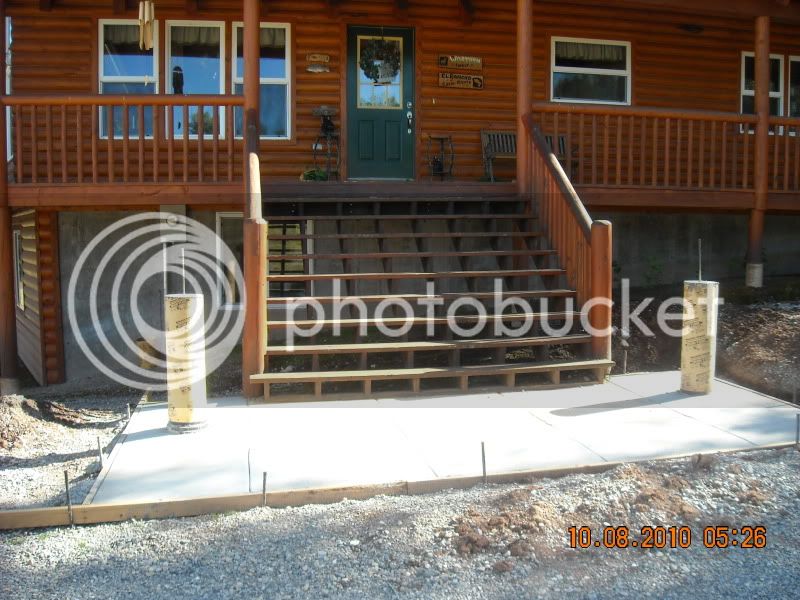
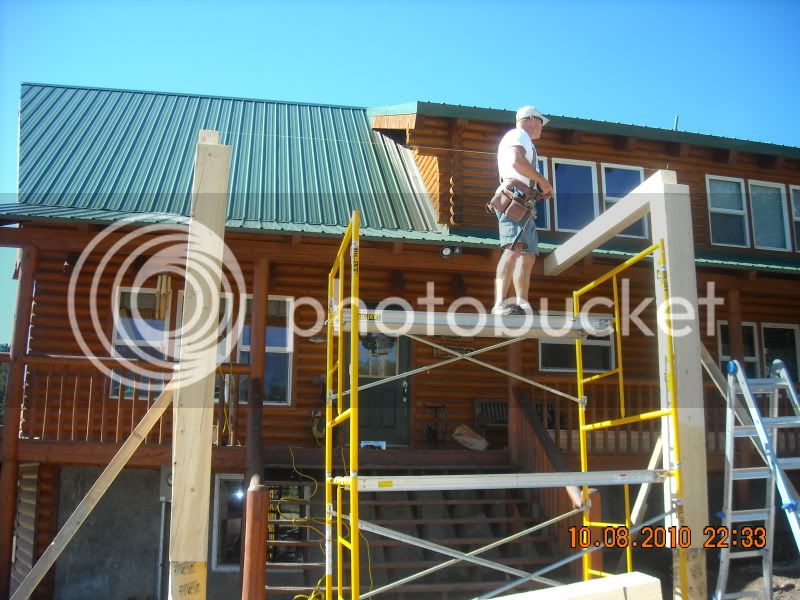
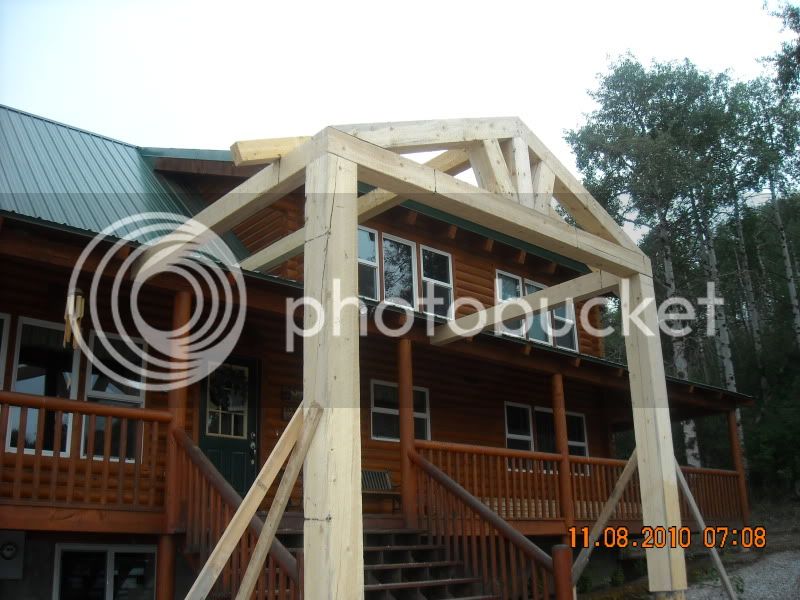
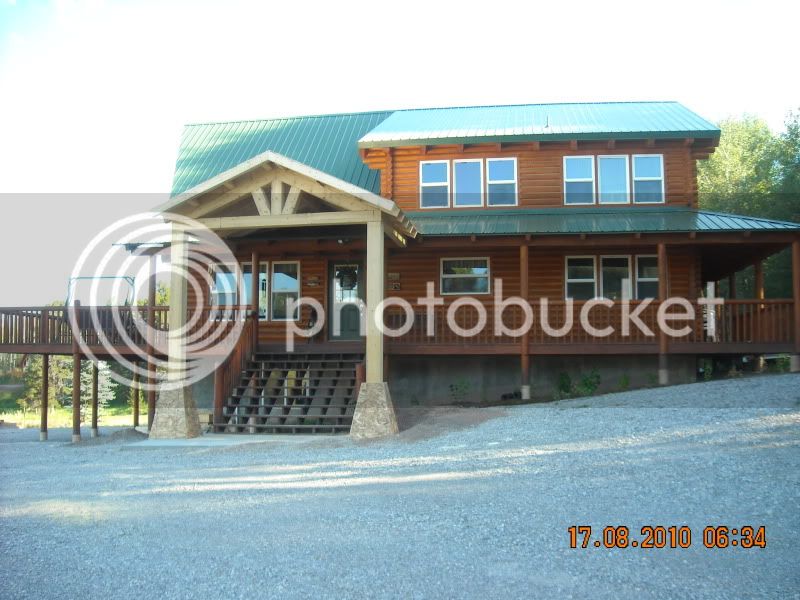
A few more vertical posts installed this weekend.

A few more vertical posts installed this weekend.
Closing out the 3 posts above, I finally finished the bench (tung oil) and with the fumes of the last coat still floating around in my head, I post these picts for your entertainment. I chamfered the edges of the seat about 1/8" and the legs and stretchers about 1/16" and that really cleaned up the look. I'm quite happy with the design, even thought the seat slab is not the ideal board... but it still carries the memory and history of the family.
I've decided that the shape of the legs worked better than I thought it ever would. They don't seem too heavy from any direction, but from either front or side, they seem to have a strong "thigh" or "foot" lending a stable look, but not too heavy from any one direction.
The joinery isn't perfect, but I'm not either.
Hope you enjoy, keep working and post more of your work soon to inspire us all.
Mill safe,
Schumann
P.S. Anybody know anything about that hand plane I have? Thanks!


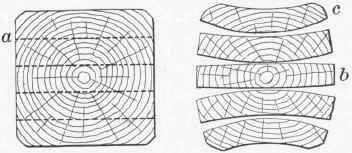
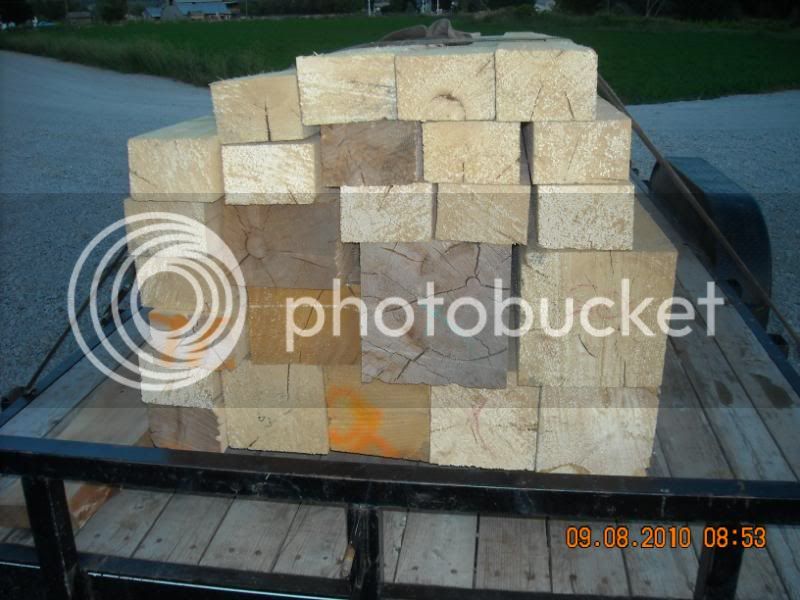
I do have one thing that you might watch for in the future when gluing up wide planks like this one. Look at the ends of the boards. See how the growth rings are turning in what looks like a "frown"? I call those "smiles" and "frowns" It's not crucial on a plank the size of yours - around 12 inches or so - but when gluing up it's best to alternate your "smiles" and "frowns". This will help your lumber from cupping in the future. I'm sure you picked the face of your board by the cosmetic appearance. If you ever do a very large plank this way and fail to keep in mind how the wood cups you can run into problems rather quickly.
I'd say after the amount of time since your project was completed you have a distinct upward bow down the middle like the board right below the middle one in the pic.

awesome!
Enter your email address to join: