Gumnuts
ArboristSite Guru
Just nutting it out !!!!
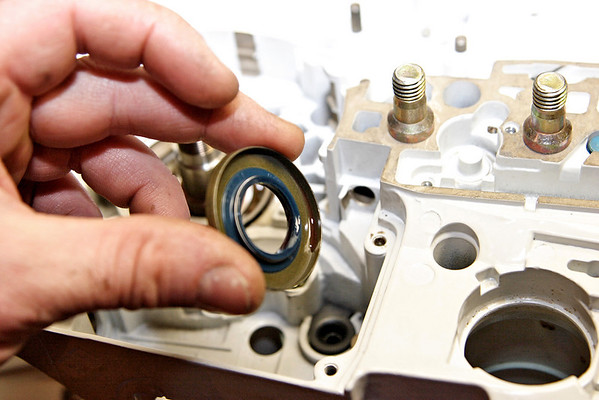
What's the story on internal and external seals.
Is this applicable for the 84 ? My new case came with bearings insalled. Read a thread on seals that promotes internal placement.External seating
will not be as good on pressure test.Understand the
principle .Sounds like either way OK as long as dirko ( or loc 680) outer rim
and white grease inner dust seal rim.
My repair book only refers to external instalation.
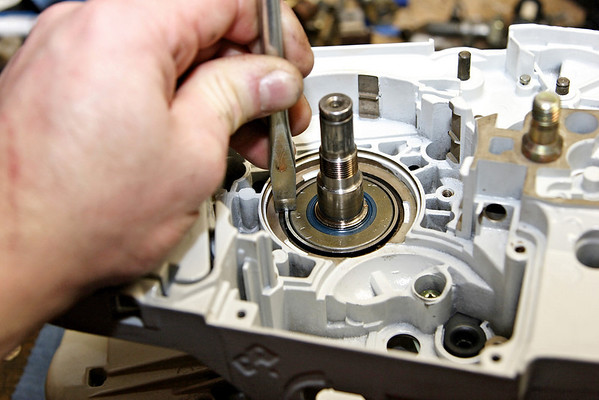
Andy or whoever if internal applicable can you tell me the steps .Using an arbor.
123..>/
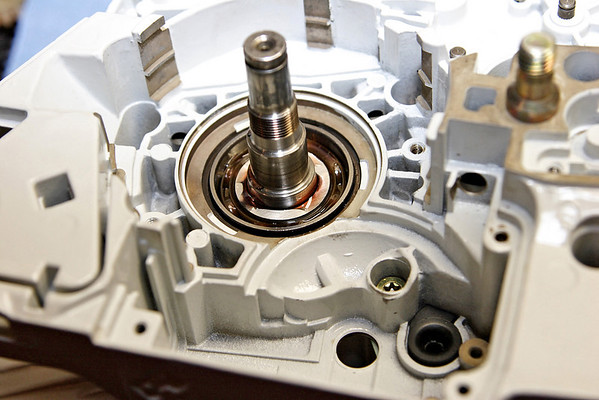
Internally fitted seals - do they just fit against the bearing step form the inside ?
:greenchainsaw:")
What's the story on internal and external seals.
Is this applicable for the 84 ? My new case came with bearings insalled. Read a thread on seals that promotes internal placement.External seating
will not be as good on pressure test.Understand the
principle .Sounds like either way OK as long as dirko ( or loc 680) outer rim
and white grease inner dust seal rim.
My repair book only refers to external instalation.
Andy or whoever if internal applicable can you tell me the steps .Using an arbor.
123..>/
Internally fitted seals - do they just fit against the bearing step form the inside ?
:greenchainsaw: