Bowtie
Gearhead
Nice looking build there Brad. I cant wait to get my next little project underway.


Where's the smilie for mule-headed.....
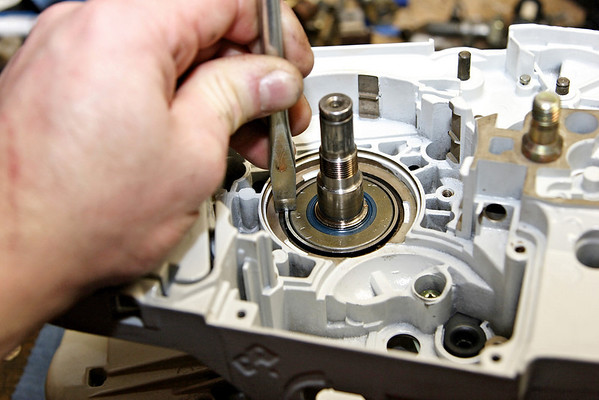
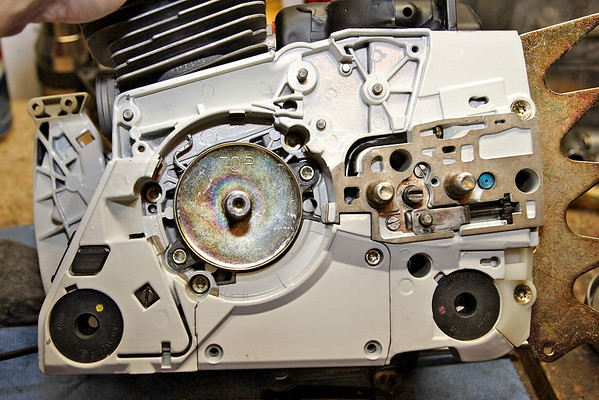
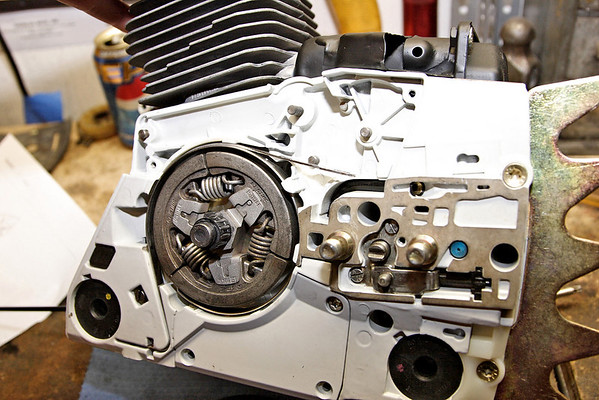
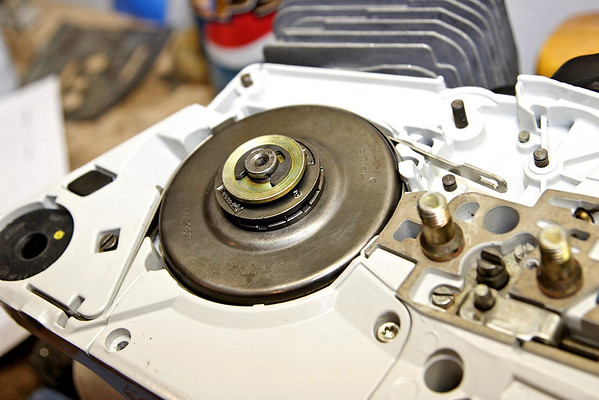
How about a compromise of tecniques? If you haven't played with them, you will find that the cages are rather pliable. They're very easy to remove. The flywheel side cage is installed from the crank side, so it's removal before heating and installation is not an option. The clutch side installs from the outside. So I popped it out. The case half is in the oven at 200F for starters. If it won't drop in there, I'll bump it up. I'm still leary of hurting the finish. I believe I've seen cases bubble at 300F, but they weren't new and may have already had issues. I'm not taking any unnecessary chances. Once the crank is in the clutch side, I'll pull the flywheel side on.
You're compromising your bearing integrity unworriedly yet you're really concerned with paint? Sheesh, talk about silly priorities!
 @ least hes trying!!!!!! and FCOL its gotta look good,,,,
Do you install all the seals on your saws this way??
PVC driver would be better...
I have used a socket that fits the OD. But it's harder to get it the same depth all the way around.
How about putting the crank in liquid nitrogen that should make it small enough. I used to work at engine Rebuilding shop and that's what they did for Cylinder sleeves worked very good just drop them in a warm block. I have access to liquid nitrogen so for me I would give it a try submerse the crank in it and it should just slide in?It just takes a little practice, but basicaly you just tap it a little at time around he edge - just like you do with the screwdriver...) biasing it in the direction you want. I'll post a pic of the "stihl" tool (same as everyone else) tonight. Cheap... about 5 of them cover almost all saws. Same with bearing arbors and shaft covers (to slide the seal over the crank lip).
I have access to liquid nitrogen so for me I would give it a try submerse the crank in it and it should just slide in?
I worked there when I was a kid and on weekends we would catch mice in the lunchroom then take them out to the shop for a bath. They shattered when they hit the ground! Heck now that I am old we still do the same thing.
I can see no wrong in using liquid Nitrogen.
I worked there when I was a kid and on weekends we would catch mice in the lunchroom then take them out to the shop for a bath. They shattered when they hit the ground!
Heck now that I am old we still do the same thing.
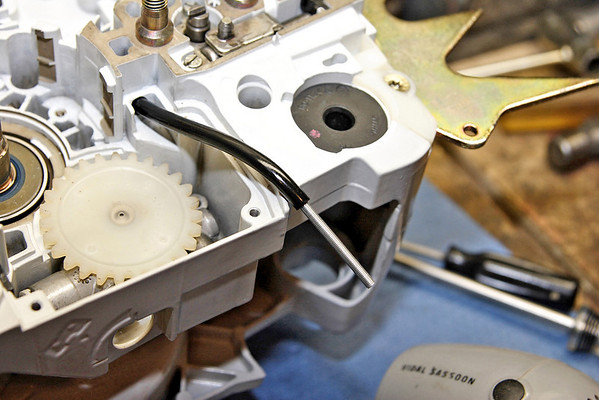
") I was too lazy tonight for that though. I'll likely get back on it tomorrow.
I was too lazy tonight for that though. I'll likely get back on it tomorrow.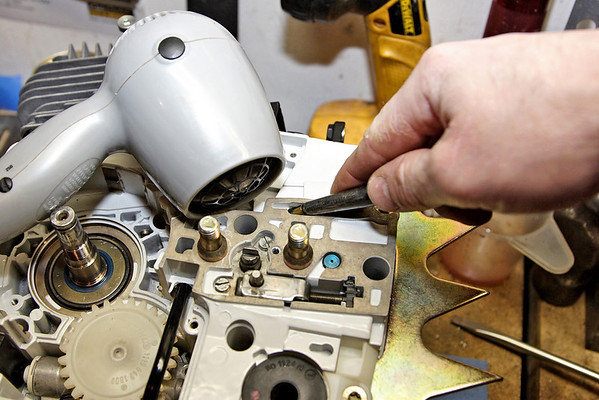
Enter your email address to join: