Lakeside53's --361 muffler mod w/photos

Arborist Forum

Help Support Arborist Forum:

This site may earn a commission from merchant affiliate links, including eBay, Amazon, and others.
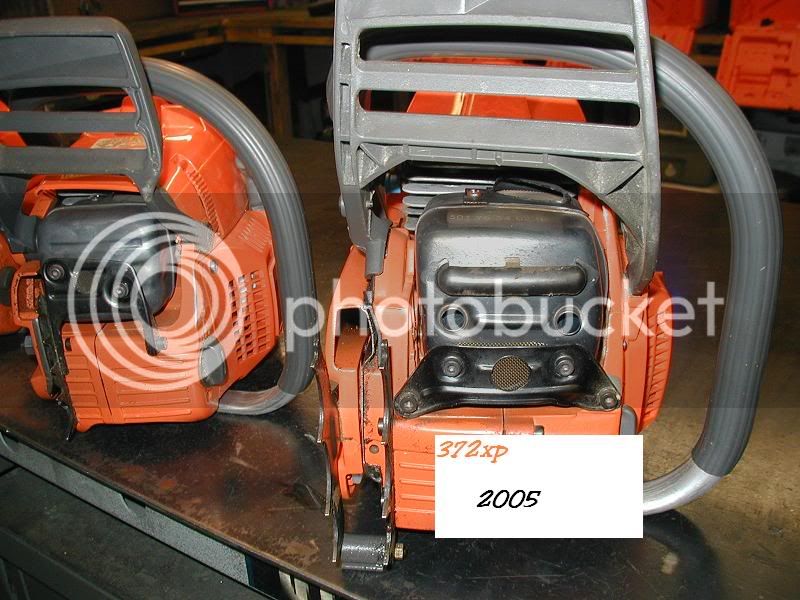
359 , 346xp , 346xp , 372xp

<img src="http://i9.photobucket.com/albums/a97/Roospike/FOURM/A1.jpg"> <img src="http://i9.photobucket.com/albums/a97/Roospike/FOURM/A2.jpg"> <img src="http://i9.photobucket.com/albums/a97/Roospike/FOURM/A3.jpg"> <img src="http://i9.photobucket.com/albums/a97/Roospike/FOURM/A4.jpg"> <img src="http://i9.photobucket.com/albums/a97/Roospike/FOURM/A5.jpg">
 
That bracket/screen method is a great way to do muffler mods!!!


A5.jpg
 
I read somewhere online recently that you could braze with MAPP gas. So I bought a bottle of that and a general purpose 1/8" brazing rod with the flux coating. I had my doubts about it getting hot enough, so the first thing I did was see if it would melt the rod. It melted the flux off and that was all it did. $10 gone to waste on that effort.

Ian
 
Today, going off of Two Paws's post above, I took a drill bit about 5/32" and drilled two holes behind the screen and two holes in the cover that goes over the screen on the muffler of my MS-310 and all I can say is WOW. It seems to run MUCH faster and breathe a lot freer, and it SEEMS to have more power. Louder, too!

There's not a chance that these mods would allow my saw to OVER-rev, is there? I know that on 2-stroke outboard engines, if you open the throttle under a no-load condition, you can get what they call a "runaway" situation (kind of like a "cook off" with a machine gun, I guess) where it can be difficult to throttle the thing back down. Any chance of anything like that happening with a saw? No chance of damage, is there?

Thanks,

CA
 
Canyon Angler said:
No chance of damage, is there?

In a word... Yes.. That is if you won't retune the carb afterward. From my understanding, you will be running too lean if you don't, and that is bad juju.

Ian
 
[Does this mod hit when you buck big wood???/QUOTE]
That was is one of the concerns I have with it, something I realized after the fact. It is behind the dogs some, and I havent had it hit yet. I have bucked with it a few times since the mod but nothing really big yet for the dogs to really bite in. I do most of my cutting in the winter time for next years fire wood and most of it is on a pile, so I guess I will find out more then. If I have to I can cut it back some more. I really like the bracket screen method, I wish the bracket on the 359 was a little higher to go with the exhaust outlet fully in the bracket. It looks really clean that way. Anyone have the muffler crack or split from vibration in a newly cut opening with out the added strength of a washer or something welded on?
An off the topic question, sorry.How do I repost a pic that I have posted on another thread with out adding the link? It gave me an error message saying I have already posted the pic on another post even when I change the name of the pic.
 
oneadam12 said:
hey Lake, was the extra tube in the side of the muffler the only "extra" hole you drilled in the muffler in the above link?


Yes. Just the one. The factory outlet stays as is
 
Internal cage

Wouldn't you think that the internal cage would slow down the air flow.
The air still has to race down the walls and find a hole to excape.
I'm thinking in doing so it would also create an venturey vacuum effect with some of the holes.
 
Maybe, but the area of all the holes is is so large it doesn't really matter (over 470 sq. mm). Easier to leave it in place. I figure you get "most" (just a guess!) of what you are looking for with a simple mod, so why go crazy on the rest?

If you don't want a spark arrester (I do) and want to go though the task of opening muffler, then just remove all the internals and open the factory port - it is is in the best position for the hot gas flow when cutting. I'm not sure the results will be materially different to what I did with the additional front port. If you're going to port the cylinders etc, then maybe...
 
Last edited:
Ive got one of Lakes modified mufflers on my 361.

You know when you first fire up your saw, and it smokes a bit? I was watching it the first time I fired it up, and cant believe how much exhaust comes out the pipe, as opposed to the OE port.

Seems its in a good location, and well sized.

Good job Lake!!!
 
You do need to watch your hands though - exhaust bouncing back from a big fir I was blocking close to the ground melted my glove...

When installing your port. Make sure it's angled forward as much as possible (away from the hands) and set back from the front so it can't be blocked by bark. And yes, you can catch bark on fire from the hot gases!.
 
No No I want to keep the arresters too.
Thinking of making the ports wider. so I want to be able to push the gasses out.
Maybe I am digging to deep in thought.
 
The quad transfer ports are already really wide on the 361... It's not anything like the 036. Be careful.. a new piston/cyinder costs $300..
 
Husky 232R Brushcutter

Well, not a chainsaw muffler mod, but a muffler mod none-the-less.

Here is the stock muffler on my Husqvarna 232R Brushcutter before starting the project. The hole on the left is an additional hole I added immediately after buying it.

1194Stock.jpg


This next photo shows the muffler apart. I used a 00 brazing tip on my oxy/acetylene torch to heat the seam on the muffler red-hot, and pryed up the metal with a screwdriver to separate the two halves of the muffler. The piece on the right is the catalyst part of the E-tech catalytic convertor muffler. My brushcutter ran VERY HOT with this muffler. Same as the 359 chainsaws.

1194Apart.jpg


Next, I cut a baffle out of 20ga sheetmetal. I used tin snips, cleaned it up with a grinder and hand files. I traced out the 3 holes of the bushings (keeps the muffler from squashing when tightened on the machine) and drilled them out. I then used a punch to mark out where I wanted to drill holes in the baffle. This new baffle I made has a LOT more surface area than the old catalyst baffle, but will still provide back pressure which the engine needs.

1194Baffle.jpg


Finally, I assembled the muffler halves back together, making sure everything lined up and all necessary parts fit up properly. Heat it back up with the torch, crimped it with some pliers. After it cooled, I wire brushed it, cleaned it off and gave it a nice coat of flat black BBQ paint. All ready to go back on the machine!

1194Finished.jpg


Don't forget to adjust your carburetor!
 

Latest posts

Back
Top