Lets see your wood shed

Arborist Forum

Help Support Arborist Forum:

This site may earn a commission from merchant affiliate links, including eBay, Amazon, and others.
I use what used to be a open cattle shed, to the east, on part of the barn. Gets plenty of air, and is on concrete. Thats a plus too. Also started using the over hang on the same side of the barn also. Wood sits on stone there. But stays remarkably dry under there too. I only burn about 4-5 cord a year, to heat with, sell the rest to friends & neighbors. Makes easy access to load it out too, as long as the ground is dry, or frozen in the winter.:cheers:
Gregg,

Nice setup and beautiful stacks Gregg. I went to college with a VonStein from Jenera, happen to know any with a boy that'd be about 29?
And what kind of wood do you have there? Whats your secret to cutting perfect lengths?
 
Good lord! I'm embarrassed by these fine specimens.

That tears it; I'm building a decent woodshed post haste

I'm not even going to post pictures of my makeshift lean-to's. (hanging head in shame)

No shame....let's see them. I'm sure they are better than when I had a pile of wood, not stacked under a tarp and under two feet of snow. i didn't even have the crap pile on pallets. Let's see them!:msp_thumbsup:

yeah put the pix up!!!

ehhhh, alrighty then. But I must warn you I don't take ridicule well


firewood027.jpg


Under the treehouse is where the pre-split wood goes until the will to split hits me

firewood034.jpg


firewood035.jpg


And here's where I store the incoming wood


littlefulltrailer002.jpg

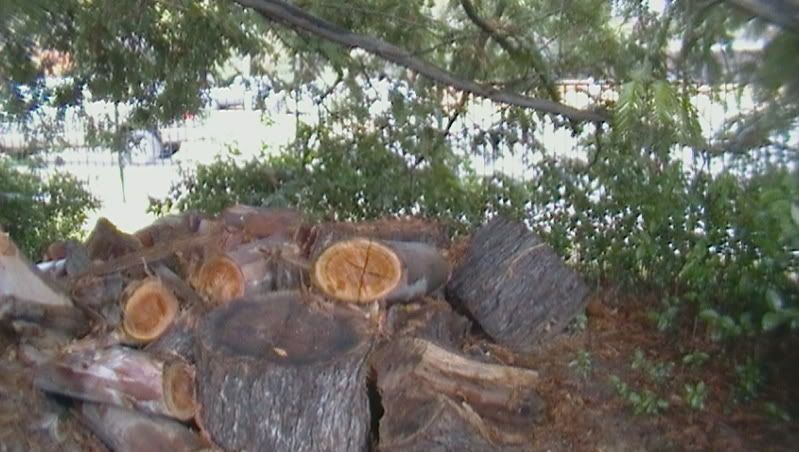
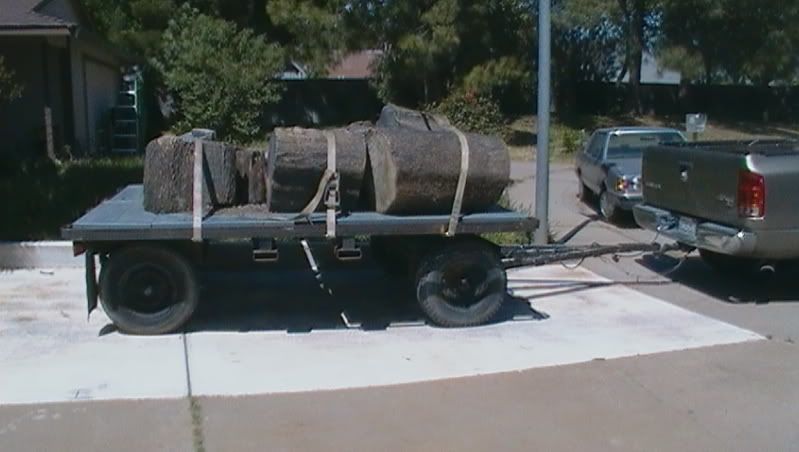
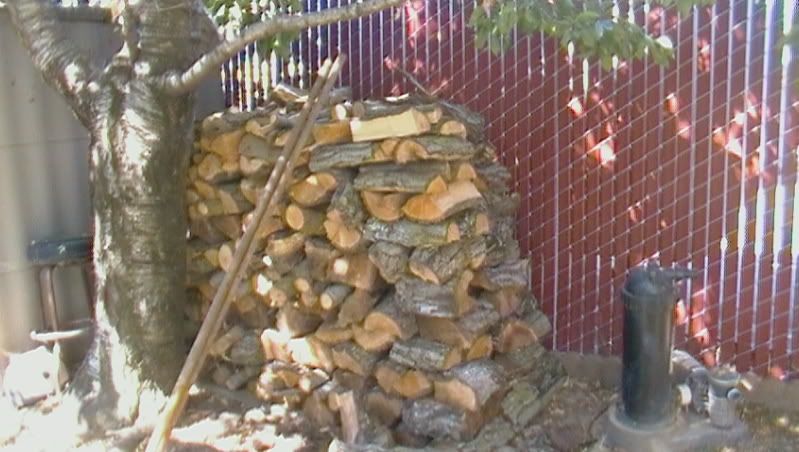
Forgot one of the bigger ones too:

firewood026.jpg


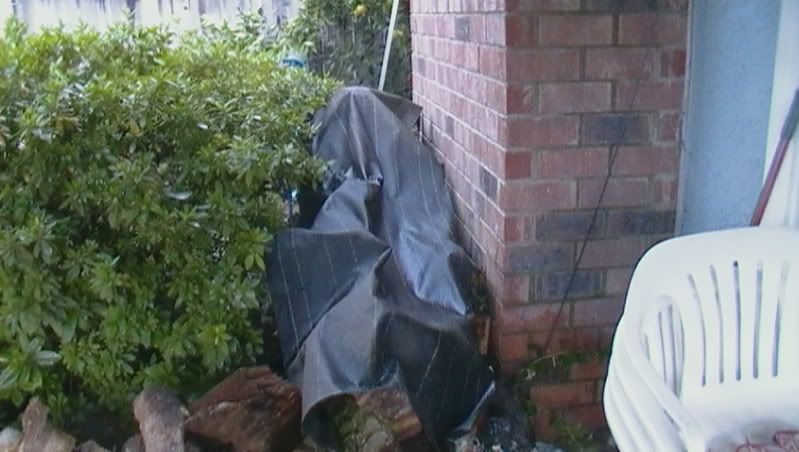
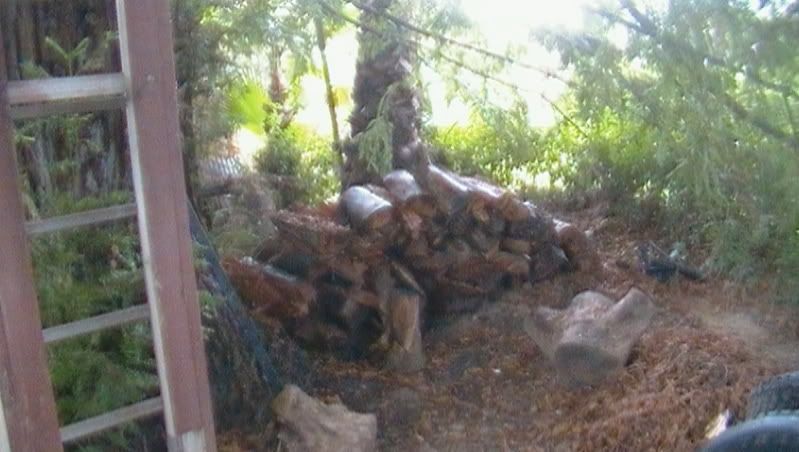
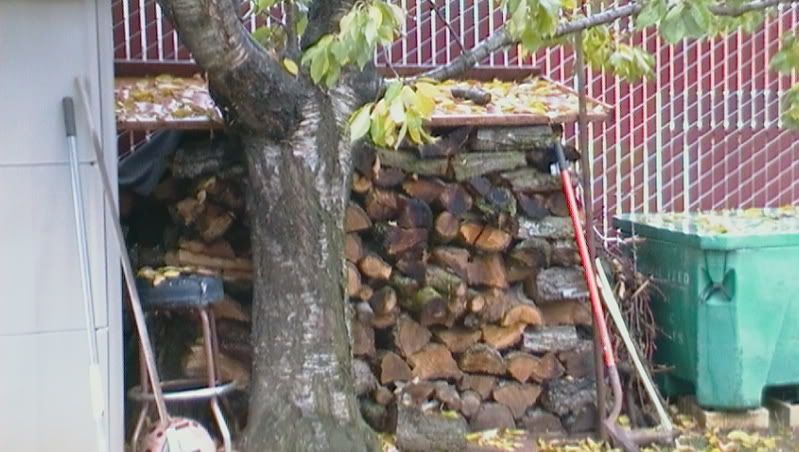
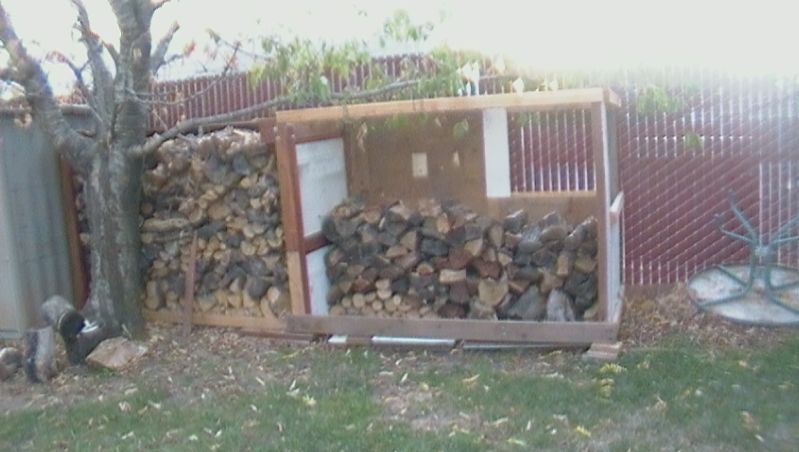
As you can see, my wood shed consists of carefully stacked areas with roofing felt on the back sides facing the fence lines, roofing felt in the tops, and sometimes another leftover plywood for extra strength. the side yard one was an aluminum restaurant shelf unit with roofing felt over it and wood facing that was kind of woven into it. Staple gun used to secure the roofing felt ot selected pieces of wood.

Alrighty...the only thing I'm really proud of is that it was all scrounged up or leftover material. No cash outlay that had not already been previously laid for another project. Oh...and all free wood too. Gawd...I've turned into such a begger in my pauperdom years


So it's been a year, and I have come a ways. Still needs a roof over both of them, and I'm hoping to inherit some wood for that this month. But it won't be long now until I've got a semi respectable woodshed. Might only compete with Jed Clampett's as far as looks, but it sure won't be falling or blowing apart anytime soon


Before:

fruitandwood004.jpg


After

woodshed003.jpg
 
Last edited:
8 Cord Wood Shed

Inspired by sheds on this site, I wanted to post mine here in the hope it will inspire somebody else. The floor is a bed of gravel over landscaping material. Four bays each hold a little over 2 chords each. All materials were purchased from Home Depot with a total cost of about $1,000. While expensive, it is entirely constructed of pressure treated wood, cement, plywood and shingles. It took about 3 months of weekends (using only the time I had each weekend) to complete.

What I learned along the way:

1. Don't forget to lay out the shed with sticks and strings. You will pay a steep price getting everything square later if you don't start off square.
2. Don't be afraid to go deep on the foundation 4x4 verticals. If I had it to do over again I'd go deep enough to use two bags of quickcrete in each hole.
3. Put the roof on last. Until you get the siding on the shed is wobbly. Once the siding is on the shed is rock solid.
4. I had hoped to build on to the right of the shed to make an enclosed tool shed. Time, momentum, and money never followed...should have done it all at once.

View attachment 269256View attachment 269257View attachment 269258View attachment 269259
 
I needed a place I could stack my wood for sales and have it in measured quantities.
I had a bunch of old used lumber in my barn that I needed to get out of the way so I came up with this. I made 8’x5’x24” racks a plywood top and a divider in the middle. Then I rolled a layer if roofing paper on the top and covered it with a tarp. I will put 6 foot wood fencing on the back side when I get the money and get rid of the tarps. That way its covered on all sides except the front. With the fencing boards on the back it can let air through while deflecting the rain off the wood. This way I can easily pull out exactly what the customer wants. This picture was taken before I finished but you can get the idea.
Oh! And there on skids so I can drag them around with the tractor.
Dennis

sb47 - How long are the skids (8'?) and how much do you think it weighs loaded with wood? Do they pull ok or do they sink into the ground?
 
Last edited:
sb47 - How long are the skids (8'?) and how much do you think it weighs loaded with wood? Do they pull ok or do they sink into the ground?

When empty they don’t weigh much. I can scoot them around and in place by hand.
You would need a weight chart to determine how much the wood weighs.
My guess is around 1700 lb’s. They are just a little over 8 feet overall so that the inside measurement is 8’2” and just under five feet tall and 26” deep.
I have a divider in the middle so I can pull out a ¼ cord and it gives the middle some support.
I have plywood on top with a tarp covering the top and back with some tar paper covering that. When I find some scrap roofing shingles, I’ll put them on top to shed the rain. There under some live oaks so it doesn’t get much rain on it.
I did put a couple of treated 2x6 flat on the bottom so I can skid them around, but I never move them.
So far its worked out pretty good.
I have just put in another row down the side fence line but I just used t-post and treated 4x4’s to set it on, and I just cover it with a piece of plywood.
As far as sinking, the flat 2x6’s keep it from sinking. Besides, the ground here is very hard most of the time.
 
My two sheds. The first picture is the "new" shed and is slightly larger. I built it differently and as a result it's stronger in several places but it's starting to lean so I need to pull it up and add some bracing. I used to stack one more row right at the front but I've skipped it the last few years and used pieces from an outdoor stack for the last few chilly nights in the spring. The "old" shed will be filled this year to supply heat in 2015-2016.NCM_0145.JPG NCM_0146.JPG NCM_0145.JPG NCM_0146.JPG
 
In the process of building my first wood shed from scrap lumber and tin that I have acquired over the past few years. I'm no carpenter so hopefully it doesn't fall over this winter!
 

Attachments

  • 20140901_105940.jpg
    20140901_105940.jpg
    140.1 KB · Views: 69
kiwi. I have a owb and throw in the biggest pieces my back will allow. Fire box is 3' x 5' and the door is 25" x 25" so it will take some pretty big chunks.
 
I have come to the conclusion that a wood shed without doors is a hotel for rats. I'm building two sheds right now, one for each of my kids, a little more than half way through, and these will be totally enclosed


We dry the wood prior, but really, you don't need that much flow. The top of the shed will have a vent with screen, as well as one in the door
 
I should also mention that up until the plywood sheathing, these sheds were built from free materials that I begged or were given away. The screws were the only thing bought, but they were left over from another project last year. I couldn't find any free plywood, although that hasn't historically been the case. I located a guy building crates who was selling off 22" x 8' x 3/8 ply for $2.00 each, and it's new. I used construction adhesive in the seams before stapling in on the frames. I also bought a box of new staples for my staple gun


Latest posts

Back
Top