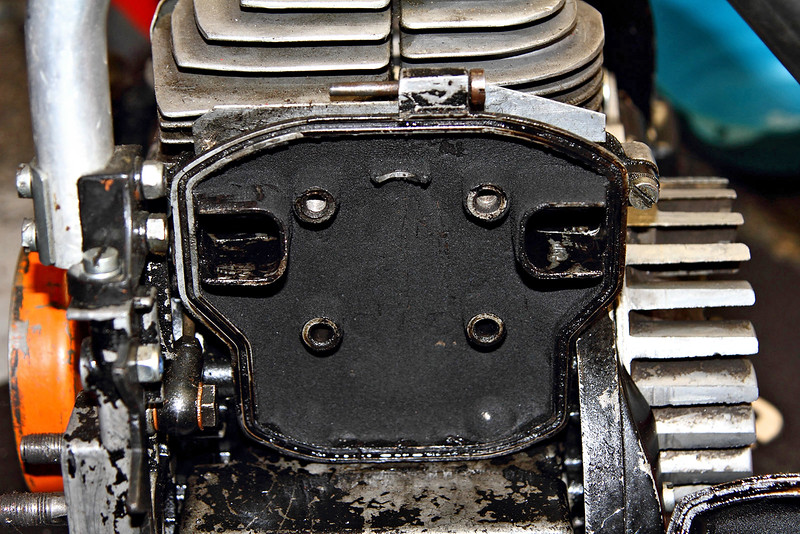
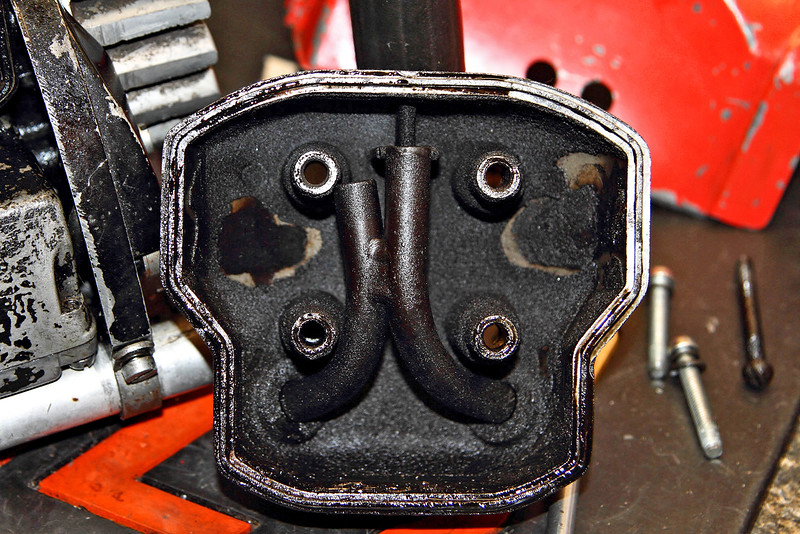
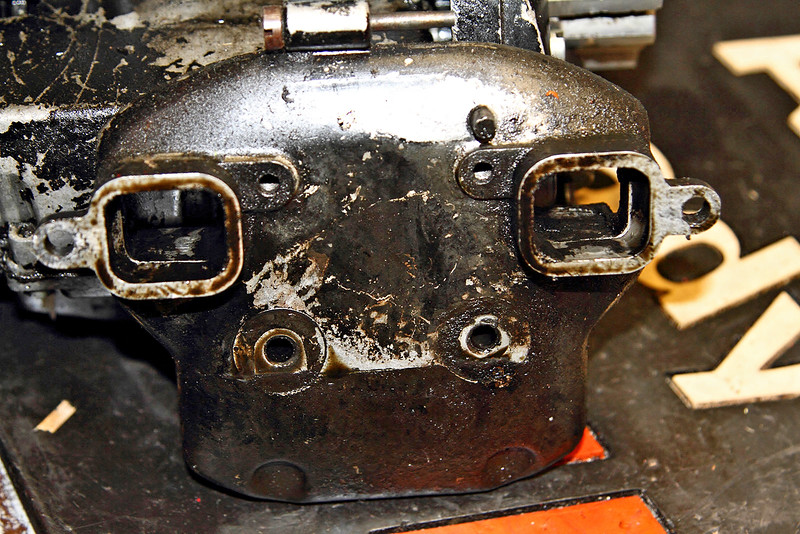
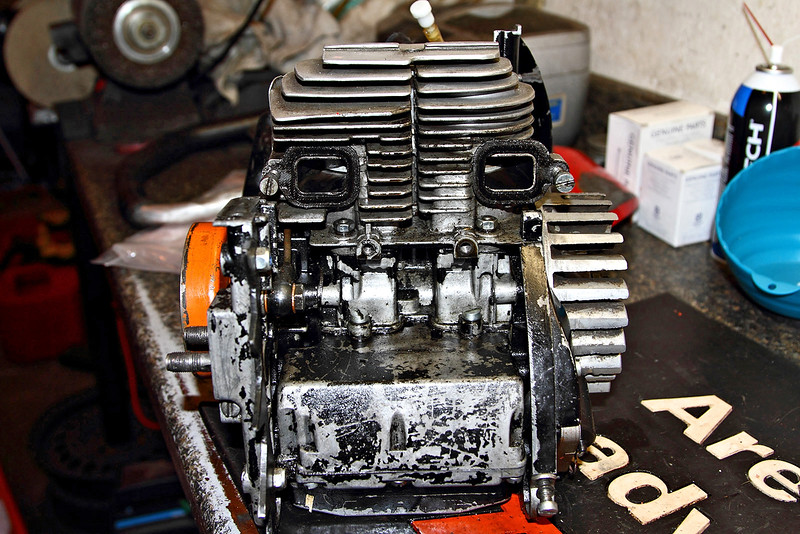
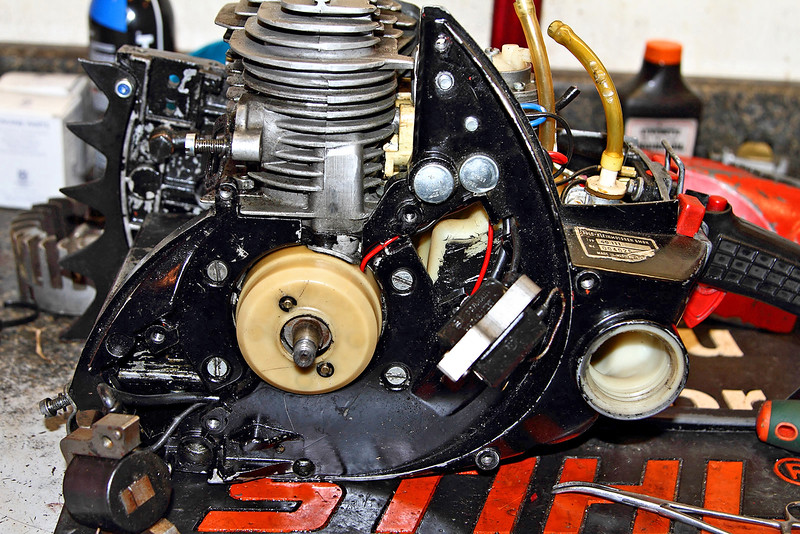
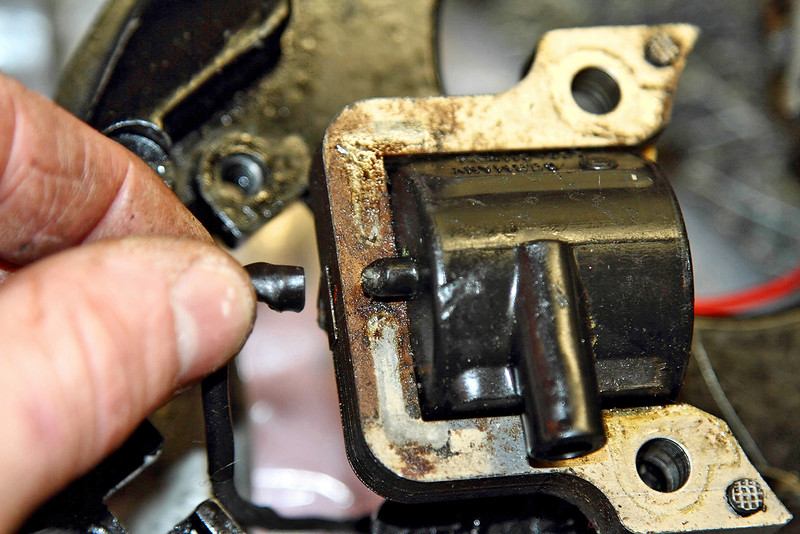
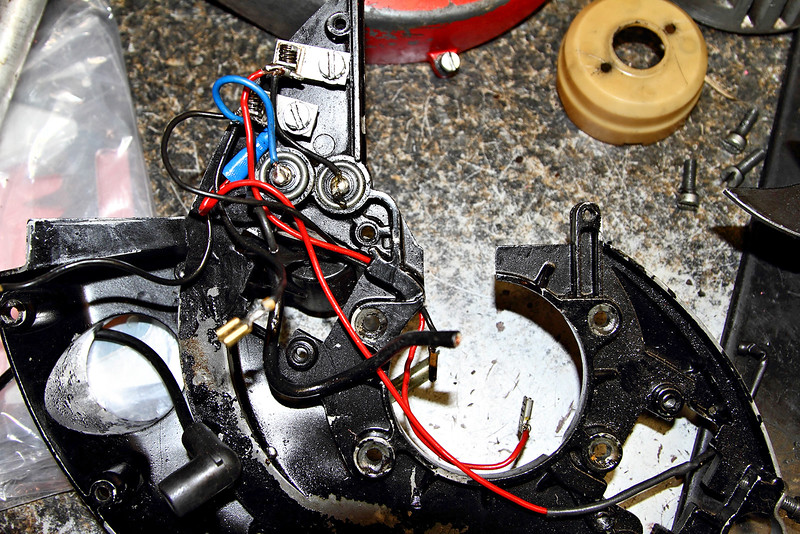
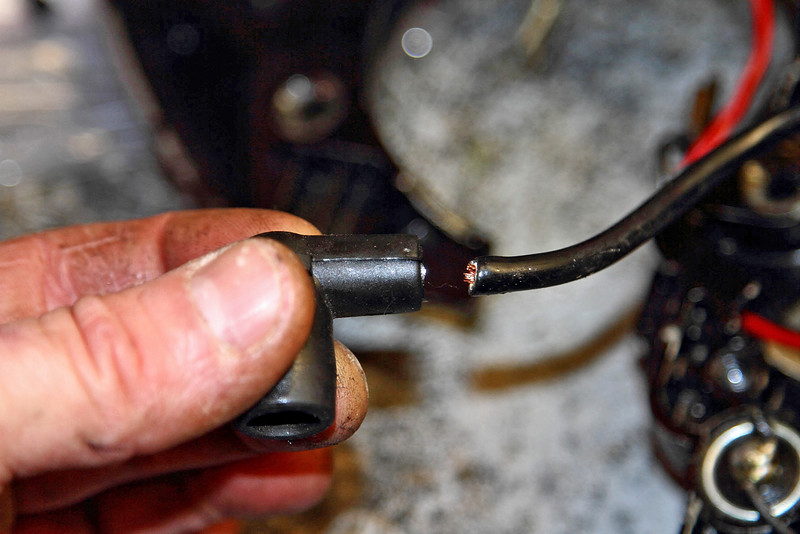
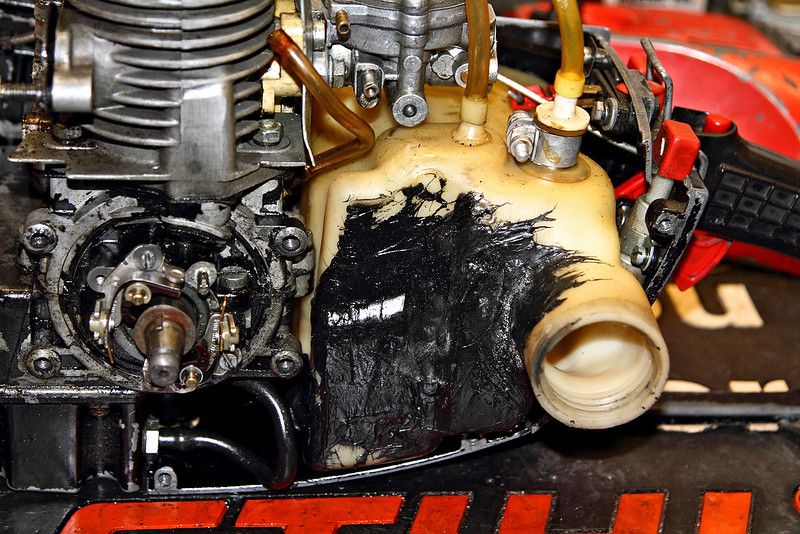
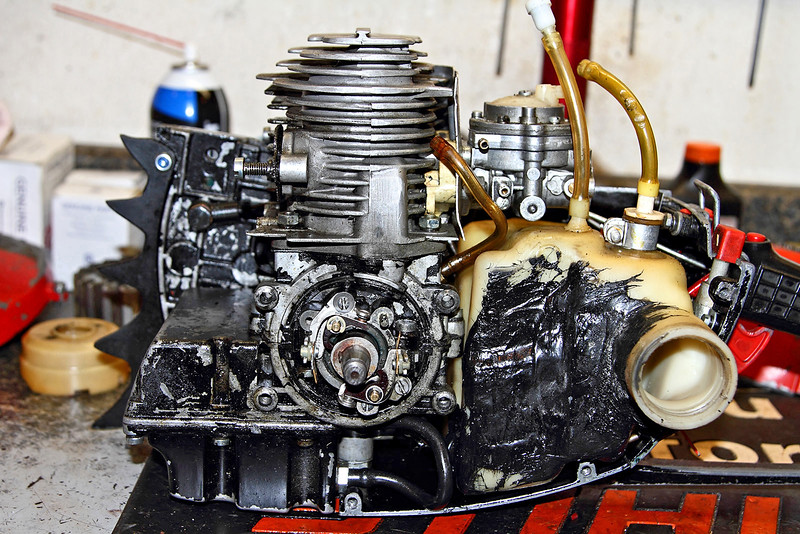
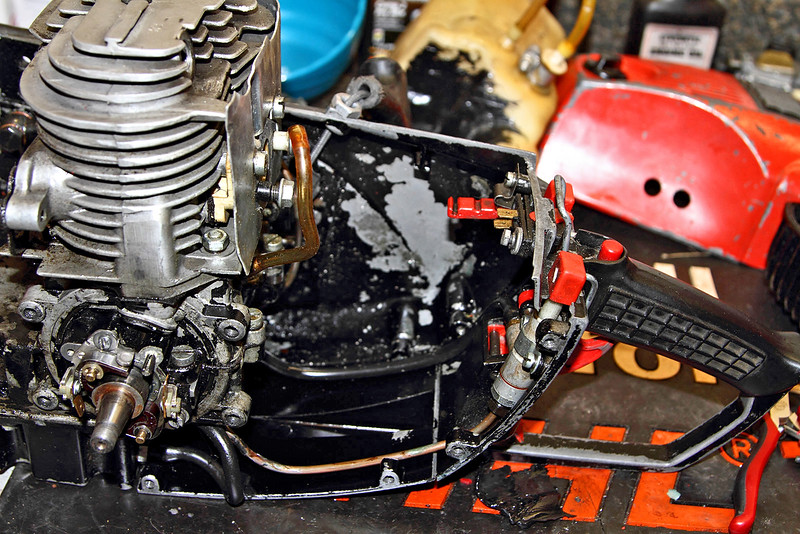
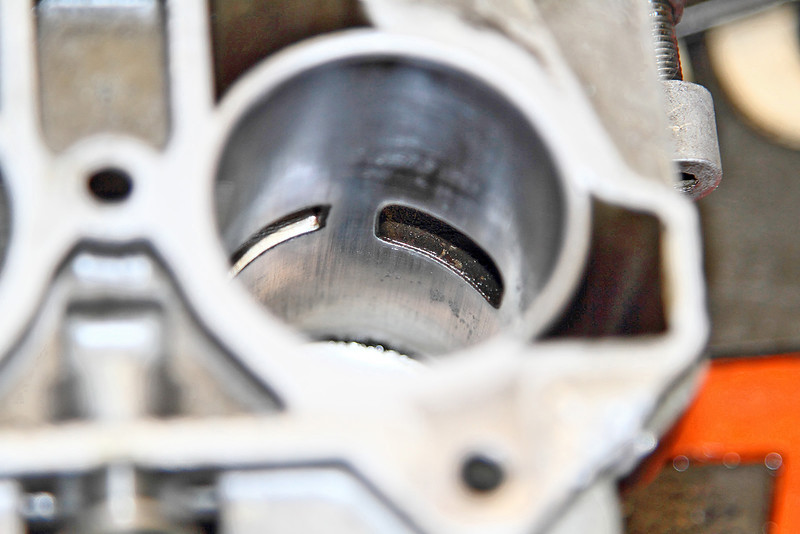
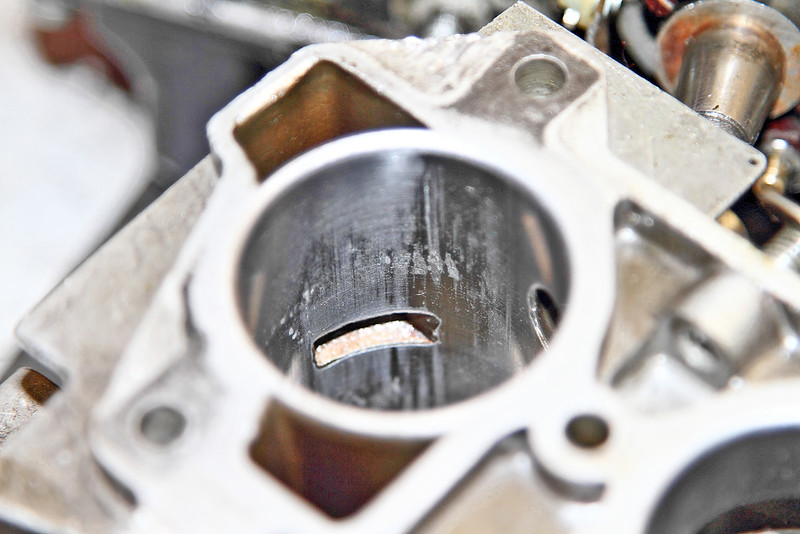
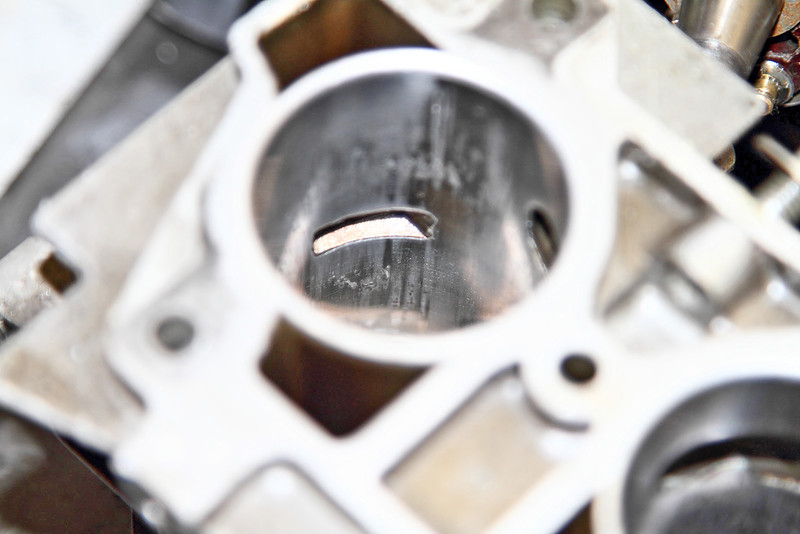
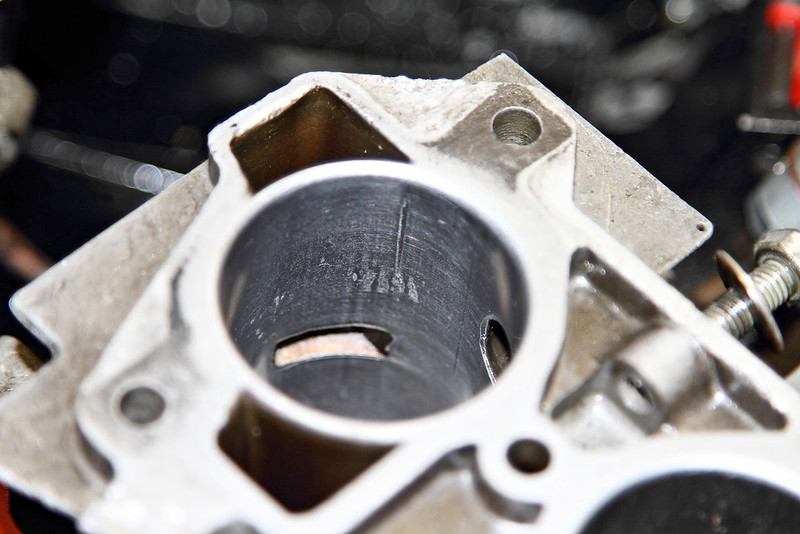
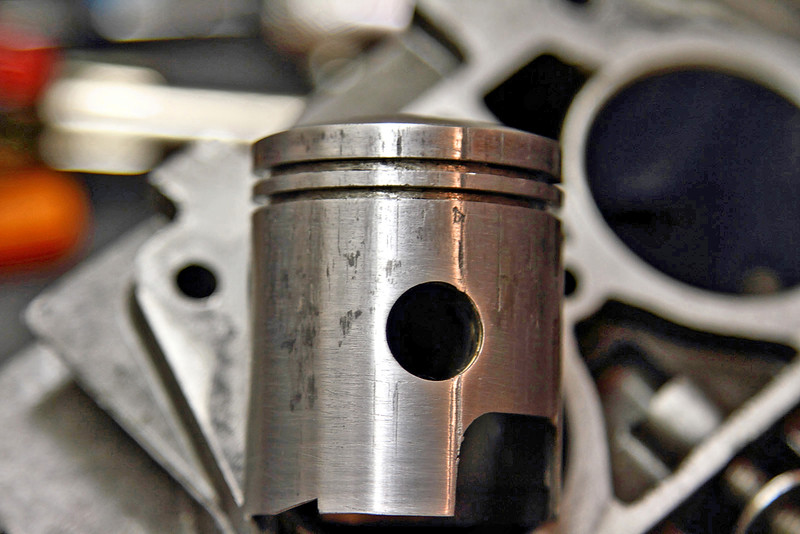
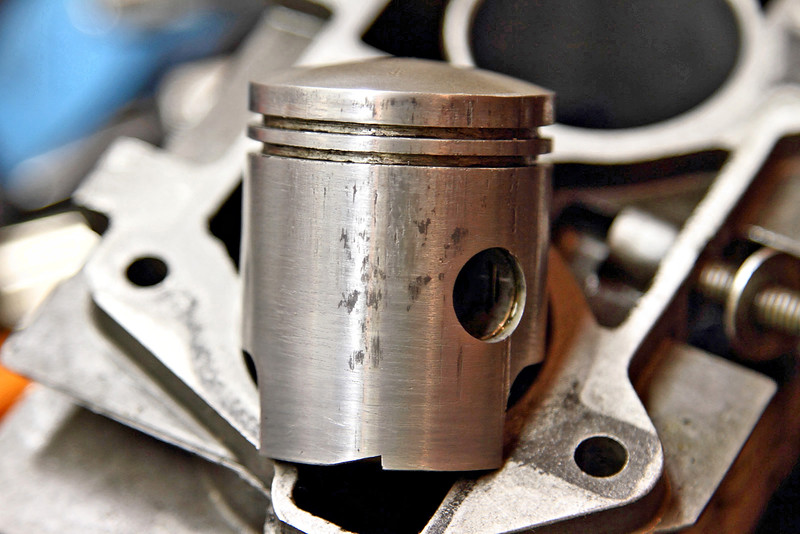
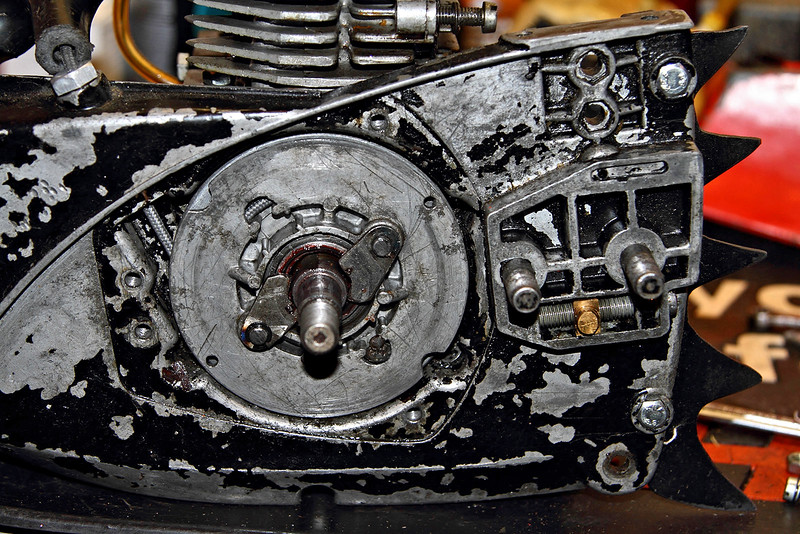
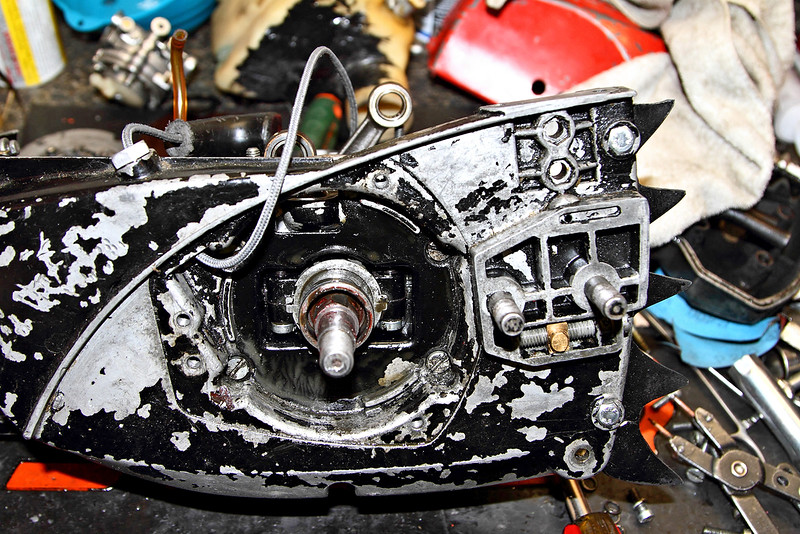
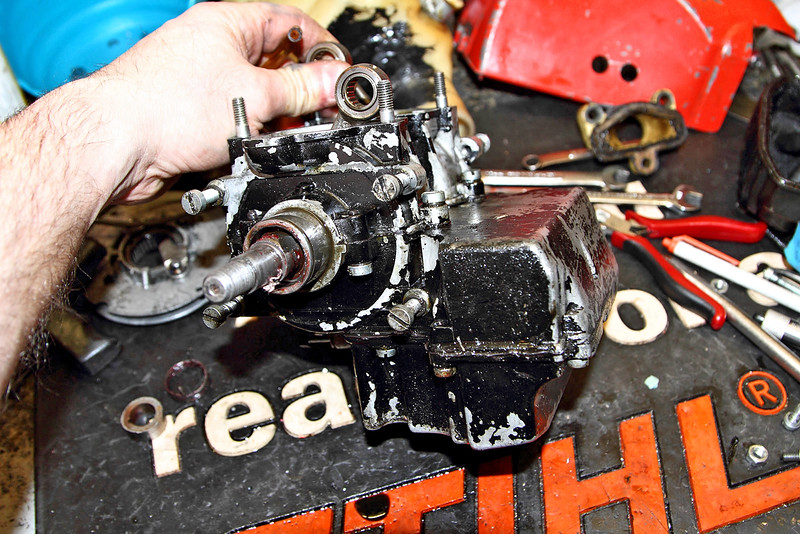
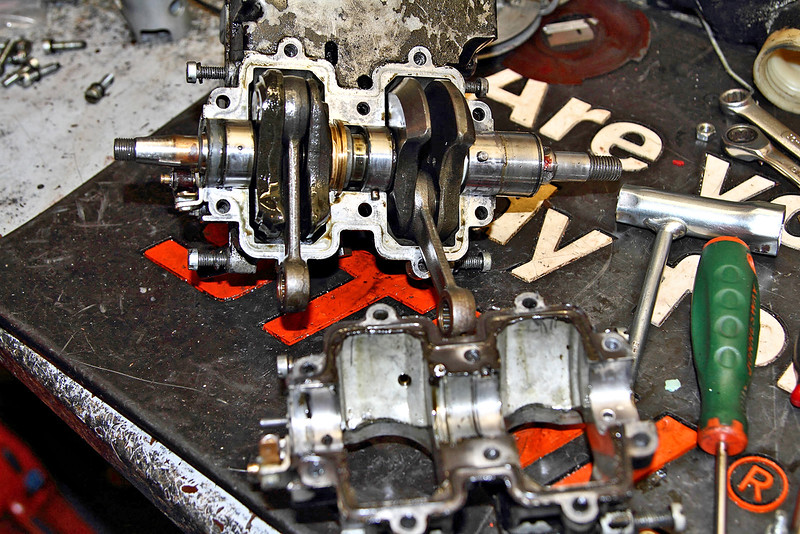
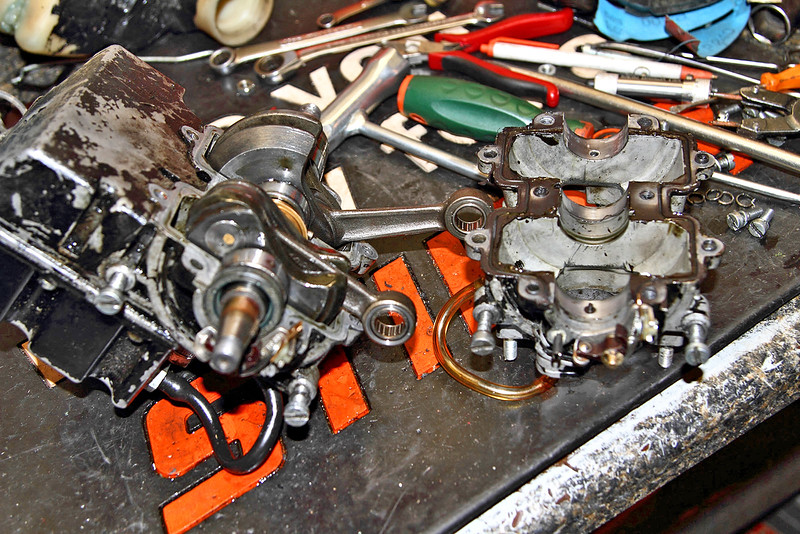
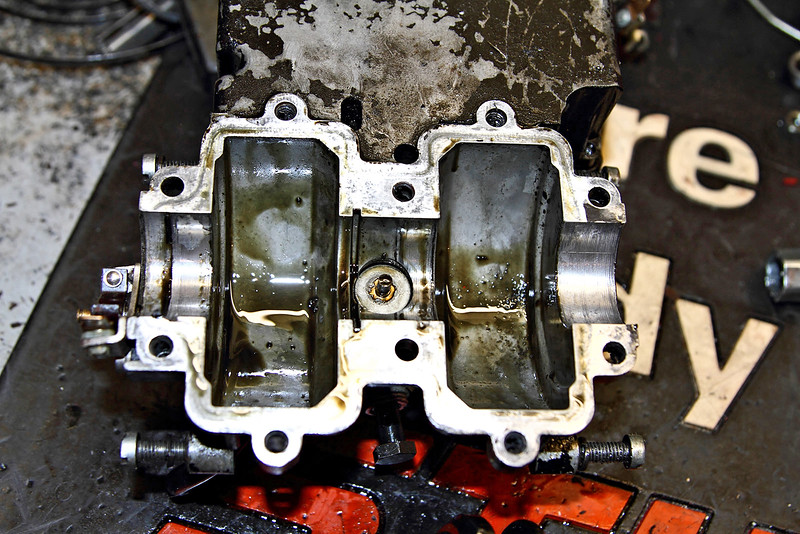
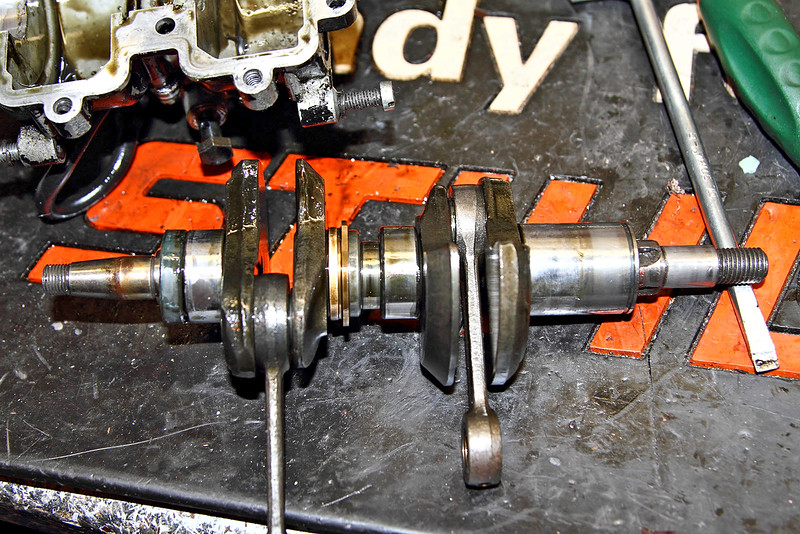
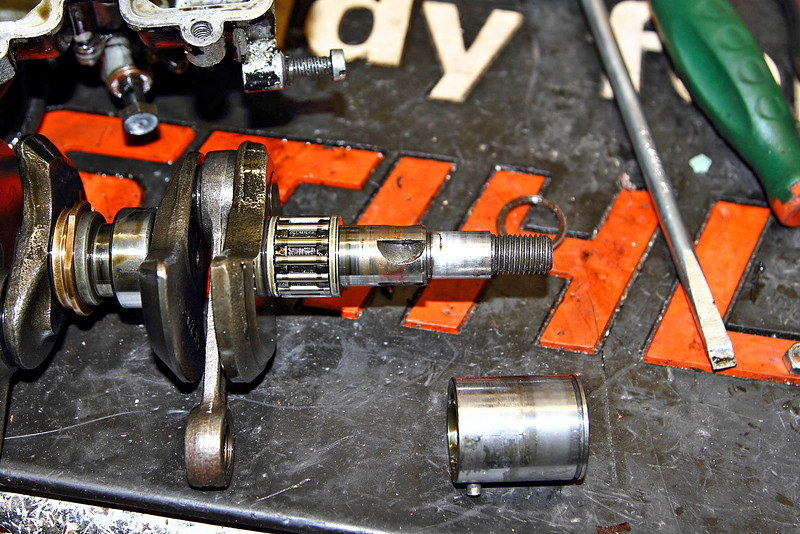
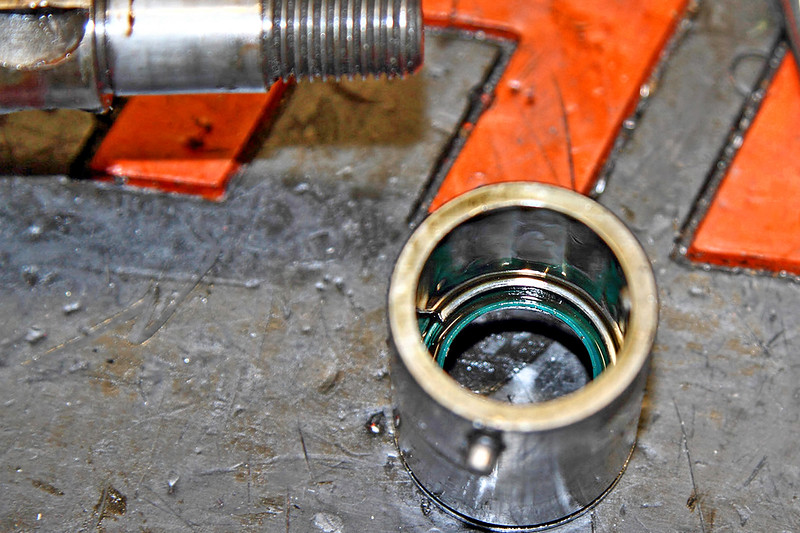
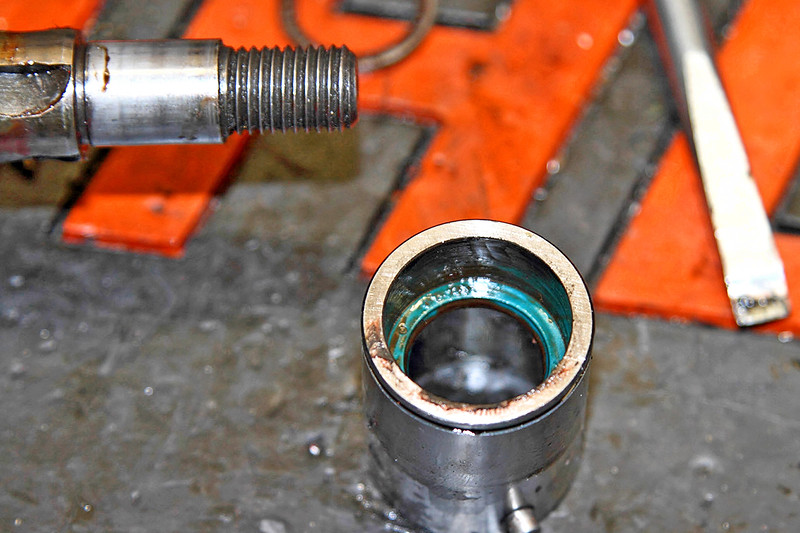
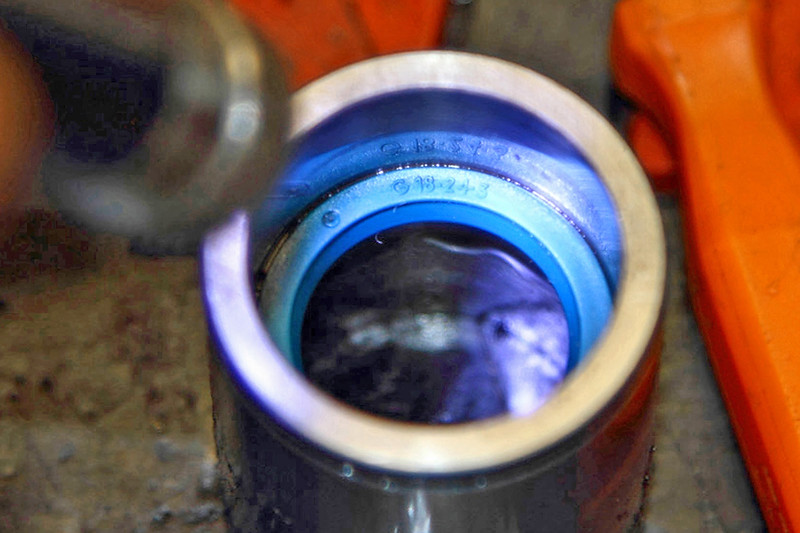
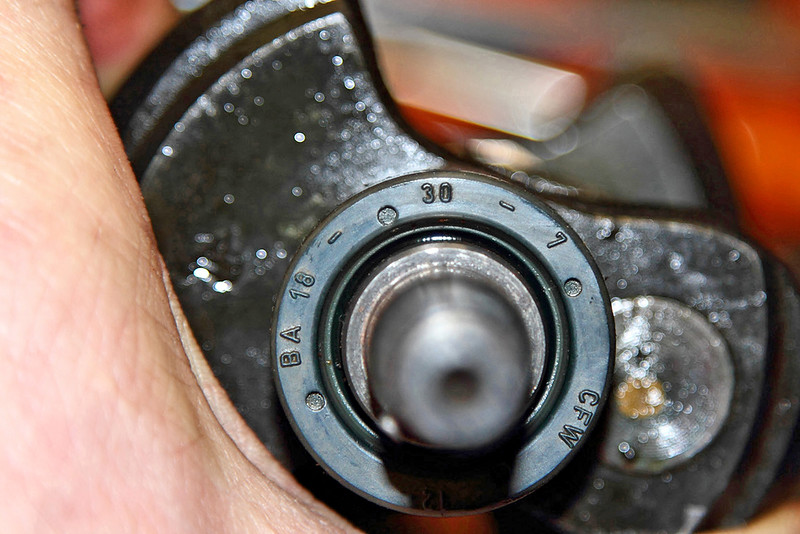
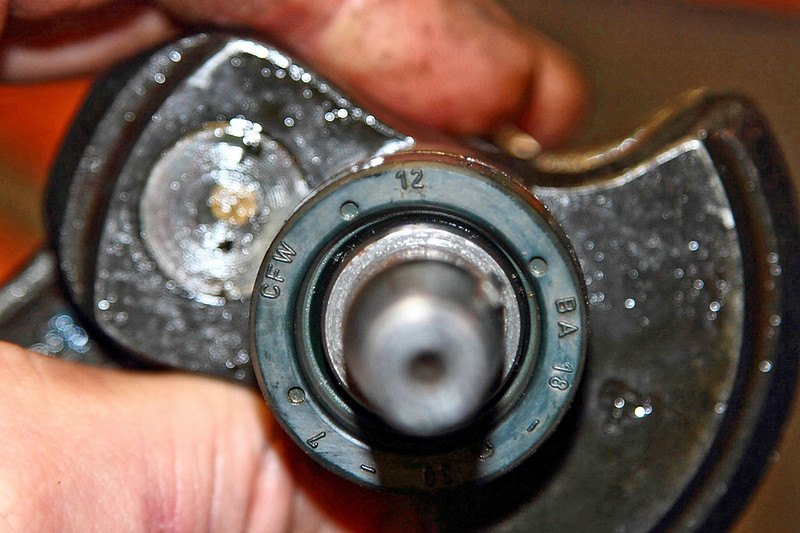
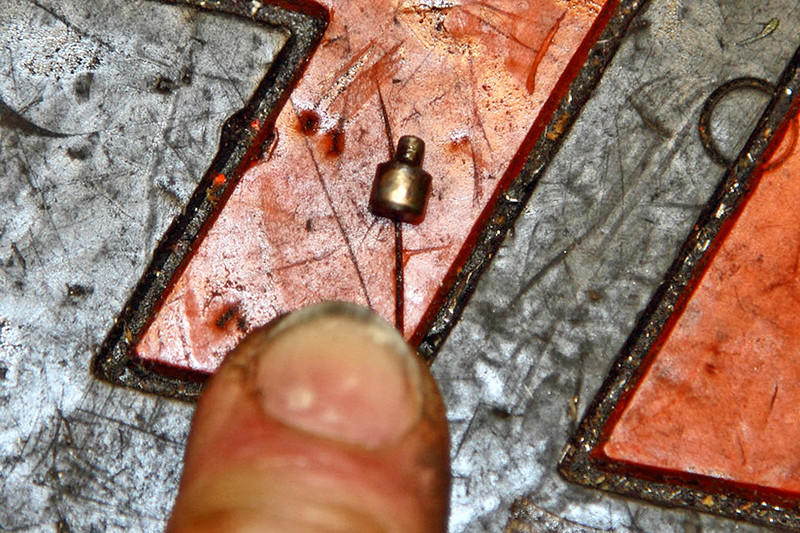
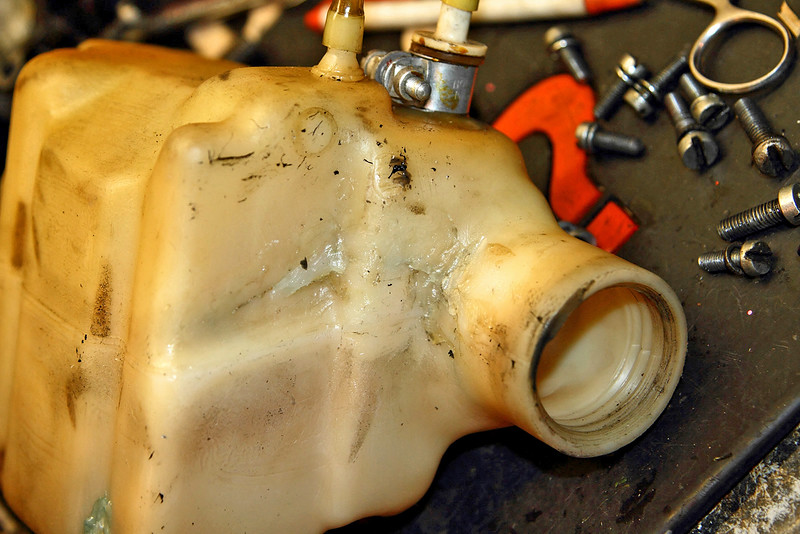
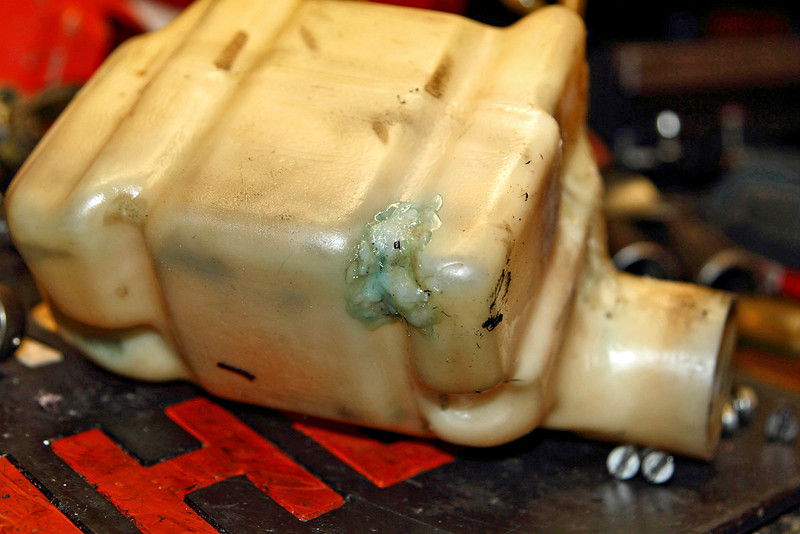
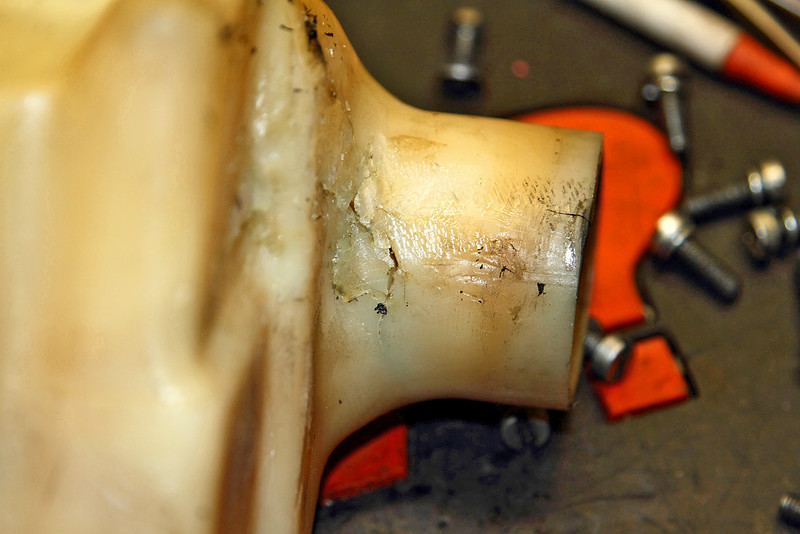
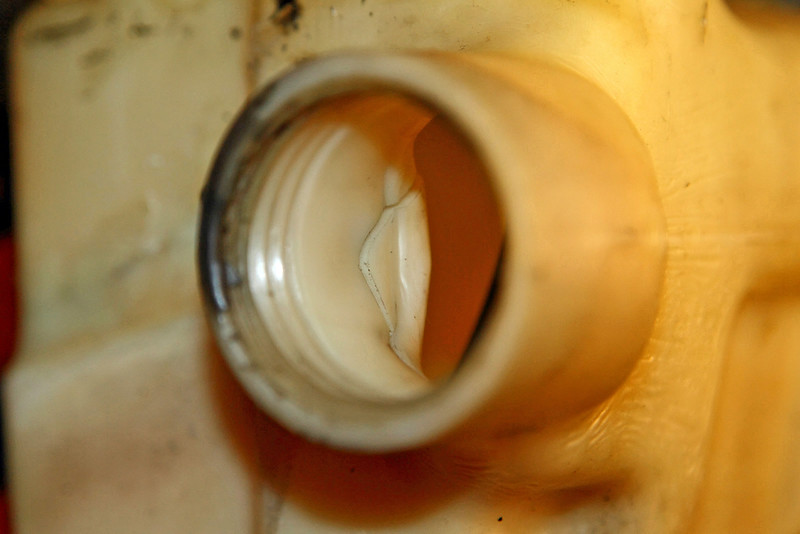
I've been in the garage all evening! LOOOOOOTTTTSSSS of pics coming.
LOOOOOOTTTTSSSS of pics coming.


 LOOOOOOTTTTSSSS of pics coming.
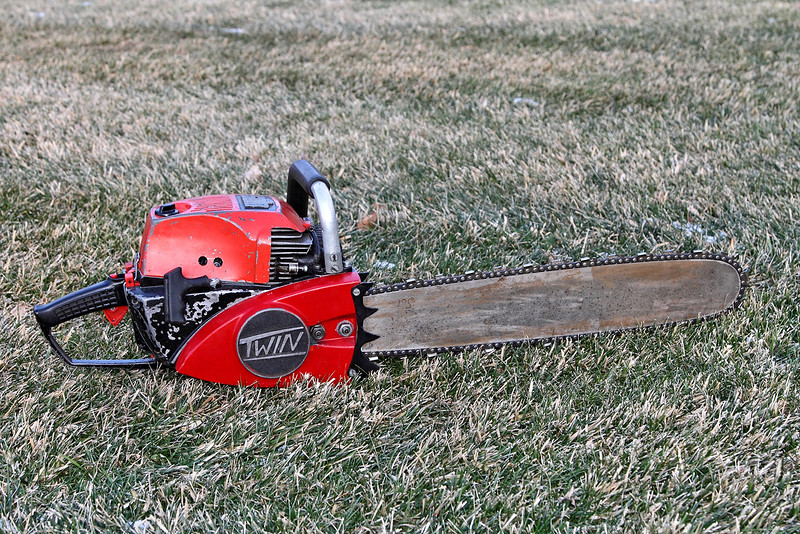


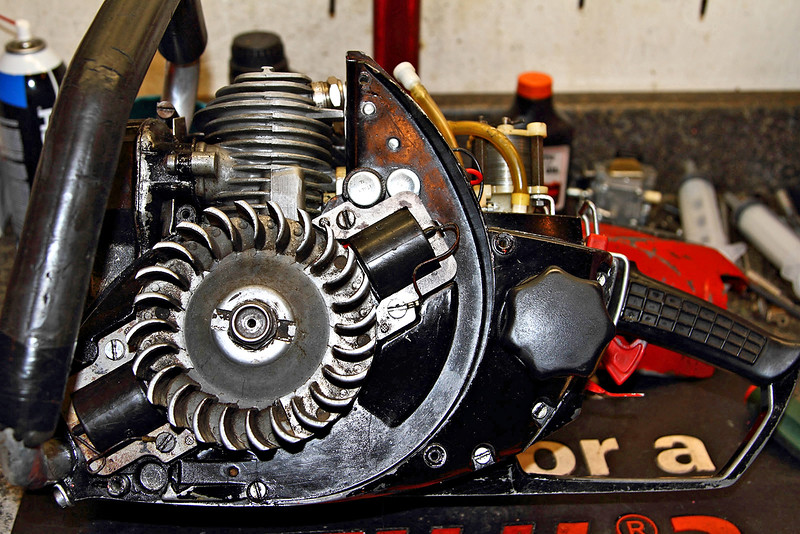
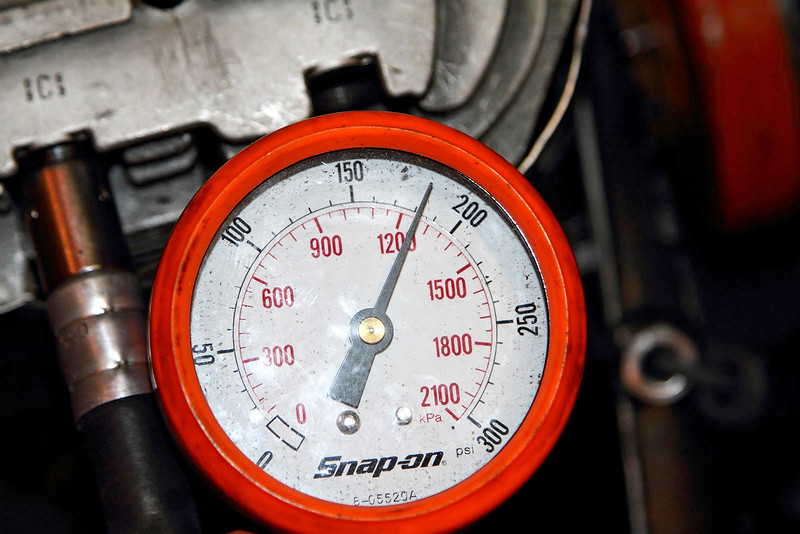
That's going to be a while!I can't wait to hear that saw in a video. Exceptional saw Brad, congratulations.

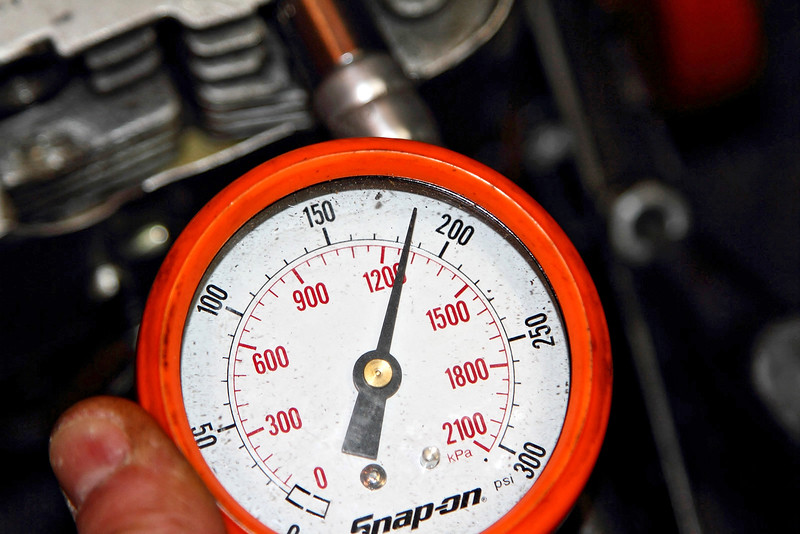
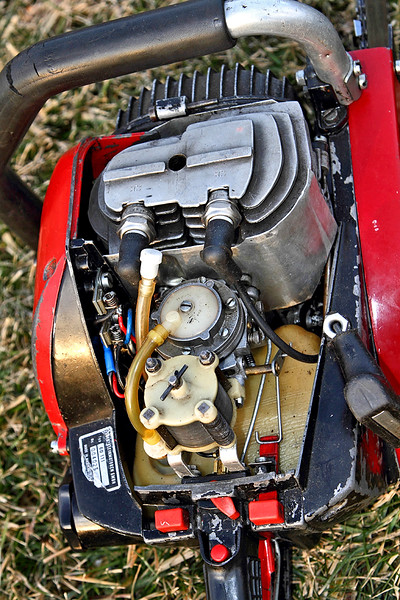
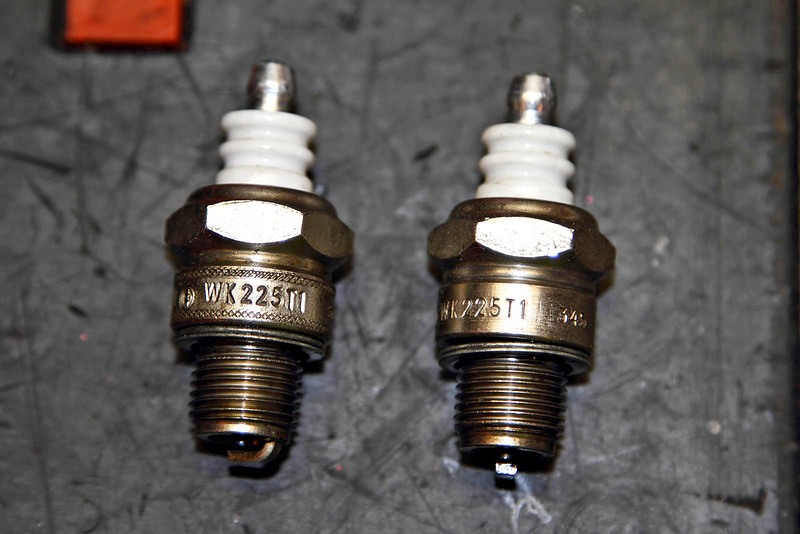
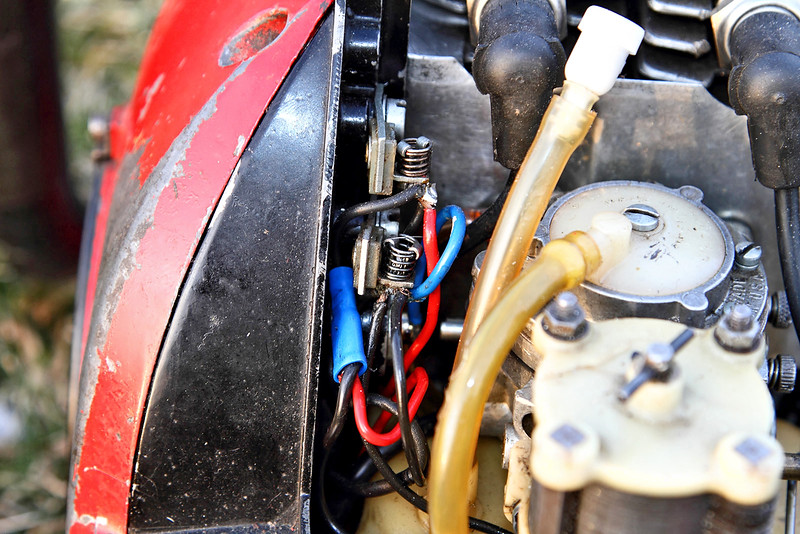
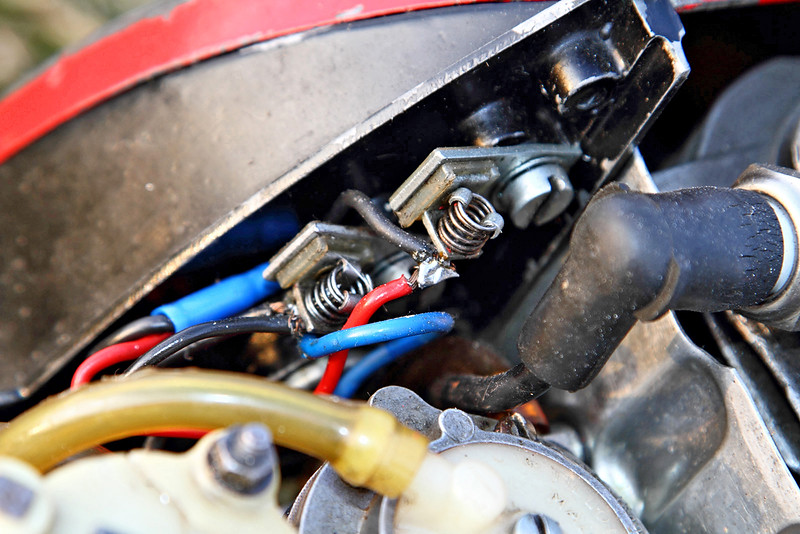
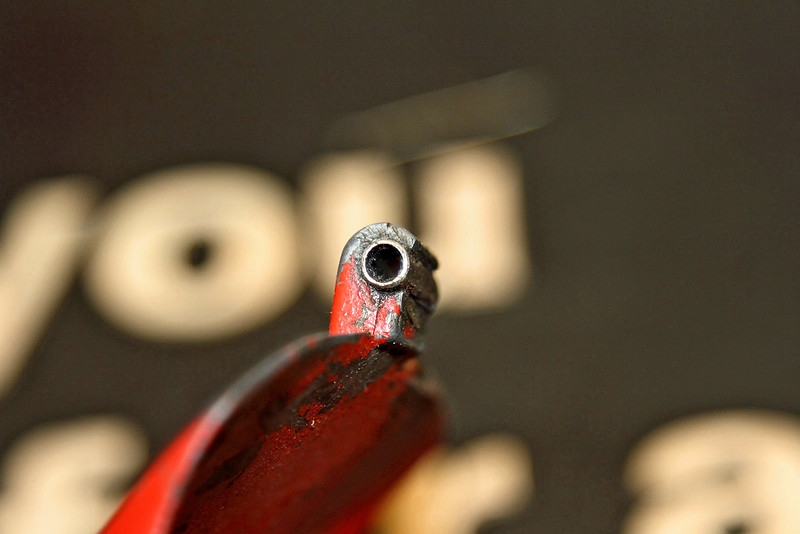
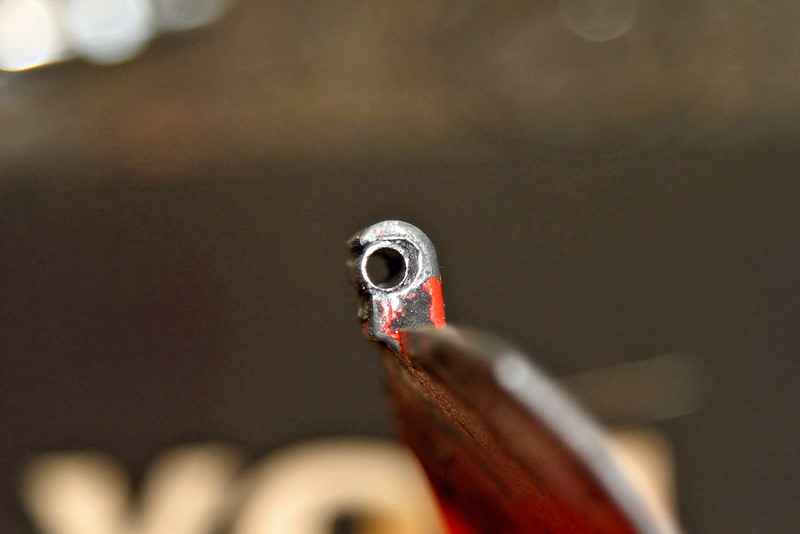
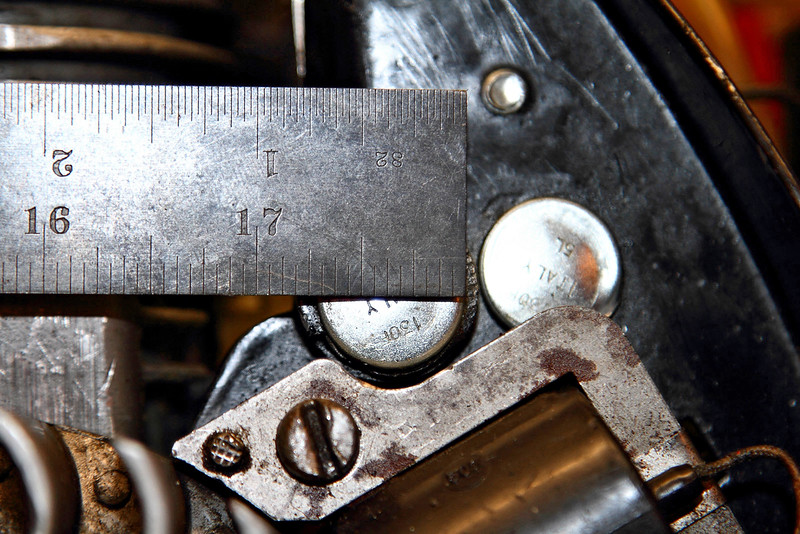
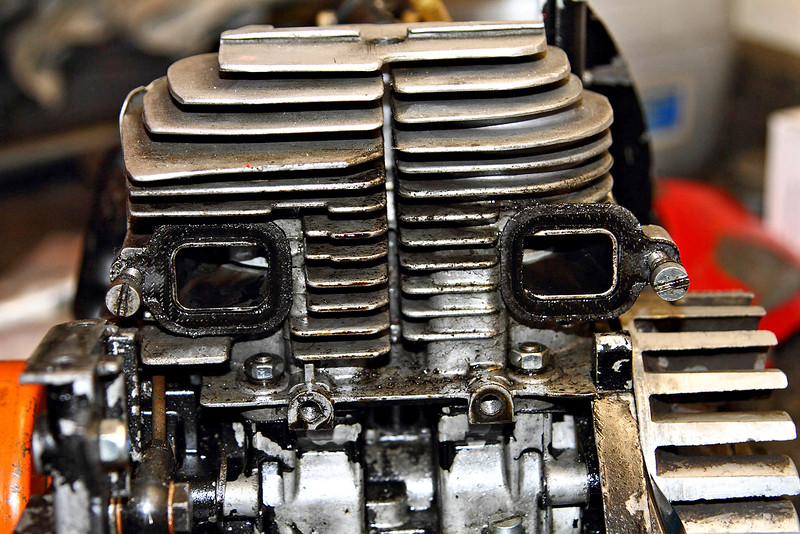
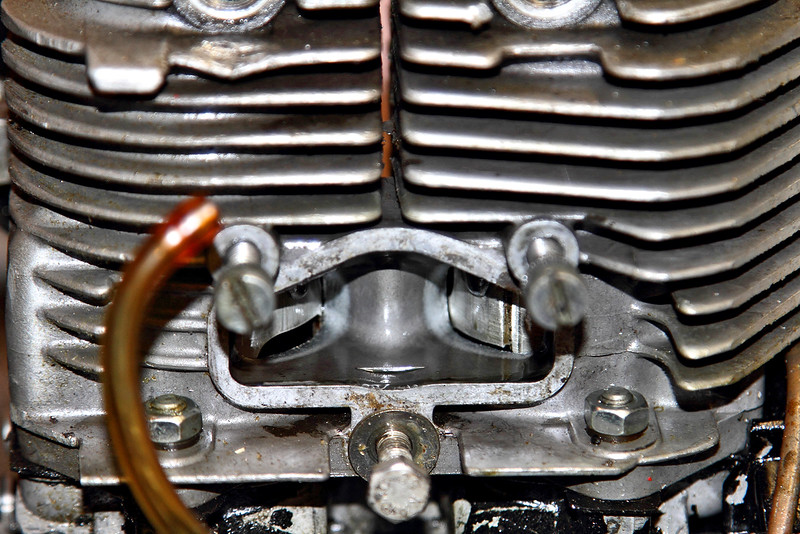
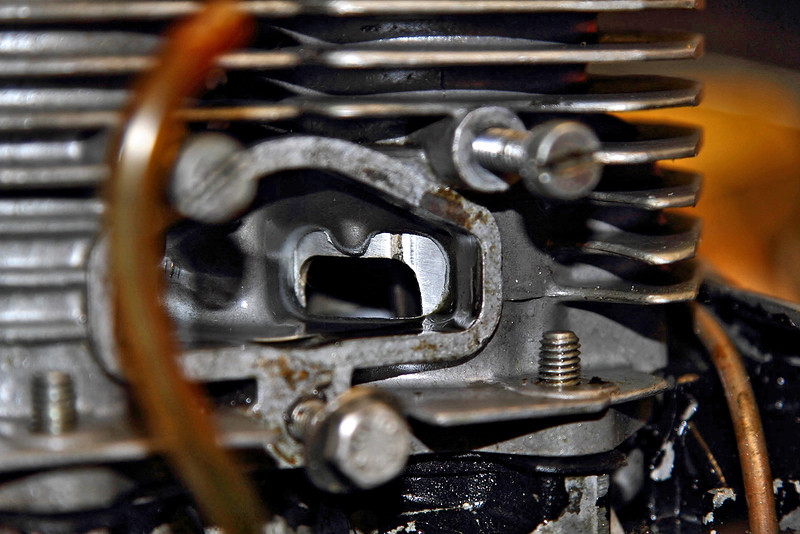
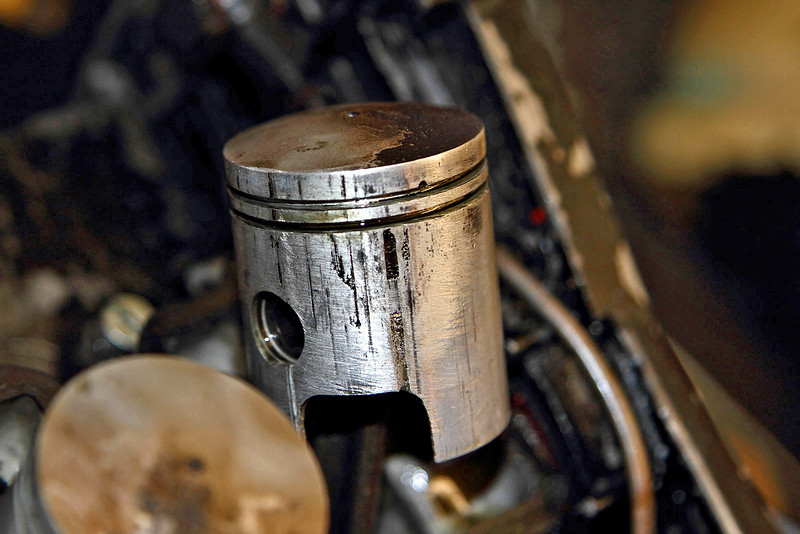
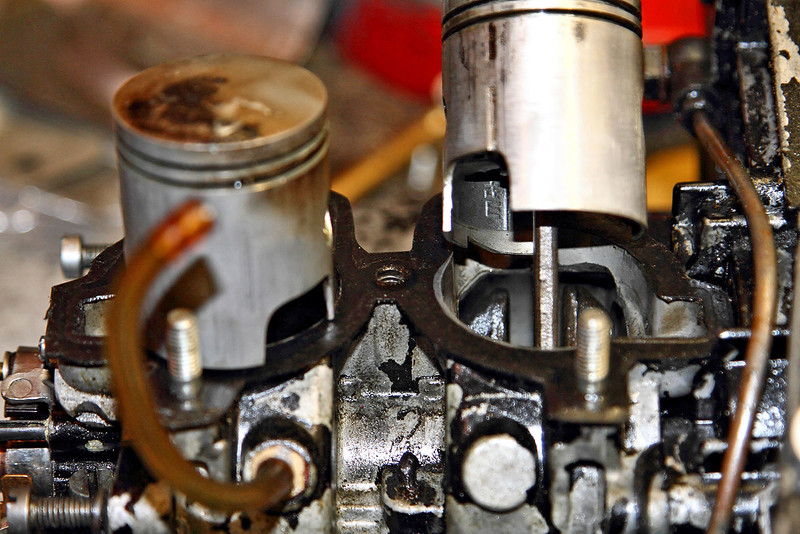
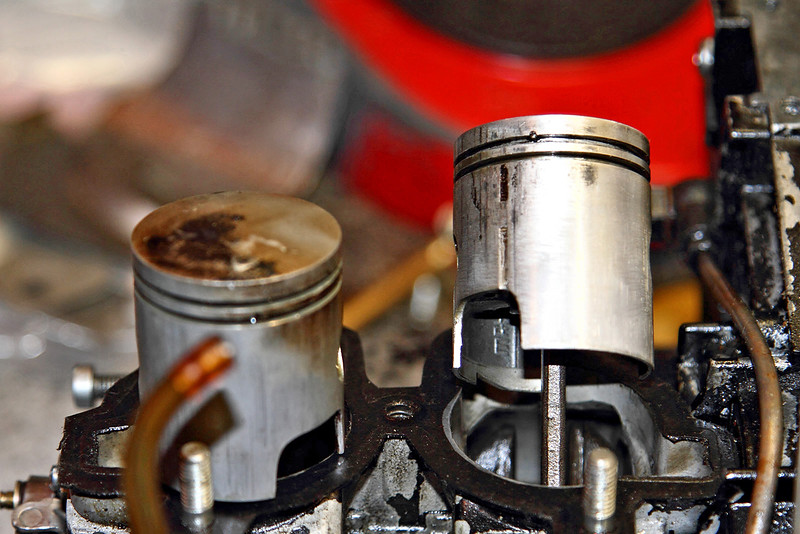
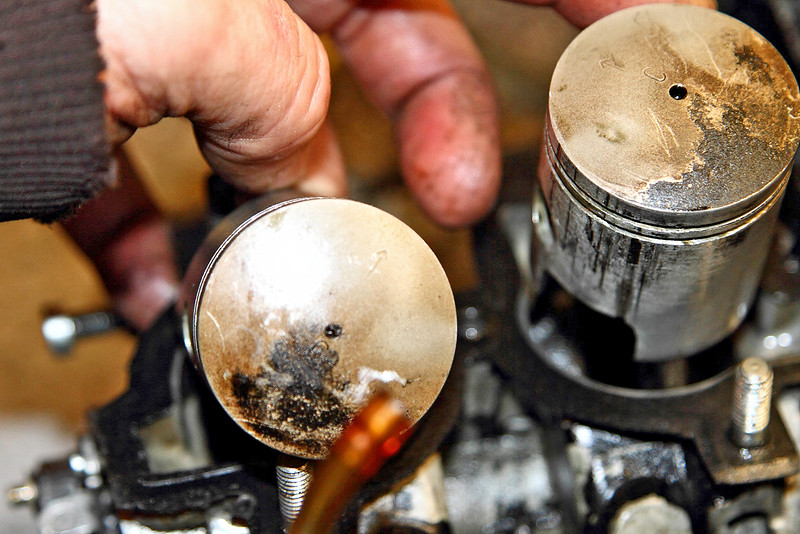
") . Its a definite 6 cube club saw.
. Its a definite 6 cube club saw.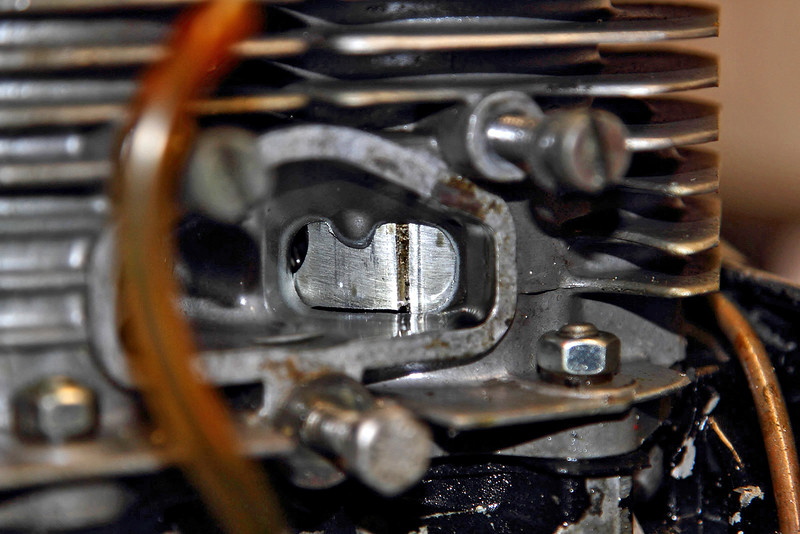


All this banshee talk leads me to the Quadzilla, It may have not pulled RPMs but it surely was a monster... something about 500cc od power always gets me. .

Enter your email address to join: