Homelite XP project. lots of pictures (Cutting video)

Arborist Forum

Help Support Arborist Forum:

This site may earn a commission from merchant affiliate links, including eBay, Amazon, and others.
If you want more power from a six cube saw, buy a McCulloch.

That is an option. I want to get these homelites figured out first. I might have better luck finding the old McCulloch around here.
 
Joe, can't wait to see what's next... you're doing some fine work. You're gonna have a nice saw when you get her finished.

Does anybody have any tricks to get the grommets out. They are all in really good shape, even has the throttle rod boot.
If they've gotten hard, good luck. If they're pliable, they pop out pretty easy. I use a small wooden dowel or a blunt flat head screwdriver and push from an edge of the lip into the hole. They're more flexible when warm than cold, so a hair dryer or heat gun on low heat may help, and a little oil can help them slide where they contact the metal.

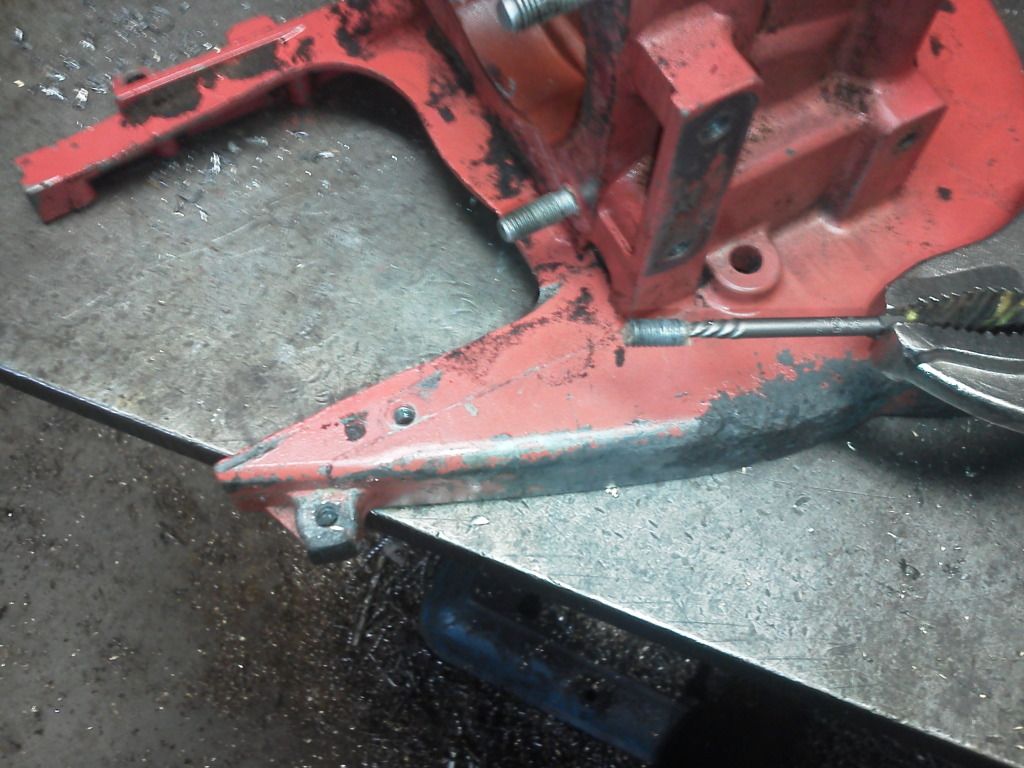
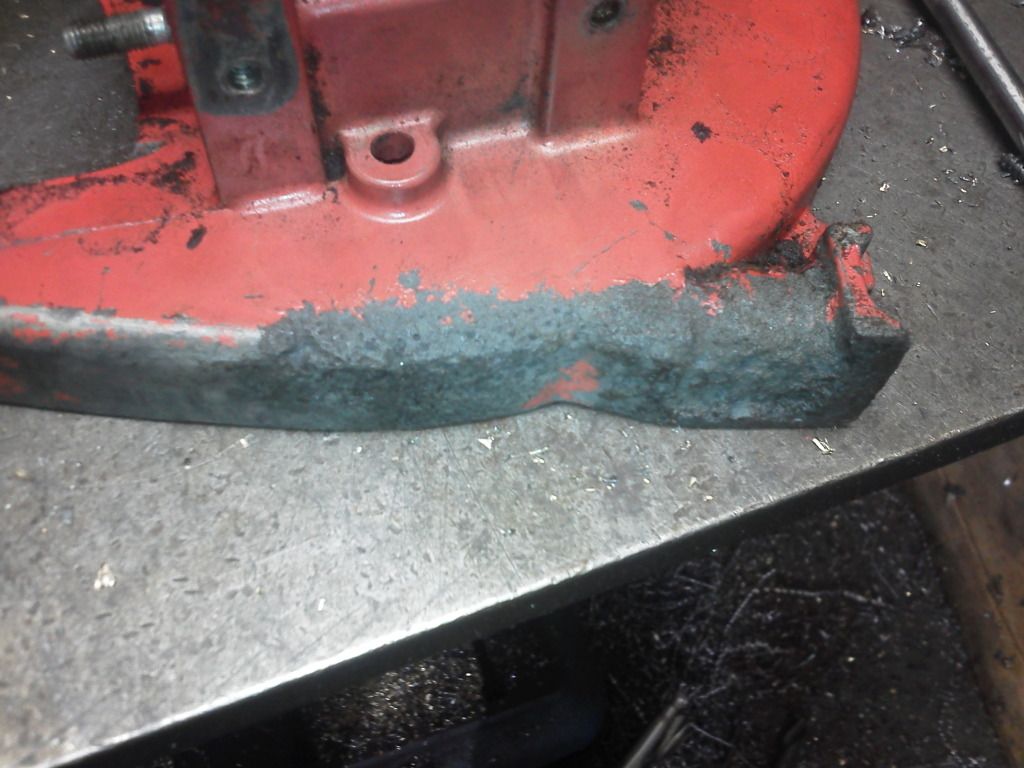
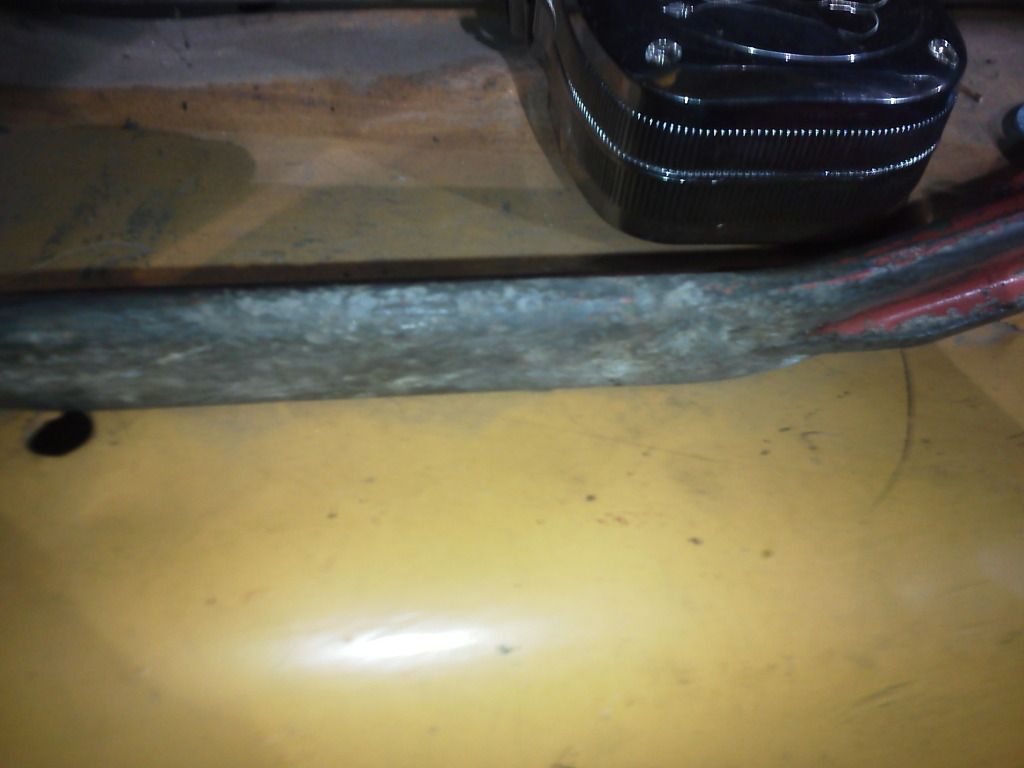
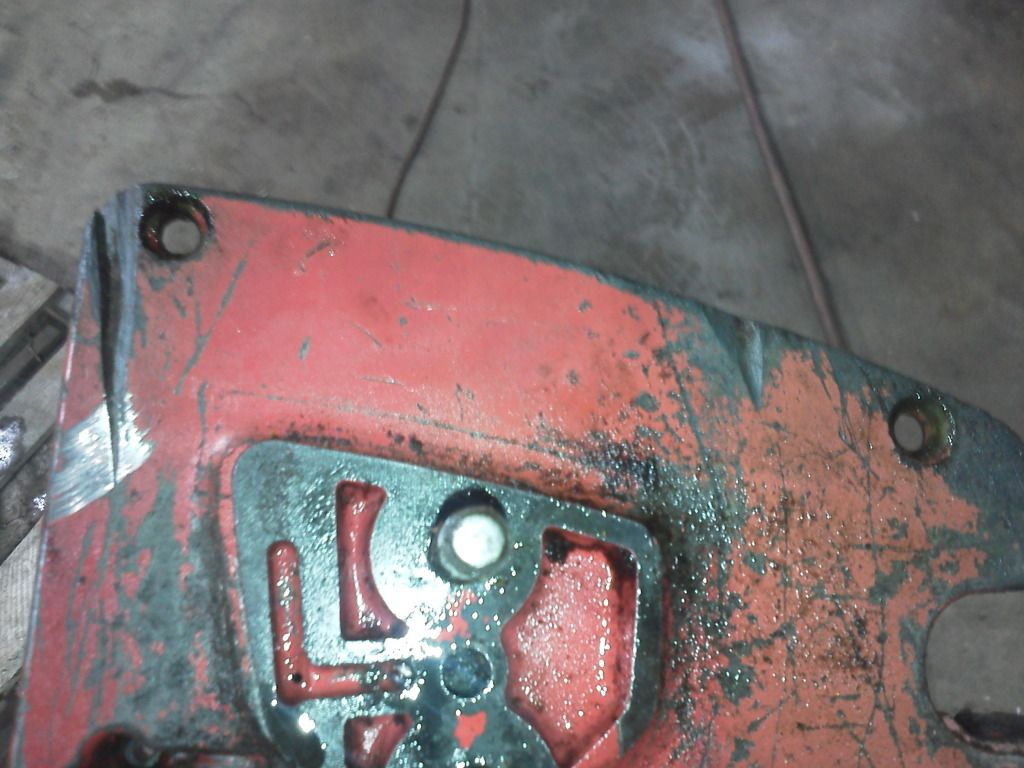
The lower handle and the bottom of the case on the fly wheel side had a case of mag termites, I have a good Idea for a nice repair.
Curious to see what technique you're gonna use. I've used JB Weld, with OK results.

Where is the best place to get decals?
Joe Salva at Sugar Creek Supply makes perfect decals. Google and you can easily find contact info.

Dan
 
Joe, can't wait to see what's next... you're doing some fine work. You're gonna have a nice saw when you get her finished.


If they've gotten hard, good luck. If they're pliable, they pop out pretty easy. I use a small wooden dowel or a blunt flat head screwdriver and push from an edge of the lip into the hole. They're more flexible when warm than cold, so a hair dryer or heat gun on low heat may help, and a little oil can help them slide where they contact the metal.


Curious to see what technique you're gonna use. I've used JB Weld, with OK results.


Joe Salva at Sugar Creek Supply makes perfect decals. Google and you can easily find contact info.

Dan
Thanks for the help, I heated them up a little bit and they popped right out.
 
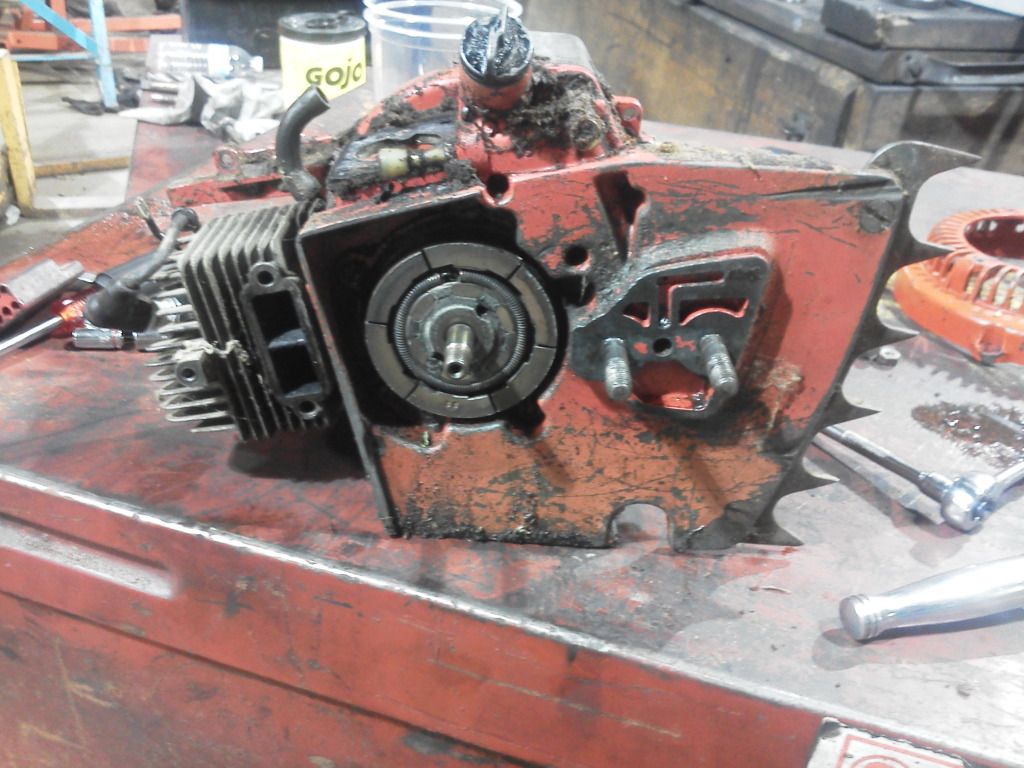
I took the clutch drum off, the shoes and springs look good other than a little burnt oil.


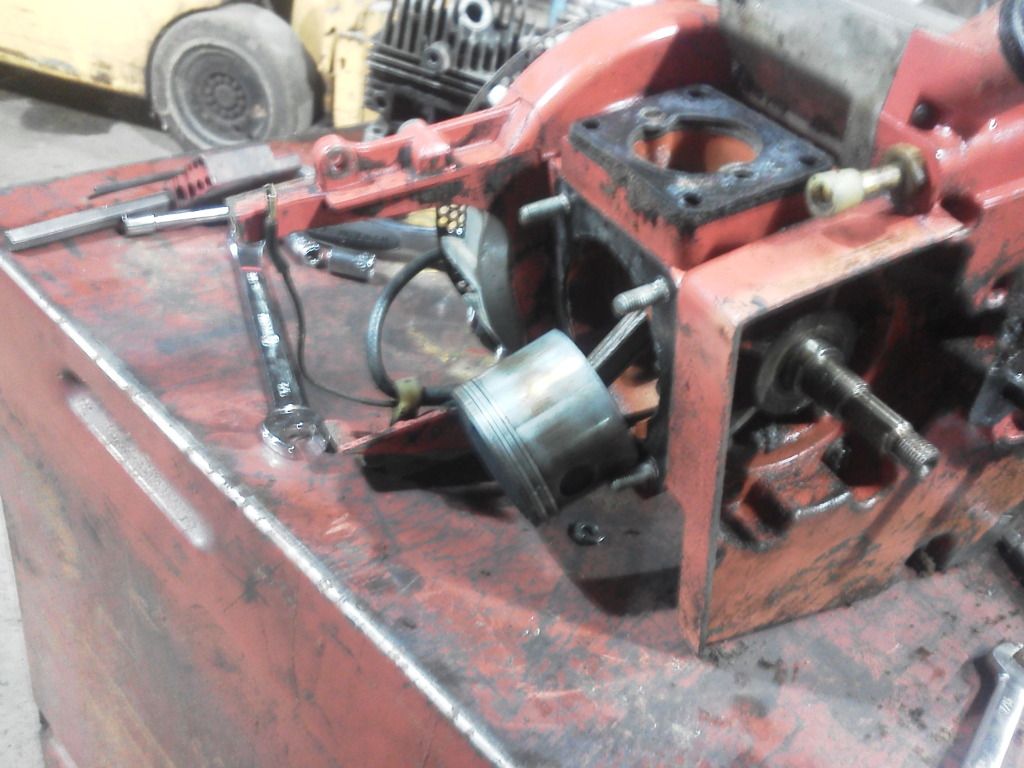
I popped the jug off to clean it and remove the old rings, I reinstalled to check squish.


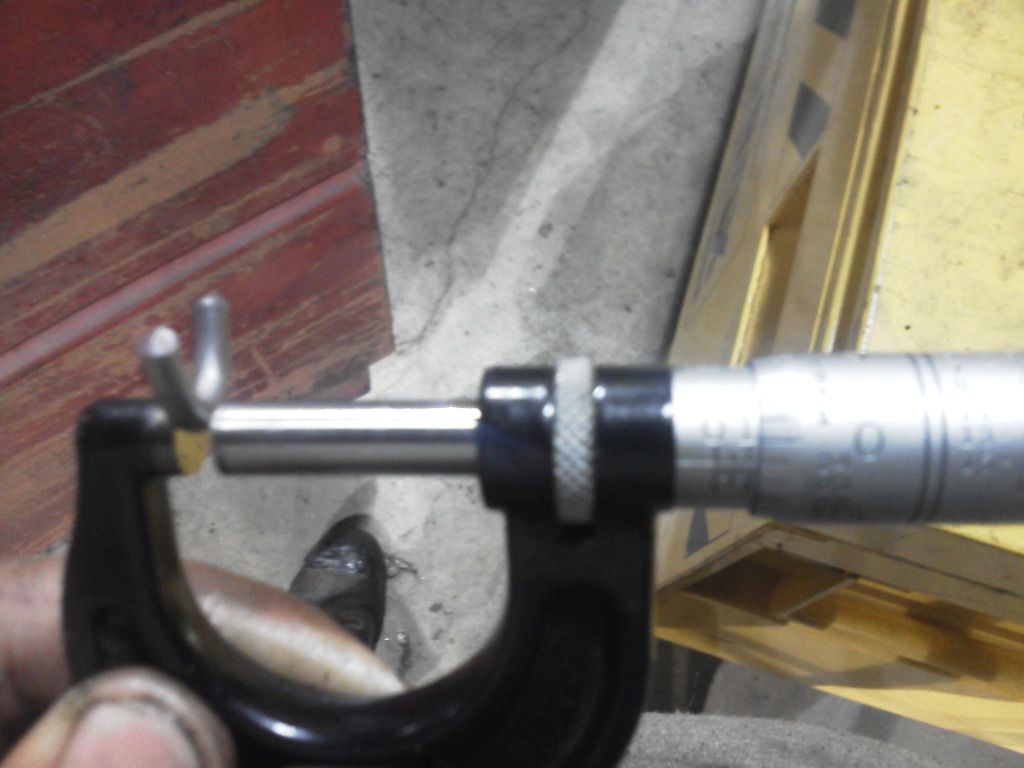
yep .124 awesome, not really

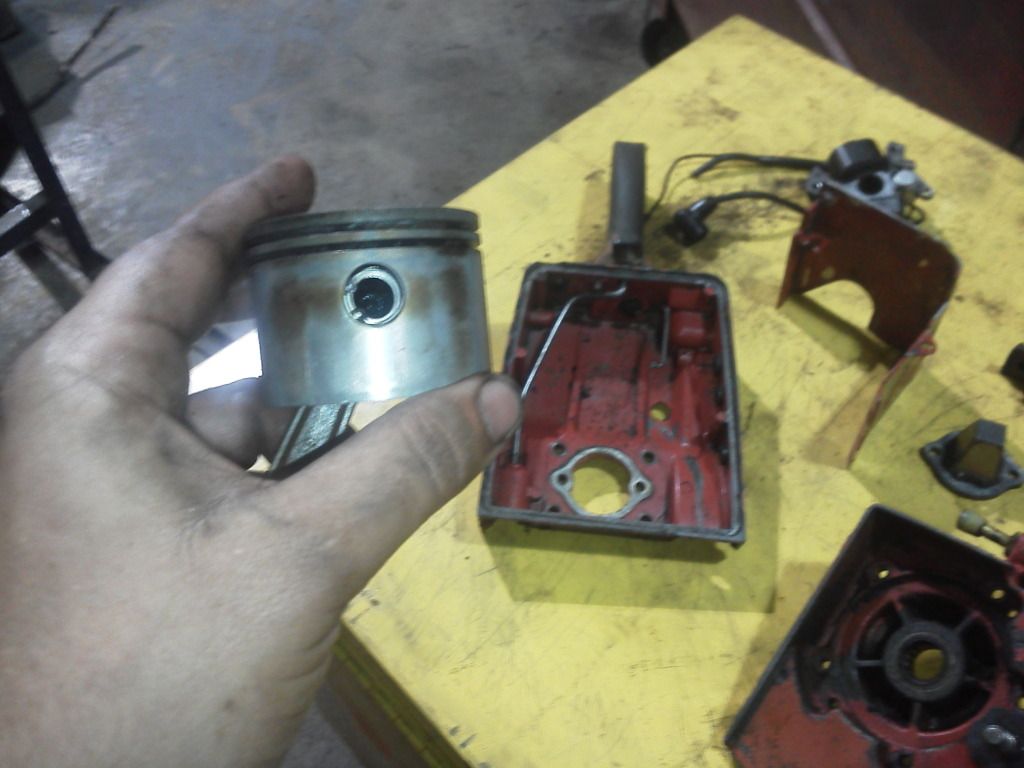
The piston looks really good. My opinion
exhaust


intake


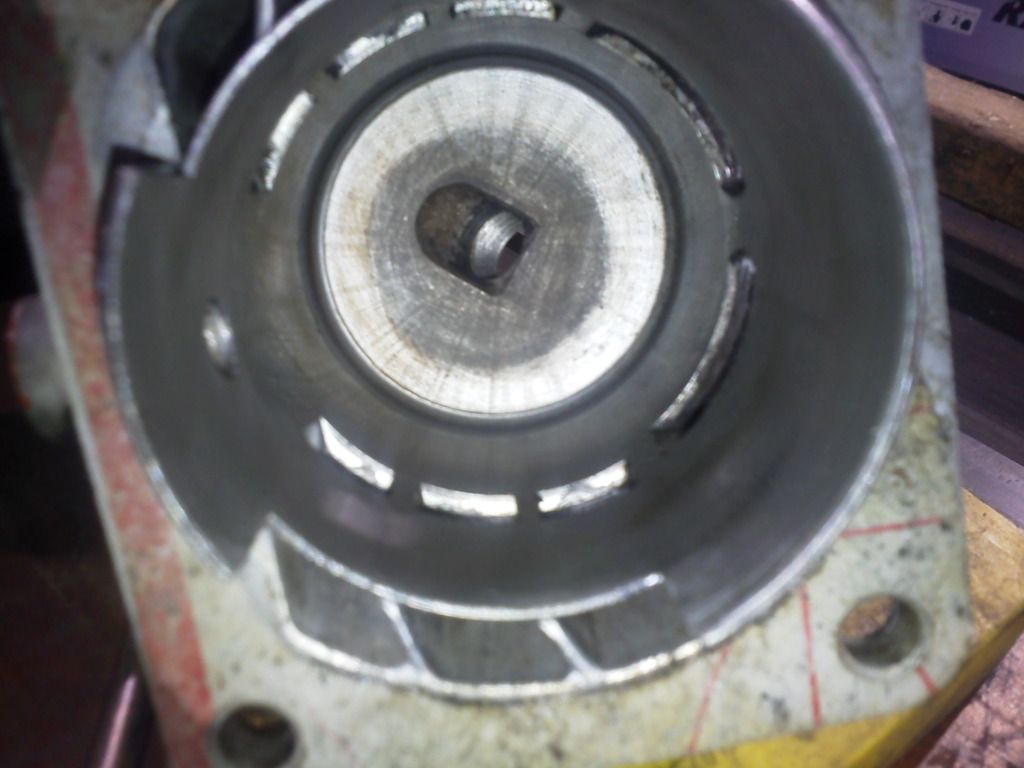
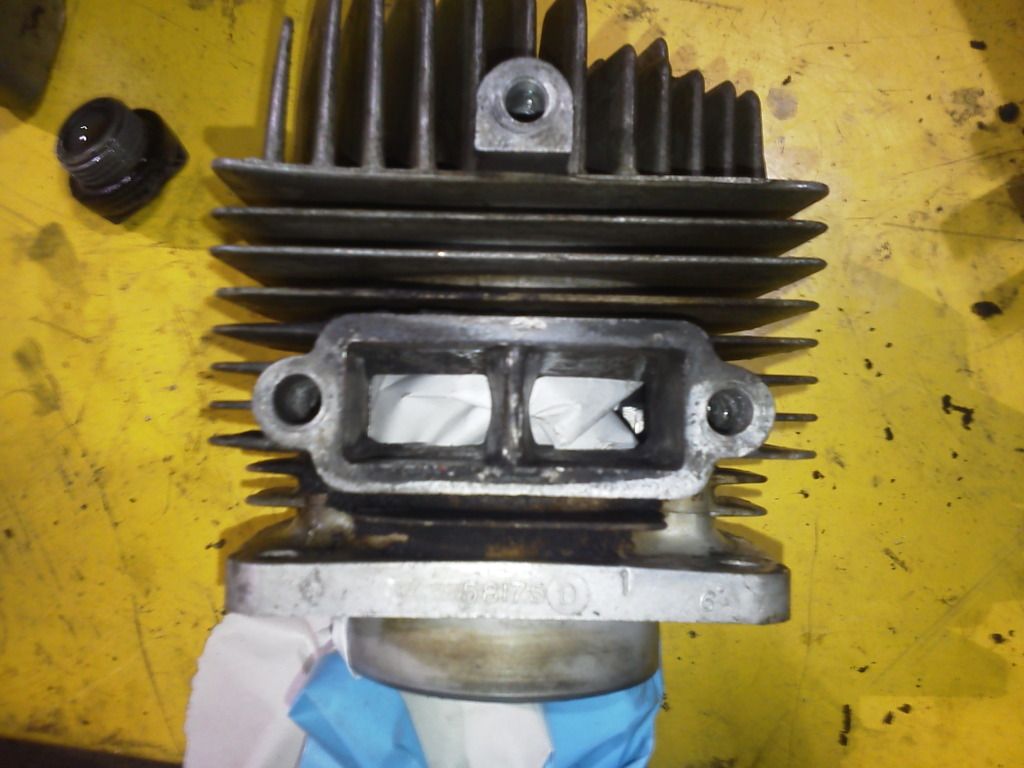
The jug looks like it is in really good shape, I cant feel any grooves or marks with my nail. The exhaust port had 1/4" of carbon on each side


This is a shot of the exhaust port straight in. The roof drops down .100 and the floor is raised .070 factory.


I would really like to get the squish in the .050-.075 range. In order to do that I will have to add material to the exhaust floor. With the base gasket installed and piston at tdc I have about .030-.035 of skirt covering the ex port any Ideas??

I found another broken screw. luckily it was a larger one. and the last one.


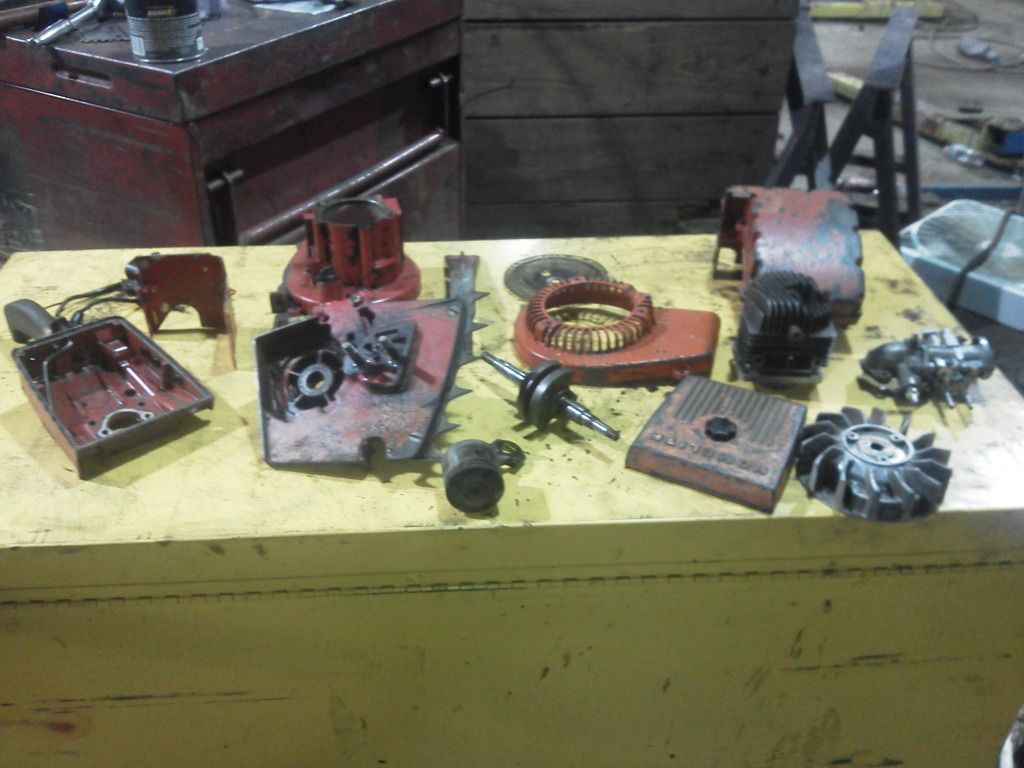
completely tore down. I already misplaced 3 of the rod bearing needles.


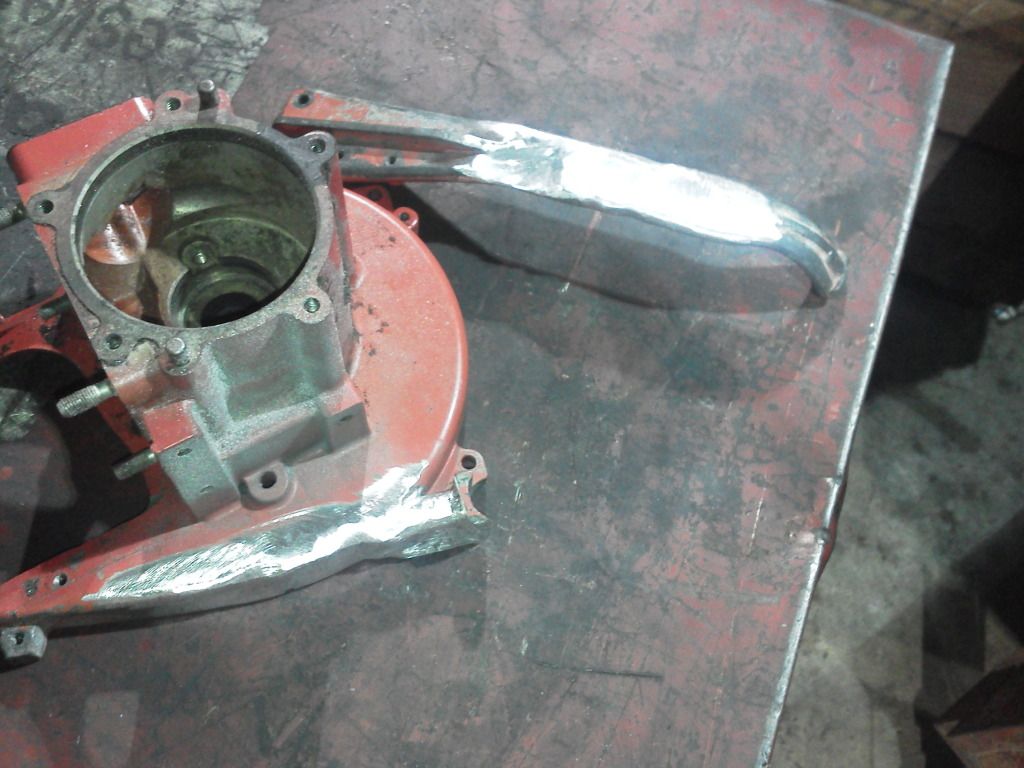
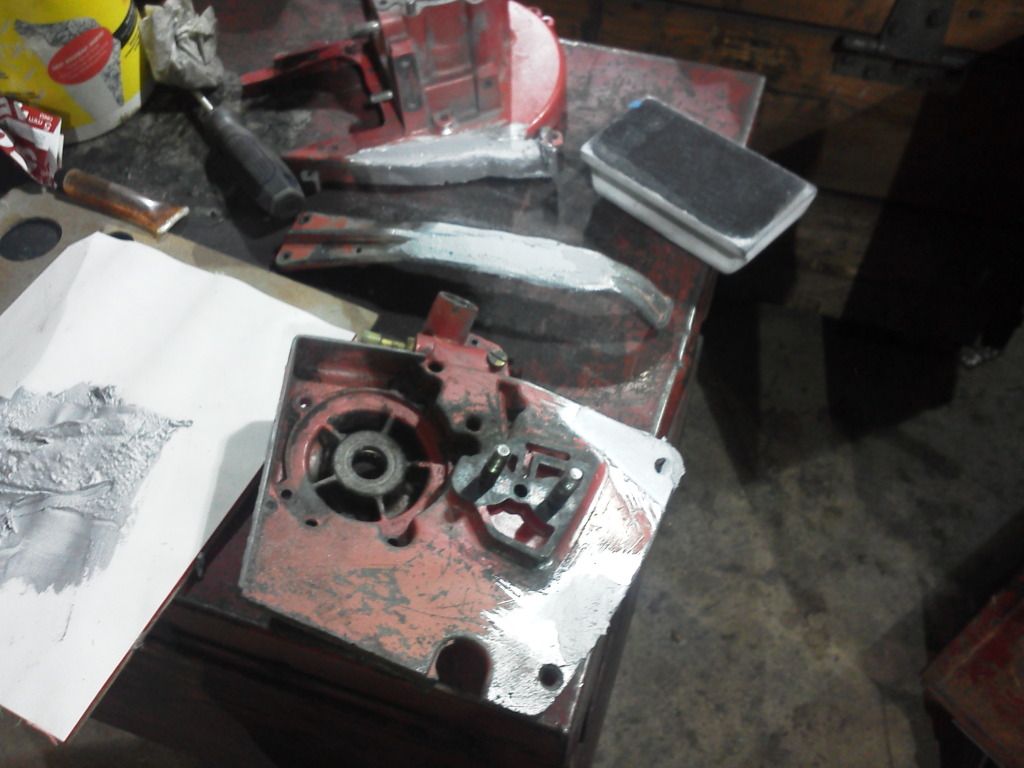
How I repaired the mag pieces.

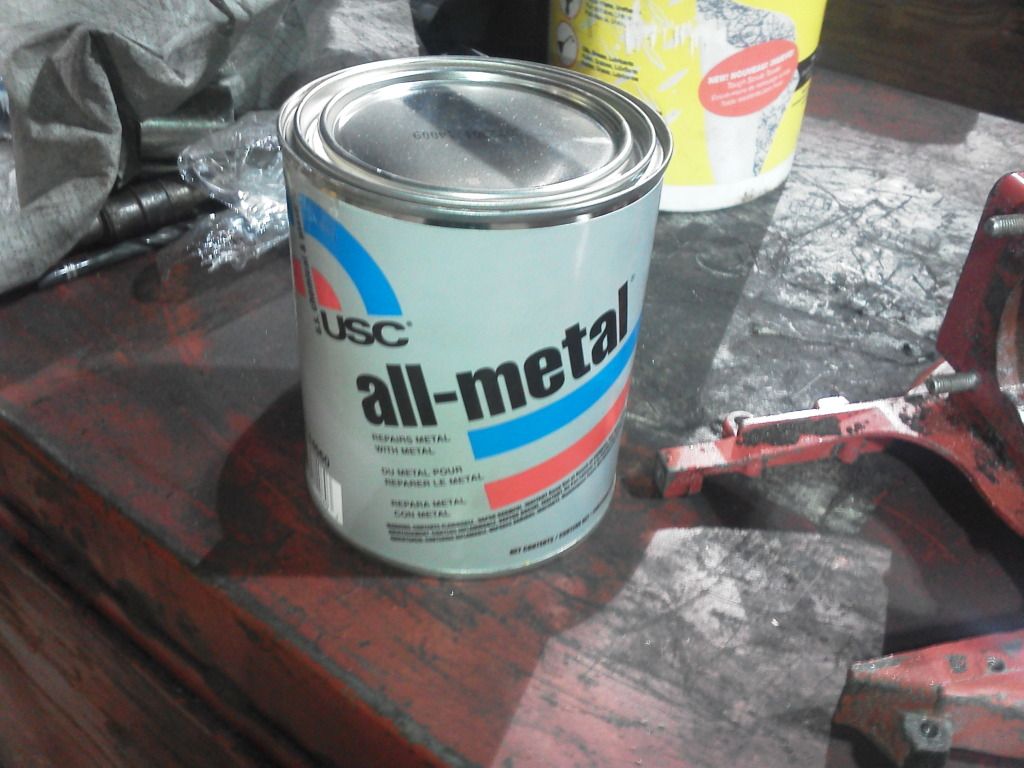
Here Is The filler material.


It is an aluminum dust filler, just like polyester body filler except It is waterproof, rust proof and hard when it dries, oh ya it can be powder coated too.

The bad spots before.


First I grind out all the oxidation/pits 100%, If you leave them in They will just come back sooner than later.


[

If anyone wants to try this product it is avalible at most auto paint supply stores, I bought mine at napa. $34 for a quart and hardener.

Tips,

when you open the can, stir, stir, stir and stir some more. Or put it on your paint shaker and go to lunch. not kidding. This stuff sits on the shelf for long periods and settles.

Just like a regular body filler and most epoxy's, all metal relies on mechanical adhesion. 36-50 grit. Make as wide of a taper as you can when grinding a gouge or deep pits/ holes. Don't just grind a groove through the imperfection, the filler will just pop out. Clean and degrease.

mix a very little at a time, half a golfball size glob and 8 drops of hardener you get 4-8 min work time @ 70 degrees

Use thin high pressure coats. One layer at a time. if you get big goobers leave them!!! wait 5-10 min until the filler starts to get hard and hot. Depending on the location of the goober use a razor or a rasp and lightly trim it off.

The all metal likes to make huge air bubbles if you try to smear it on thick. It sets up just like body filler, So you cant fiddle around with it much or it will start to harden once it does that

let each layer fully dry 25-40 min then sand. If you sand too soon it will peel out and then you have to start over.

start with 40grit then work your way up to 220 or what ever your primer calls for.

I hope this helps others who use this method.

I have 4 layers on the lower handle, 3 layers on flywheel case and 2 layers on the las piece

[URL='http://s882.photobucket.com/user/josephis09/media/IMG_20140715_175722.jpg.html']
[/URL]
 
nice work that top end looks better than when i did a restore on my xl 12 i guess you saw was taking care of not like mine.
 
You can remove material from the base the drop the jug down.......go right to the point that the piston just barely covers the exhaust port.

Thank you for the reply. What would you suggest bare minimum port coverage? .005" I would love to get the squish down to .050-.075. Have you ever used anything to fill the floor of the exhaust port?

I marked the piston at tdc with the gasket still on, The piston still has around .030-.040 of port coverage
 
I have never heard of anyone building up the floor of the exhaust port. I would be hesitant to try that. Take what you can get and run with it.

I am thinking that is probably my best bet. I am going to try to turn a custom pop up piston for my other 1020 when I redo that one.

So I should just go through and polish the exhaust port and crown of the piston and call it a day.

What method do you guys use to hone the jug, for a re ring job? scuff with 320-400 sandpaper or an actual bore hone?

I should be able to be in the 180-200 comp range with this saw

Thank you

Joe
 
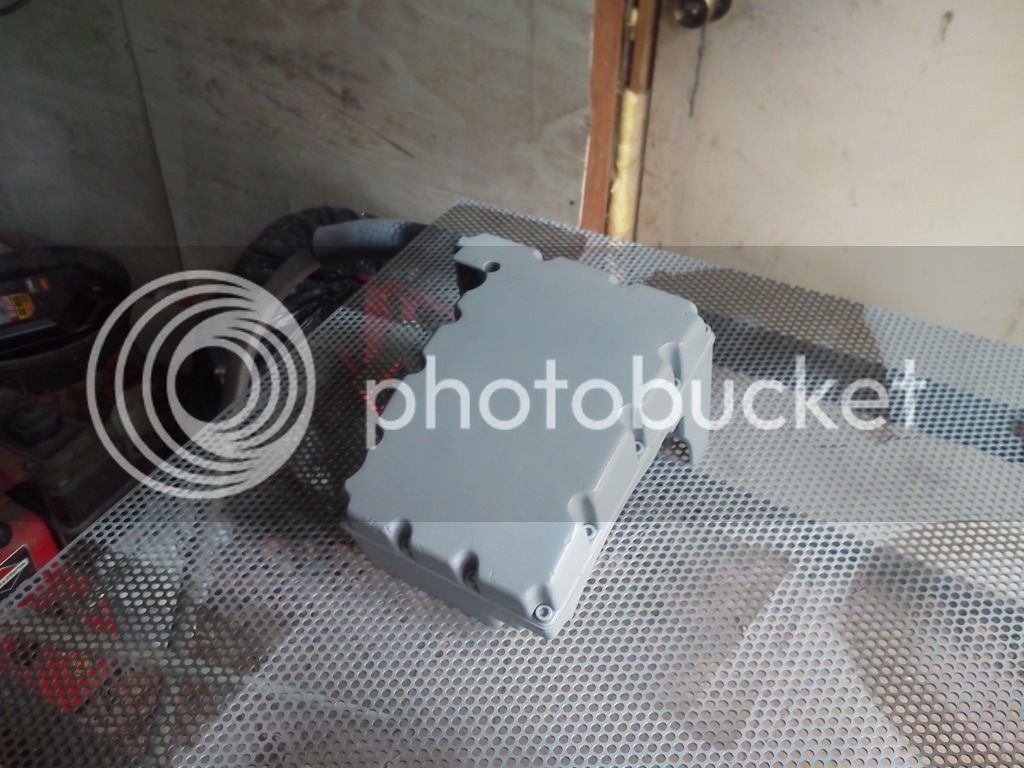
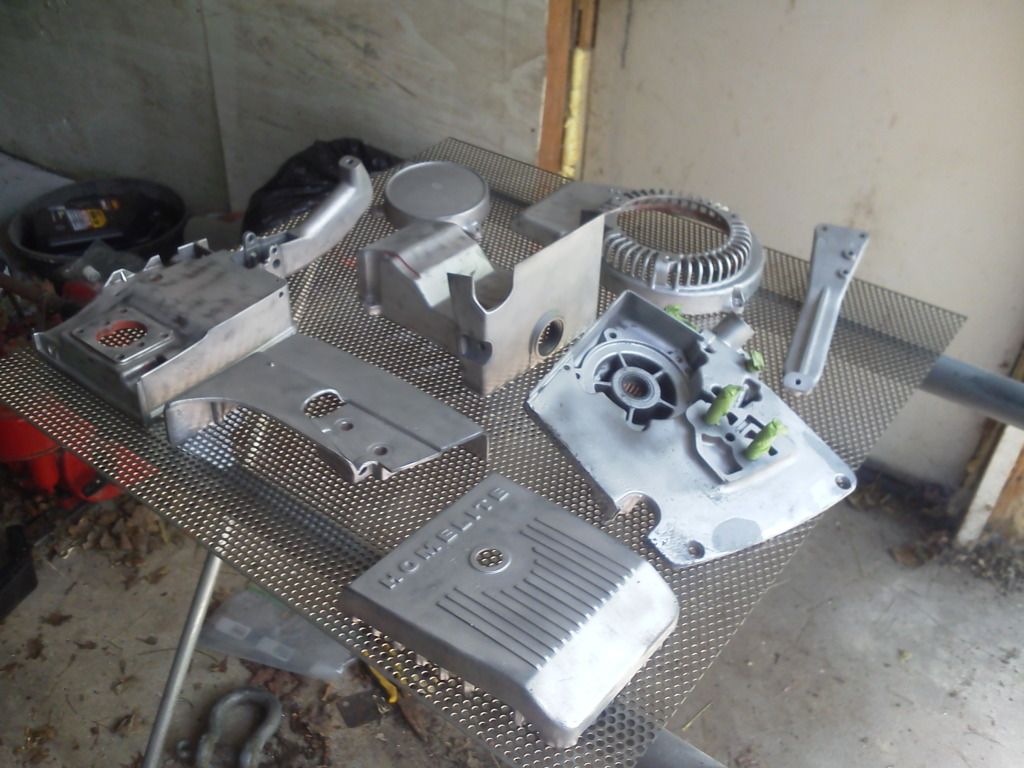
Nice clean mag in the morning. I bead blasted all of the covers, I have never used glass bead before. Very happy with how they turned out.
other than all the stuff the old paint was hiding. I am a bodyman by trade, I have to keep telling my self "Work saw quality paint" otherwise this saw would never get done. It should be a 5 foot paint job.:ices_rofl:


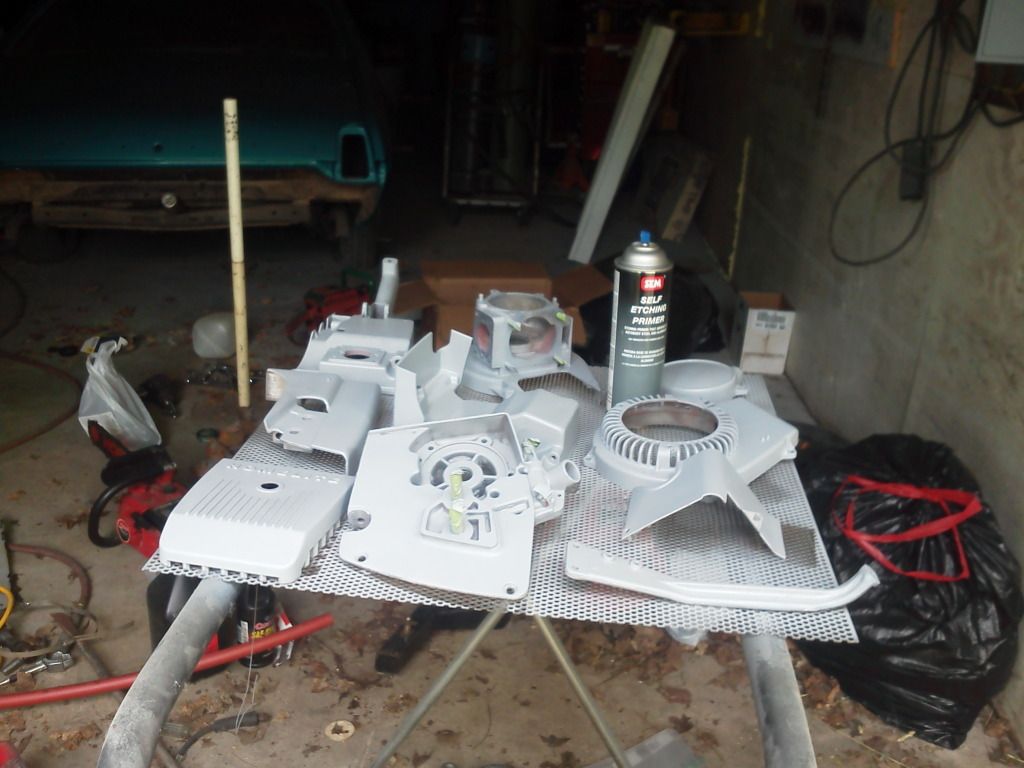
I couldn't find the zinc chromate primer I wanted, so I just used a high quality self etch. 2 light coats


I sealed the tank, etch primed, and used a filler primer over the etch, I am going to wet sand all of the visible outside surfaces.


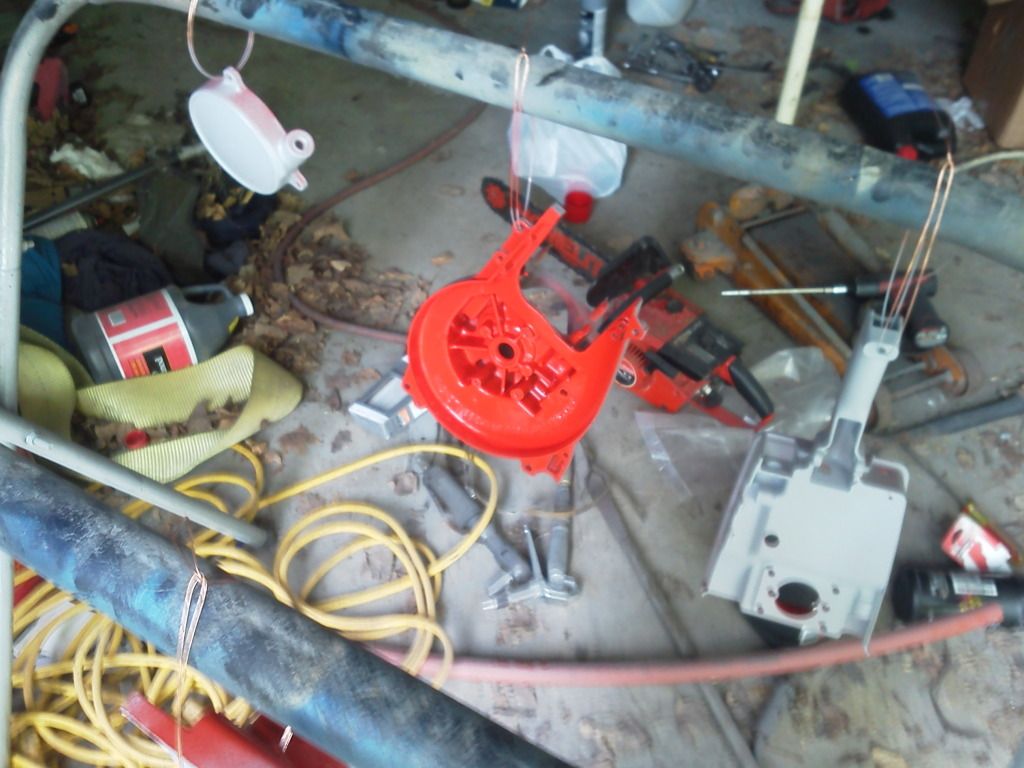
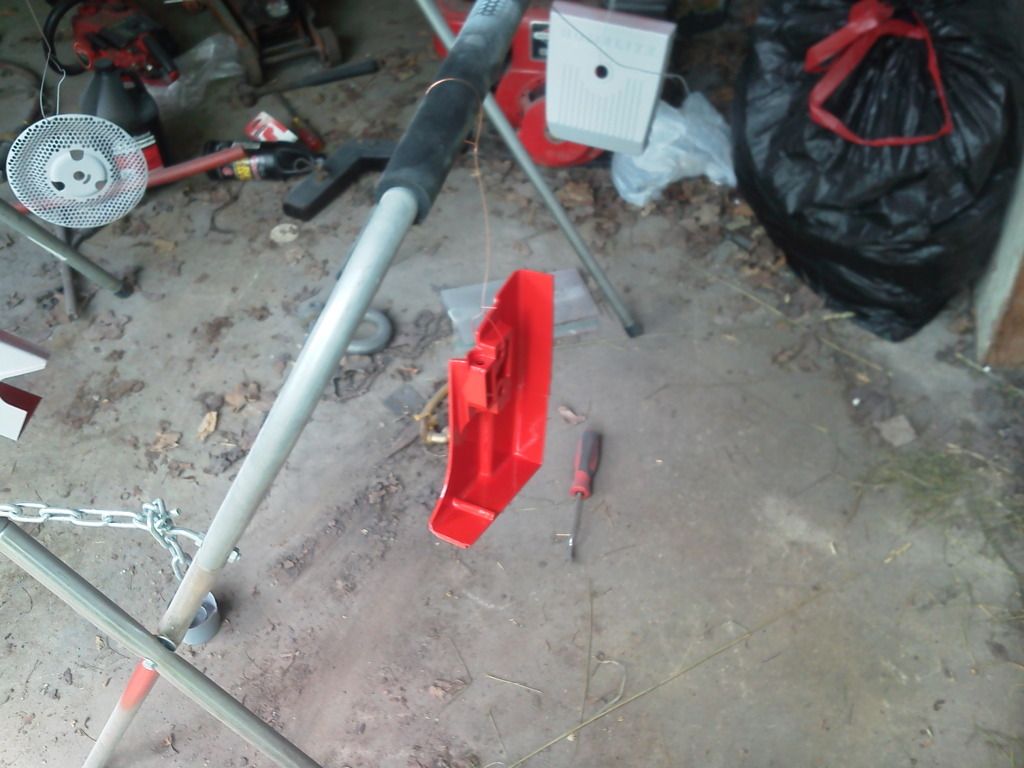
I cut in all of the parts. Painted all of the not visible sides. They received 2 coats of etch, and 2 coats of primer then 3 coats of color. It should hold up pretty well.

I plan on color sanding the visible areas and clear coating them.


Hope you enjoy.

p.s. I am really in need of the mag muffler shield. If you have one please let me know.

thank you
 
Finally, It is all red.


The repairs turned out pretty good for a work saw.


I think this color looks good for homelite red. It has a pretty good red/orange flop to it. What do you think?
 
Awesome work man!...looking forward to seeing/hearing the finished product!

Thank you. I hope to have it running soon, then a video.

The question is 25, 41, 60" bar? opinions please
 
Ya that is true. The 60 would look better because it doesn't say stihl.
 
Back
Top