I wasn't going to post these videos, but decided to anyway. Things didn't go exactly as planned in order to make a perfect video. However, this is real life and shows how I over came the challenges. This series is both an advertisement for specialty tools, while at the same time demonstrating how it can be safely done without them.
You are using an out of date browser. It may not display this or other websites correctly.
You should upgrade or use an alternative browser.
You should upgrade or use an alternative browser.
How I assemble a crankcase
- Thread starter blsnelling
- Start date


Help Support Arborist Forum:
This site may earn a commission from merchant affiliate
links, including eBay, Amazon, and others.
I like.
One thing I've learned is that when pulling the cases together, it helps to lightly wedge a bolt or something similar centered, between the counterweights of the crankshaft. This will keep from the possibility of bending the crank while under stress.
I have bent them before, trust me, it's not that hard to do. You won't know it until it comes back a couple months later with the bearing loose in the case from vibration.
After you tap a nut on the crank on both ends, to relieve stress, then remove the wedgie.
In my world, the TS420 has plastic rings in the crank bearings, so heating the cases up isn't an option.
Great idea. I put a stack of feeler gauges between the crank webs of the Solo crank I had trued and welded.I like.
One thing I've learned is that when pulling the cases together, it helps to lightly wedge a bolt or something similar centered, between the counterweights of the crankshaft. This will keep from the possibility of bending the crank while under stress.
After you tap a nut on the crank on both ends, to relieve stress, then remove the wedgie.
In my world, the TS420 has plastic rings in the crank bearings, so heating the cases up isn't an option.
As far as bearings with nylon retainers...I didn't heat the bearings. There's not enough heat transferred from the case to hurt them.
The cages are steel. It's those rings that are plastic.
I think they're some kind of vibration dampener. Stihl germany says they are a dust seal. (really), I asked. lol - I called B.S.
I think they're some kind of vibration dampener. Stihl germany says they are a dust seal. (really), I asked. lol - I called B.S.
Ooops. I meant to say retainer.The cages are steel. It's those rings that are plastic.
I think they're some kind of vibration dampener. Stihl germany says they are a dust seal. (really), I asked. lol - I called B.S.
Put a Huztl 660 together yesterday with a heat differential of about 200 degrees, the cases had the bearings in them, the crank was in the garage at around 20 degrees...put the case halves on the wood stove and were around 225 ( did a video a few years back doing the same thing with a 372) ....with gloved hands squeezed them almost together and did like brad showed and used the case screws to finish them.....LOL JUST to prove that it could be done.
Brad -
In the case half video, you finish up by smacking the end of the crank a few times with a brass hammer. Is that just centering the crank in the case?
Scott
In the case half video, you finish up by smacking the end of the crank a few times with a brass hammer. Is that just centering the crank in the case?
Scott
I like.
One thing I've learned is that when pulling the cases together, it helps to lightly wedge a bolt or something similar centered, between the counterweights of the crankshaft. This will keep from the possibility of bending the crank while under stress.
I have bent them before, trust me, it's not that hard to do. You won't know it until it comes back a couple months later with the bearing loose in the case from vibration.
After you tap a nut on the crank on both ends, to relieve stress, then remove the wedgie.
In my world, the TS420 has plastic rings in the crank bearings, so heating the cases up isn't an option.View attachment 560866
You are right! This possibility is a real risk. But, sorry, I don't understand how you remove the wedge.
Maybe it my poor English, but if I pull the halves together with a wedge between the counterweight, how and when should I remove the wedge?
Thanks in advance
Inviato dal mio iPad utilizzando Tapatalk
Stihl working hard
Is it Friday yet
I wasn't going to post these videos, but decided to anyway. Things didn't go exactly as planned in order to make a perfect video. However, this is real life and shows how I over came the challenges. This series is both an advertisement for specialty tools, while at the same time demonstrating how it can be safely done without them.
Great thread Brad thanks for sharing


No need for perfect vids Brad. ..those are concise and just fine.
*You are right! This possibility is a real risk. But, sorry, I don't understand how you remove the wedge.
Maybe it my poor English, but if I pull the halves together with a wedge between the counterweight, how and when should I remove the wedge?
Thanks in advance
Inviato dal mio iPad utilizzando Tapatalk
The rod and the wedge, (which is about the diameter of a pencil), both fit upward without interference -with the rod at the bottom of the throw. The counterweights are up when the rod is down. It is not necessary for either the rod or the wedge to be straight up. It is important to have the wedge centered in the counterweights to keep the stress all on the wedge, and not off to one side.
This wedge only needs to be in there enough not to fall out, but not so much that it bends the crank counterweights apart thus bending the crank.
Removal of the wedge just takes a flat screwdriver twist to loosen it enough to wiggle it out.
And to relieve lateral stress on the inner races.Brad -
In the case half video, you finish up by smacking the end of the crank a few times with a brass hammer. Is that just centering the crank in the case?
Scott
I was referring to the process not going exactly perfect.No need for perfect vids Brad. ..those are concise and just fine.
Yup...I know what you meant. A little struggle in vids is fine i think. Pm sent.
Thanks for the early morning pron,
I built crankcases for Suzuki and got in the habit of pulling the cases together with longer screws. With saws, in the "case" of an 064/066 I use 25mm screws to get it started, then back em out and replace them with the 20mm.
I built crankcases for Suzuki and got in the habit of pulling the cases together with longer screws. With saws, in the "case" of an 064/066 I use 25mm screws to get it started, then back em out and replace them with the 20mm.
tomdcoker
Addicted to ArboristSite
Thanks for a very well done and informative video.
I have rebuilt several saws and never used a wedge, but I will in the future.
I learned two things from the video, the use of a wedge is one and the head on your torch is another. I would like to know where to get one? The one I have the flame comes to a point unless you turn it up and then the flame is to much. Thanks again Tom
https://www.lowes.com/pd/BernzOmatic-Trigger-Start-Head-Handheld-Head/50126393Thanks for a very well done and informative video.
I have rebuilt several saws and never used a wedge, but I will in the future.
I learned two things from the video, the use of a wedge is one and the head on your torch is another. I would like to know where to get one? The one I have the flame comes to a point unless you turn it up and then the flame is to much. Thanks again Tom
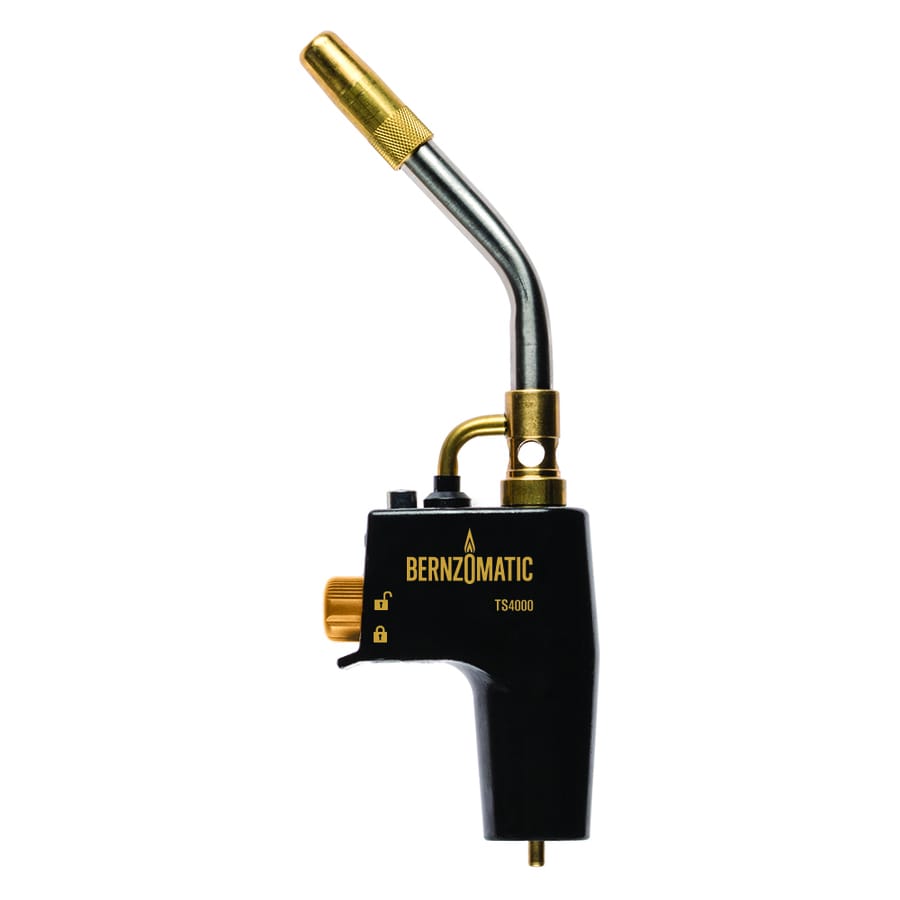
Those bernzomatic torches are awesome. ...one of the handiest tools I own