Linn Lumber 190A kit build

Arborist Forum

Help Support Arborist Forum:

This site may earn a commission from merchant affiliate links, including eBay, Amazon, and others.
I couldn't resist making a test cut now that I have a tensioning cylinder that doesn't leak. There was a burr in the threads that I had to tap the hole deeper to remove. Going to put finishing touches on the mill tonight then hopefully the rain holds off and will throw a log on tomorrow for a run.


Sent from my SM-G960U using Tapatalk
 
Knocked the remaining few tasks off the list today prior to hauling it back to the woods with the tractor and getting poured on. I am ready to throw a log on and try it but of course we have nothing but rain the next 72 hours.

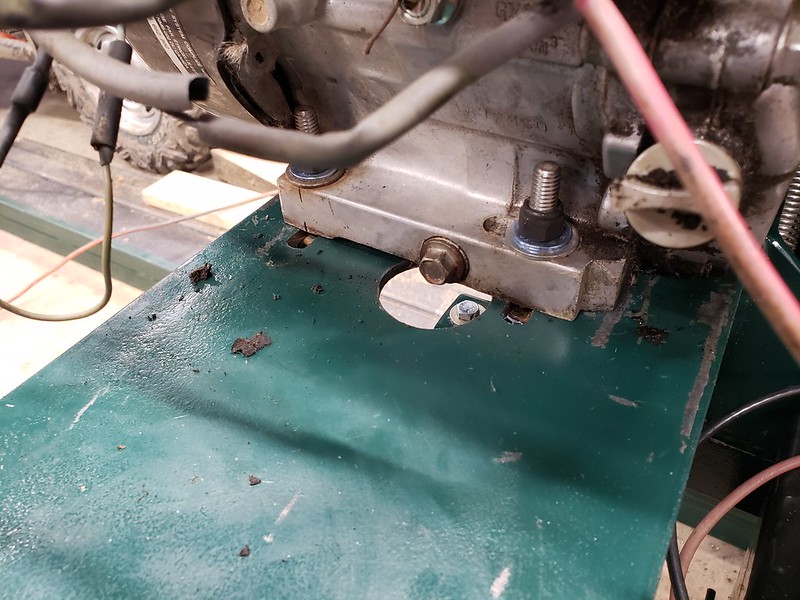
Welded the track frame tubing ends on and tapped them for eyebolts, added an oil drain hole in the motor mounting plate and changed the oil while I was at it. Also tensioned the belt a bit tighter this time and it seemed to have really helped the bouncing tensioner. I may order shorter springs so I can get more preload in them.
20220323_113559

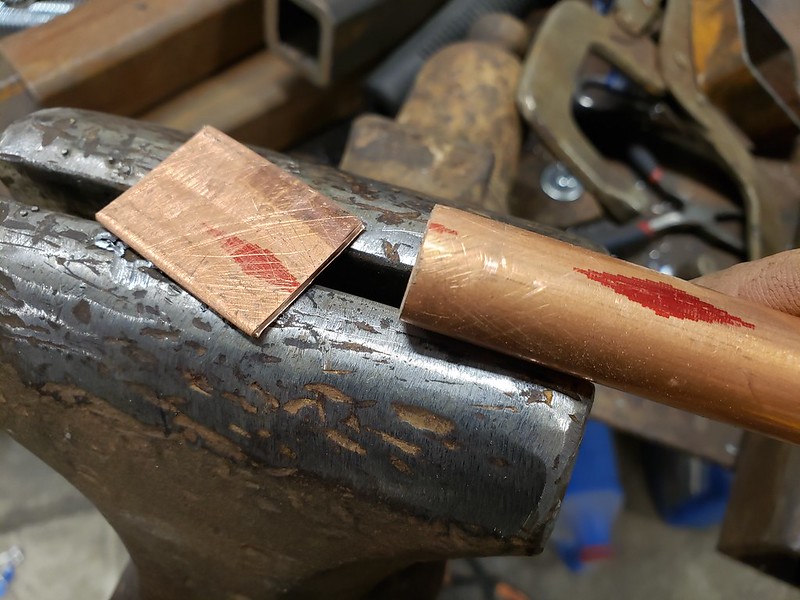
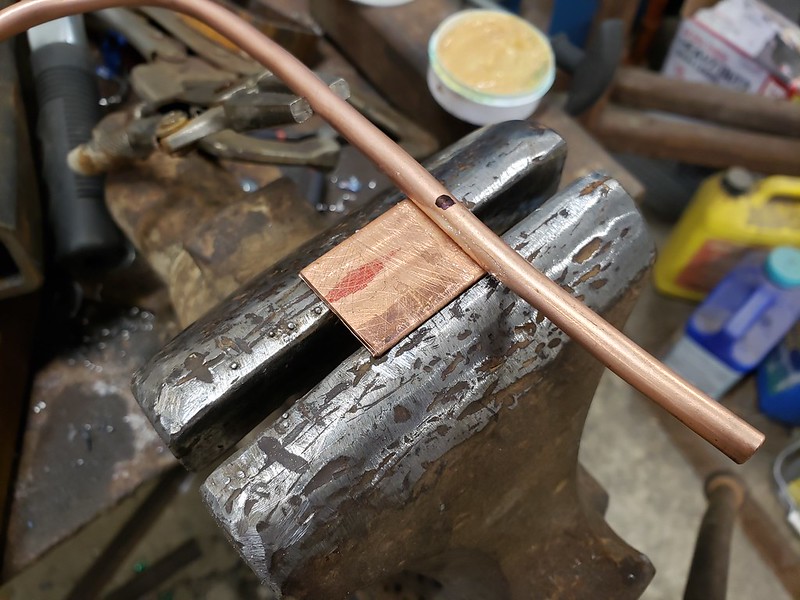
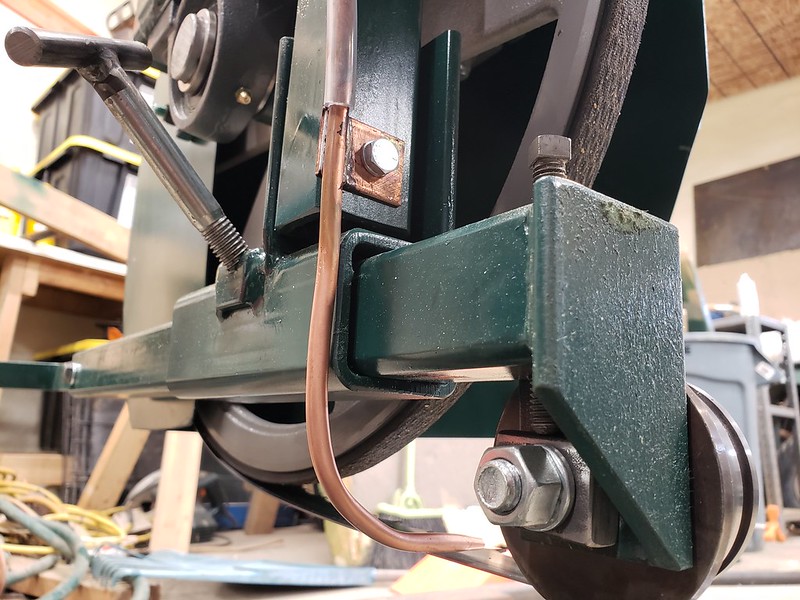
Soldered a tab on my lube drip tube and mounted it.
20220323_114319
20220323_114706
20220323_115253
 
Looking really Nice !
I couldn't tell if you were running any water cooling or not?
Thanks heaps for teh pictures and vids - very useful to me

Some suggestions:
Move the throttle to the side of the mill frame so you don't have to climb over the bunks as you mill.
Add some carriage stops at both ends
Turn the blade tension pressure gauge so you can see it while running. If for some reason the pressure starts to drop you can see it and stop before the blade comes off :nofunny:

Your build has given me the impetus to start a rebuild of our Linn mill.
One thing I can see from your vid is I need to remake the infeed roller support - the previous owner had chewed this out to get extra range of adjustment - who knows why this was needed but he also put shims under the follower wheel bearing supports presumably to level the blade between the wheels but I think he might have been chasing his tail. Anyway its a mess. I will start a new mill refurb threadd so as not to clutter up your terrific build story..

Thanks Bob!

I wasn't running water as my tank was frozen. I added 2 cups of diesel and it separated from the water over the last few days and we had temps into the teens the last few nights.

The throttle isn't that far over, I was experimenting to see how different positions varied the amount of input required to push the carriage. Walking just outside the track allows me to see the tensioner gauge. If anything I will add a bracket to position the throttle at an angle.

There are carriage stops at both ends of the track. The track is angled slightly downward in this spot so it freely rolls to the end and stops.

It was a lot of fun and I made a ton of 1x1 1/2" stickers.

Sent from my SM-G960U using Tapatalk
 
Thanks Bob!

I wasn't running water as my tank was frozen. I added 2 cups of diesel and it separated from the water over the last few days and we had temps into the teens the last few nights.
We sure could use some of that coolth here. We've had a long hot summer only 3/8" of rain for all of Dec, Jan, Feb and March. Zero rain from Dec 20 to Feb 6. Its been threatening to rain (humid) for about a week but we've barely had 1/12" of rain for the last 3 weeks. I hate it when there's clouds but we still have run air conditioners to stay cool.
The throttle isn't that far over, I was experimenting to see how different positions varied the amount of input required to push the carriage. Walking just outside the track allows me to see the tensioner gauge. If anything I will add a bracket to position the throttle at an angle.
Fair enough.
There are carriage stops at both ends of the track. The track is angled slightly downward in this spot so it freely rolls to the end and stops.
It was a lot of fun and I made a ton of 1x1 1/2" stickers.
Fun is a bonus. Happy tikes.
 
I've been looking at blade sharpening systems and after watching a few videos decided it's something I can build. I ordered a cheap 110v chainsaw sharpener and a 12v gear motor with power supply a few days ago and will be building one once those come in.
 
I'm looking forward to see what you come up with.
We've been using an automated Dinasaw sharpener and manual Dinasaw setter for the last 8 years.
Even though I've on and off been sharpening and setting BS blades for close to 8 years I still am far from what I would call a pro but here are a few comments that might be useful.
We started with a ceramic wheel but it seemed to wear quite quickly although I may have been just trying to take off too much off in one pass which knocked the stuffing out of the ceramic wheel. Dinasaw grinder wheels are a custom fit to the sharpener so using other wheels would have been tricky so eventually we got a DInasaw diamond wheel and this lasted for 7 years - only got a new one a few months back.
Touching up tips is quick and easy but eventually the entire tooth needs reforming and I find this takes a bit more time and finesse especially as I use multiple passes to get things right.
Consider practicing on an old blade since there will be mistakes. On my first attempt I managed to cut the tops of half a dozen teeth before I worked out why.It took me a couple of years to let the sharpener run unattended but.even now I dont wander of out of sight. Now I can be resetting one blade alongside another being sharpened.
I'm finding that resetting even after a light touch up is worth it as it produces the least wandering cuts but that may be because we're using about 25-28"' sets and because of the hardness of the wood being cut. You can probably get away with less in your wood.
Thanks Bob. I came across this video on YouTube and figured why reinvent the wheel as this gentlemen explains everything really well. I have enough scrap at home to make one and have about $70 in motors at this time.
 
Back
Top