Stihlman441
Addicted to ArboristSite
No large clutch cover.


I did have to pull limiter caps and retune carb with this setup.
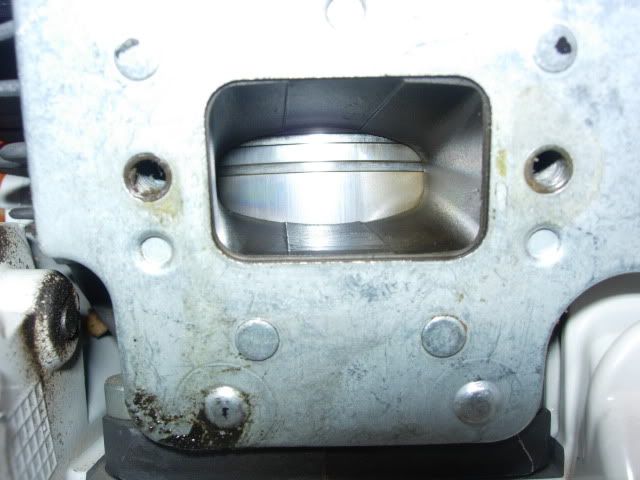
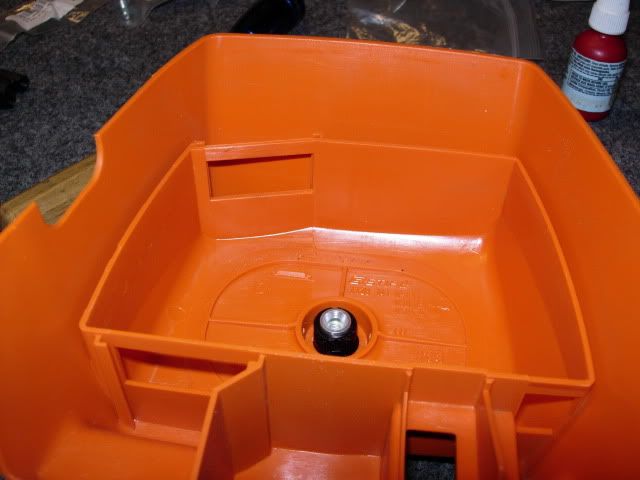
What is that half moon shape peice/rubber/gasket looking thingy at the top of the exhaust port?
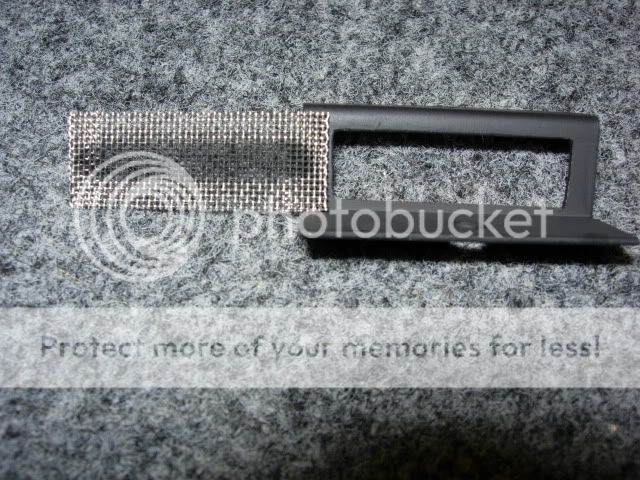

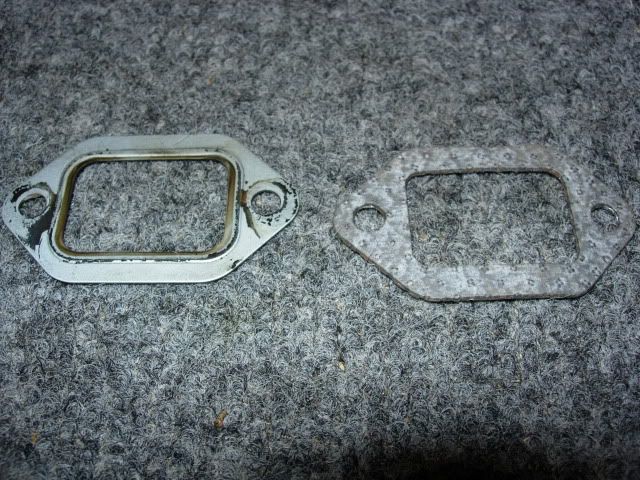
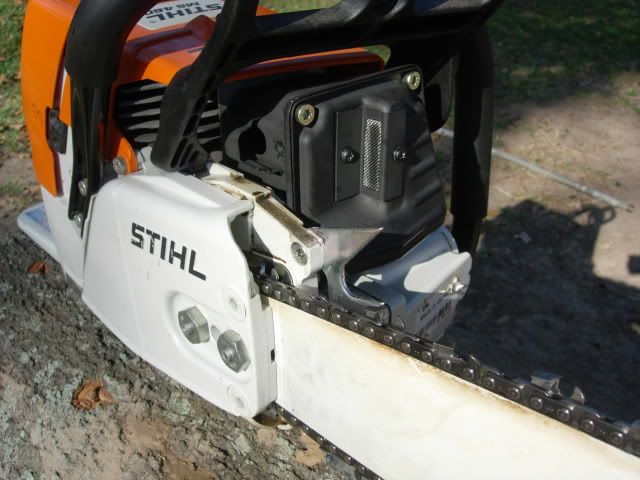
You're exactly right. That's a big draw back on the Baileys muffler. Stihl knew that the screen flowed less than the same area without a screen, so installed the screen in a way that it had much more surface area. That way the screen would not be a bottle neck. On the Baileys muffler, your outlet hole is going to have to be much larger in order to get enough screen surface area. I recommend you use your original muffler body and the new cover. There's no need to even mess with the baffle in the OEM muffler. Open up the exhaust outlet as much as the deflector will cover. Finally, open up the port on the muffler cover.
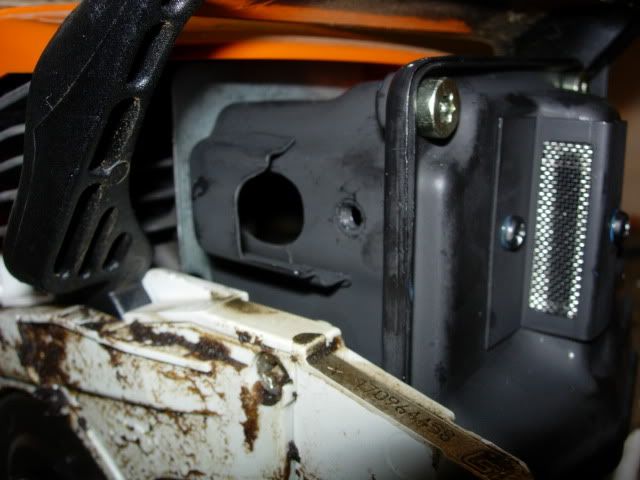
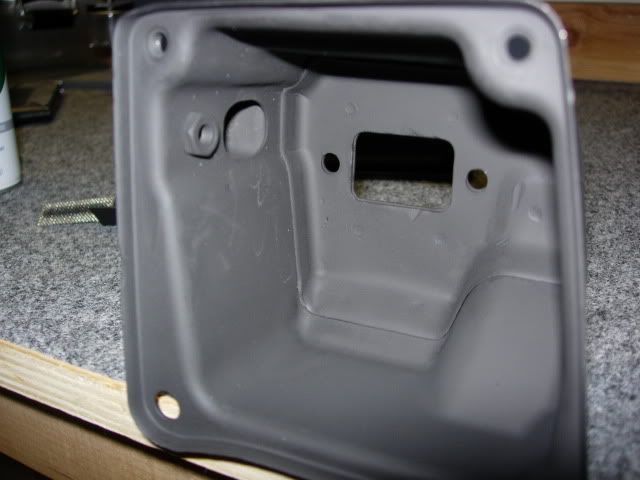
Open the exhaust to the edges of the deflector.
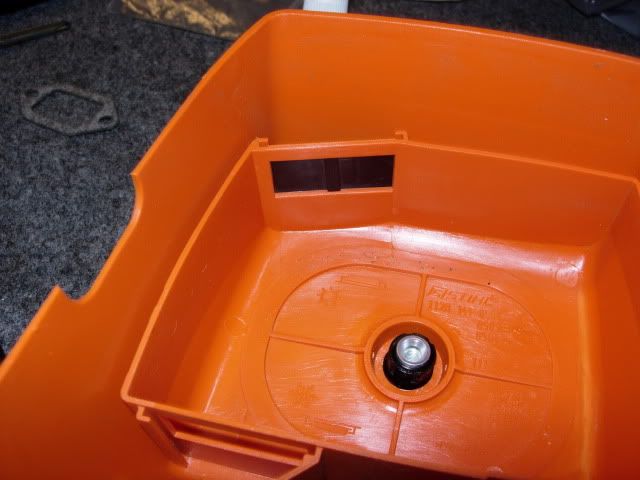
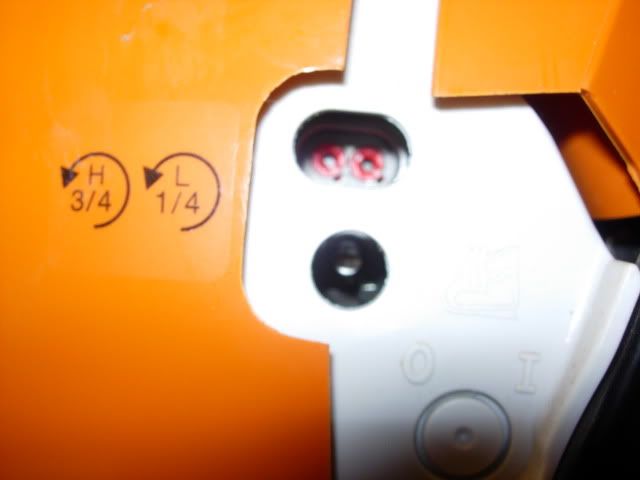
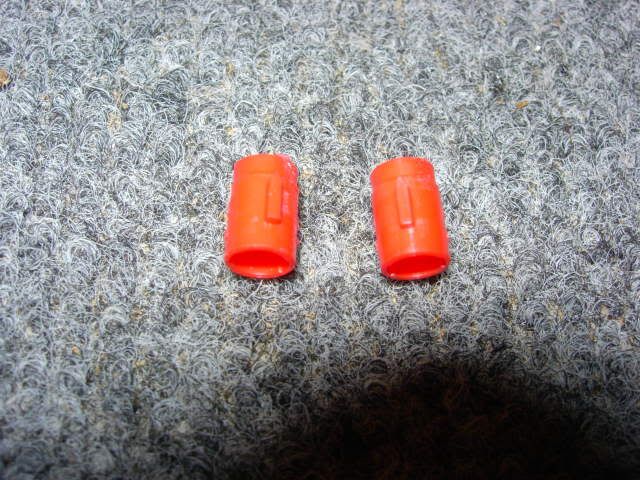
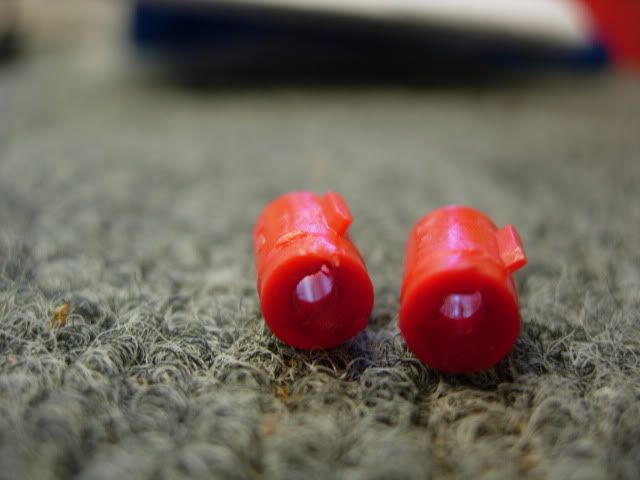
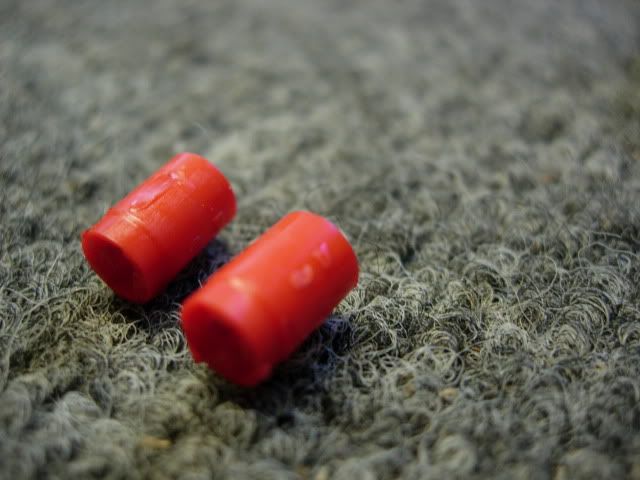
All you need is a drywall screw to pull the limiters. You have to line up the notch first. Trim the tab and reinstall them.
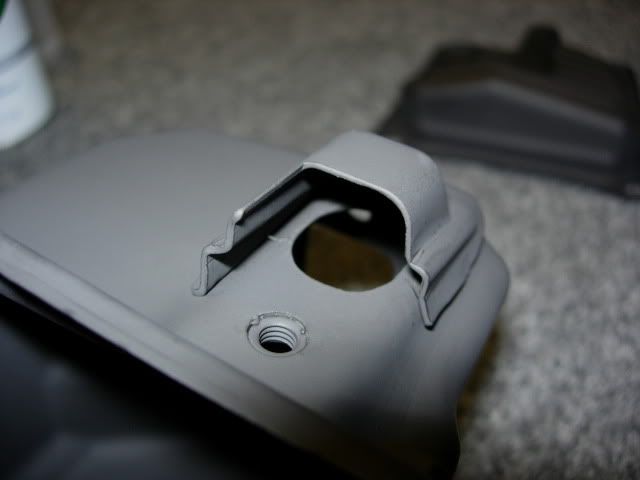
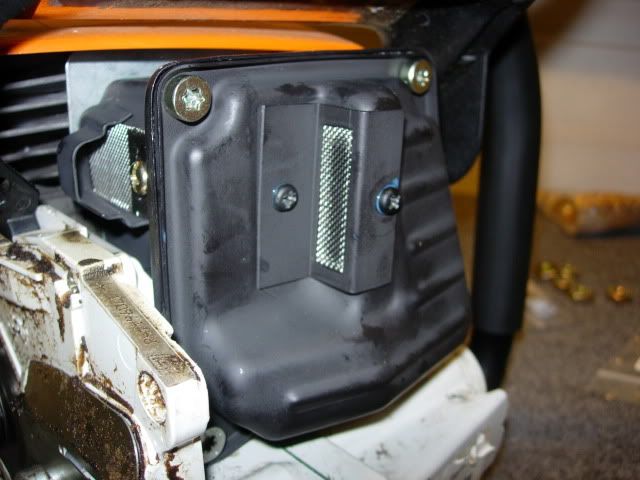
Replace that black shutter. If you want to open it up, do so on the bottom dividers of the cover.

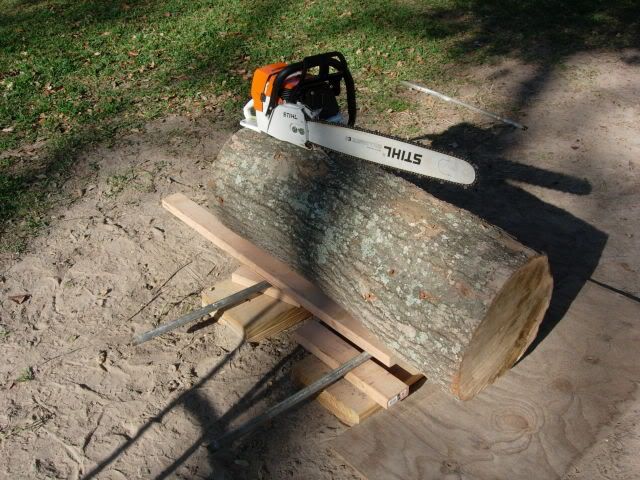
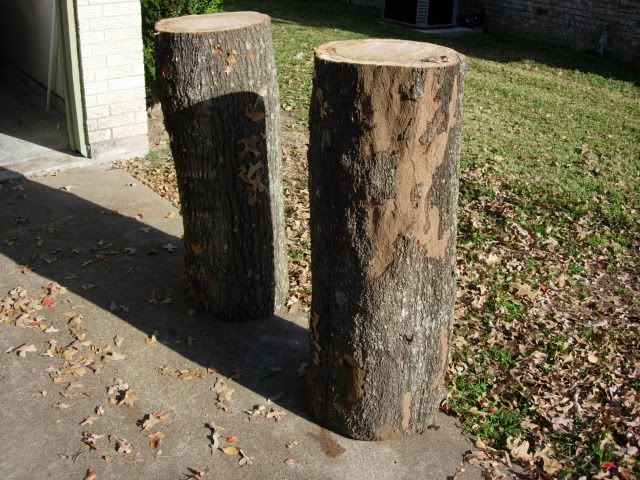
Ok, all back together and got the log up off the ground. I was hoping to get it higher off the ground but it was a little on the heavy side for manual moving.
I cut the tabs off the limiters and stuck them back in.
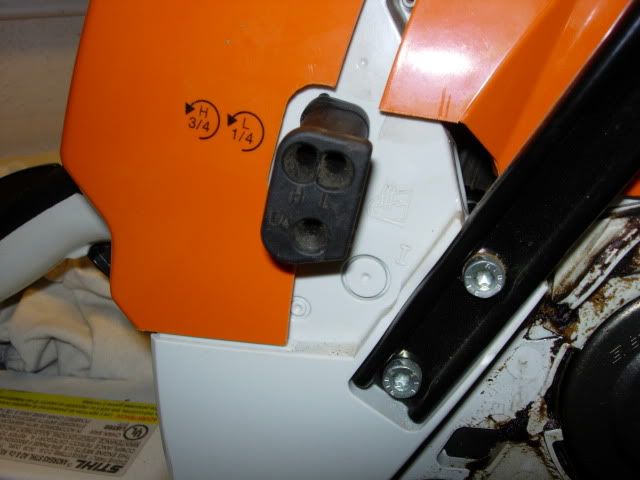
When adjusting the H and L screws, it looks like the screw driver is inserted into the limiter not the actual adjustment screw...
Does the limiter grip the metal screw below to rotate it?
How do you know that you are actually adjusting the screw and not just spinning the limiter in the hole?
Am I going to damage the saw by starting it up without adjusting anything first?
Yes the caps grip the screws so when you turn the cap you turn both. Start with factory adjustment turn both H and L screws clockwise until they stop then back them both off 1 full turn before you start the saw. This is the factory setting for your carb. This setting will more than likely be to lean for your muff mod and you will need to fine tune from there. Get the saw good and hot but lay off the throttle, when its warmed up start fine tuning counterclockwise is richer. With a tach, a 460 L should be 2500-2700 RPM where throttle responce is the best. H should be around 13,500 WOT you should hear the 4 stroking sound and it should clean up in the cut.
www.madsens1.com/saw_carb_tune.htm This link will help you tune.
") ). Working on uploading the video to youtube right now (first time trying this so it could take a while).
). Working on uploading the video to youtube right now (first time trying this so it could take a while).Thanks for the info guys. I got a few cuts in before it got dark (a few neighbors came over to see what the ruckus was
I printed out the madsens instructions and had them with me. Thanks for the link.
Enter your email address to join: