doc874
Addicted to ArboristSite
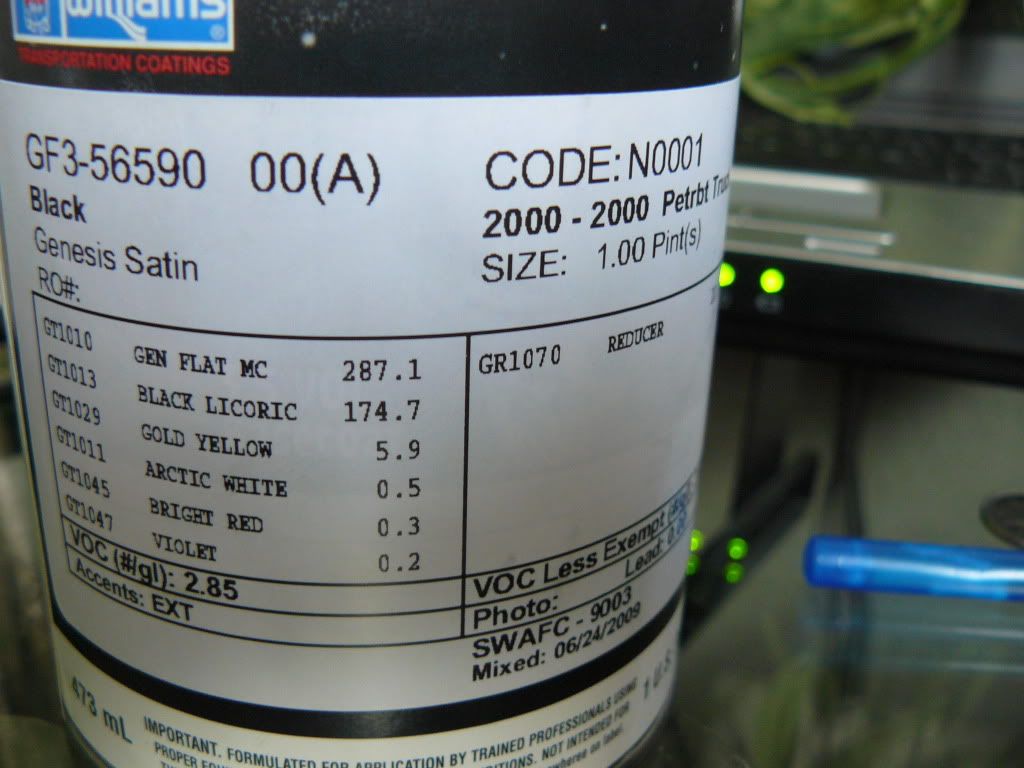
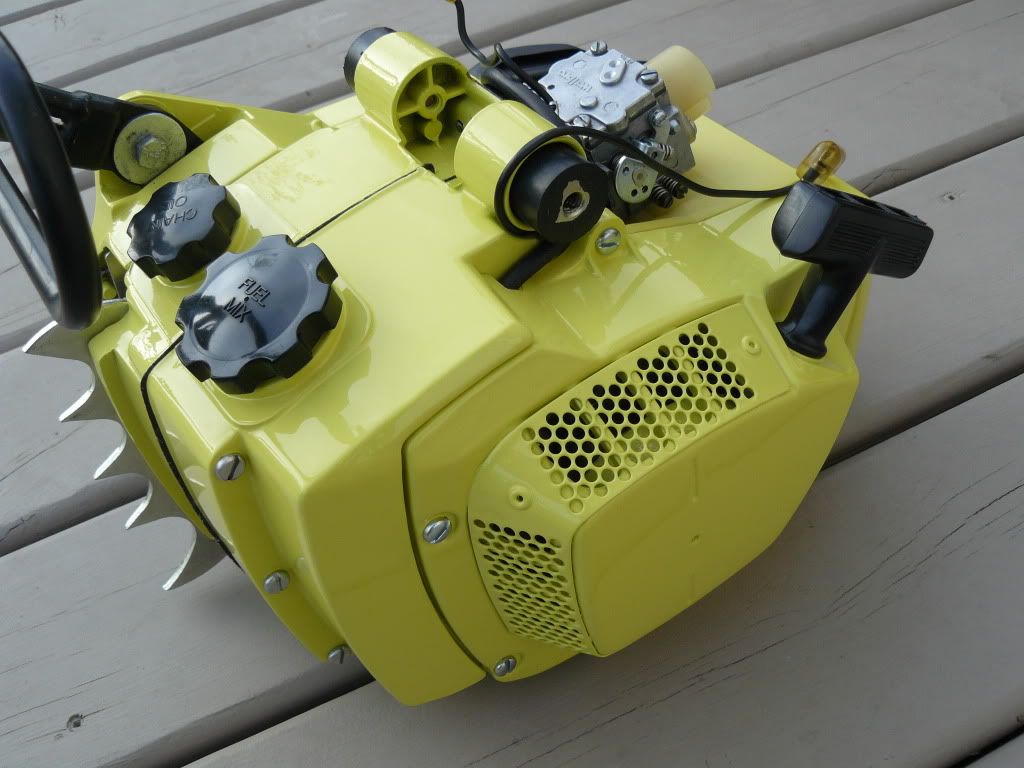
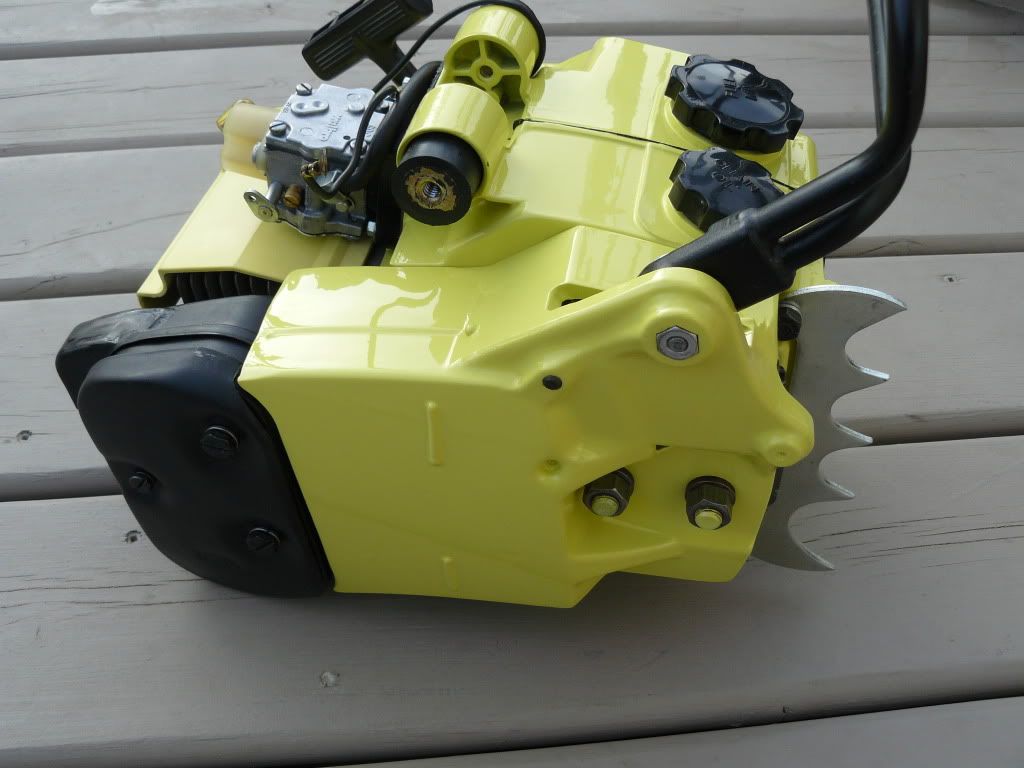
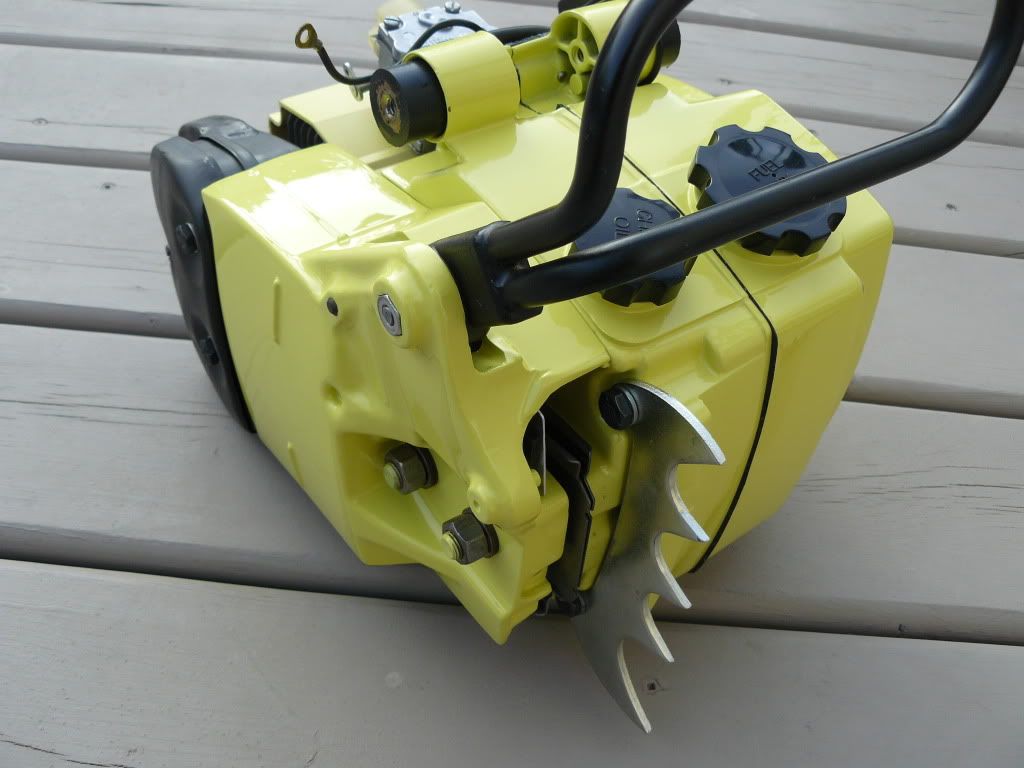
Nice job brandon. I'd be interested in the paint code i have a P41 and a P38 i will do later, both have very good original paint so i may just clean'em up. I also have a Holiday 2 saw i just got, paint is not good and i need the primer bulb for it also and likely a carb kit, i found a carb kit on ebay but no primer bulb yet. I always revert back to the Pioneer saws just something about them i like i guess. Keep up the great work and post some more pics when your done.
Last edited:
 CONGRATULATIONS