ozflea
Good ol' BP Zoom 25-1
Ok all you toothslayers .......................

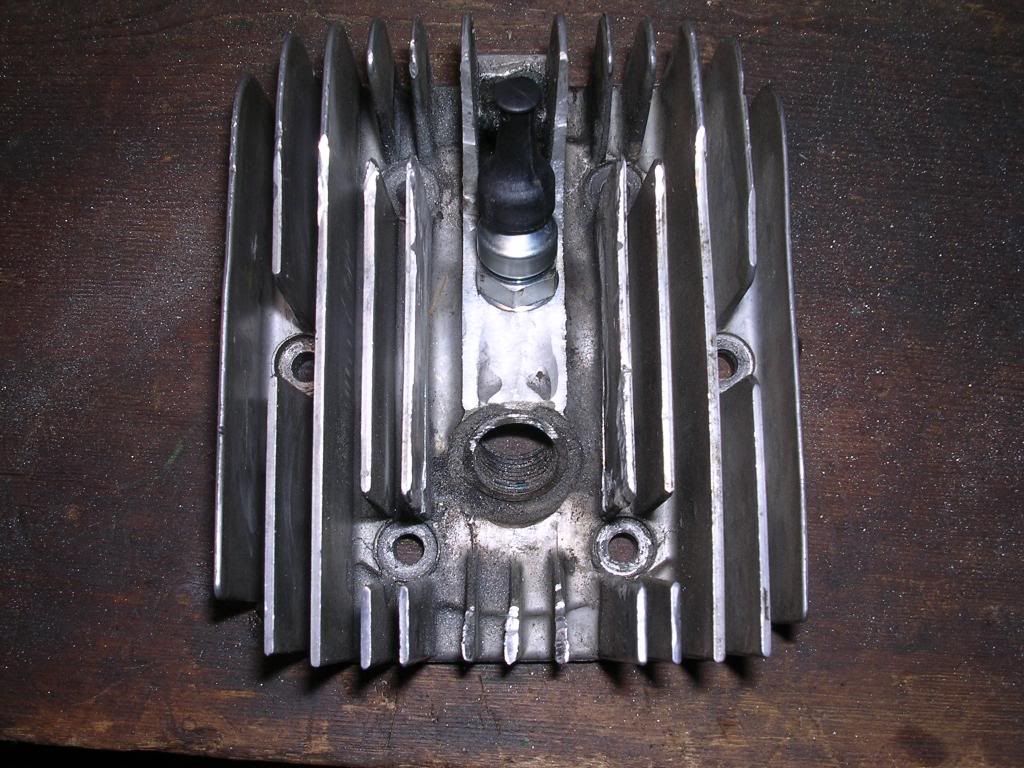
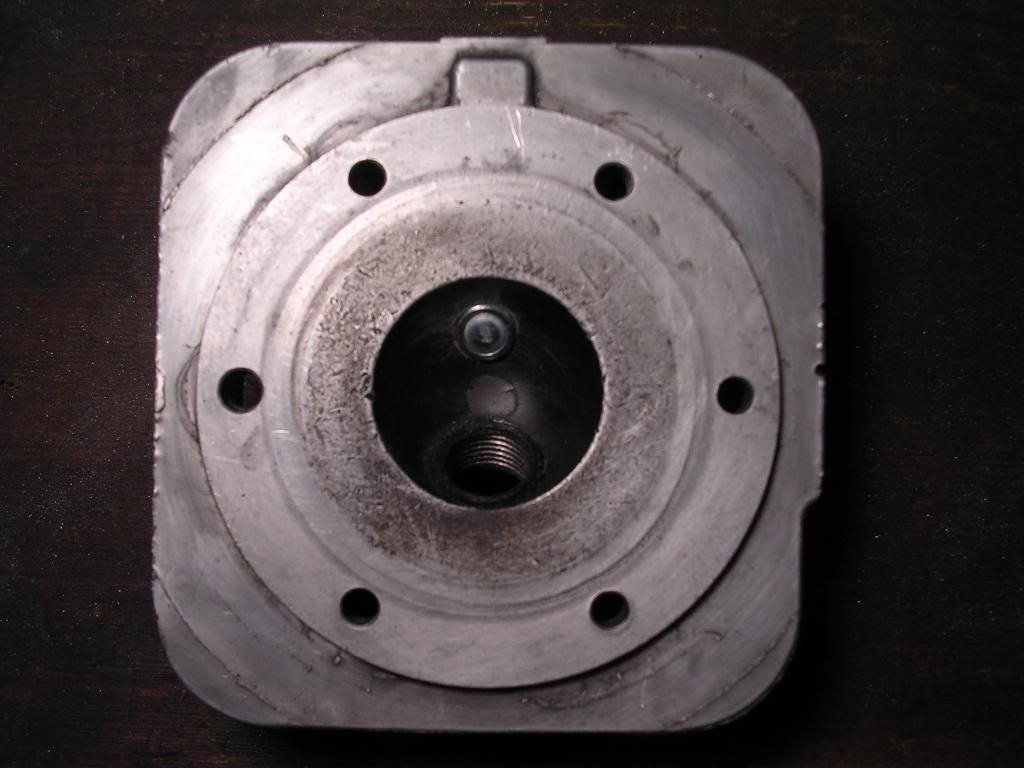
Heres my little ol Mac 92 uses a Dykes ring
McBob.

Heres my little ol Mac 92 uses a Dykes ring
McBob.


I still have to get the fuel tank mounted up. Here is the tank I have (thanks stude54).

And I think it will end up something like this, any comments or suggestions? Am I overlooking anything important so far?


I should mention that I realize there is no exhaust hooked up yet. Hopefully I can get together with mxracer the first part of August and we can get something together, otherwise it will be the kart header.
Mark
Mark,
There is no reason to turn into a McBob
That's funny...there's a reason there completly out of Yamaha mufflers across the pond
Mark, below is the set up that was on my saw as received (101B with "regular" 125 adjustable carb - 196 psi compression). The only drawback I noted was my failure to recheck the valve between every pull - which would result in jerking the saw out of your control and/or hurting your arm when it was expectantly closed. I plan to put one in my running kart motor and I have purchased a spare head just for that purpose. Ron


View attachment 306979View attachment 306980
Mark, below is the set up that was on my saw as received (101B with "regular" 125 adjustable carb - 196 psi compression). The only drawback I noted was my failure to recheck the valve between every pull - which would result in jerking the saw out of your control and/or hurting your arm when it was expectantly closed. I plan to put one in my running kart motor and I have purchased a spare head just for that purpose. Ron
View attachment 306979View attachment 306980
Yes, be sure to push the button after every cranking, even if you don't think it fired to close the valve. You'll be in for a nasty surprise if you don't.
Scott

I am hoping that with a bit of filing and sanding, throw a little paint at it, and calling it a part of my design I can get away with this fix.
Mark
Enter your email address to join: