You are using an out of date browser. It may not display this or other websites correctly.
You should upgrade or use an alternative browser.
You should upgrade or use an alternative browser.
husky 350/346xp project
- Thread starter Red97
- Start date


Help Support Arborist Forum:
This site may earn a commission from merchant affiliate
links, including eBay, Amazon, and others.

Good work Joe,
I'd appreciate if you could post what your timing numbers are after that cut. And if you get a chance what your compression is once you seal this back up. Please and thanks very much!
And if you bore out the mandrel from the backside you could save even more weight.
I am working on a timing wheel, just got it in the mail. I have never done any of this before. So it is all a learning experience for me.
I am going to check the port time with it cut like that, I may end up cutting more off the bottom after I get my numbers.
I made a squish sanding block today the paper didn't like sticking to the plastic I have.

Sty57
Tree Freak
How much smaller is the Mandrel compared to the cyl bore?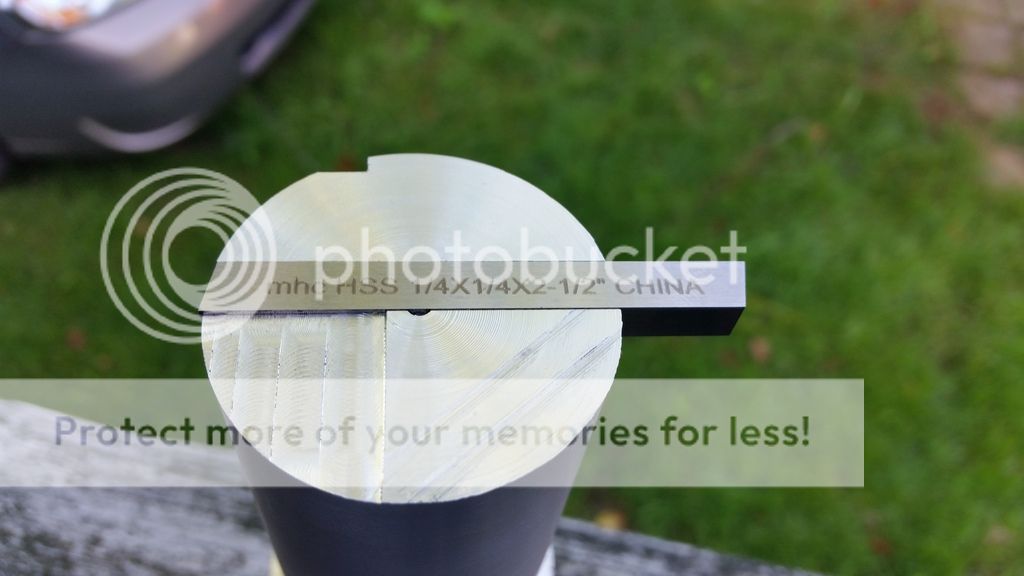
Here is a better pic of the mandrel.
Thanks, Brian
How much smaller is the Mandrel compared to the cyl bore?
I went with .009 smaller so I could rock the jug a bit to get all the way to the edge, if it Dosent work like I hope, I can wrap a paper around it to tighten it up.
Thanks, Brian
Sty57
Tree Freak
So that picture is before you cut the tooling to size?
I was just wondering how it would cut hanging that far off one side.
Thanks, Brian
I was just wondering how it would cut hanging that far off one side.
Thanks, Brian
So that picture is before you cut the tooling to size?
I was just wondering how it would cut hanging that far off one side.
Thanks, Brian
I still need to cut the 1/4" square toolbit in half. Nothing is going to hang out. If it does it will only be .001-2 so I have room to slide it in without scratching the jug.
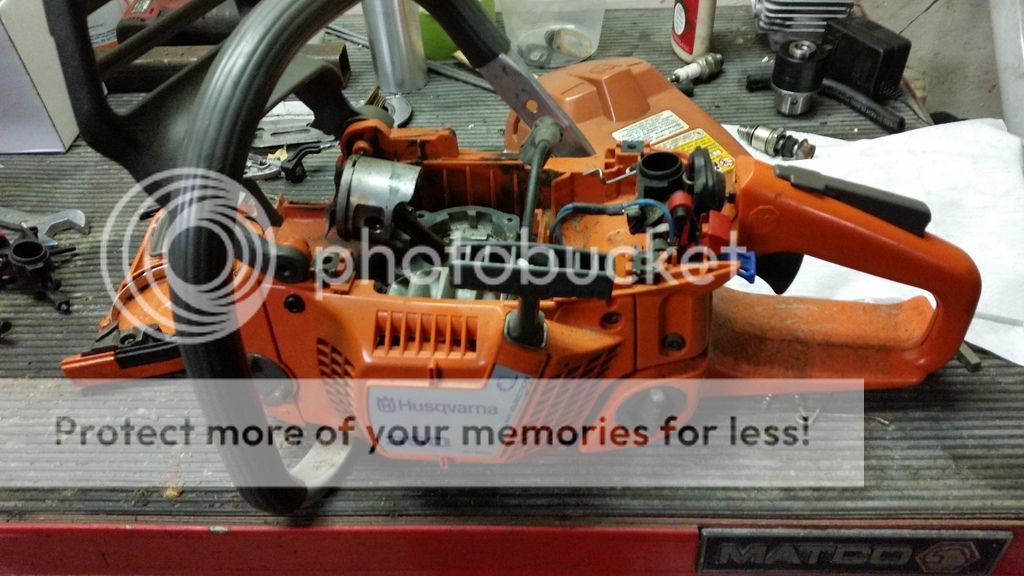
Here is the saw, as I received it.
Made a piston stop
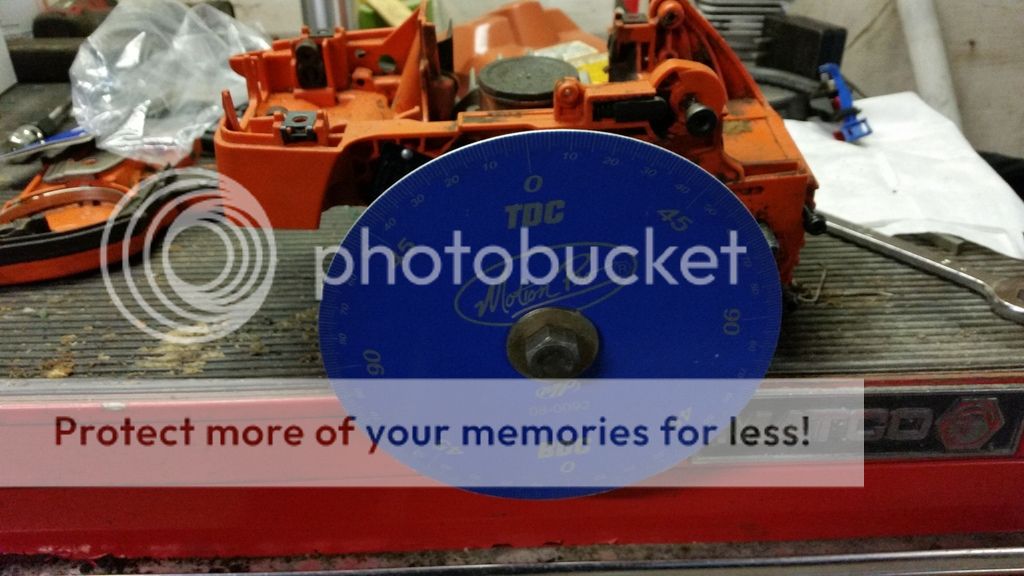
Got my degree wheel, had to ream out the hole to 1/2"
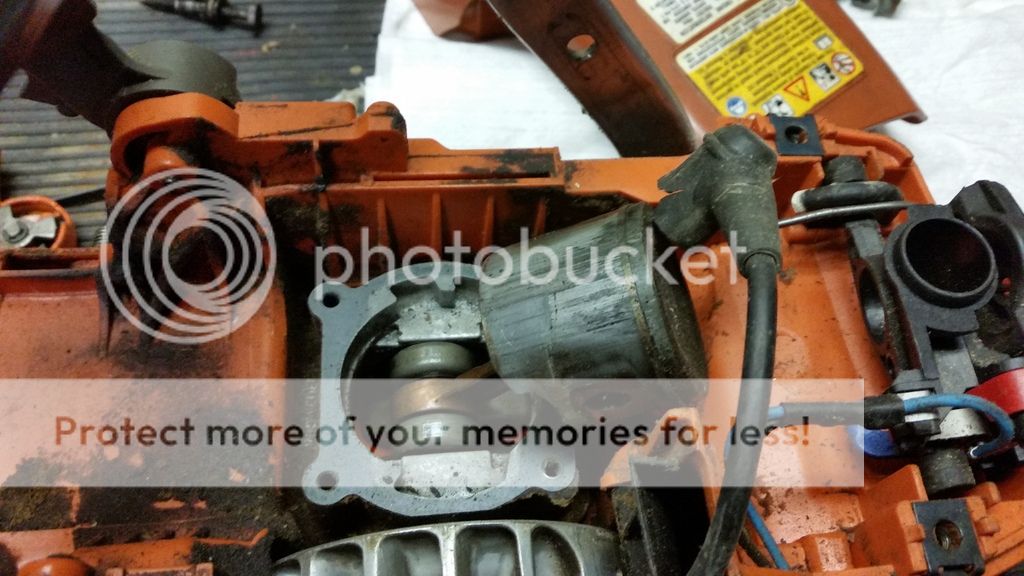
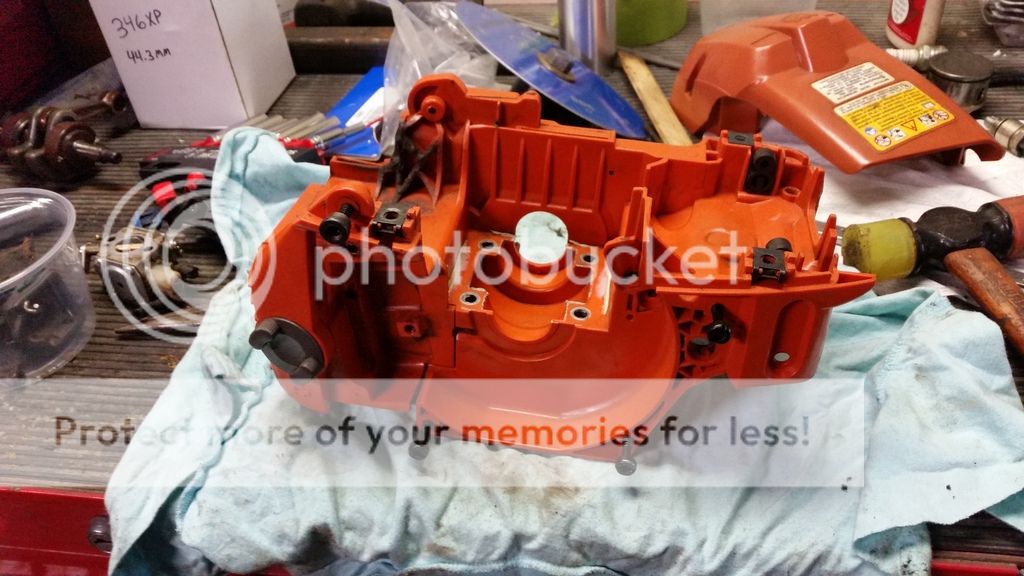
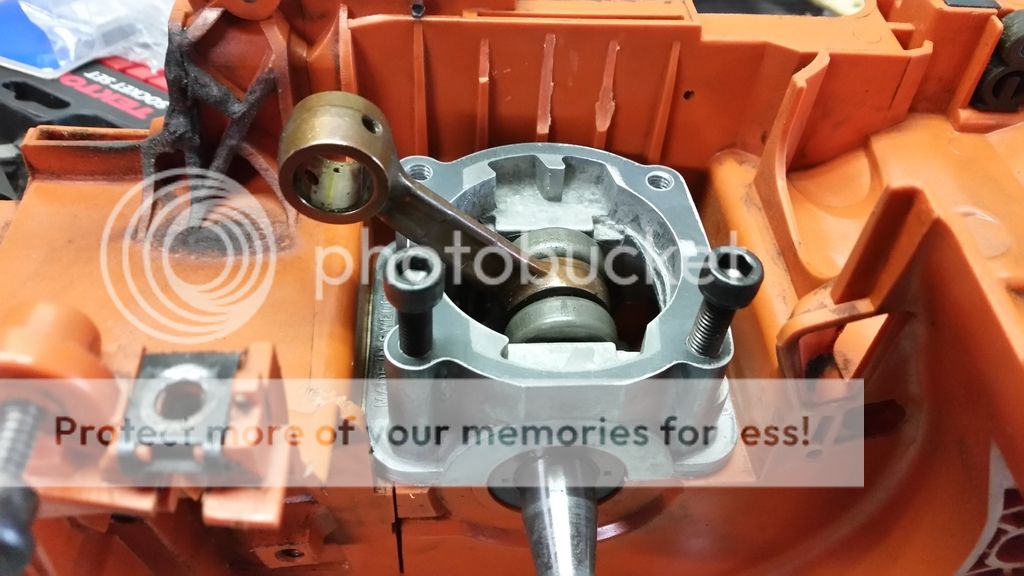
Case stripped down and cleaned up a bit
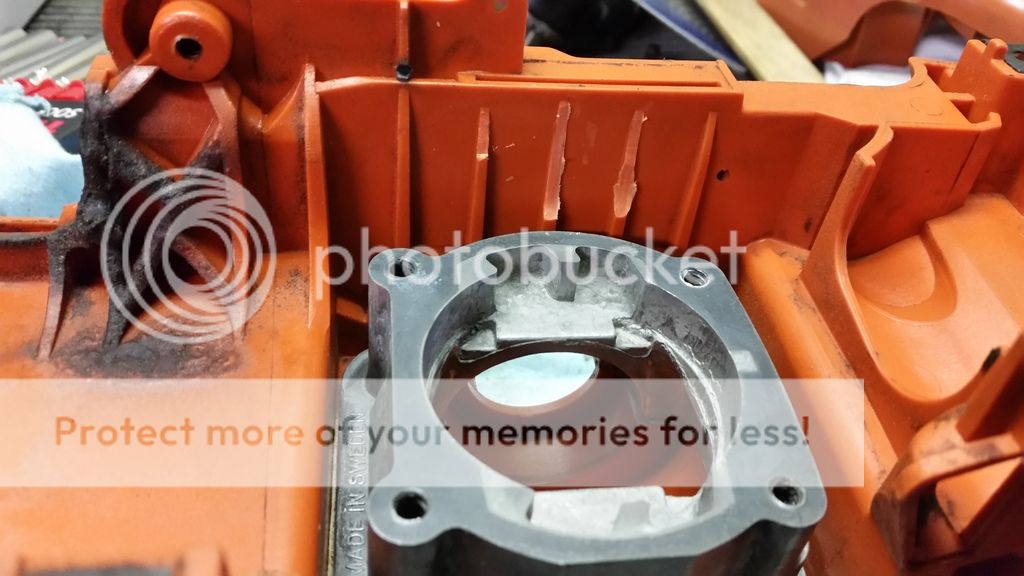
Had to clearance the case a bit to clear the transfers
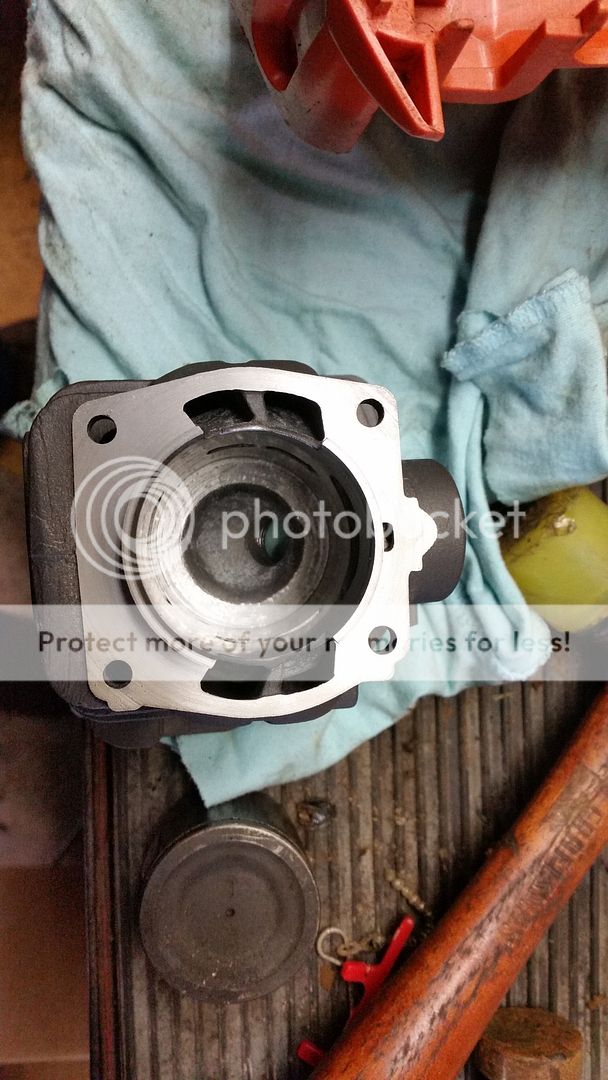
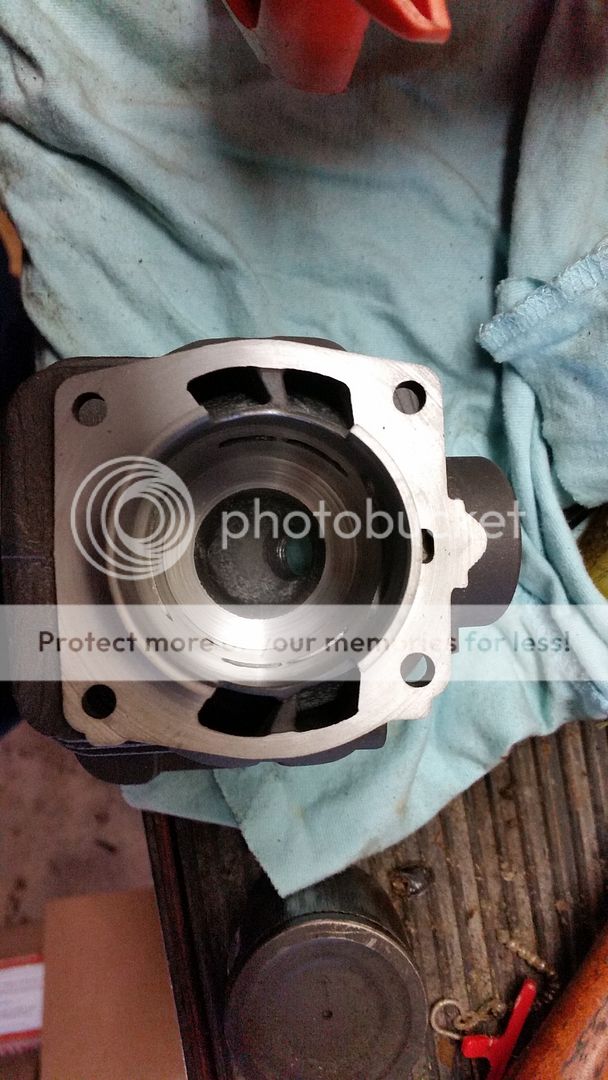
First attempt at cutting the squish with the mandrel, still have to figure what works best, not sure if it was the casting or what, it wanted to ball up, and gouge the cut.
After a few min with the sanding mandrel
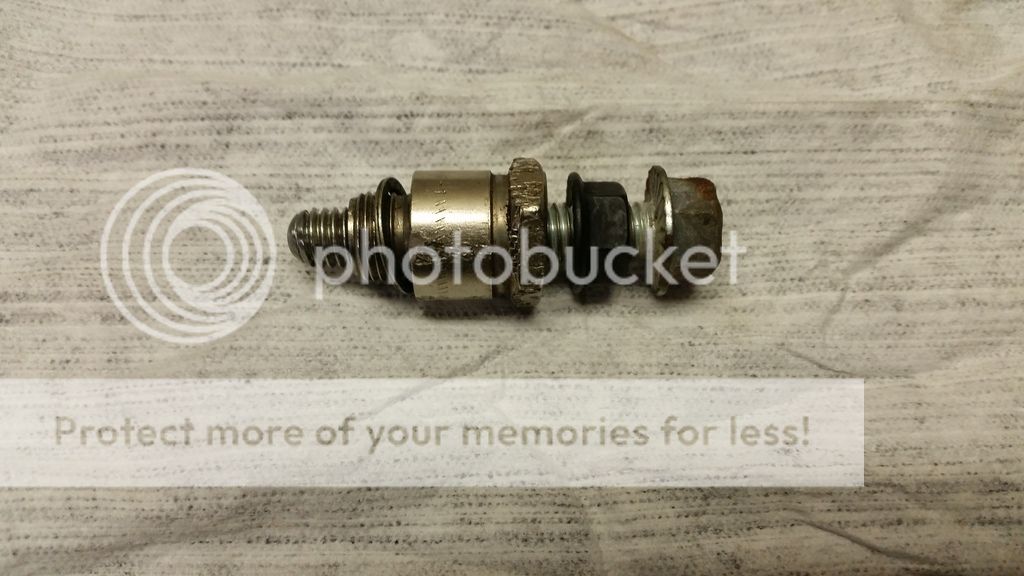
Need to track down some jug bolts, hopefully the dealer has some on hand.


Made a piston stop

Got my degree wheel, had to ream out the hole to 1/2"

Case stripped down and cleaned up a bit

Had to clearance the case a bit to clear the transfers

First attempt at cutting the squish with the mandrel, still have to figure what works best, not sure if it was the casting or what, it wanted to ball up, and gouge the cut.

After a few min with the sanding mandrel

Need to track down some jug bolts, hopefully the dealer has some on hand.
I cannot emphasize this enough it is really important to make sure those jug bolts are short enough to not bottom out
Full Chisel
Slingin' Stihls and runnin' Huskies
I hope you have done a pressure test to determine if that saw has an air leak. Something caused the piston to score badly like that, you need to find out why. Make sure to check the bolts on the bottom side that screw into the riser block...they tend to loosen and develop an air leak at the crankcase. The intake is known another issue.
I hope you have done a pressure test to determine if that saw has an air leak. Something caused the piston to score badly like that, you need to find out why. Make sure to check the bolts on the bottom side that screw into the riser block...they tend to loosen and develop an air leak at the crankcase. The intake is known another issue.
I plan to replace all the rubber, and seals. And pressure/vac test once I get every thing put back together.
like full chisel said...clean the landing for the riser block really well, then when I bed the seals down they go down with loctite 515 (or 518 ...whatever)
-Matt
-Matt
Full Chisel
Slingin' Stihls and runnin' Huskies
Doesn't hurt to loctite the bolts themselves either...
I decided to tap the riser M6x1
Made sure the bolts were short enough. thank you for the tip.
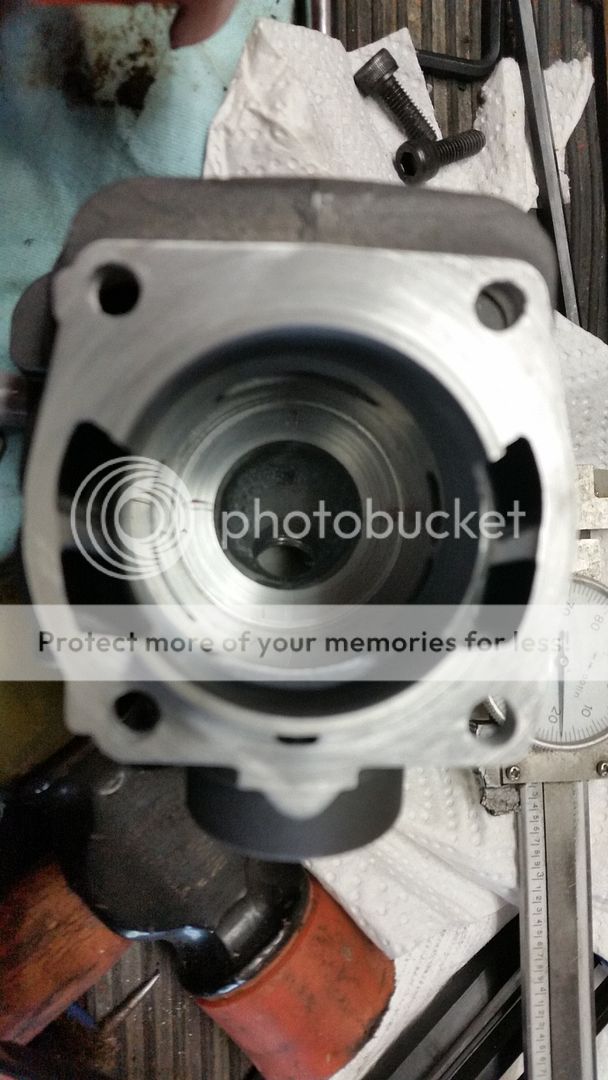
Checked squish
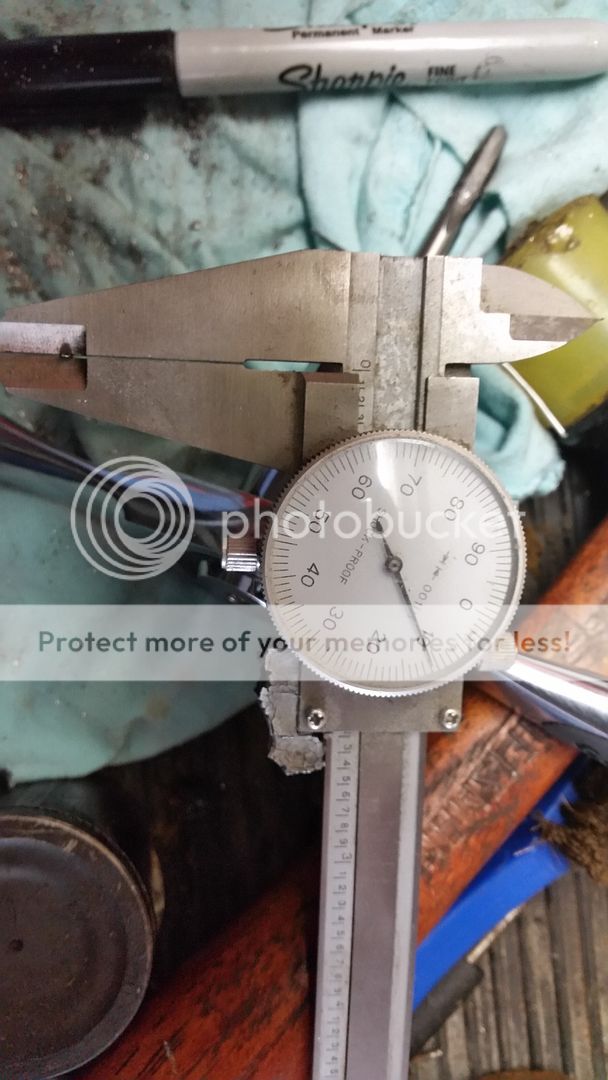
a little too tight.
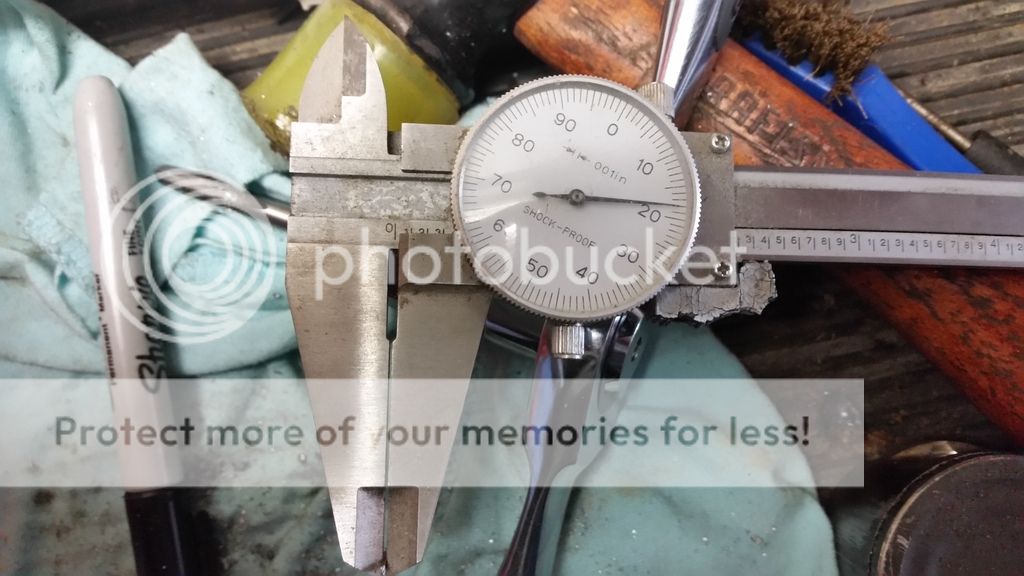
Cut some more and sanded it again.
Much better, I think I am going to run it. Checked in 4 spots inline with the pin, and exhaust and intake.
Here is a pic of the finished squish band, You can see the 4 grease marks on the band.
Set up the degree wheel to check the numbers, I followed stumpy's thread.
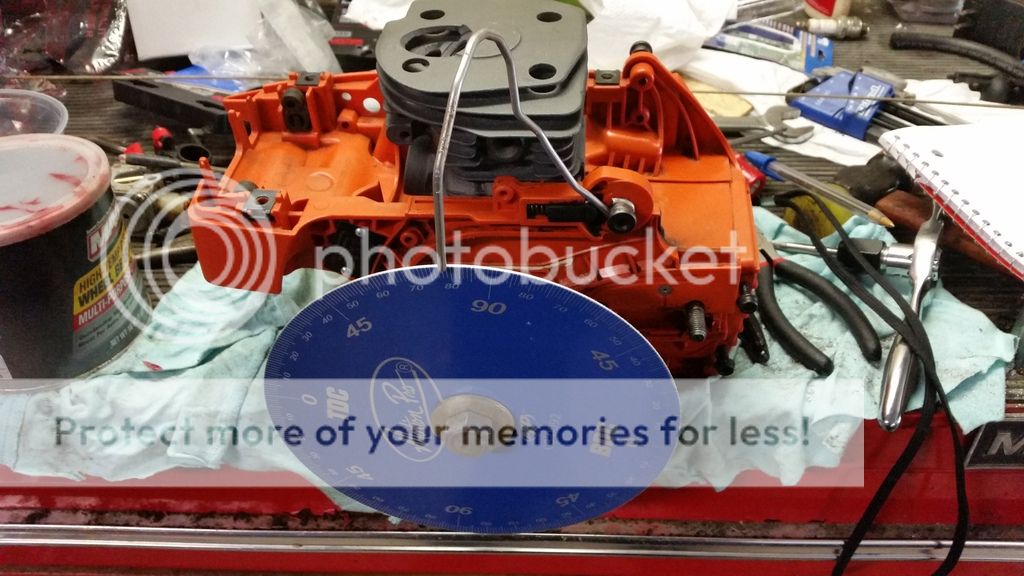
I got
Intake 101 Duration 158
Exhaust 107 Duration 146
Transfer 123 Duration 114
I have now clue what they are supposed to look like, Or if I even did it right. I know I had the wheel zeroed correctly, but after that Im not sure.

Made sure the bolts were short enough. thank you for the tip.
Checked squish

a little too tight.
Cut some more and sanded it again.

Much better, I think I am going to run it. Checked in 4 spots inline with the pin, and exhaust and intake.
Here is a pic of the finished squish band, You can see the 4 grease marks on the band.

Set up the degree wheel to check the numbers, I followed stumpy's thread.

I got
Intake 101 Duration 158
Exhaust 107 Duration 146
Transfer 123 Duration 114
I have now clue what they are supposed to look like, Or if I even did it right. I know I had the wheel zeroed correctly, but after that Im not sure.
intake doesn't sound right. should be somewhere mid 70's.
those m6 might not fit through the gasket, unless you are going gasketless.
the intake partition will need to be lowered, because the jug is lowered...shave off some of the plastic chassis BEFORE you assemble the whole thing...easier to get a dremel in there and not make a mess.
those m6 might not fit through the gasket, unless you are going gasketless.
the intake partition will need to be lowered, because the jug is lowered...shave off some of the plastic chassis BEFORE you assemble the whole thing...easier to get a dremel in there and not make a mess.
intake doesn't sound right. should be somewhere mid 70's.
those m6 might not fit through the gasket, unless you are going gasketless.
the intake partition will need to be lowered, because the jug is lowered...shave off some of the plastic chassis BEFORE you assemble the whole thing...easier to get a dremel in there and not make a mess.
If I check it before tdc the intake is 79. Not sure what I am doing wrong?
Mastermind
Work Saw Specialist
I've never messed with the 350. On the 346NE though, I use 105/122/and wherever on the intake.
I don't understand the squish cutting thing. I can setup and cut one in the 4 jaw in 15 minutes or so. That means plenty fast enough to me.
I don't understand the squish cutting thing. I can setup and cut one in the 4 jaw in 15 minutes or so. That means plenty fast enough to me.
I've never messed with the 350. On the 346NE though, I use 105/122/and wherever on the intake.
I don't understand the squish cutting thing. I can setup and cut one in the 4 jaw in 15 minutes or so. That means plenty fast enough to me.
Thank you,
My boring bar is still in transit, I wanted to try an get something done before I head back out of town.
Next one I will try the fixture/boring bar method.
Thank you,
My boring bar is still in transit, I wanted to try an get something done before I head back out of town.
Next one I will try the fixture/boring bar method.
You know.. you seem to be doing just fine, maybe some of the advisors should watch how you are doing things? Great thread.
For what its worth, I have a 350 not quite as tweaked as this one will be; but it runs really strong. The numbers it ended up with are:
intake: 78 degrees BTDC
exhaust: 103 ATDC
Blow down 16 degrees.
And another one that was done.. randomly and ended up as follows because of an errant gouge by the die grinder to the top of the exhaust... didn't want to throw away the cylinder...it deserved a "saw" life so...after it was touched up it was:
intake 78
Exhaust 98
Blow down 20
By all rights it shouldn't run at all! It was only slightly less saw that the first...even with that exhaust & blow down. AND I certainly wouldn't recommend doing numbers anything like these ones!
BOTH ended up with .018in squish.... which in my mind it the most important number. (And by inference what you are doing with your squish & combustion chamber)
I'm certain there is more in both saws, especially the "blemished" one...but that's where the numbers fell after all was said and done...SO something in the ball park of that first saw with the exhaust at 103 will probably run just fine. Especially with the smaller combustion chamber your going to have along with the nice "cut" squish band.
I was advised once to get that intake closer to 75 and the exhaust closer to 104... which might make it run even better. I was advised by some one else to use another concept to figure the numbers.... and that would have pushed my intake to over 80 degrees BTDC. BUT it's (Both in fact are) way stronger than it started, so I just left it in it's imperfect state and I've just run it for a .. year or so. Wood was cut. Lots of it with "blem" saw. So after doing a few of these it's clear to me there is a bit of lee way in these numbers..
") I would, however tend to follow Masterminds lead before anyone else here as my experience has been he's usually right. That's unless you have done some research and are looking for something specific... found it.. and those numbers unique to you do what you want. Precious few fall into that category.
I would, however tend to follow Masterminds lead before anyone else here as my experience has been he's usually right. That's unless you have done some research and are looking for something specific... found it.. and those numbers unique to you do what you want. Precious few fall into that category.(To whom ever it may concern... The one I built with 40 percent base compression was a gas hog BTW.. 42 ran almost as well and wasn't
)Need to track down some jug bolts, hopefully the dealer has some on hand.
With the skills you have demonstrated, cutting .050" off the stock 350 bolts that came with your saw shouldn't be an issue. AND they will match up with the bearing cap they came from. Yup. Another wrinkle.
Similar threads
- Replies
- 4
- Views
- 411
- Replies
- 8
- Views
- 2K