050 051 075 076 Info Thread

Arborist Forum

Help Support Arborist Forum:

This site may earn a commission from merchant affiliate links, including eBay, Amazon, and others.
I talked to Kevin and he isn't sure if they required a trigger or not, I ordered a Nova 2 and will try it with the stack of coils I have, I like simpler and fewer parts so I may go with his coils later, but I figure the module lets me try some things and the coils might also be limited.
Dave
 
courtesy of the Gentleman from MA :numberone:
IMG_7587_zpszacwqzhh.jpg


delivery from Kevin (Bryce) in Washington
IMG_7585_zpssx7u3z6k.jpg


:chainsaw:
DDAve
 
I got a saw partially built today, probably will do a half assed build thread in the Chainsaws forum.
I need to get two more parts powder coated, waiting on a few parts from Stihl and have to get a new oil seal because I completely botched the oil pump install and broke a seal a worm gear and tried to install a piston that was too big to fit the case.
Making progress though. I have to figure out how to install the throttle linkage (I forgot to do it during assembly) and how the wiring works with the Nova 2 (haven't read it yet).

075%20assembly035_zpsayx25kfv.jpg
 
When I install the throttle linkage the air cleaner cover filter and base need to be off. I disconnect the top of the front handle and rotate it forward and down. I remove the 2 front screws holding the top cover to the av mount. Now the gas line may need to be disconnected. I the rotate the whole top cover up and this gives me access to the trigger slot underneath. I depress the trigger so that the slot is showing and hook the linkage into the slot. You want it so that the 90 degree bend goes around the outside of the carb. Squeeze the throttle and lift the carb. Fish the other end into the throttle plate on the carb. By lifting it you get play room. Once its on try it. Then the handle goes back down, screwed. Then the air cleaner base choke gets fished into its place and rotated down into position with the support bracket going to the tank and the kill switch wire plugged into the switch. Once the air cleaner is in place I put on the half moon support brace and the two lock nuts tightening alternatley. Then the front handle back on. It looks like your installing the quickstop on this saw, very sweet build!!!! Nice colors too!!
 
I want the quickstop but am missing a few pieces so far, eventually I will.
I also realized I have no idea where the fuel lines go :)
Your explanation will be on the monitor in the garage as I do the linkage :)
I am going to wait for a few more bits to arrive so I can go into it one more time and fix a bunch of little stuff all in one go.
thanks again you rock, bunches of pics in the other thread
Dave
 
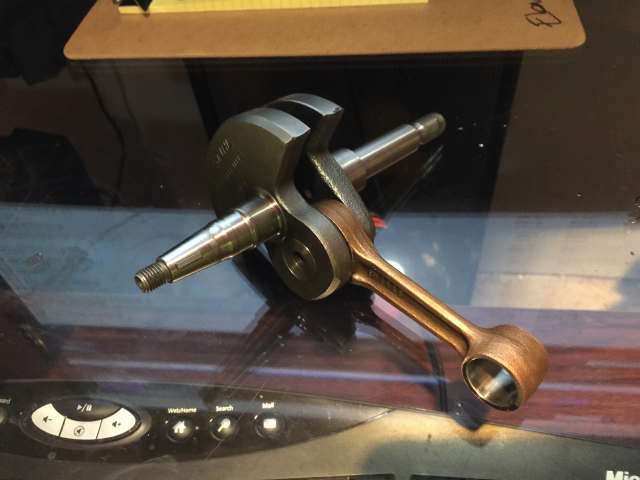
So this is part one of my fails on the 075 build :)
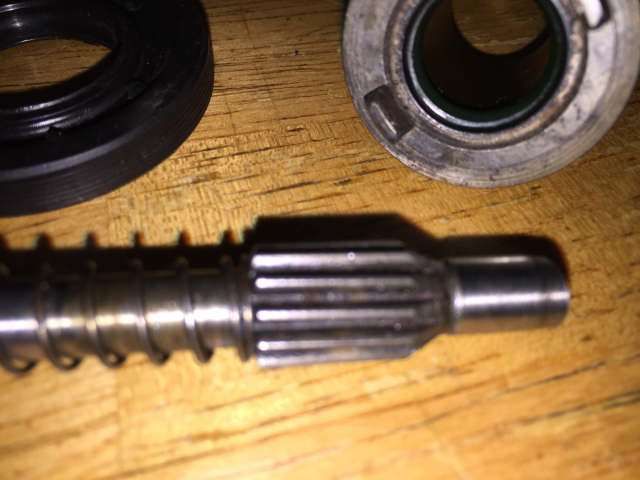
The oil pump piston I chose to rebuild ended up being to large (cylindrically) and rubbed the powdered case, maybe the powder changed the tolerance, but the piston vanes rubbed the case once the oiler gear was installed and the pump didn't turn at all.
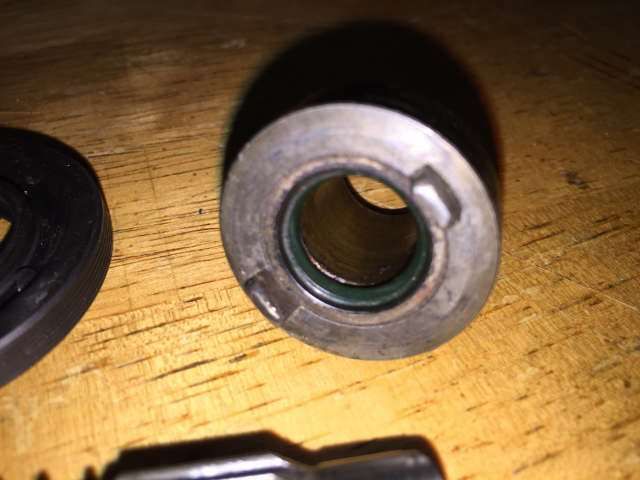
The oiler gear I picked was the larger of several I initially had on hand, also a bad choice even though it initially looked like it would fit the seal perfectly, it ended up ripping out the spring and imbedding half of the spring inside the seal :(
I also installed the oil seal too shallow, when I installed the sprocket and clutch it "seated" the seal by crushing the crap out of it and then the last turn of the handy dandy 075 Clutch Wrench yielded a nice CRUNCH sound that on disassembly proved to be the gears breaking off of the Oiler gear.
IMG_7910_zpsgmlfnxyg.jpg

IMG_7911_zpswtvsa8kk.jpg

IMG_7912_zpsvdo1k9a6.jpg


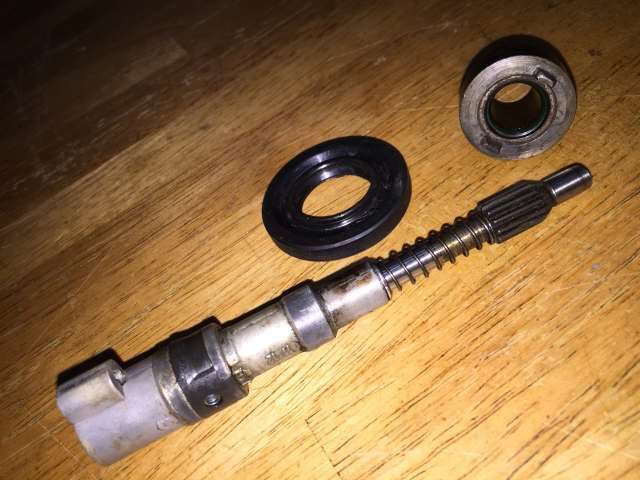
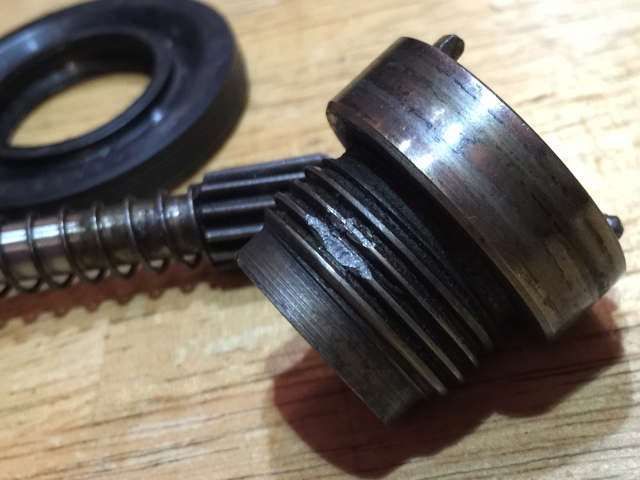
pretty sure this gear is now trash :(
IMG_7913_zpsnoojwbz8.jpg


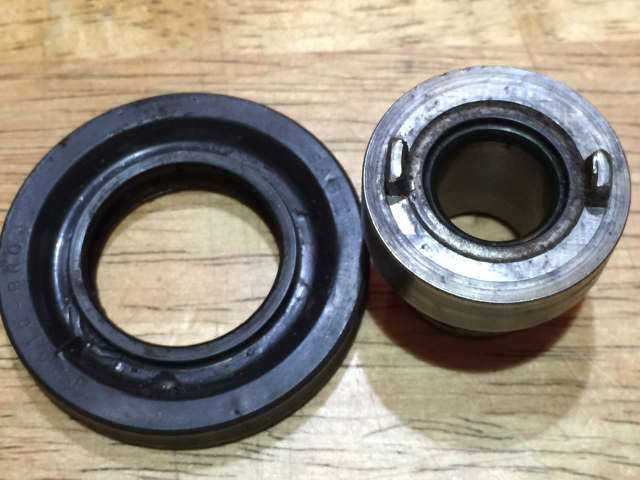
this shows how wrong size the seal and gear were, but in my haste I didn't notice.
the "ears" are snug against the inside of the seal, but the gear is much larger beyond the ears.
IMG_7914_zps1nzmwu69.jpg

IMG_7915_zpswwesbxwd.jpg


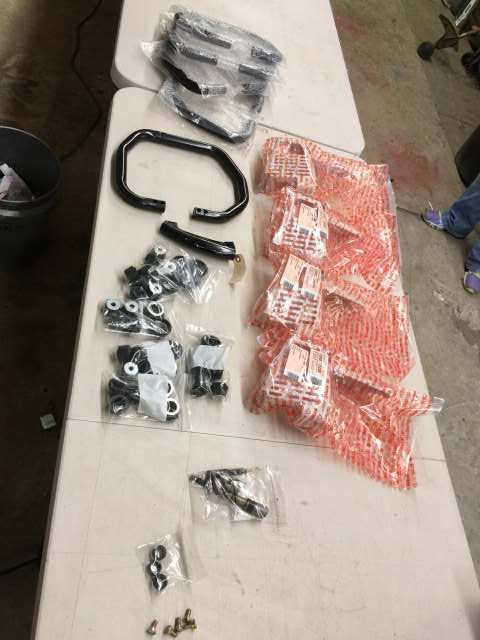
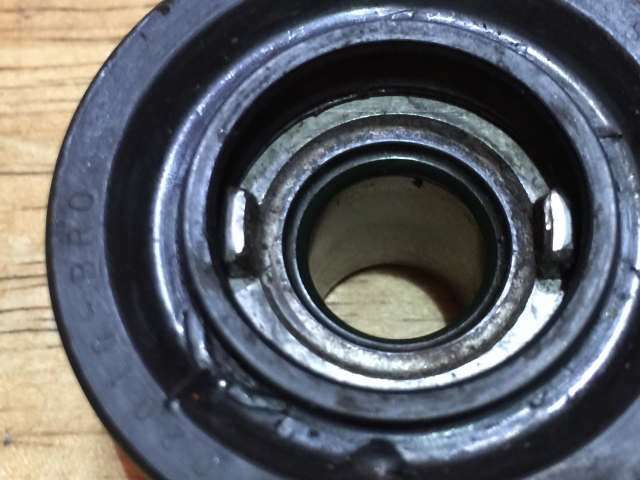
New oil seal is here along with a new fuel line and a new Intake block (it didn't come with the mounting screws which I thought were integral), I sent out the new standard clutch cover and rear handle AV mounts to get powder coated. I am hoping to steal a few hours of saw time this weekend to get the throttle linkage, oil pump and ignition all ironed out and maybe even fuel this thing... Baby steps :)

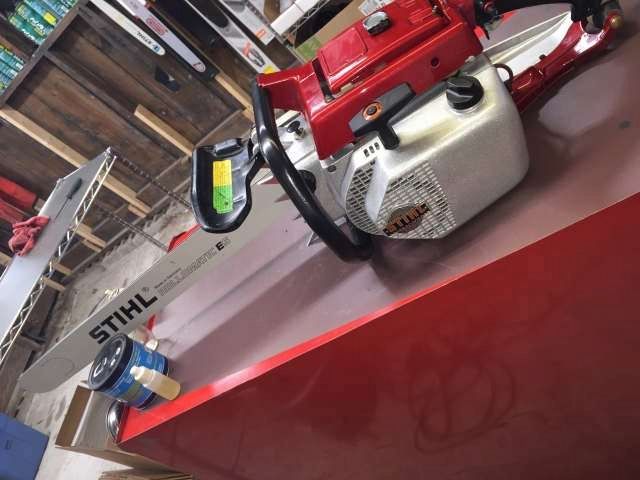
Few more pics for no real reason
IMG_7579_zps0wi7akqm.jpg
IMG_7583_zps9z3wvcgm.jpg
 
All i know is I know is there are two different size pumps/styles along with matching clutch driven oil gears. I think the pump body should slide in first, circlip, adjustment lever from above then seal and oil pump drive. Obviously you have to wiggle and rotate parts to mesh together. Some oil on the rubber seal will help to as it is also an integral part of the vac/pressure in the crankcase. I think as long as you matched up the new one with the one you pulled out you should be in good shape.
 
My problem is I only had parts and or partial saws to start with so I never "saw" how it went together, I was just pulling the shiniest bits from the hoard to assemble :)
I assumed anything that had a big and small variety was for the 051/075 respectively.
Oh I am a learnin' now you betcha, and someday I will actually know things :)
Dave
 
If you need a hand getting the oiler thing sorted out, I can dig back through my past efforts on the subject if it'll help. 'Course everything is in the dacs. Just gotta be patient enuff to find the right solution for the given problem....., among all the possible variations of design changes along the way.
 
I read the oil pump treatice the night before but I didn't account for their being two completely different sizes of the double eared gear. I know the various configs for the 051 you have down pat and I will give them another study as I start building a few of them, I just didn't pay enough attention to the 075 differences.
At this point I feel pretty good about my chances of getting this beast to make chainsaw noises :)
 
To me, the oiler is the weirdest aspect of the evolution of the 1111 series to be "reckoned with" when building one or even just sourcing parts. So many changes along the way that need to inter-relate.....

12 and 14 tooth pump shafts need different worm drive gears, which need to correspond to the correct clutch rims/spurs, not to mention the seal which needs to correspond to the correct bearing, crank, and case,...with everything seemingly being so conveniently interchangeable at first glance. Ha!

If it weren't fun!!!
 
Exactly !!!!!! So if the one you have doesn't fit, well it's the other one! Just put the pump in first, or top adjust the lever, then pump. There's a 45 degree slot in the adjuster that the screw has to slide into. This pushes against the end of the oil pump and pushes that spring loaded splined gear back and forth to adjust oil flow. Get those two in first before any gear drive seal or clutch and make sure it works when you move the lever. That screw that holds the lever in
Is special. It has no threads on the last 3/16" that fits into the 45 degree slot.
 
Back
Top