MG-600 rod (high nickle) is rated at 180,000 PSI with heat treatment. They suggest a POST weld heat treatment with slow cooling, also at 400°.
I don't know about the hammer treatment. Maybe...
I don't know about the hammer treatment. Maybe...


400° is generally the recommended pre-heat temperature for many welding applications. You can go to a welding shop and get temperature sticks that will melt at a the desired temp.
Write on the metal, begin heating. It melts...start welding. Easy!
Mapp will hit 400° with no problem. Propane is good, too.
I would weld with a high nickel rod made for cast iron before I would try flux core. If it is really important to look good and be strong, buy some MG-600 rod. VERY expensive, but fabulously strong and easy to weld with, it will join almost any ferrous metal. About $5.00 per stick!
My .02 is that when you are using any rod with a high nickel content it is important to hammer the welds after you lay them down. During the post heat process lightly hammer the welded area to stretch the weld, so to speak. I have no idea if there is any science behind this at all but every old timer I knew did this when welding cast or using nickel rod on hard plate. I have welded some fairly violent equipment in the mining industry using the techniques above, including hammer welding, and had good results.
This makes no sense to me, hammering the weld will not help penetration but will remove the slag allowing you to see the weld. I would love to see a write up explaining the reason for this. I weld often but not for a living and was taught by a master with 30 years of pro welding for FORD. I never heard of this Hammer tech.
MG-600 rod (high nickle) is rated at 180,000 PSI with heat treatment. They suggest a POST weld heat treatment with slow cooling, also at 400°.
I don't know about the hammer treatment. Maybe...
1. Clean the heck out of the area to be welded. DO NOT USE ANY KIND OF BRAKE CLEANER! Starting fluid is okay, just let it evaporate.
A sign of improper pre/post heating is hearing a very light tinkling/pinging noise from the HAZ (heat affected zone) after welding. That's the sound of microscopic cracks forming because the metal is cooling too quickly.
Why no brake Cleaner? I presume you mean charcoal starter and not starting ether, LOL!
I hate that sound! Reminds me of the last time I tried welding a chainsaw case- thats about the only thing I've never had luck with, have you ever tried it with any luck?
what paint did you use on the handle/ tank?
This makes no sense to me, hammering the weld will not help penetration but will remove the slag allowing you to see the weld. I would love to see a write up explaining the reason for this. I weld often but not for a living and was taught by a master with 30 years of pro welding for FORD. I never heard of this Hammer tech.
Rustoleum plastic primer followed by Rustoleum High Performance Enamel. Baked the whole thing in the oven for a few hours. Going to wet sand and clear it with a super thick marine type bilge-coat later. The white is a little bright, but I'm okay with it right now.
Phramer Phil used the correct term of peening. He also got it correct with the fact that it seems to relieve stesses during the cooling process. My terminology was wrong I suppose. Hammering a weld would be used more for controling panels from warping when welding sheet metal. I find it odd that nobody has really heard of this. Maybe not younger welders, but every single older welder I know is familiar with it. Sorry for the derail. It is impressive the knowledge and skills that some of you guys have. Please don't take that as being sarcastic. I mean it sincerely.
what temp for baking plastic? my ovens low is 175
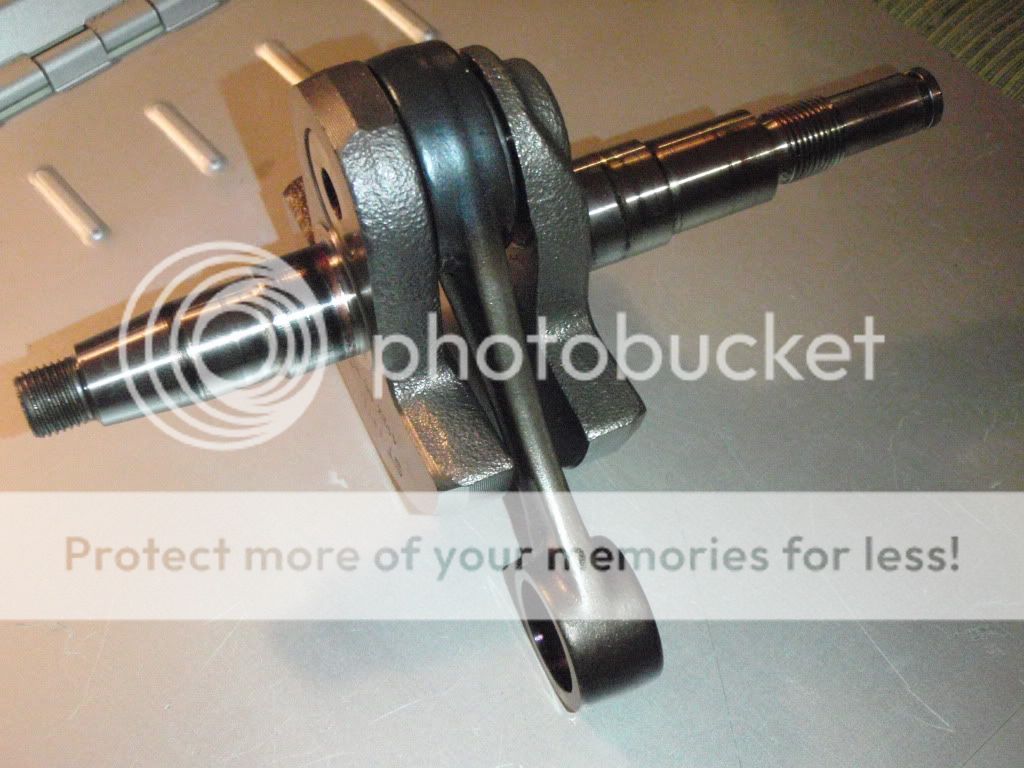
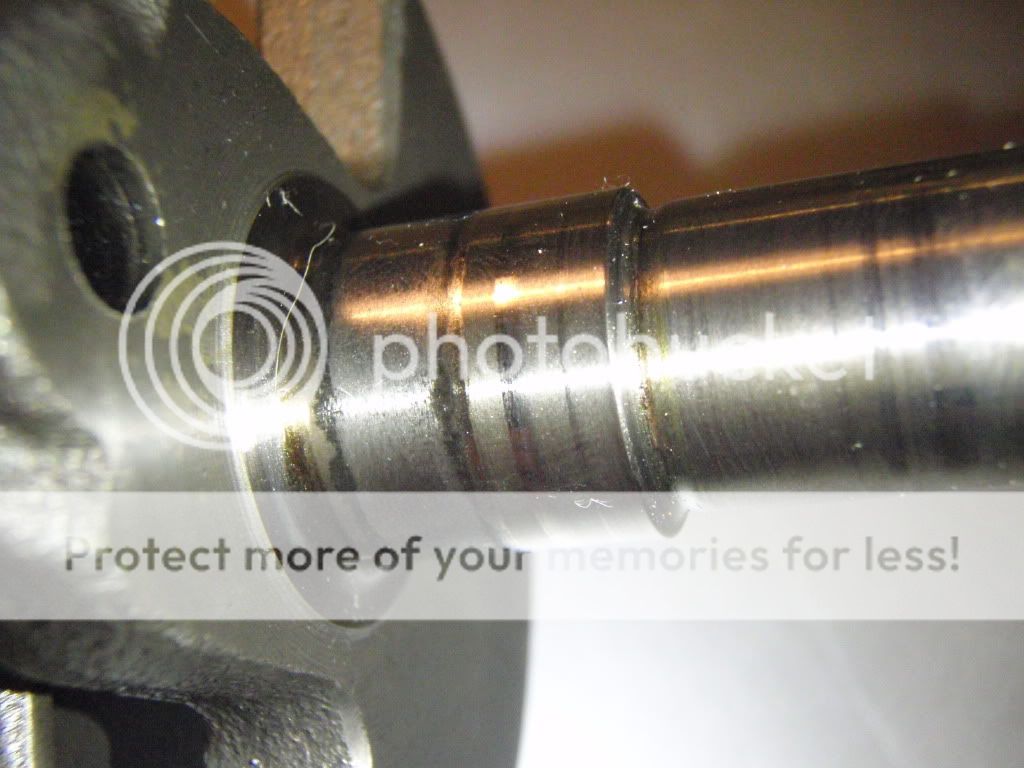
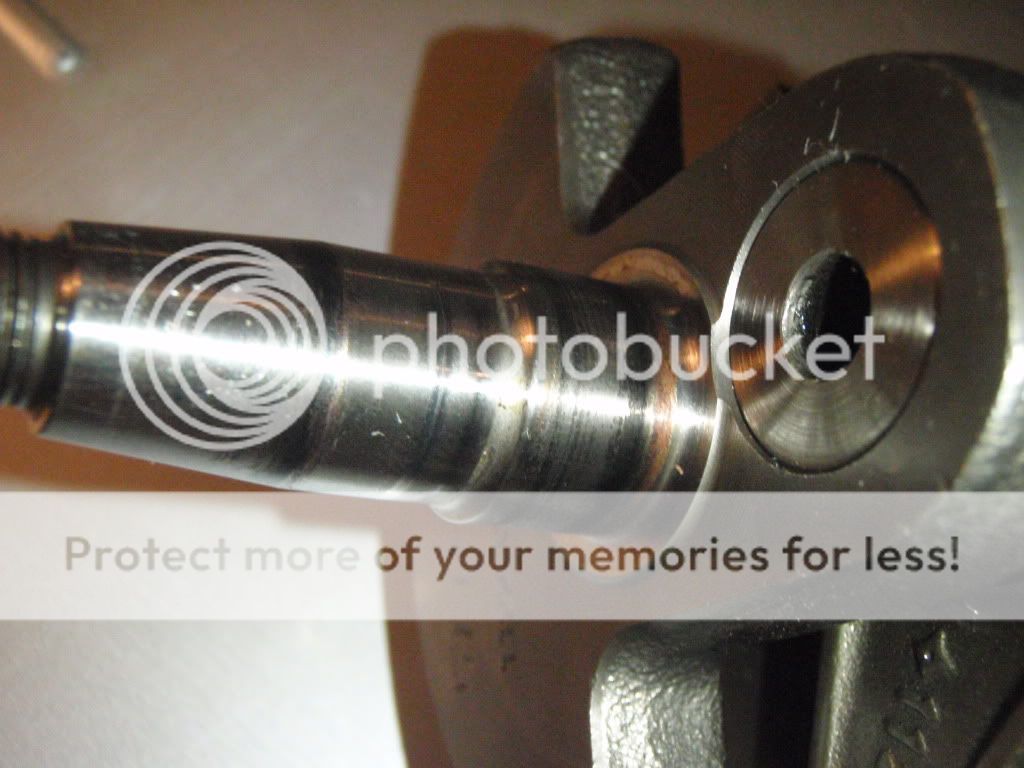
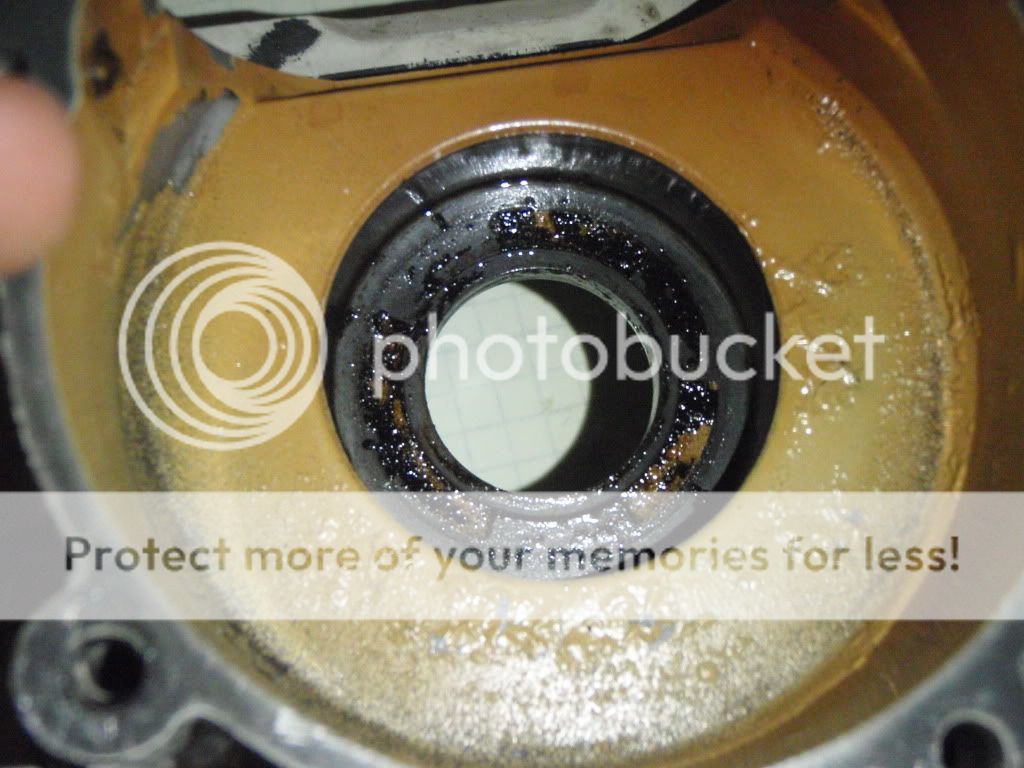
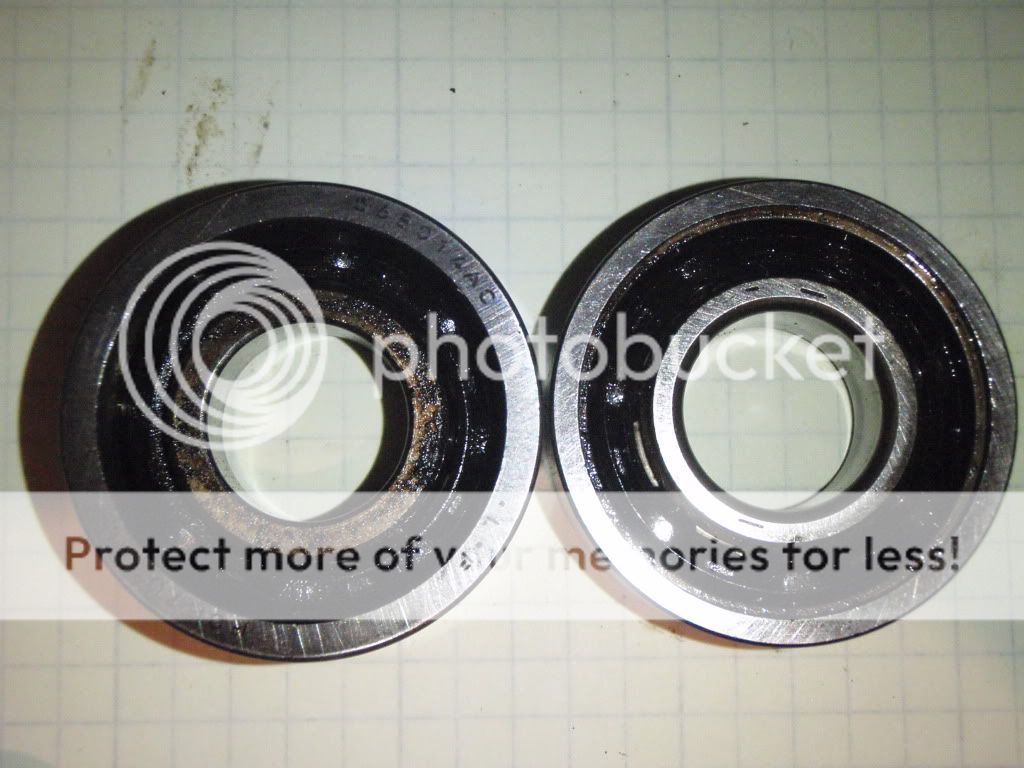
Pressed the crank out:
Bearing is still a little gritty for my tastes after pulling the seal and flushing the flywheel side.
WOW -that is Article is sure good to know. I have used Brake clean (I wont anymore!) with MIG/Carbon Dioxide setup and the smell was bad, luckily I was outdoors and using the carbon dioxide and not the argon mix. I do have Tig which I use Argon with, I just never used the Tig with the Brake Cleaner. You probably saved me a trip to the hospital OR WORSE!Why brake cleaner is bad:
http://www.brewracingframes.com/id75.htm
Correction: I use starting fluid sparingly. Most of the time it isn't needed. I also weld outside and with a fan if at all possible when using flux-core.
I have yet to weld anything magnesium via any process (what was your case made out of?), but I'm sure that I could learn to TIG it given enough time.

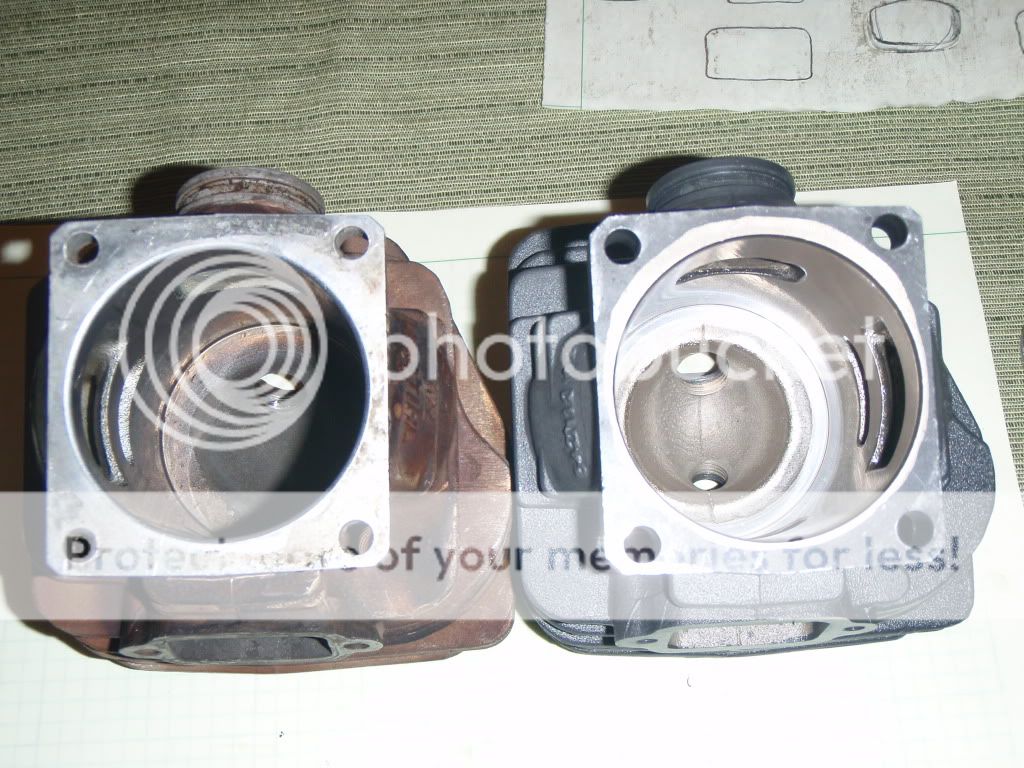
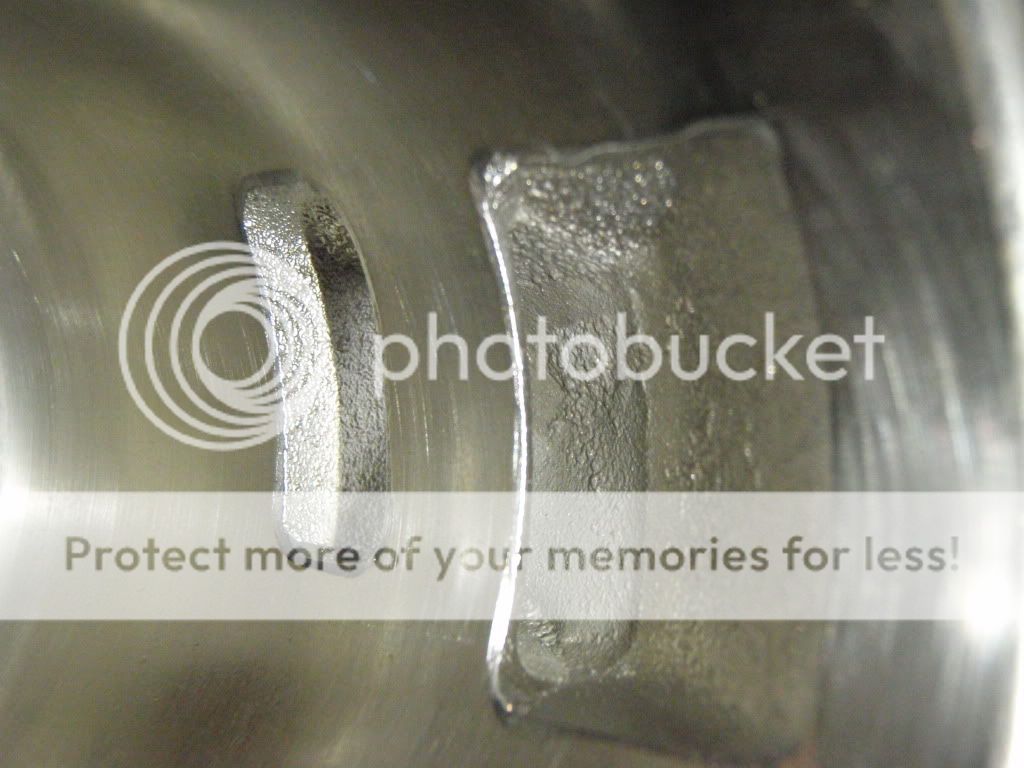
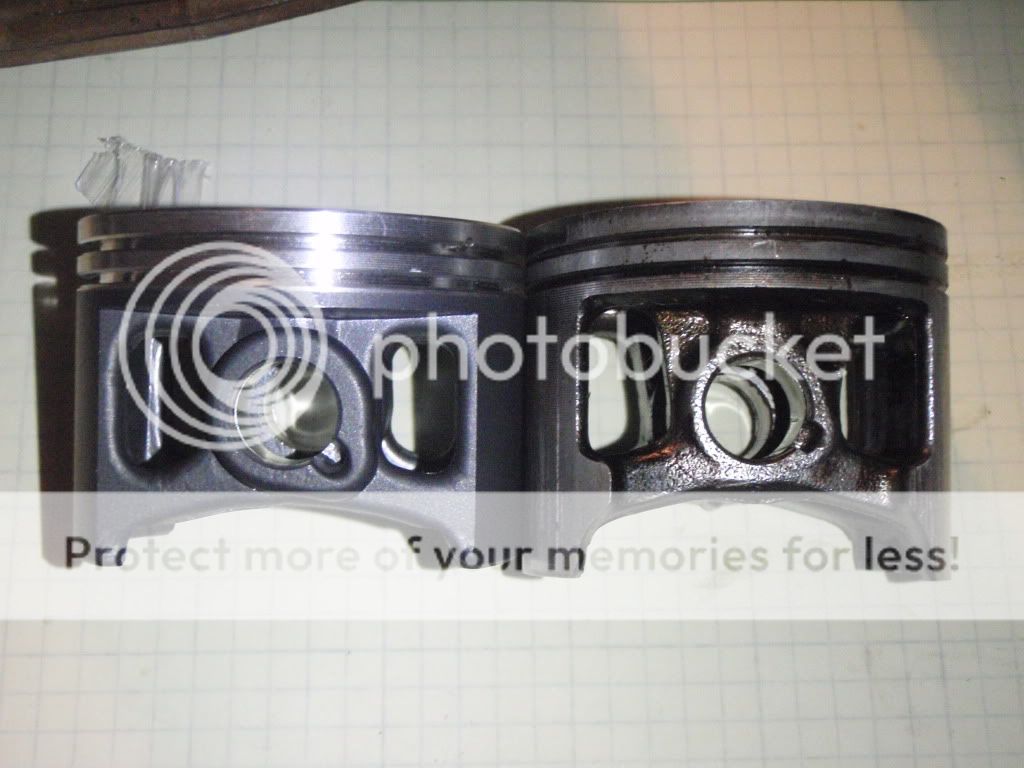
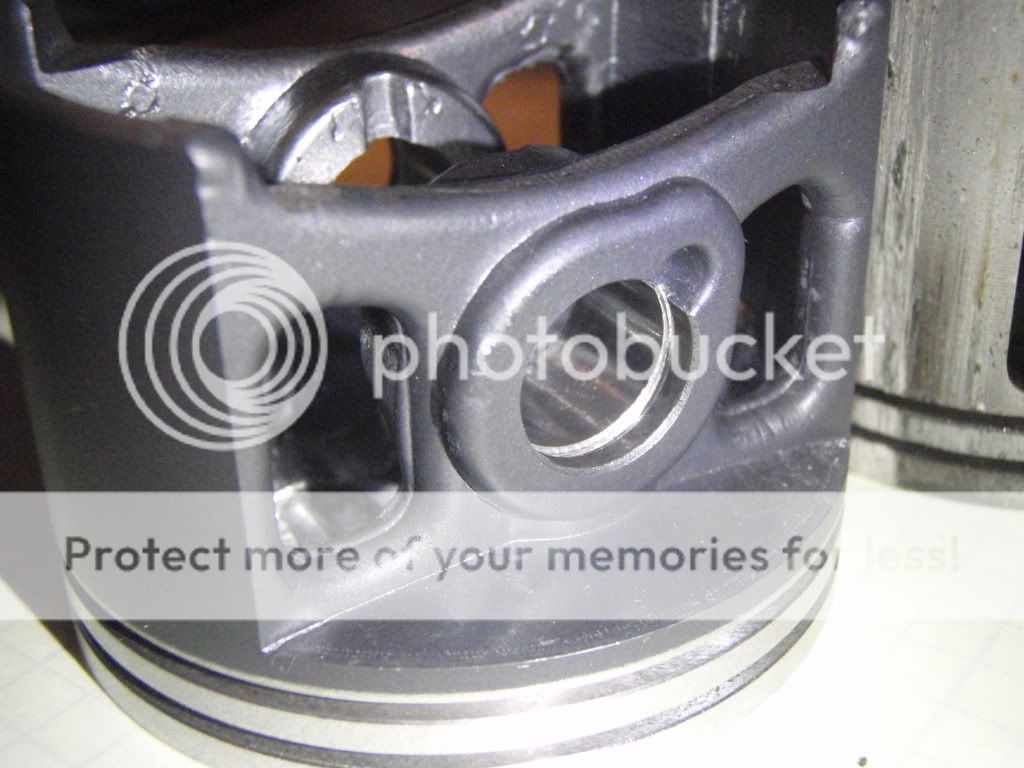
In my past job at STIHL Limited I have seen hundreds of these. You have a couple of problems, the first is the cylinder, it has been ingesting dirt, either past the filter, through the filter. The chrome is worn off the intake side of the cylinder. The piston will also been badly worn. The second problem from the pictures is that the saw has been run at some point with the chain brake in the fired position. This generally happens when the operator does not read the owners manual and starts the saw with the chain brake on, (which he is supposed to do) but forgets that the master control lever is in the fast idle position. The saw is running at 10,000 rpm at this point. The heat transfer is high and once the brake is reset the heat from the brake band will melt everything that's plastic.
Other problems noticed is the exhaust side has definitely started to lean seize. The tech must realize that there is 17 items on that saw he has to check in order to find the problem, this can be done in 20 minutes. Sorry for the long message.
")
Enter your email address to join: