Husky 455 to 460 upgrade and porting

Arborist Forum

Help Support Arborist Forum:

This site may earn a commission from merchant affiliate links, including eBay, Amazon, and others.

mettee

ArboristSite Member
Joined
Apr 2, 2018
Messages
70
Reaction score
56
Location
Arizona
Hello all,

New to the forum, just got a saw in trade and I plan on cleaning it up and seeing what I can get out of it. The saw is a 2012 455 rancher(I know not the best but its what I got). 24" bar, chisel chain, full skip. I will probably keep a 24" bar on it long term.

I am starting off with all new lines, the gas tank line already fell apart. My plan is to grab a 49mm cylinder and piston assembly from Baileys model HVP 537 32 05 01. Tell me if that is the wrong one :)

Once I have that I will probably test port the current piston, as another member suggested(@Terry Syd). Once I have that down I will do the 49mm set up.

Does this sound right? Thanks for your input, I will throw pics up as I go. I dont see very many detail images so hopefully I can share some good stuff.
 
You can make the mods very easy if your not confident on grinding on your own jug. You should use the degree wheel, but you can hack this mod.

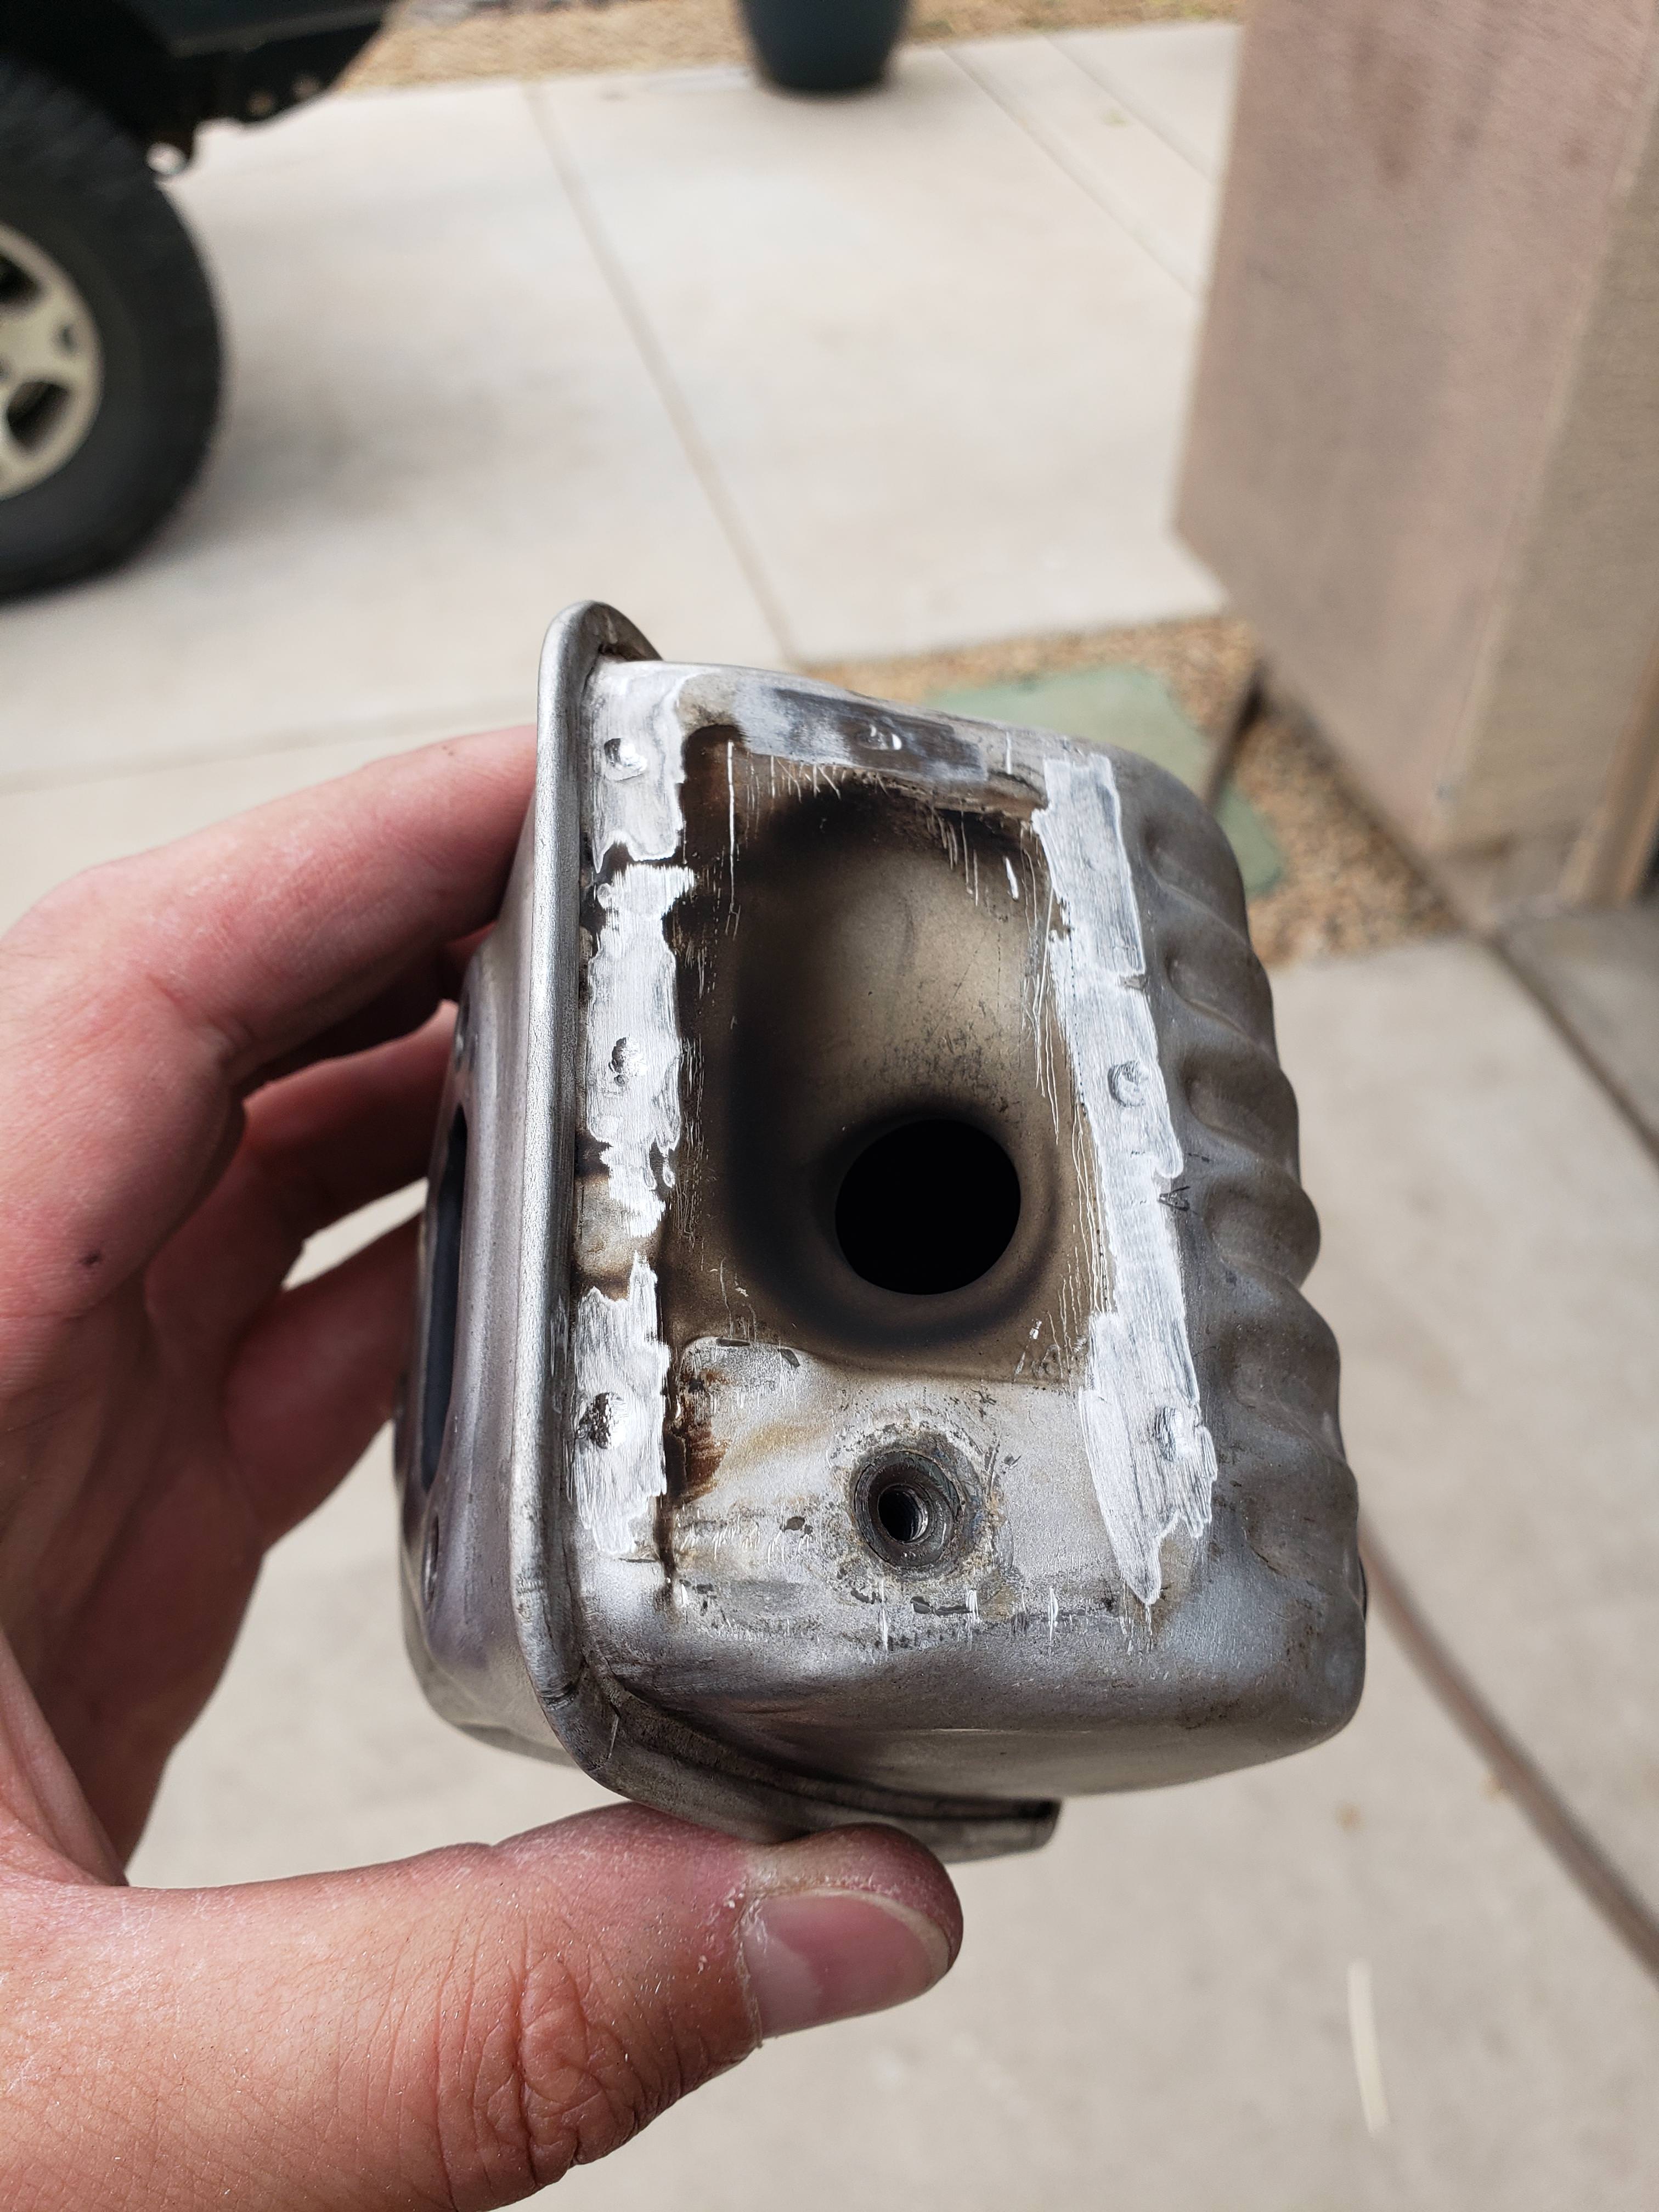
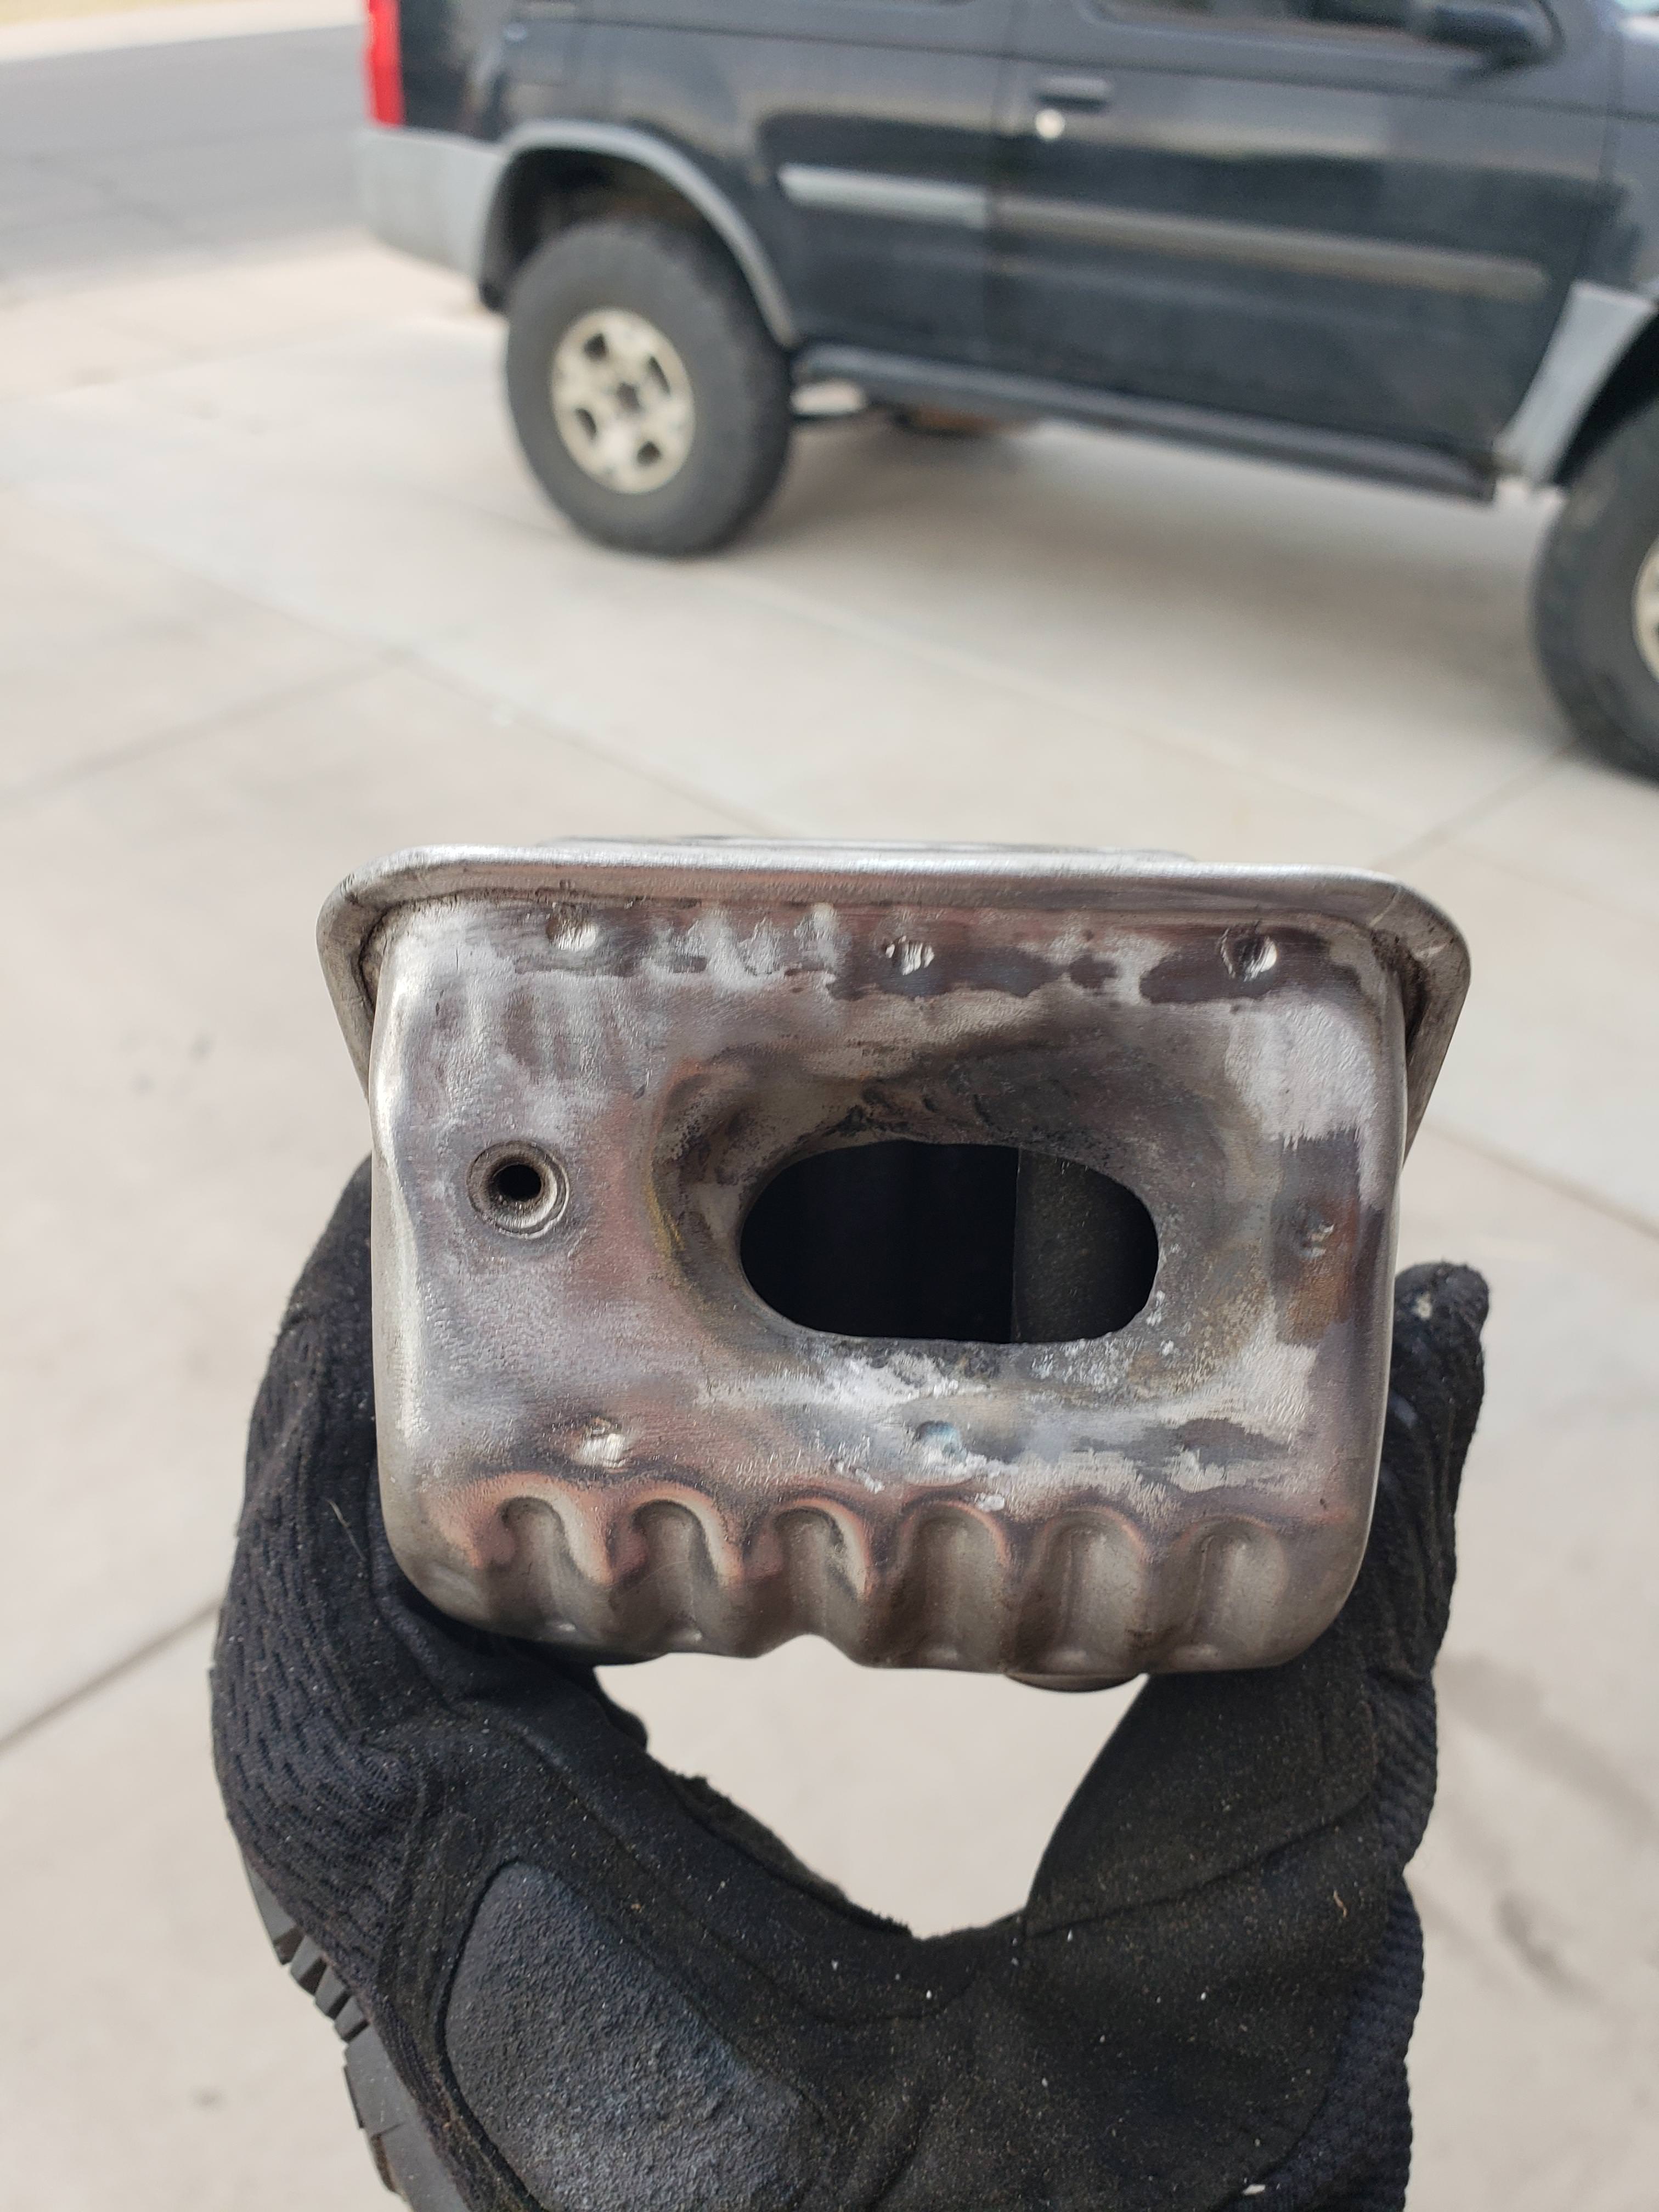
The muffler mod - those three mounting tubes that the muffler bolts go in can be converted to outlets. The best mod is to drill in from the outside and open the tubes up on the side opposite the exhaust port, that will keep the muffler quieter. Then you weld/braze a patch on the outside of the muffler where you drilled in.

The cheap and nasty way and which will make the muffler fairly noisy, is to just reach through the exhaust port opening and grind the holes in the tubes.

Also open up the existing opening as much as is reasonable. Finished the muffler mods.

Now the trick of porting without grinding - use the piston. Remove one of the transfer covers and watch when the strato cutaway appears over the bottom of the transfer port opening. Now look at the intake port, it will still be closed. Start trimming the back of the piston skirt until the intake port opens the same time as the strato port. You are finished with the intake mods.

Mount the degree wheel and watch your exhaust timing. Trim the edge of the piston at the exhaust opening so that the exhaust opens two degrees earlier.

Or, nip .5mm off the edge of the piston and call it good. Finished with all mods. Bolt it all back together and re-tune, cut wood.

If you screw it up, all you have to do is buy a new piston.

EDIT: To raise the compression ratio a little bit, purchase a Champion RCJ6Y plug, cut the gasket off of it, make a thin gasket from a beer can. Install.

Cred to Terry Syd
 
I put in my new fuel line today and she is back up and running.

So I think my next step is to make a degree wheel and a piston stop. Then I can take the saw down and clean it up and start the port on the 47mm piston.

So on these saws, do you not mess with the intake and exhaust ports?

I feel like I am talking to myself :)
 
I’ve had a 55 rancher and a 460 rancher , the 460 is a clamshell design , I’m not qualified to explain the way it’s designed to work but not sure if you can port that saw. I did a muffler mod and that helped it out a decent bit.
 
I’ve had a 55 rancher and a 460 rancher , the 460 is a clamshell design , I’m not qualified to explain the way it’s designed to work but not sure if you can port that saw. I did a muffler mod and that helped it out a decent bit.

Holy cow I got a response :)

I just noticed this thread..

https://www.arboristsite.com/community/threads/husqvarna-460-rancher-porting-and-muffler-mod.191831/

Seems like more is possible but it takes some guts and some skill. I'm not afraid to grind on anything, haahhahaha. There are many other strato charged saws I assume that the 455 and 460 saw do have limitations over other strato saws.
 
The 455 ports up well!!!! Have never used the “ just piston” way but makes sence.
What I did was raise and widen exhaust. Couldn’t do much with intake, I did trim the piston for more intake timing. I raised the transfers and also worked over the transfer area on the piston. I also opened up the original muffler exhaust port to a point it would still hold the screen, and reformed it slightly and kept screen to keep junk out and USFS happy.
Very much worth the effort to mod. A VERYFUN saw!!!
 
Well once I get pics up I hope you guys will chime in with direction.

I do follow what you are saying you modified. If there is something I can do, I want to do it.

What is the ratio for the final exhaust outlet you want to hit? 73% of what the exhaust outlet is on the cylinder? I thought I saw that mentioned in the reading someplace...
 
https://www.arboristsite.com/community/threads/husky-450-limited-coil.117925/page-2

Good reading on coils here, wanted to save this where it can be found.

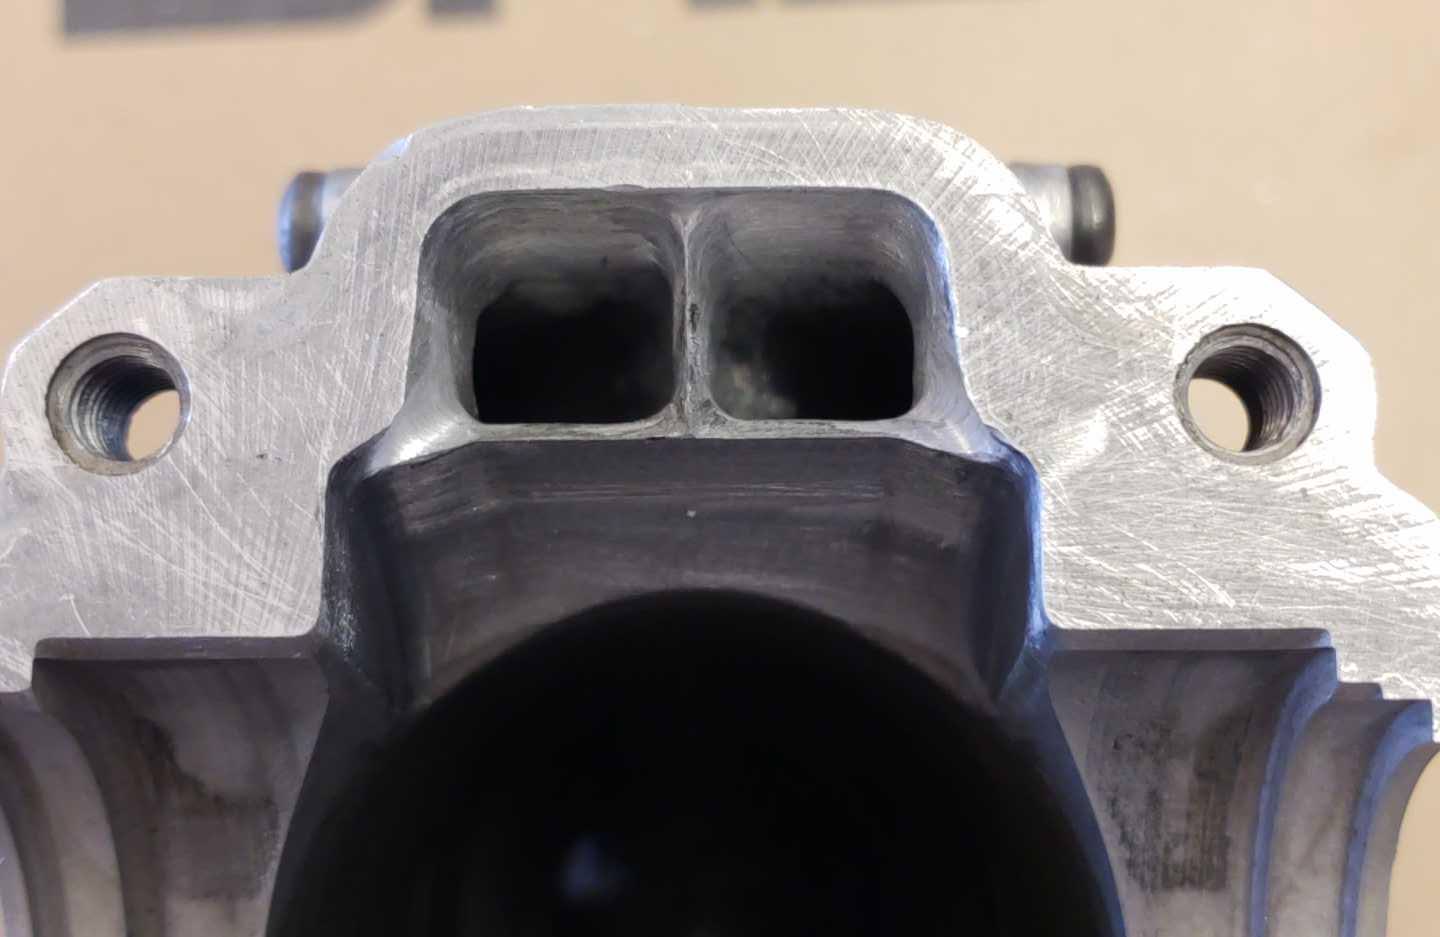
They're easy to mod and you can do all the work yourself. Muffler mod, widen the exhaust port, add two more degrees of blowdown and match the shorter intake timing to the same timing as the strato timing. That all they need to wake up their potential.

I've mentioned the 455 mods in a couple of threads. Essentially, match the timing of the strato and intake ports (the intake needs another 10 degrees of duration to match the strato). Nip a bit off the front of the piston next to the exhaust port - 2 degrees is all you need, or 1/2 of a millimetre if you are too lazy to degree it.

No, nipping a bit off the front of the piston next to the exhaust port increases the length of 'blowdown'. The saw needs a couple of extra degrees to raise the cutting speed.
 
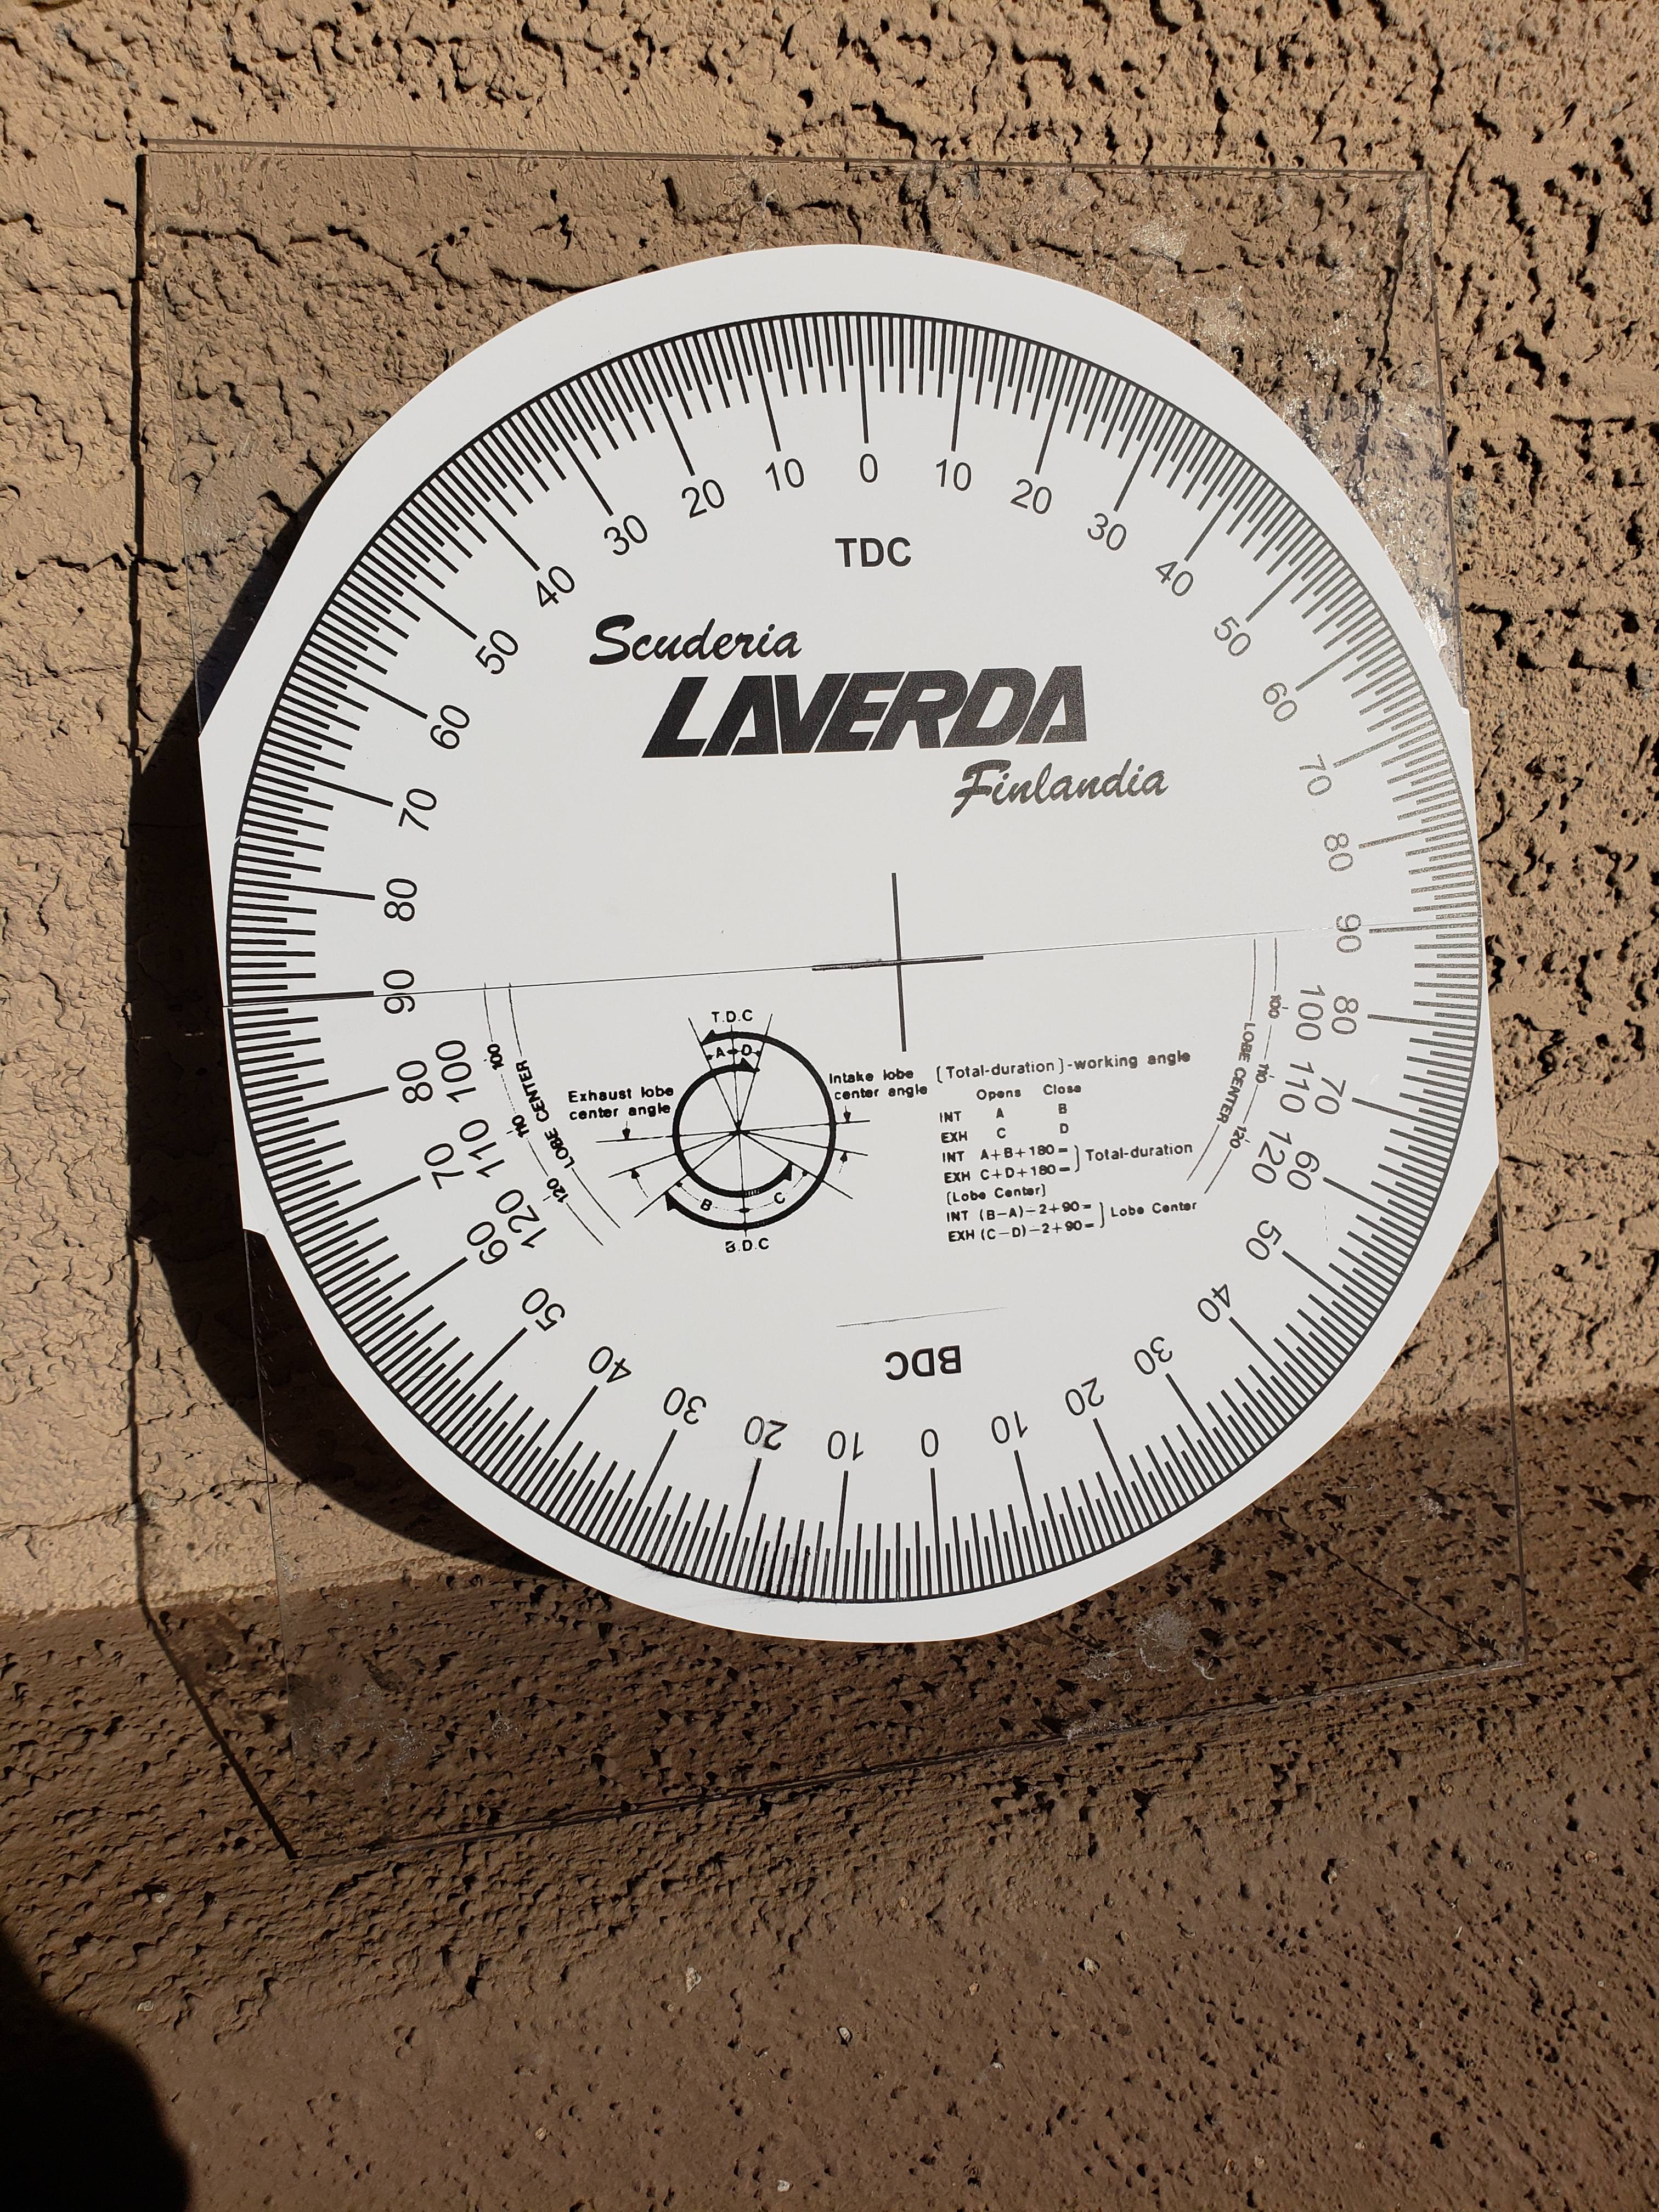
Just made a degree wheel. Cheap piece of lexan and an Avery weatherproof lable. I will drill a center hole and use a jasper jig to make it round(router).

e9wPfod.jpg
 
Hello all,

New to the forum, just got a saw in trade and I plan on cleaning it up and seeing what I can get out of it. The saw is a 2012 455 rancher(I know not the best but its what I got). 24" bar, chisel chain, full skip. I will probably keep a 24" bar on it long term.

I am starting off with all new lines, the gas tank line already fell apart. My plan is to grab a 49mm cylinder and piston assembly from Baileys model HVP 537 32 05 01. Tell me if that is the wrong one :)

Once I have that I will probably test port the current piston, as another member suggested(@Terry Syd). Once I have that down I will do the 49mm set up.

Does this sound right? Thanks for your input, I will throw pics up as I go. I dont see very many detail images so hopefully I can share some good stuff.

Use the search feature you BOOT!
 
xxR7jlv.jpg


JjphMTk.jpg

I'm gonna make a new cover, I was going to
keep the stock one but it needs more opening.
C6Si6Eb.jpg
 
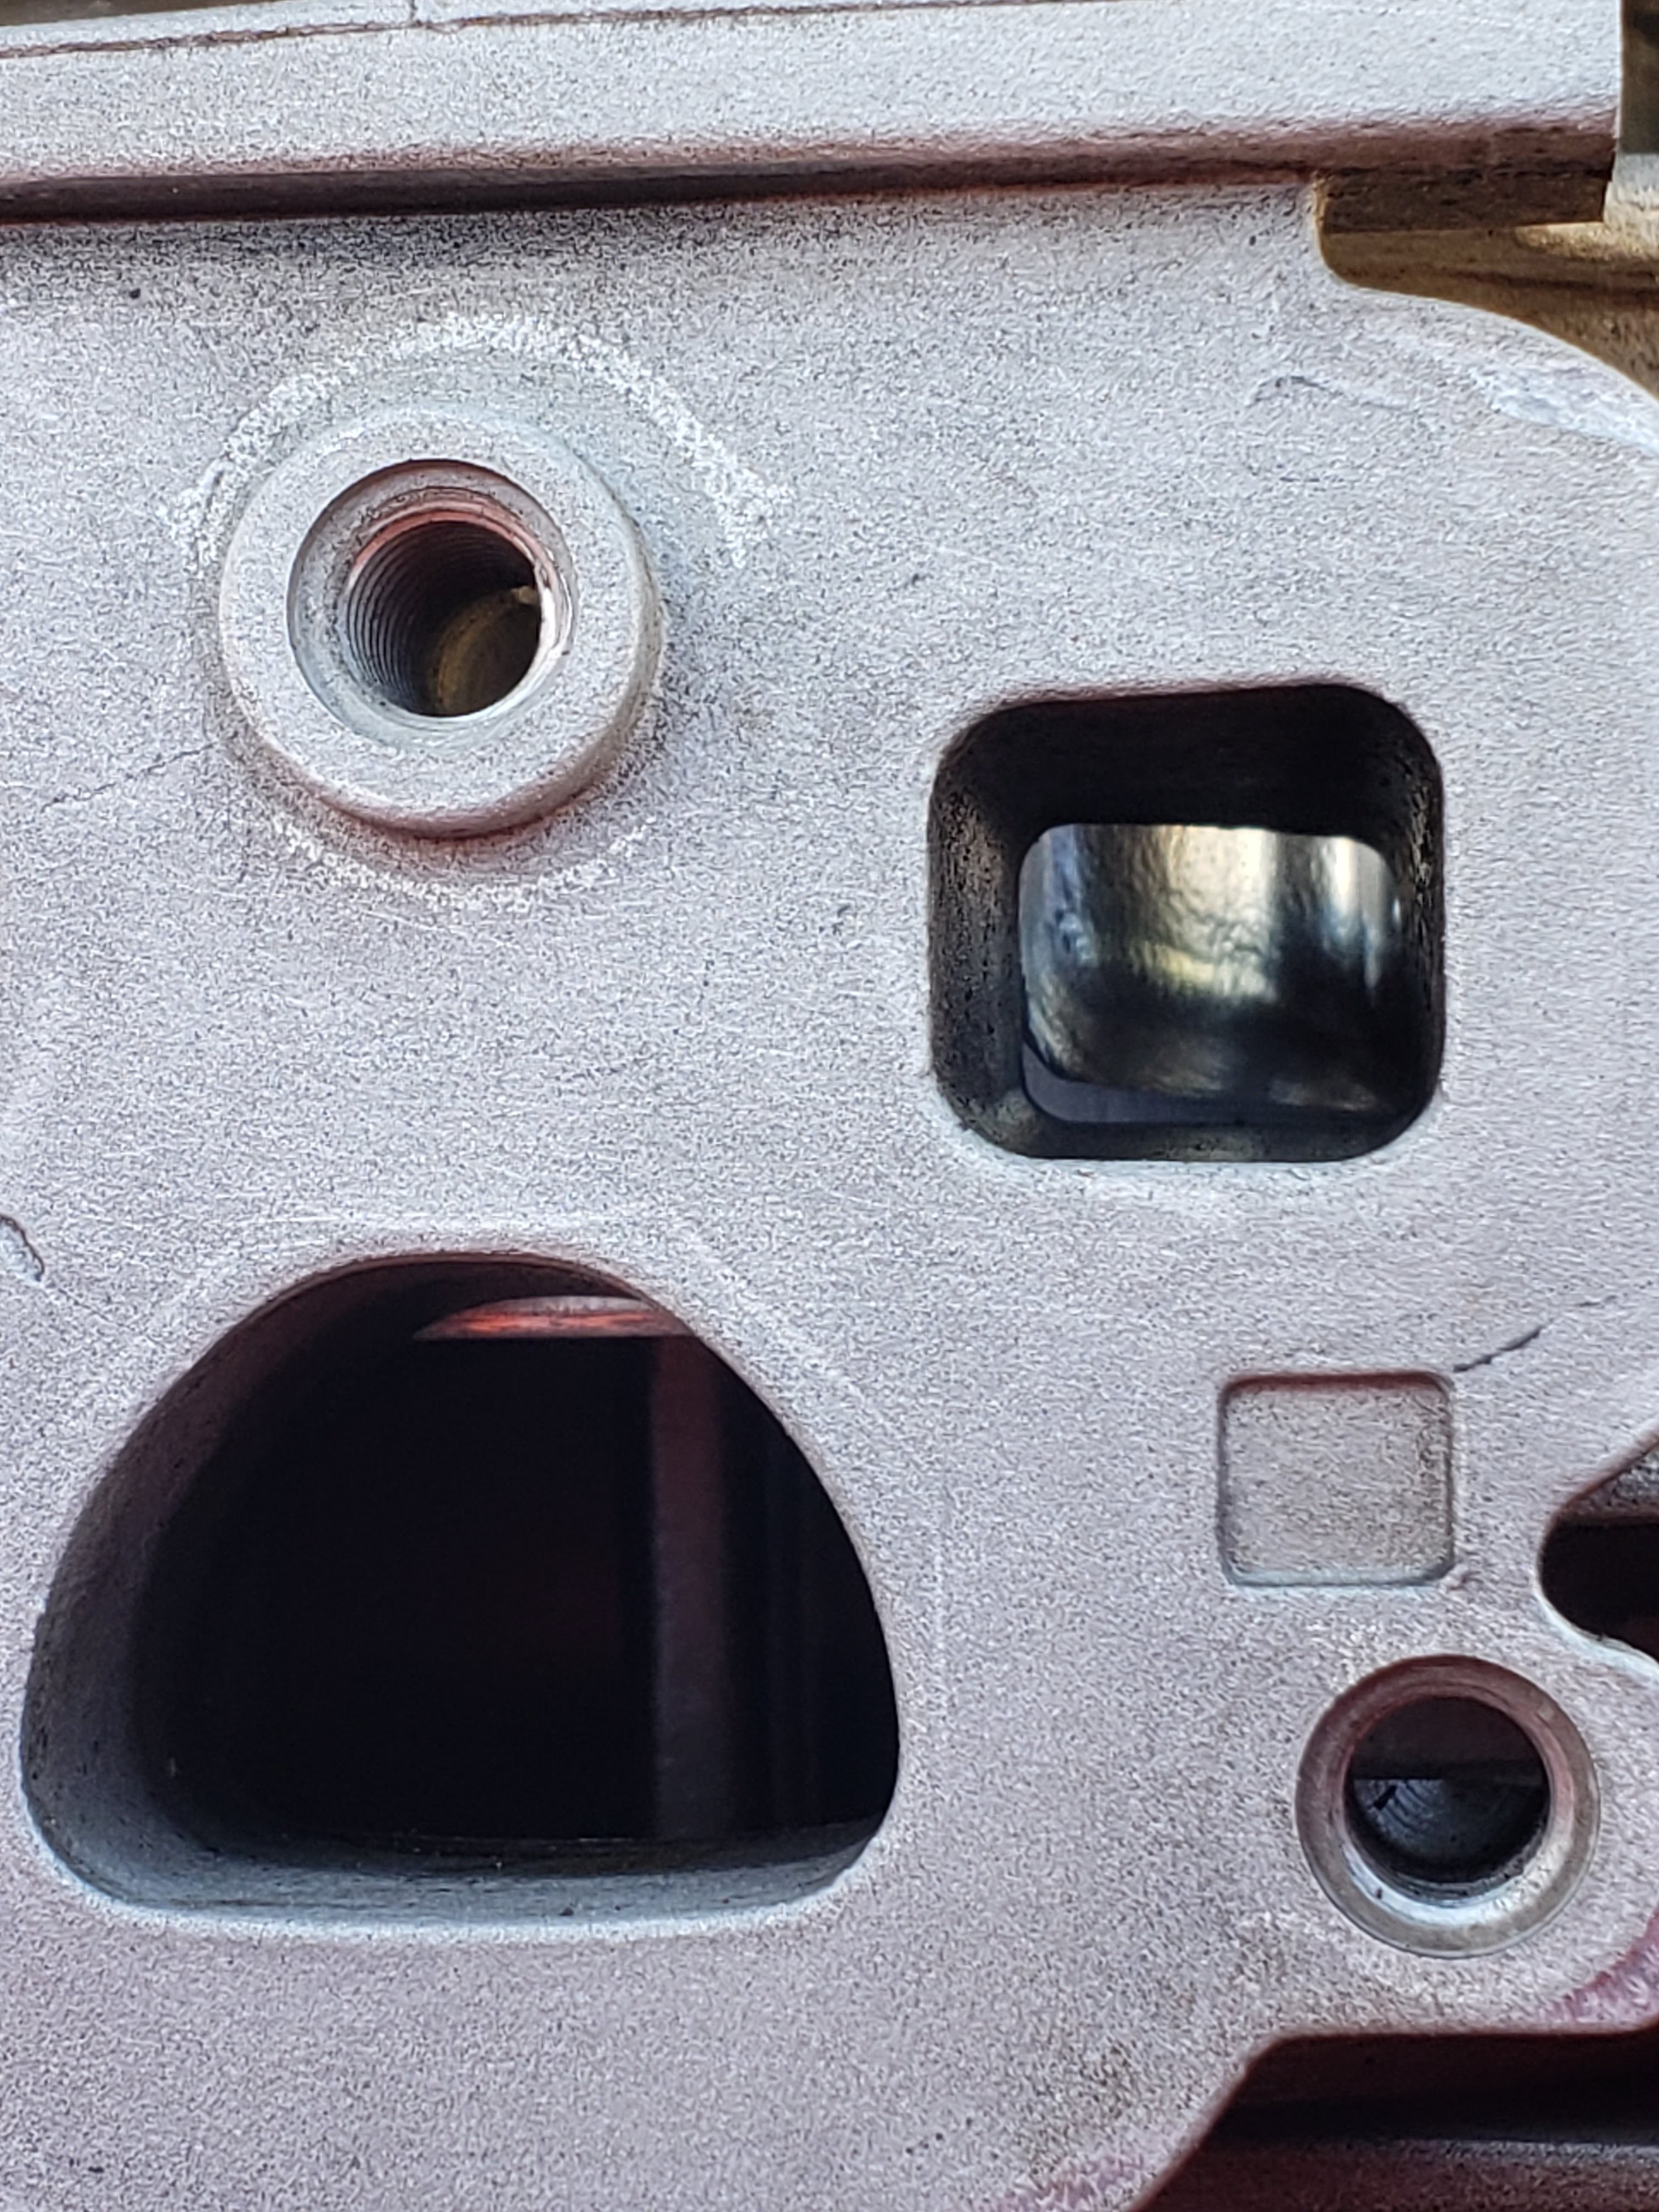
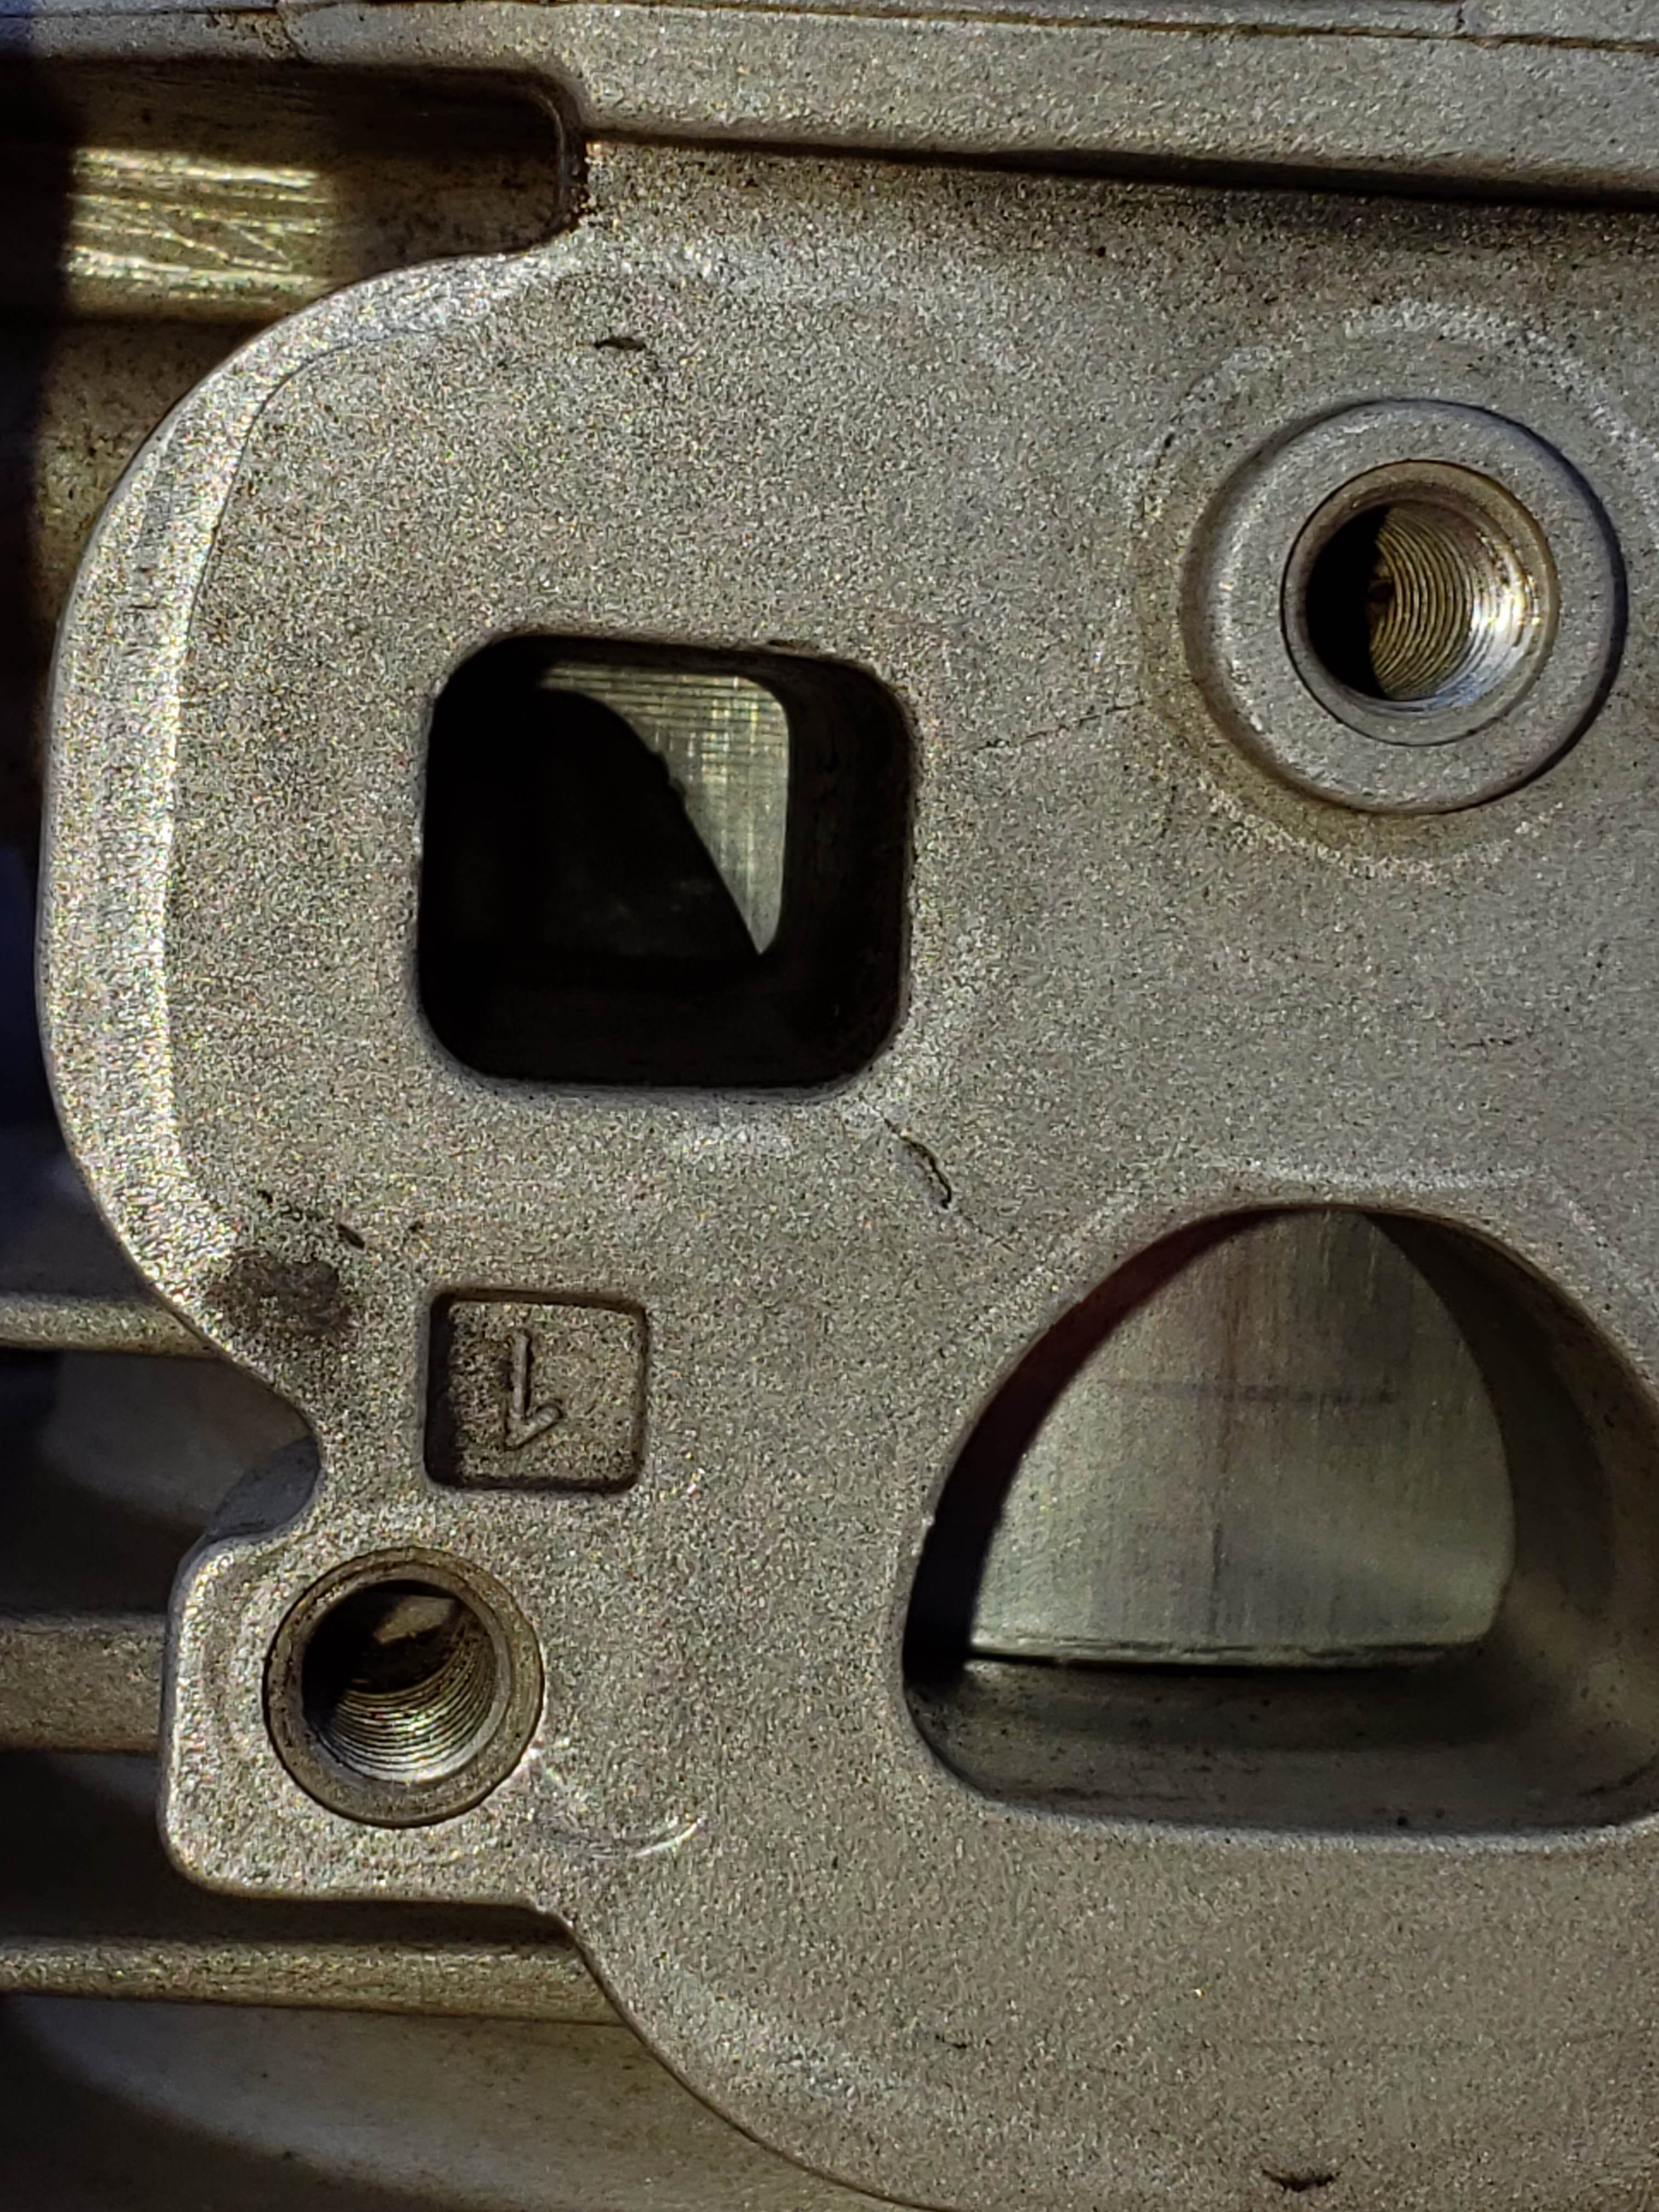
I improved the flow into the transfers, should work well. One thing I'm unsure of on the strato port, in the cylinder where they dump, is that where people have raised those ports? Or is it at the bottom like I have already done?
 
5GLrIUo.jpg


vST0D3V.jpg


There are these two events where the piston is in the way of either full flow of the carb intake or the strato ports on the piston. I'm trying to figure out if that's a valuable point to focus on.
 
5GLrIUo.jpg


vST0D3V.jpg


There are these two events where the piston is in the way of either full flow of the carb intake or the strato ports on the piston. I'm trying to figure out if that's a valuable point to focus on.

In the first pic quoted here, where the pison shows skirt shows in the strato port, mark that part of the the skirt with a marker or scribe it. Do that for both strato ports and where the skirt shows through the intake port, then remove the piston and grind those marked areas. I would probably grind the entire width of the bottom of the skirt to the height identified by the mark made in the intake.

No comment on what to do in 2nd pic
 
809C135C-0B50-4BA2-97D3-B68C63152538.jpeg
Just a little of what I did....
In the stratosphere port you can see the onerlap of the piston....I market that and removed that from the piston and just did clean up to the port itself,
The intake port I brought the top corners up to add volume of intake. I didn’t go drastic as I believe the ring end gap is in the center of the port. It was very noticeable what was done when finished. Make sure to really bevel and smooth the edges of the port.
I also took 20 thousands off the bottom of the piston where it opens on the intake.
 
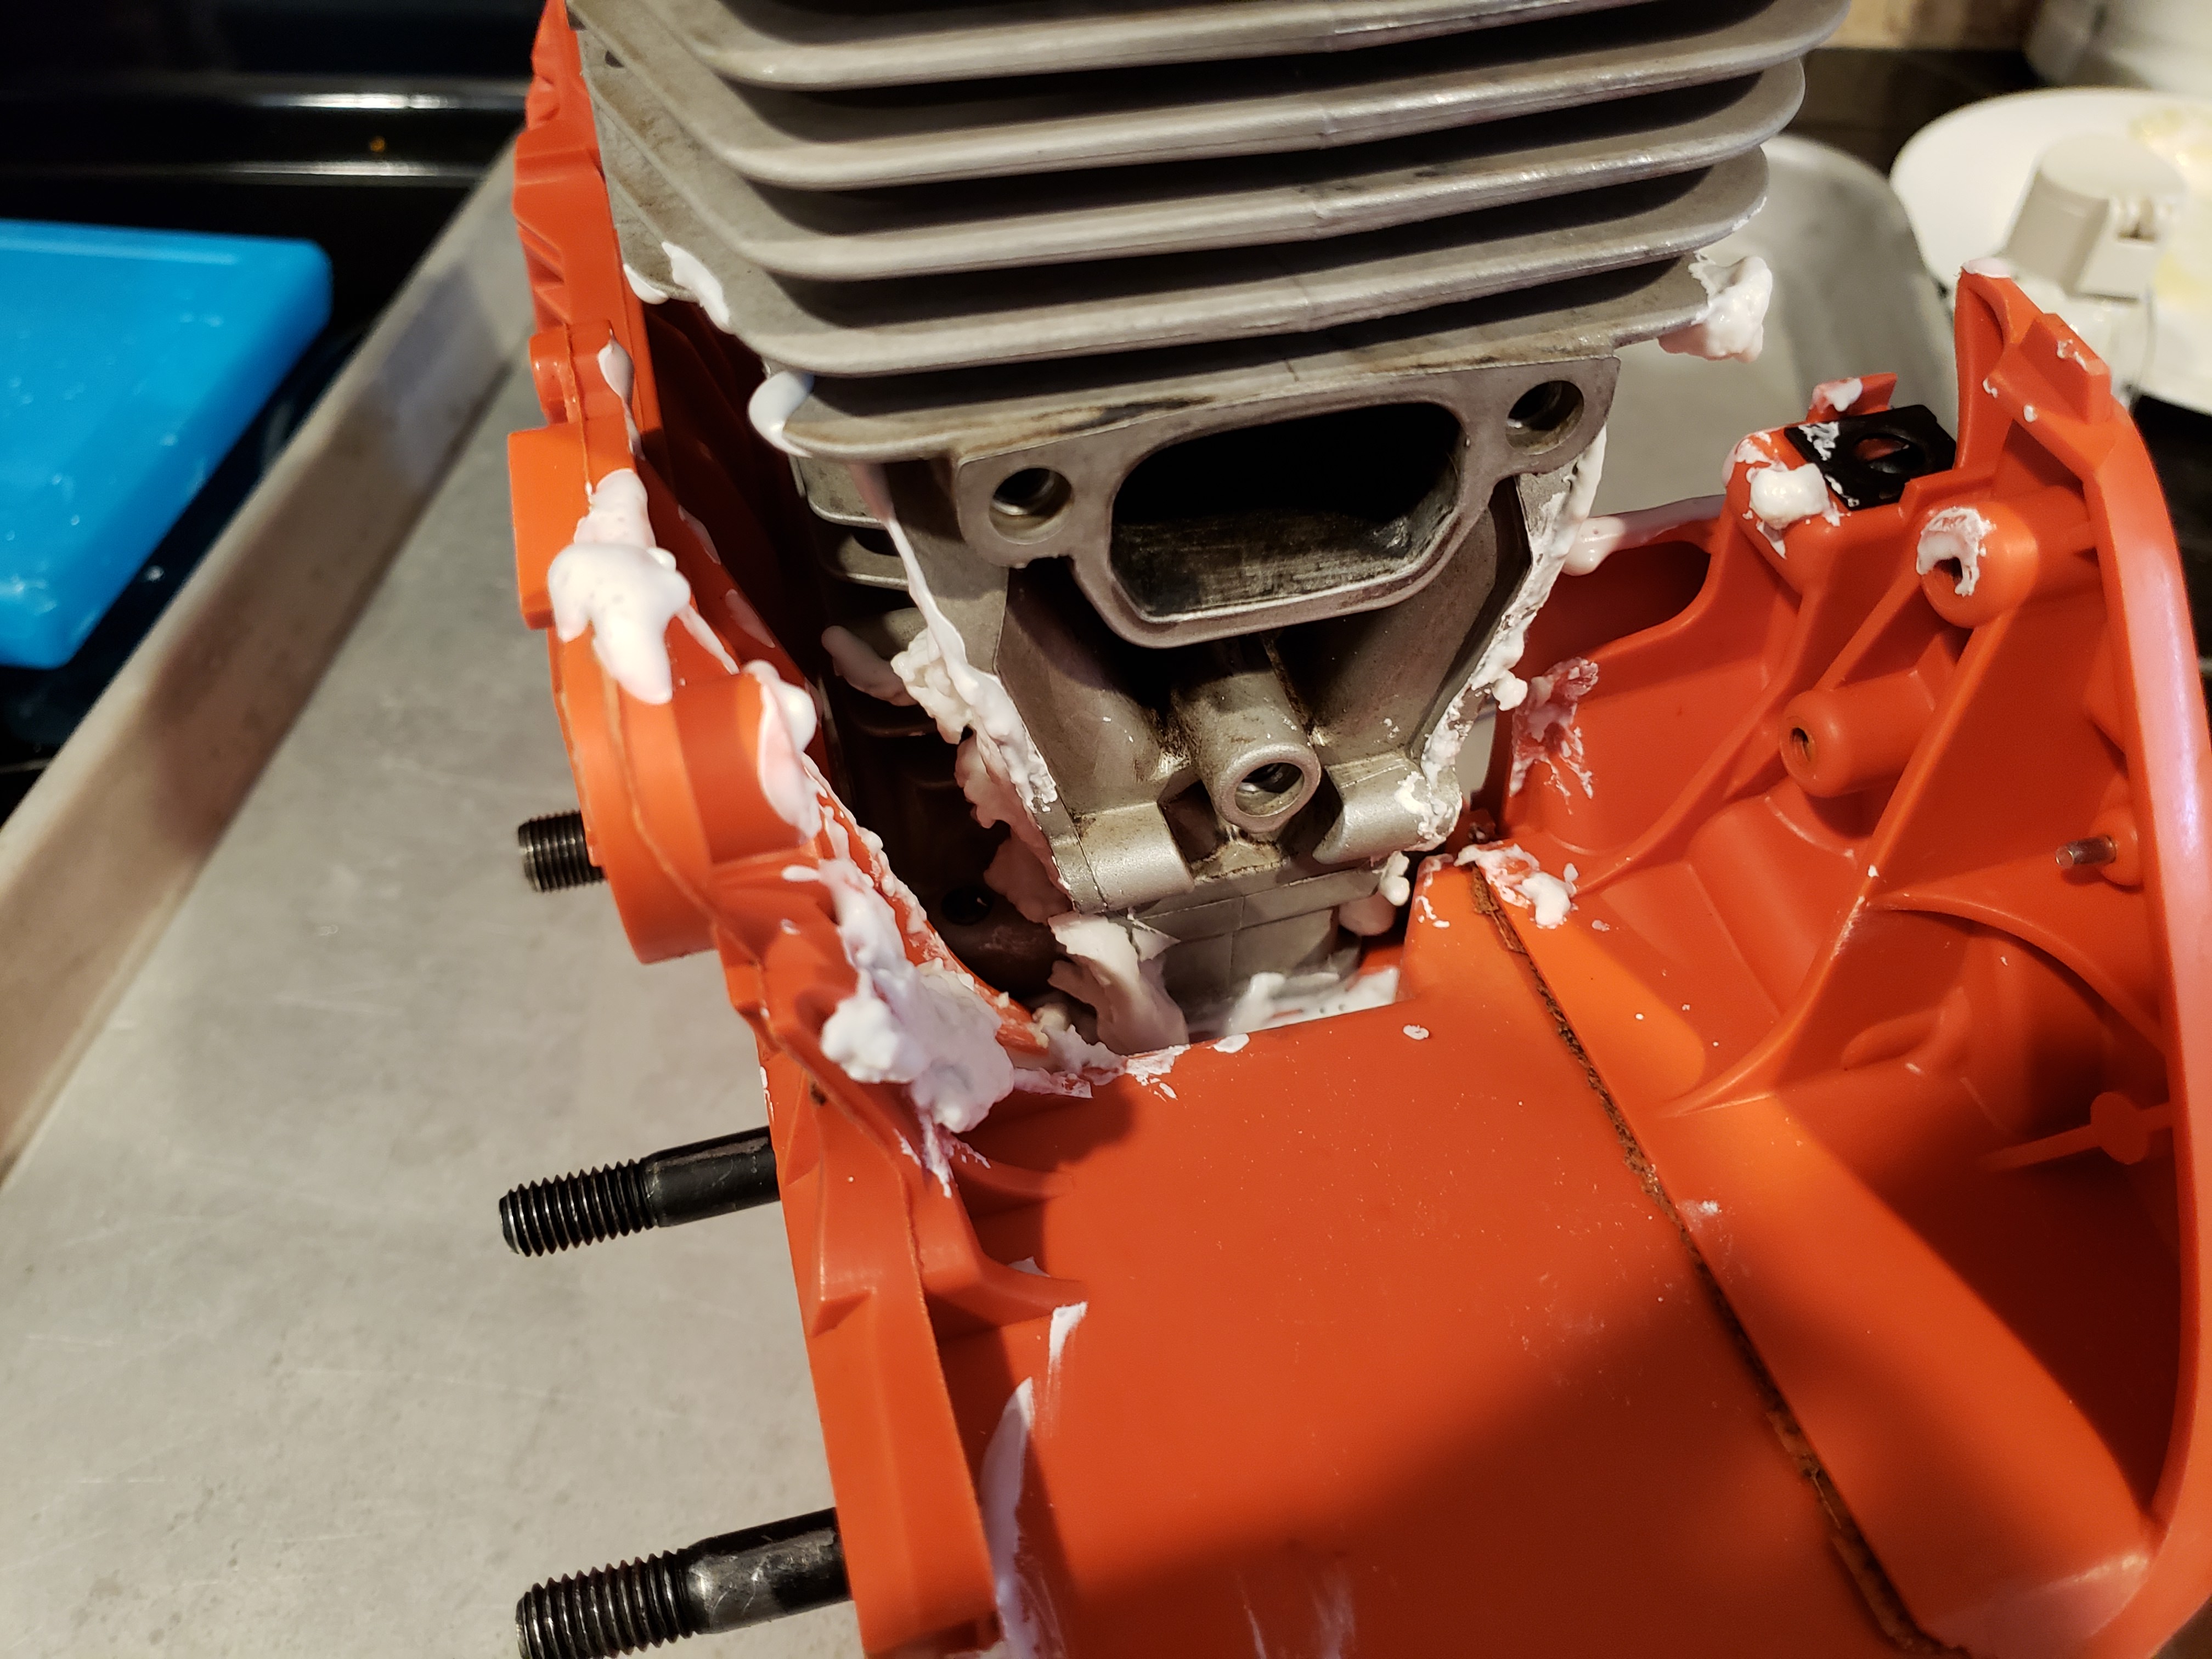
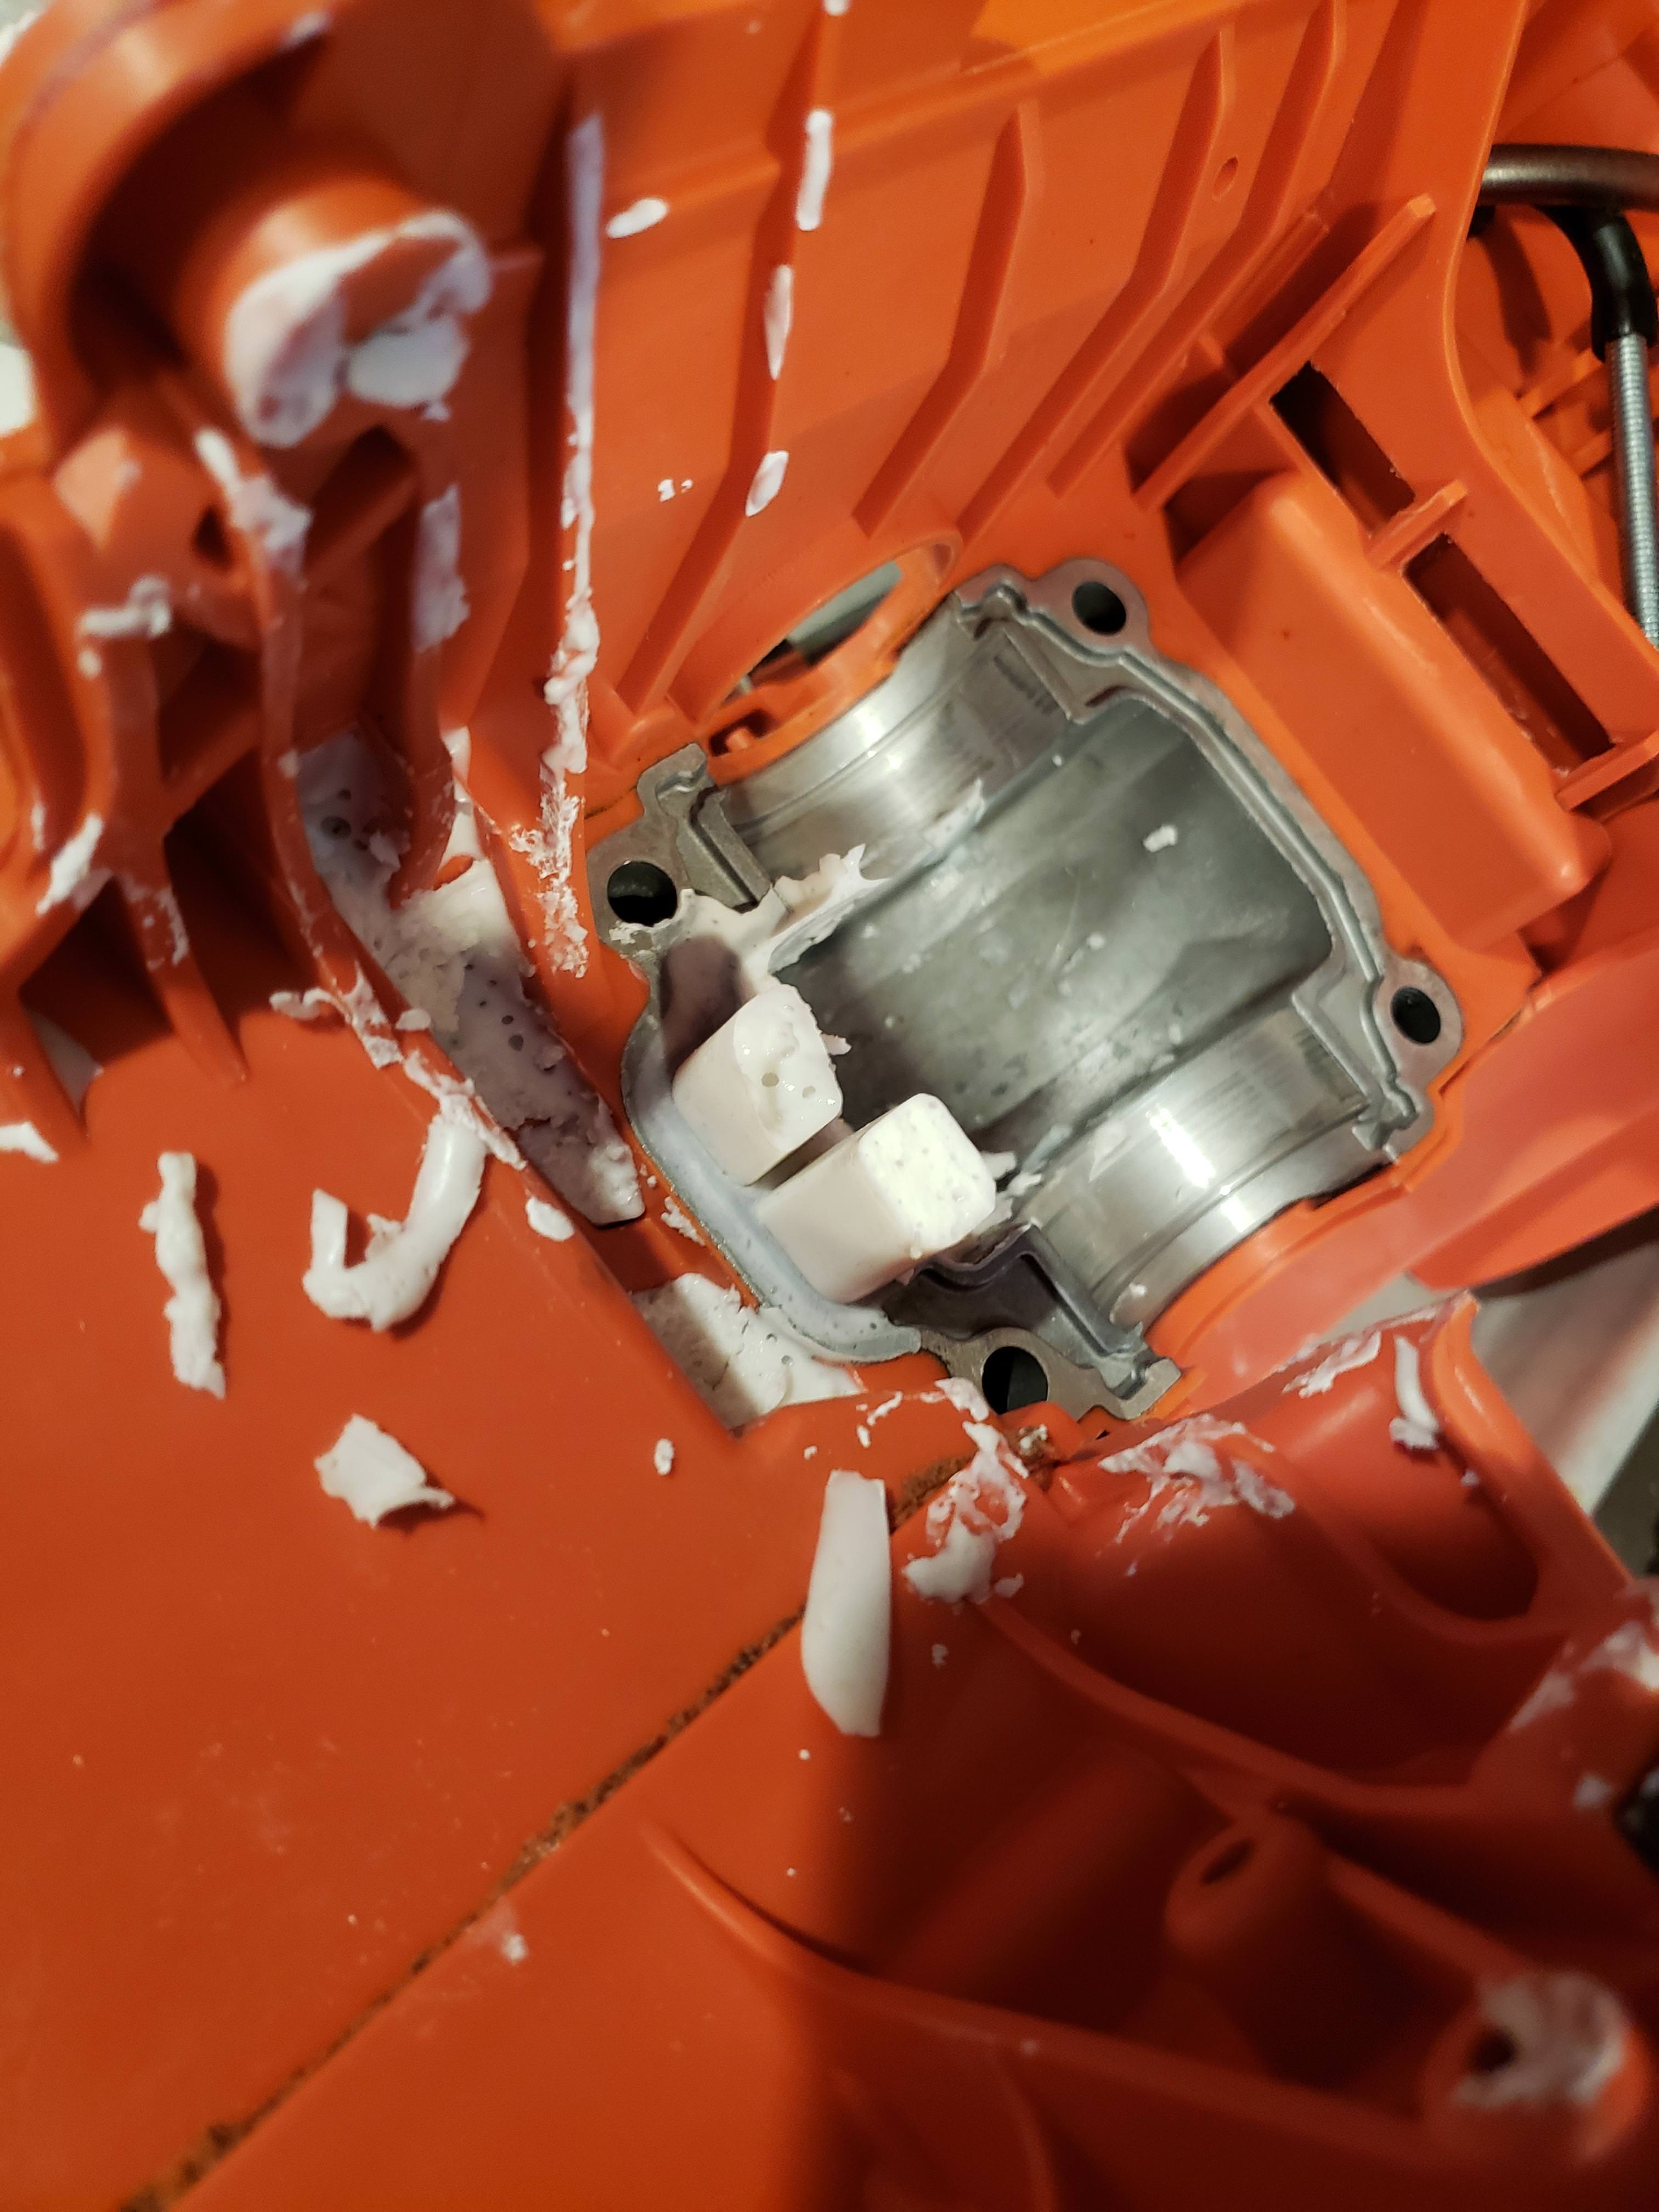
Here's what I did in the low transfers, I wanted to see how the casting lines up.


Like buck said what a mess, but it cleaned up easy.
aXzmAoE.jpg


wPCk2Mg.jpg


The casting is pretty good as far as being accurately aligned.
abTgbKD.jpg
 
Back
Top