Huztl / Farmertec ms 440

Arborist Forum

Help Support Arborist Forum:

This site may earn a commission from merchant affiliate links, including eBay, Amazon, and others.
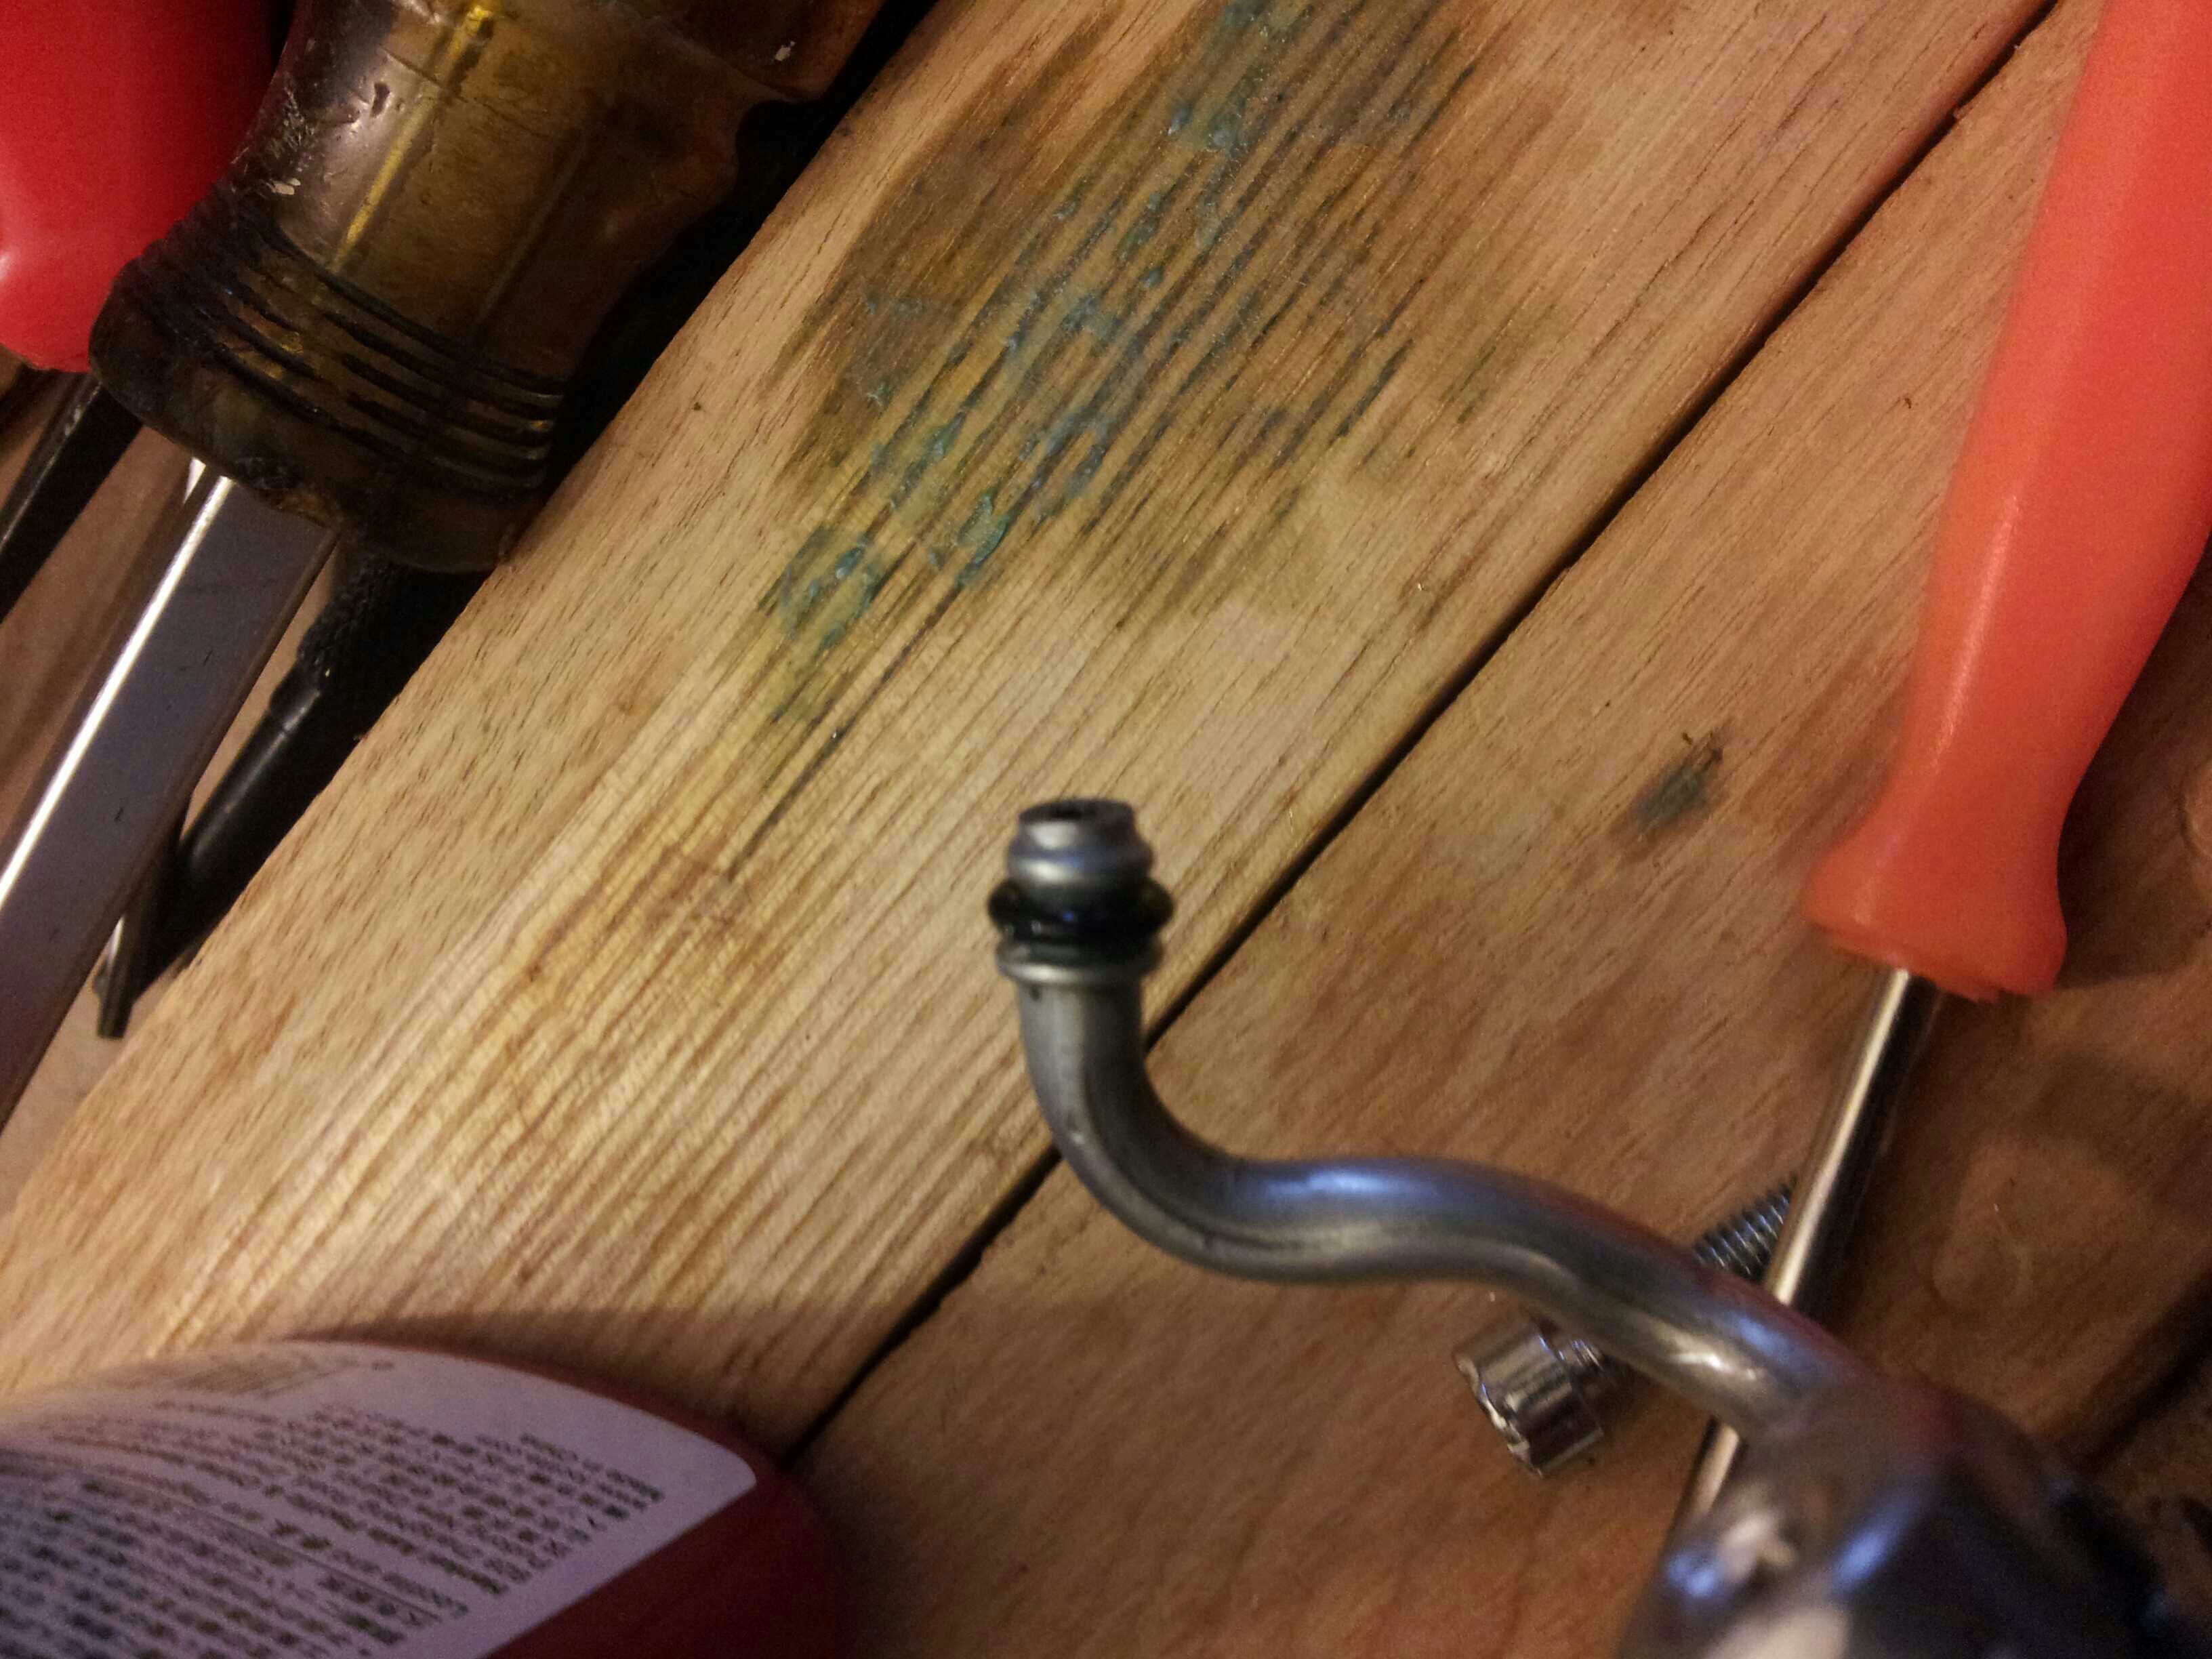
I took quite a bit of time getting my oil pump to fit properly. A fair amount of futzing with the tube that goes from the pump to the hole in the crankcase. The tube had to go in and just about bottom-out in the machined hole in the crank case before I could get it all to fit and work together. You might check to see if that tube on yours is all the way seated.

The pump oils the 25" bar I put on it quite well.


Anybody have issues with the oiler? Worm gear?

I have the sleeve greased and installed. I installed and reinstalled the oil pump several times trying to get the worm in place.

Finally pump first as normal and played with worm until it caught.

It's tight as dicks hat band. I looked closely to see if the threads were off but it seems pump it not properly centered around crank and that would bind up the worm. Screws are in but very tight. I wonder if that little pipe is whacked out

I have walked away from it for now
 
That is exactly what I felt like it was that little arm. I will fix that problem. The way the pump body was off center and there is that arm...Very suspicious indeed.
 
I did a quick pressure test on the fuel tank and she held. But the vacuum held too! I waited full minute. So the vents not working.
 
Testing removes doubt and saves time and money. I never got the impact, do now.
 
6ec0e074f47950460555571d0ca661b9.jpg


The end of the metal arm needs to be removed back to the first indentation where it turns bulbous and has o ring behind it. That's enough if you have the problem of a tight fit it makes the connection correctly and seats correctly around the crankshaft
 
I got the video finished on the MS440 cylinder placement for all of the first timers. It should be easy enough to follow. I had nothing this focused available to me. I hope it helps someone.
 
I just got my Meteor piston kit in the mail, the piston looked great, and for only 40 off ebay not a bad deal, I mainly wanted to change over to meteor for better quality rings and the retaining clips from Huztl are crap and not even spring steel they just bend and stay bent, The meteor clips are great quality and hold tight in the groove. I have about 3 tanks and a days worth of cutting on the ms 440 and am quite happy, everything stayed togeather and seemed to work.
 
I got the video finished on the MS440 cylinder placement for all of the first timers. It should be easy enough to follow. I had nothing this focused available to me. I hope it helps someone.

No offense intended, but I HIGHLY recommend against using a grinder of any kind to trim the case gasket. All you want to do is take a razor blade and cut them off flush.

I'll second what was already said about the circlips. It's only a matter of time until one of those ears breaks off and trashes your topend. I strongly recommend using OEM circlips. You'll want to make sure they're the same diameter wire first though.
 
i know guys that are gold level and they have no issue with the tails. everything can fail. your point is well taken and should be considered by anyone when they are planning their build. Its obvious i was simply showing how to do it. the forum is a great place to examine the choices available, with a kit you have choices.

i thank you guys for looking at the video especially since you are not first timers. opinions vary and the suggestion on the handles of the clips and the oem clips is very valuable. I was the one trimming those tabs and if that is the material they are going to make those gaskets out of you are not going to just cut it off without taking a huge chance on cutting the magnesium surface with that razor blade, it was tuff as nails. I made a note in the description before coming into the thread just as a caution. because both ways you have to be very careful with a resistant material. i commented in one video about the material. i thought it was amazing until those blame tabs had to be removed.

everybody's a critic, so no offense taken. i woulda paid to see that video before i did my first one.
 
Before, i examined every choice, i read every post, i participated. so should every kit builder. take nothing for granted. weigh every option. take a measured approach. every problem is an opportunity to learn and share.
 
i know guys that are gold level and they have no issue with the tails. everything can fail. your point is well taken and should be considered by anyone when they are planning their build. Its obvious i was simply showing how to do it. the forum is a great place to examine the choices available, with a kit you have choices.

i thank you guys for looking at the video especially since you are not first timers. opinions vary and the suggestion on the handles of the clips and the oem clips is very valuable. I was the one trimming those tabs and if that is the material they are going to make those gaskets out of you are not going to just cut it off without taking a huge chance on cutting the magnesium surface with that razor blade, it was tuff as nails. I made a note in the description before coming into the thread just as a caution. because both ways you have to be very careful with a resistant material. i commented in one video about the material. i thought it was amazing until those blame tabs had to be removed.

everybody's a critic, so no offense taken. i woulda paid to see that video before i did my first one.
Your gold level guys don't know jack about those "ears " on aftermarket circlips, they fail, ask me how I know. Not pretty when it happens, just sayin.
 
I wish I could comment on the clips but I've only used them a few times and that was on the 660. Their not spring steel so that could be a problem but they were tight. I'll see how those do. Are the 440 clips same as the 660 clips?
 
I Was simply saying there were different way knowledgeable people doing it and lots of people have built them with exactly what was supplied in the kit. Gee grizzly it's terrible you had a problem. Not everyone has. In fact I think this circlip drama here is a new concern. So Then everyone on the planet should buy some OEM circlips. Add that to the list of things you buy when you are at the Stihl store.

These are the same circlips in the 660 kits.
Just passing on info, you do it how you want, these parts are probably the cheapest replacement parts on the saw and when they fail, it'll ruin your day. Lots, and I mean lots of documented cases of AM circlip failure, do some reading, I'm not the first and certainly not the last to experience this, good luck.
 
My oiler went together okay. I did struggle with getting the drum down in place. The case fitment to the drum is very tight. I do have a spot during rotation of the drum where something is catching. It's probably the worm gear arm hitting the case but I have checked that a couple of times without the drum in place.

I received a package from Huztl today. Hopefully it's the missing parts and I can finish the build.
Well I finished the build a few days ago but have been traveling and busy so I have not been able to work out some issues that I have.
1. The saw dies after about ten seconds and then will not fire again. It is acting it is loading up on fuel since the plug has fuel when I take it out. And it does fire again after sitting. I think I will need to adjust the carb needle some more when I get some time.
2. The choke butterfly plate was catching on the thin metal bracket that holds the carb in place. I adjusted it so it did not interfere with the choke plate.
3. The tank vent didn't vent either direction. I removed the vent and squeezed the little rubber duckbill with a needle nose until I could see an opening on the end. It worked after that.
4. The plug that come with it had a very weak spark. I replaced it with another Farmertec plug that had a much stronger spark.
5. The master control lever is VERY difficult to move from the OFF/Run/Choke positions. The issue is in the small box where the ground wire/spring resides. I applied a little mineral grease and it helped some. Hopefully it isn't conductive!
6. The biggest issue I have with the build is the 52MM Huztl cylinder that I ordered separately off of ebay. The casting looks very good and the cylinder walls are good but the top of cylinder is not right. The top of the cylinder is not machined correctly. The squish is about 0.040 inch around the perimeter of the bore and only 0.025 inch further in from the perimeter. The squish should be flat or lessen toward the perimeter. I have installed over a dozen of the AM cylinders and have never seen one this way. When the saw is running, it has way too much vibration. I suspect this cylinder defect may be the cause of this vibration. The lower end seems very smooth so I do not think the vibration is coming from there. I think I will replace the 52mm cylinder with the 50mm cylinder that came with the kit to see if it runs smoother. I so, I will be asking for a refund or replacement of the 52mm cylinder.

This has been the most problematic Hutzl build so far.
 
Didn't you replace the carb with one off Amazon? I could be thinking of someone else. There has to be more than one bad 52mm
 
Did you put a touch of conductive grease in the spark plug cap? That can help
 

Latest posts

Back
Top