Making a depth gauge/raker grinding fixture

Arborist Forum

Help Support Arborist Forum:

This site may earn a commission from merchant affiliate links, including eBay, Amazon, and others.

Kevin in Ohio

Addicted to ArboristSite
. AS Supporting Member.
Joined
Jan 2, 2009
Messages
1,844
Reaction score
2,372
Location
Ohio Stop Jawin' and start Sawin'
This is the making of the Fixture to grind Depth Gauge or Rakers on chainsaw chain to equal depths and easier. I've done it by hand for years bur wanted something that would make this job easier and better at the same time. I have a surface grinder here at home and will use that as the way to grind. the fixture will just hold the chain and be adjustable for any chain out there.

MVC-001S.JPG


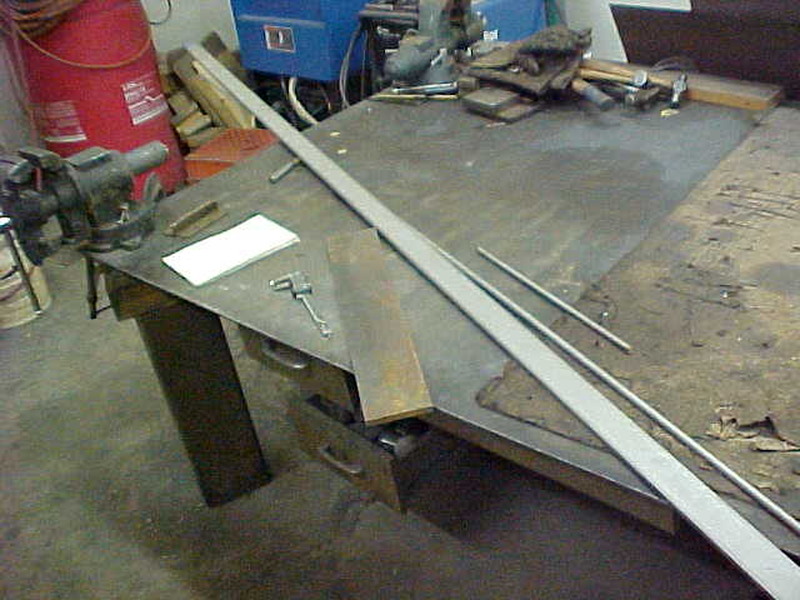
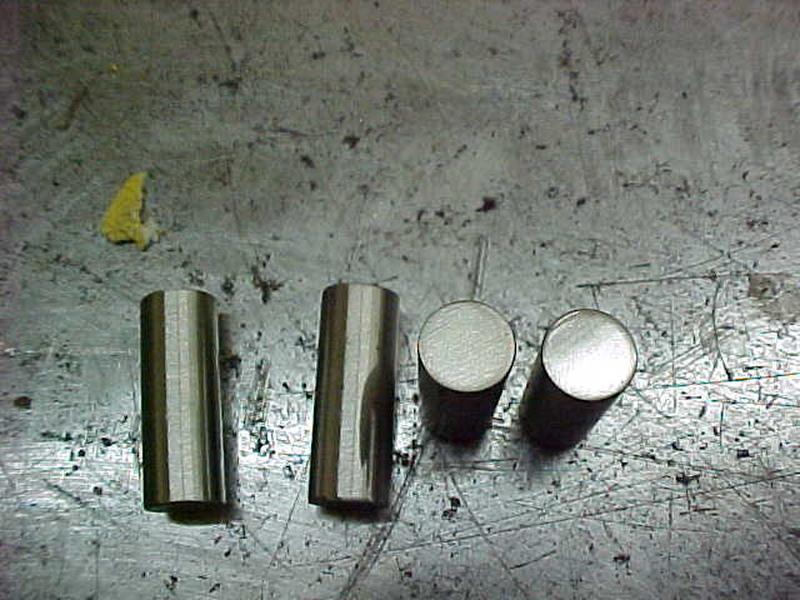
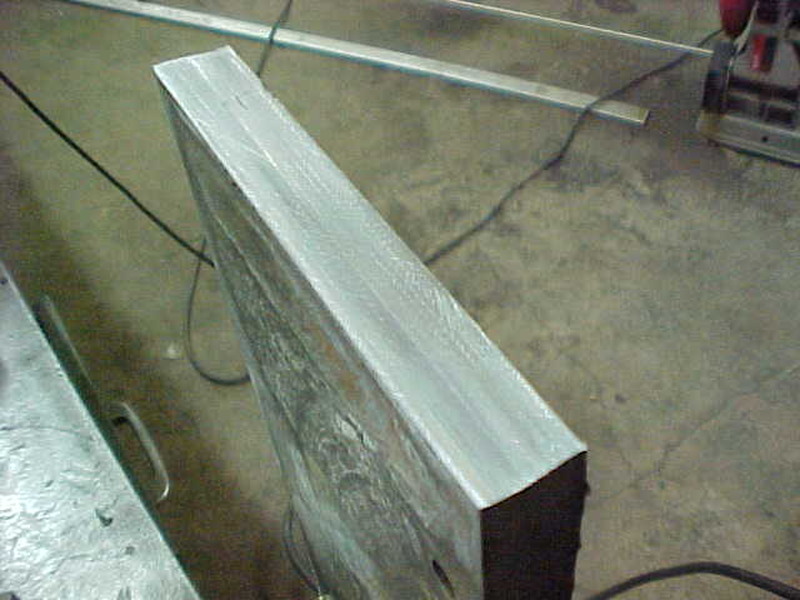
Went to the metal piles and grabbed some stock. I'll use stainless on the guides and pins and mild steel for the base. That way it'll be magnetic when put on the surface grinder chuck and will hold.

MVC-002S.JPG


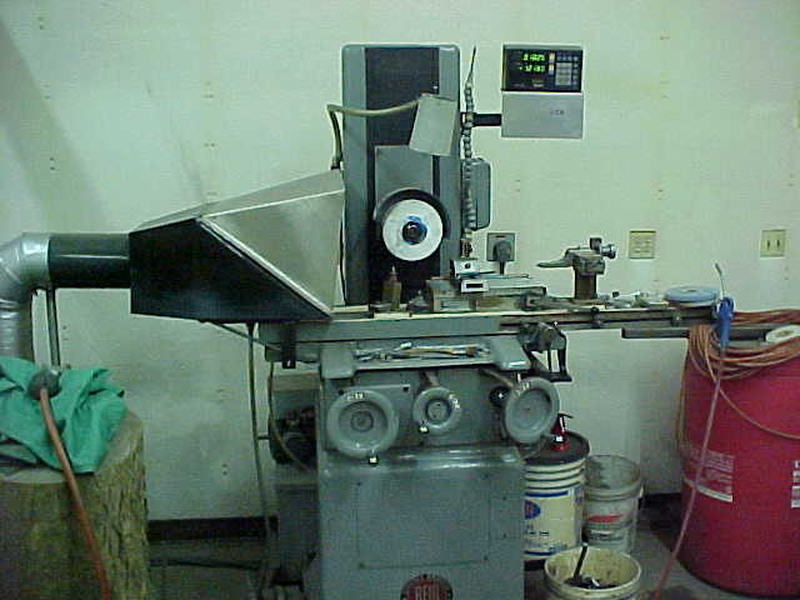
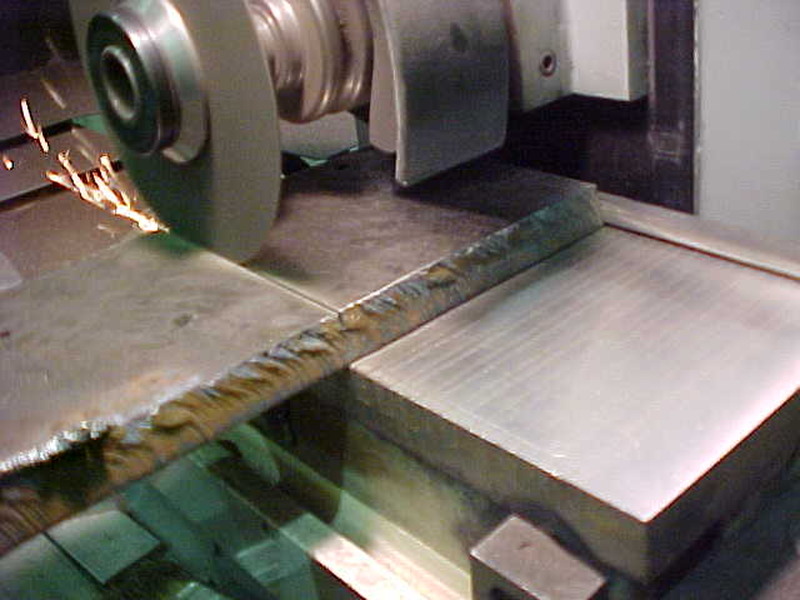
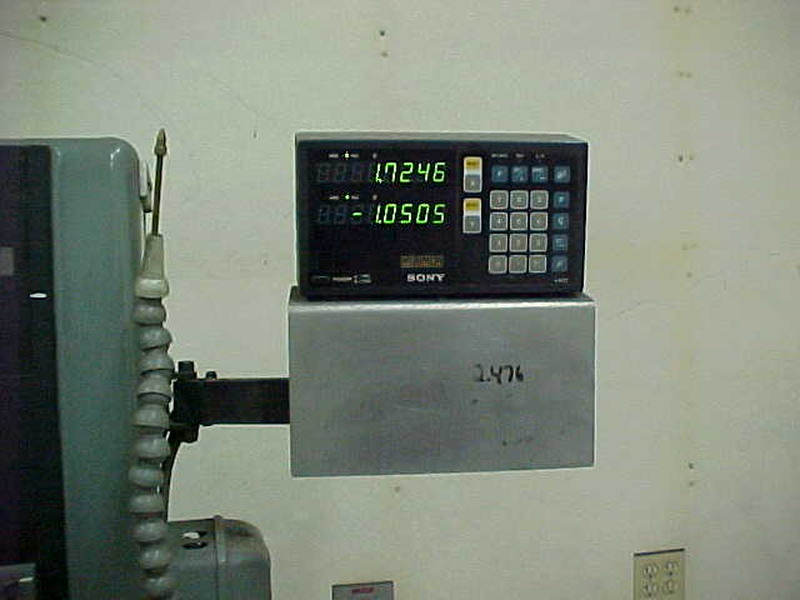
Here's my surface grinder. I put a digital readout on it so I can repeat easily and redress, going back to the exact spot. You can do it without, which I have, but this makes it a lot easier

MVC-003S.JPG


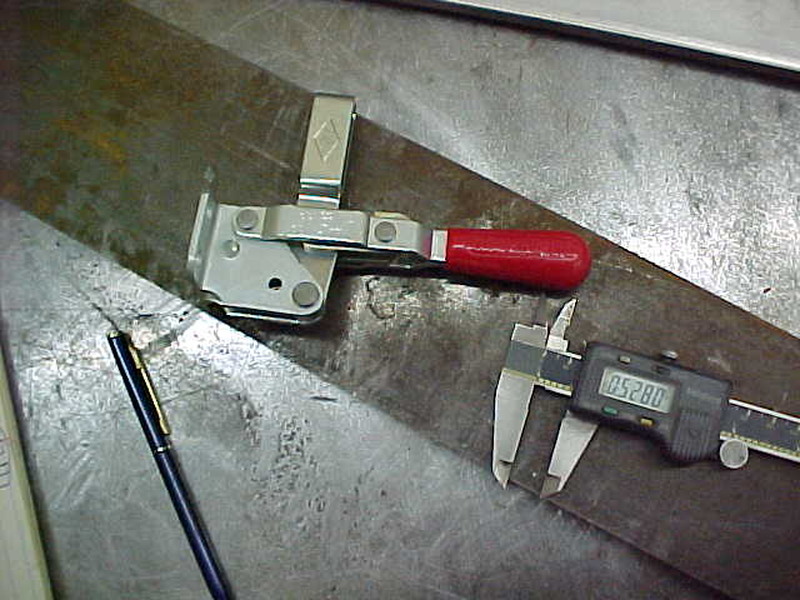
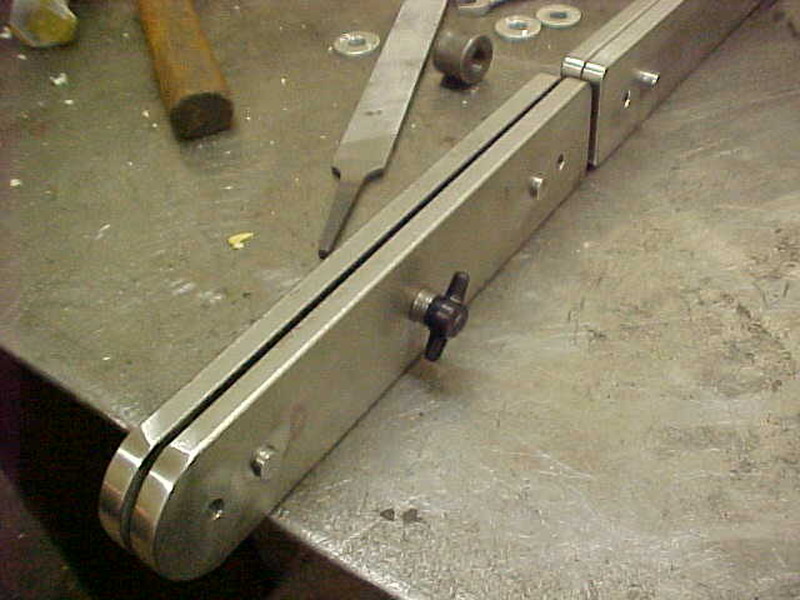
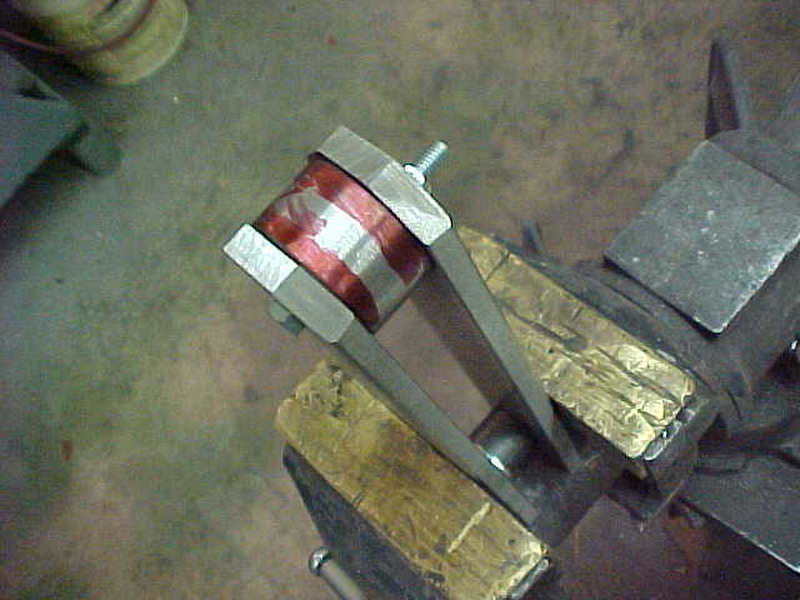
To hold the chain in place I'm planning on a snap clamp. They are adjustable and hold really well.

MVC-004S.JPG


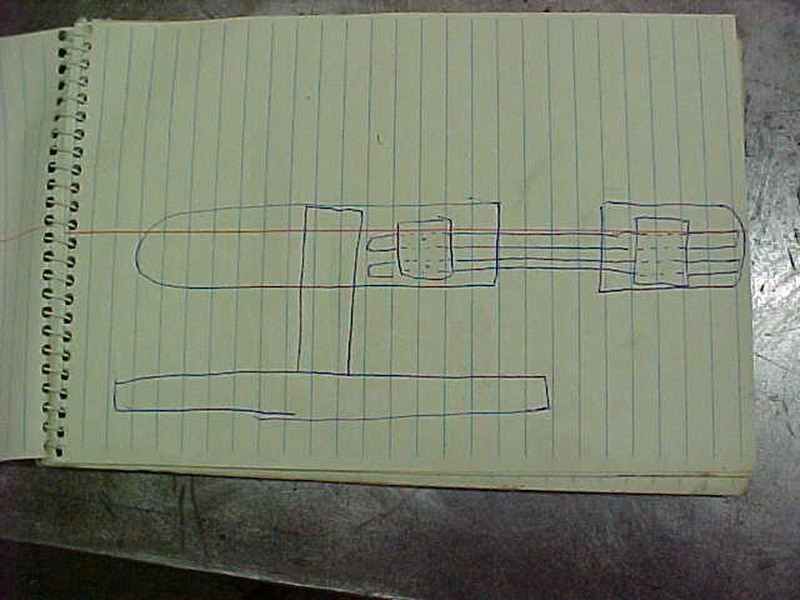
Here's a VERY rough sketch of what's in my head so you have an idea of where I'm trying to go with this

MVC-005S.JPG


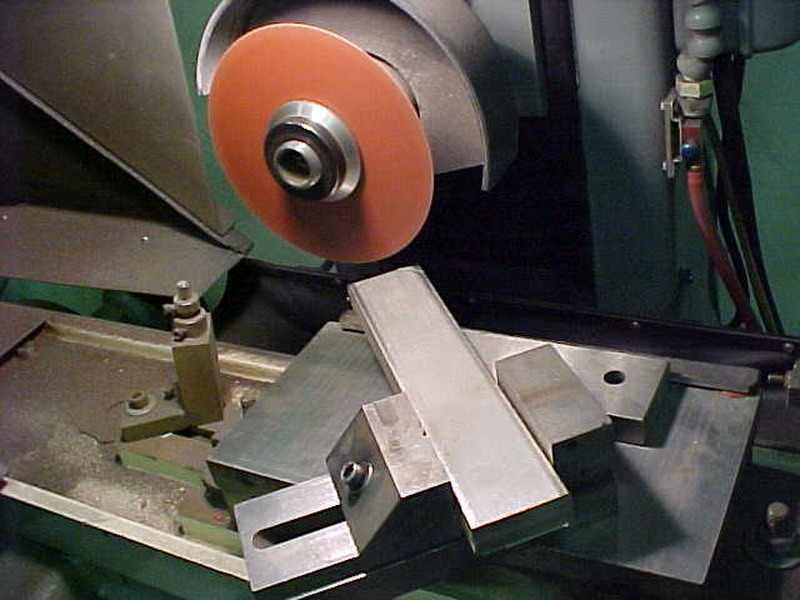
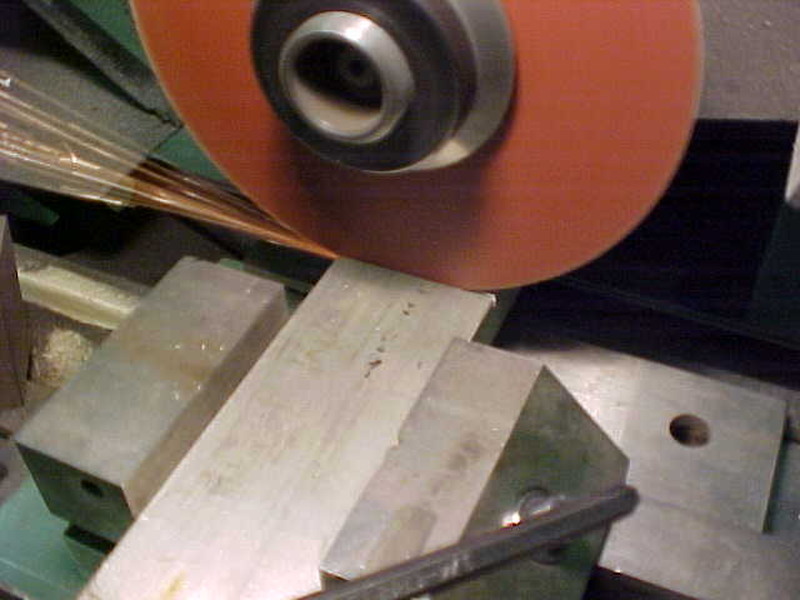
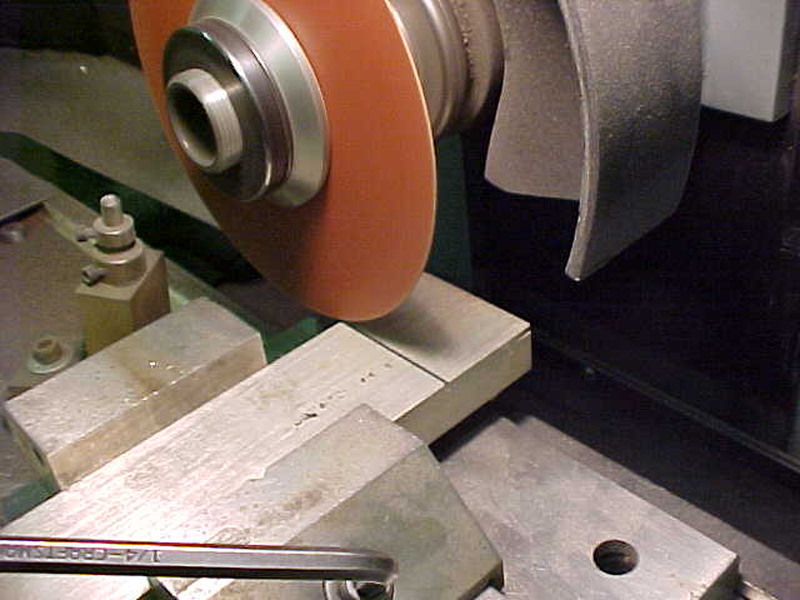
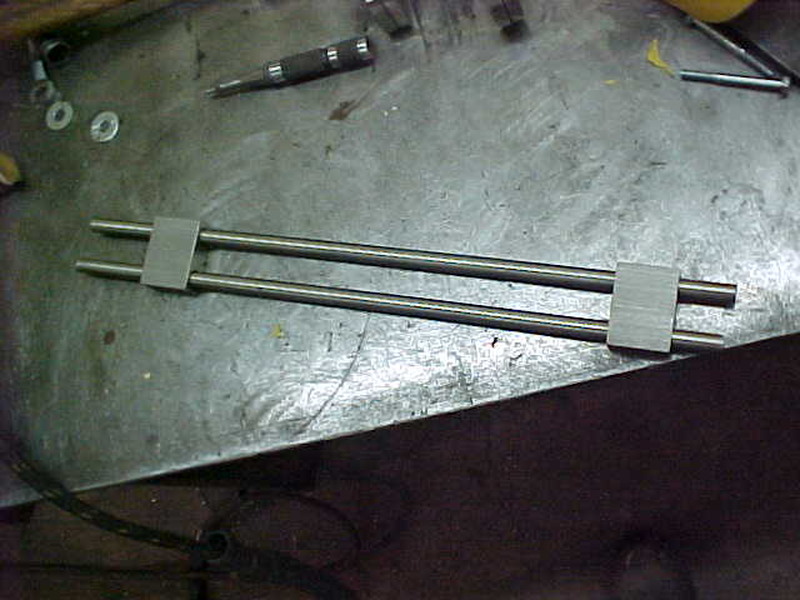
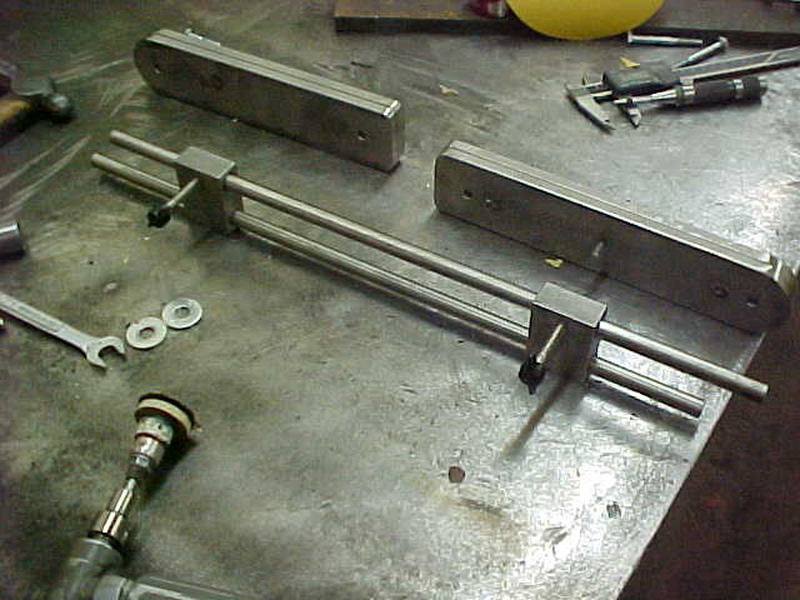
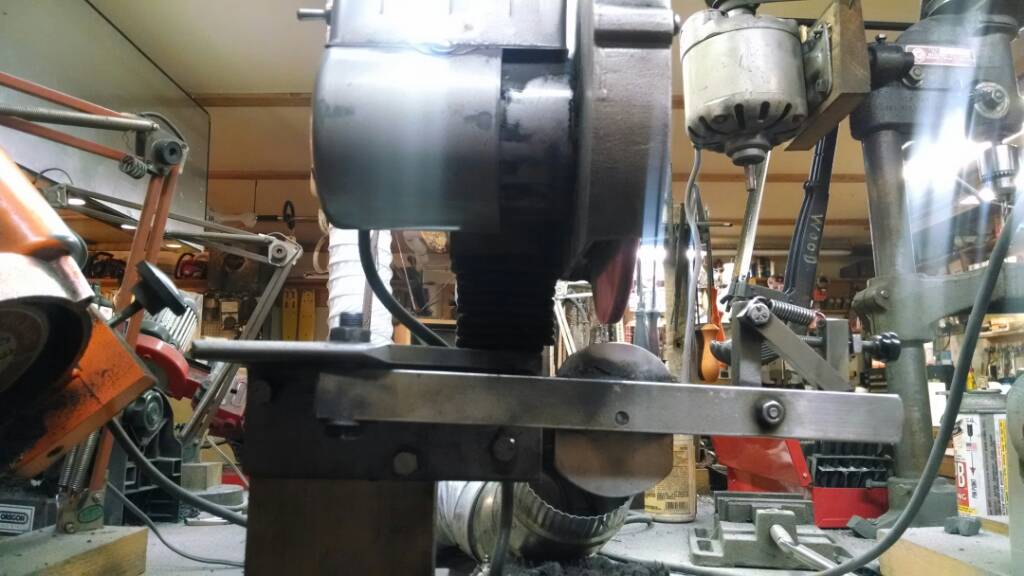
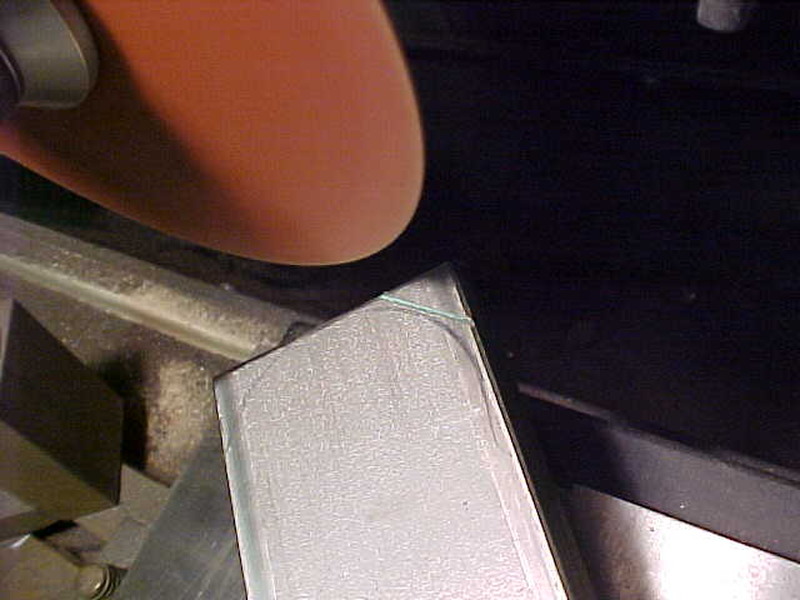
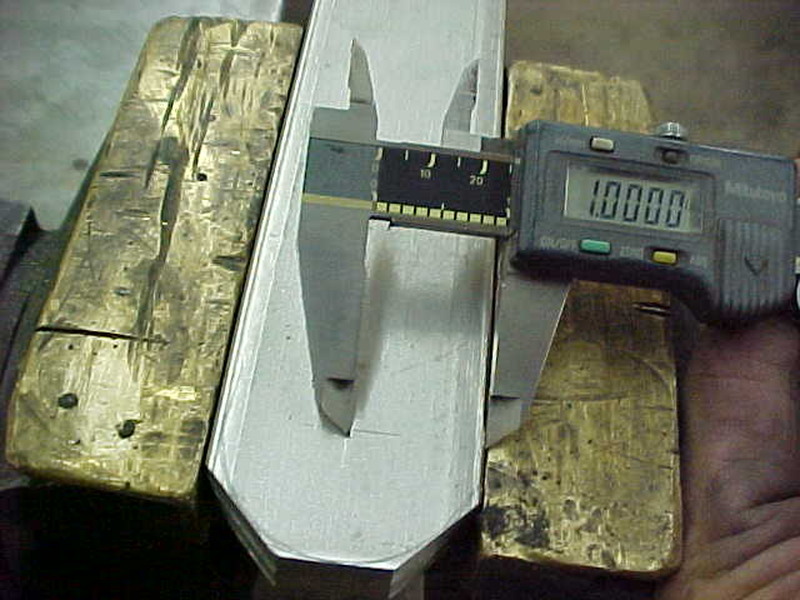
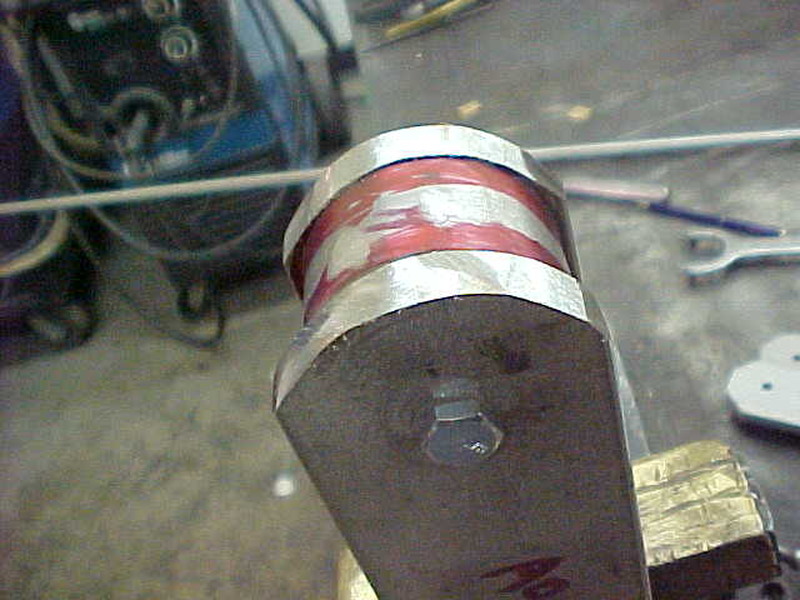
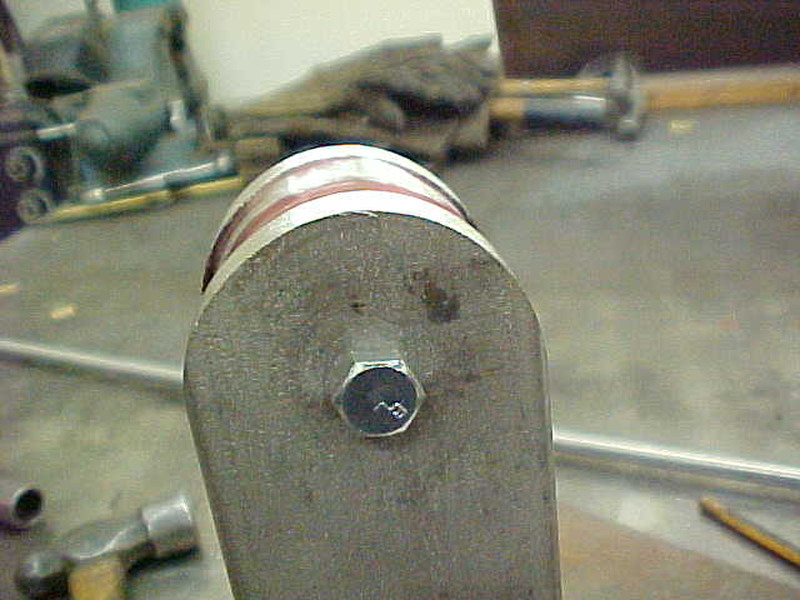
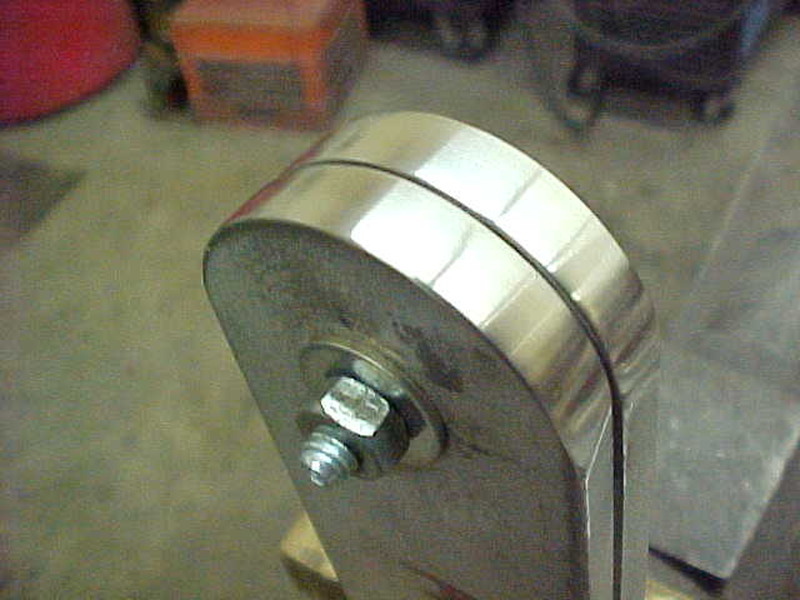
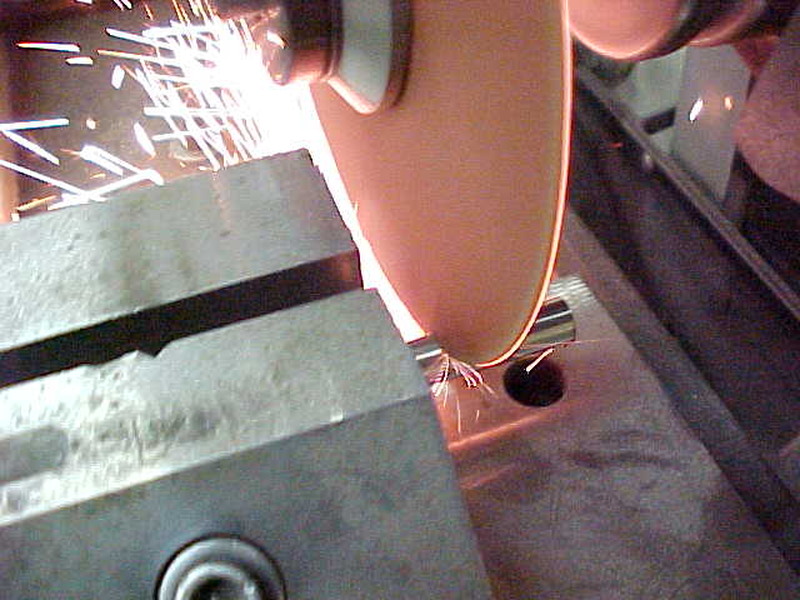
I cut 4 pieces for the chain holder and want to round the ends like a saw bar so the chain doesn't catch. Cut them the same and marked the ends. I threw in on the surface grinder to cut 45 degrees of the excess stock off.

MVC-006S.JPG


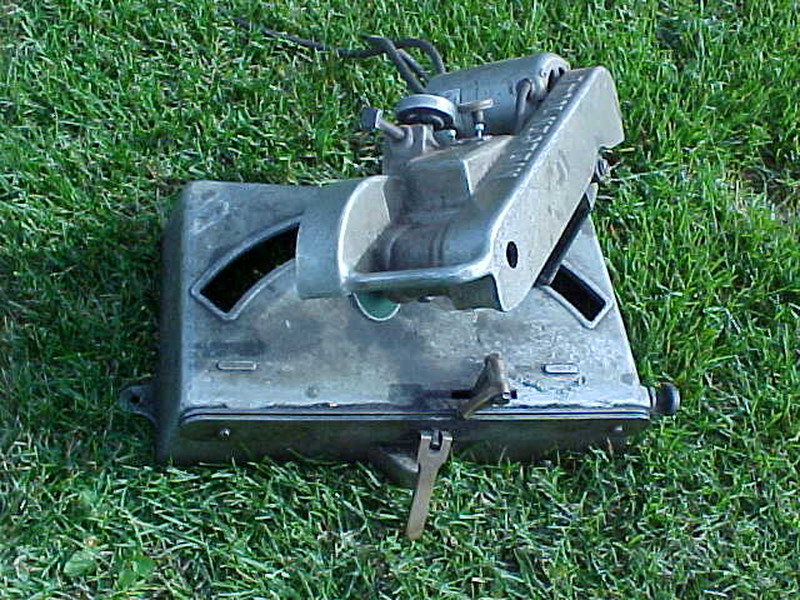
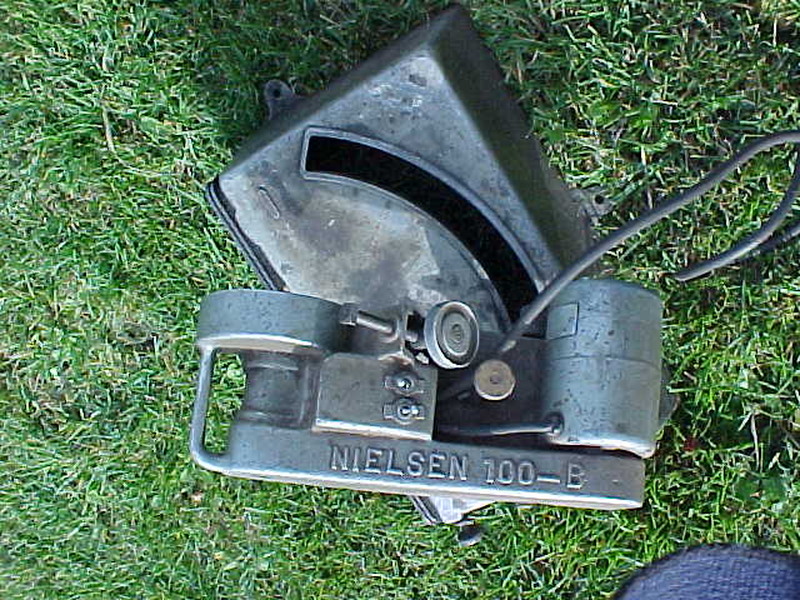
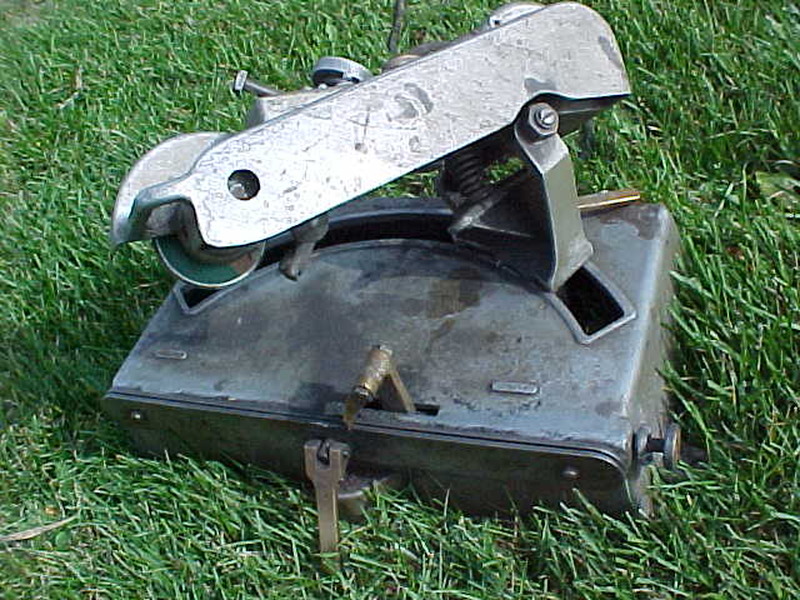
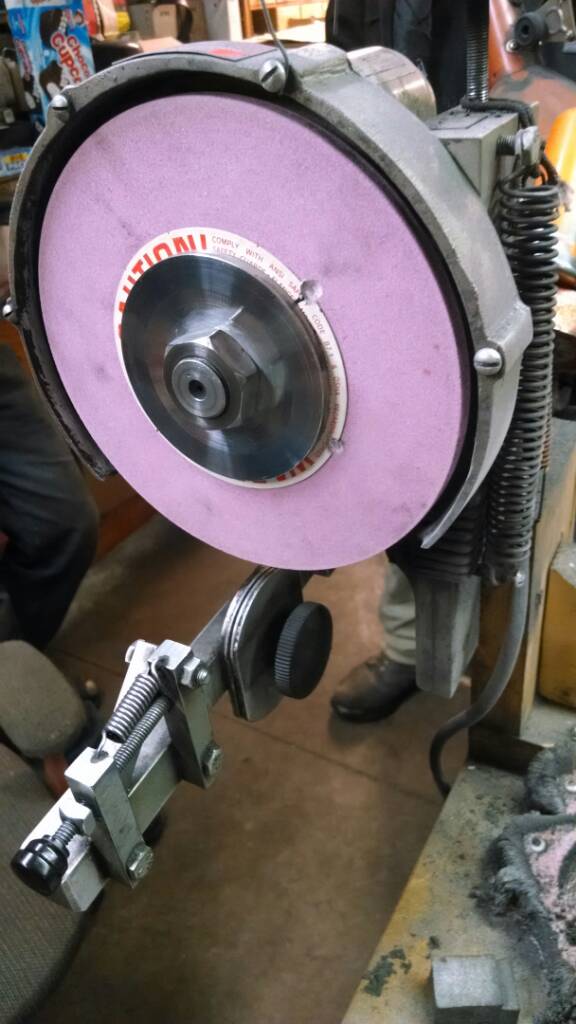
You can get real close and make straight cuts with these.

MVC-007S.JPG


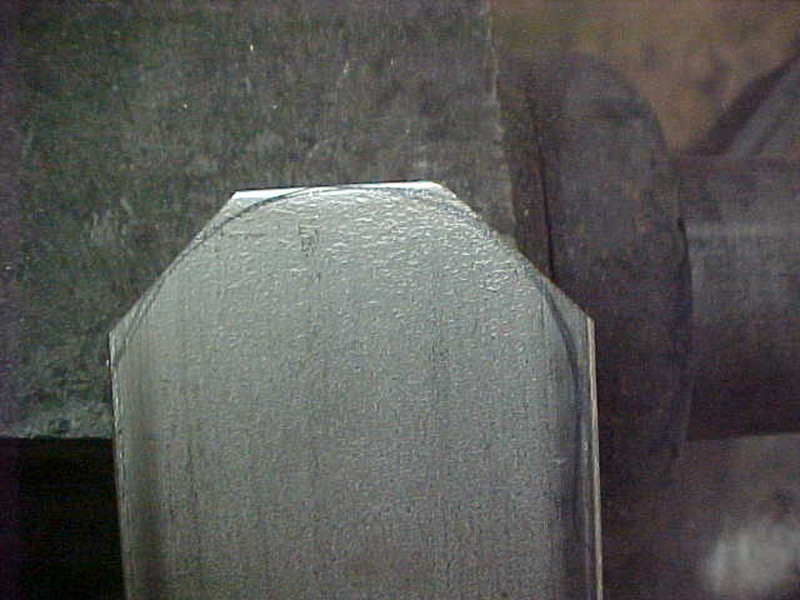
This makes short work for rounding if you don't have a mill like me.

MVC-008S.JPG


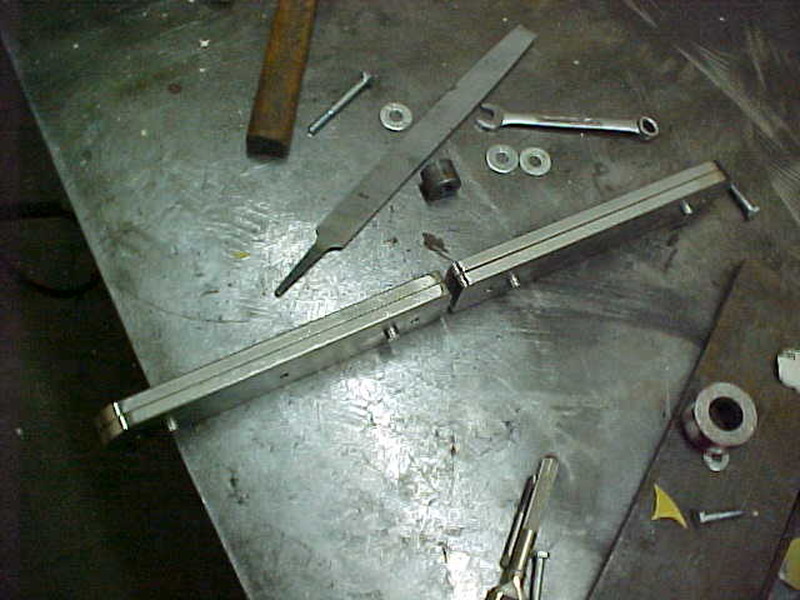
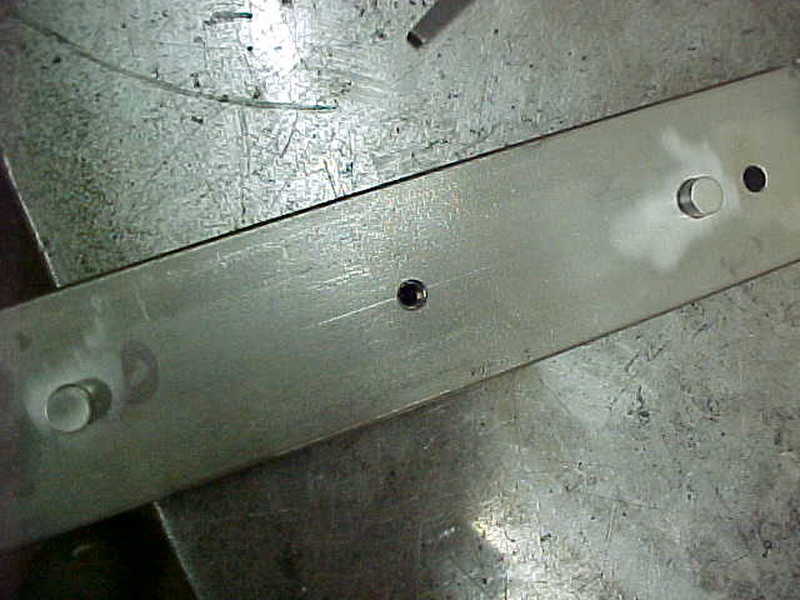
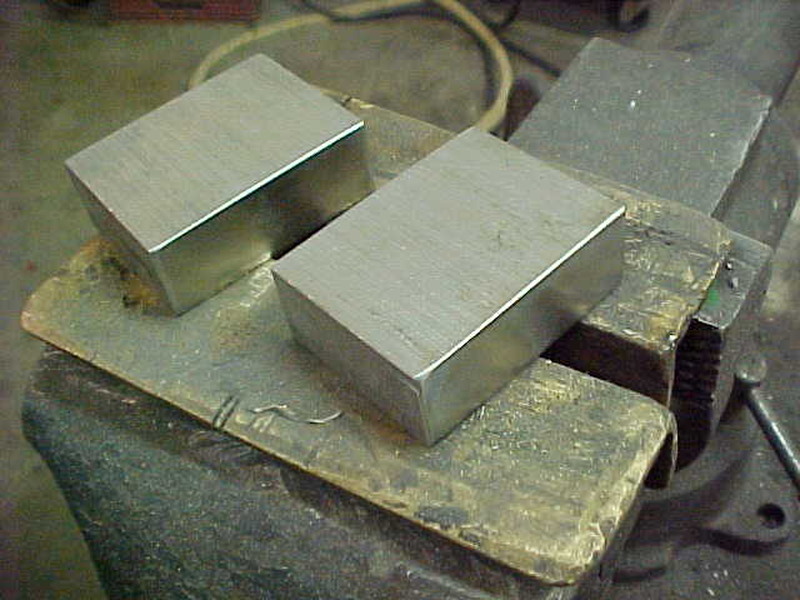
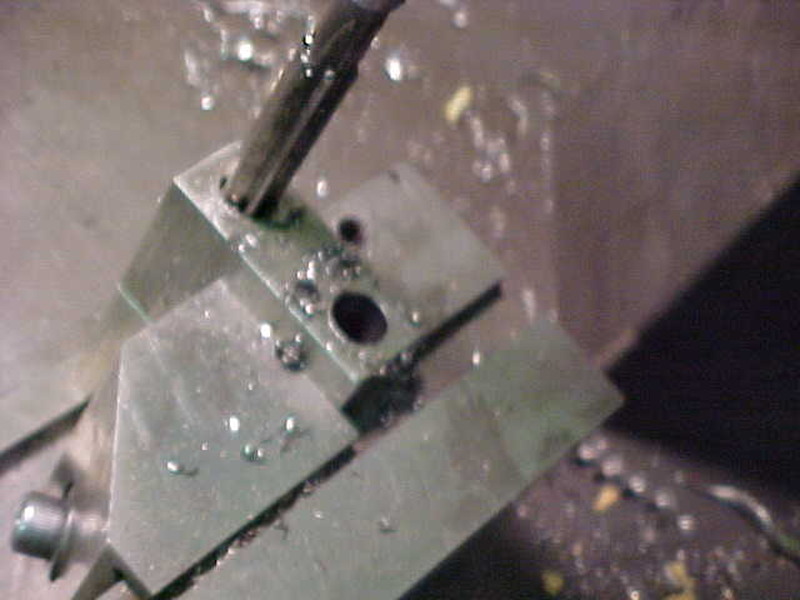
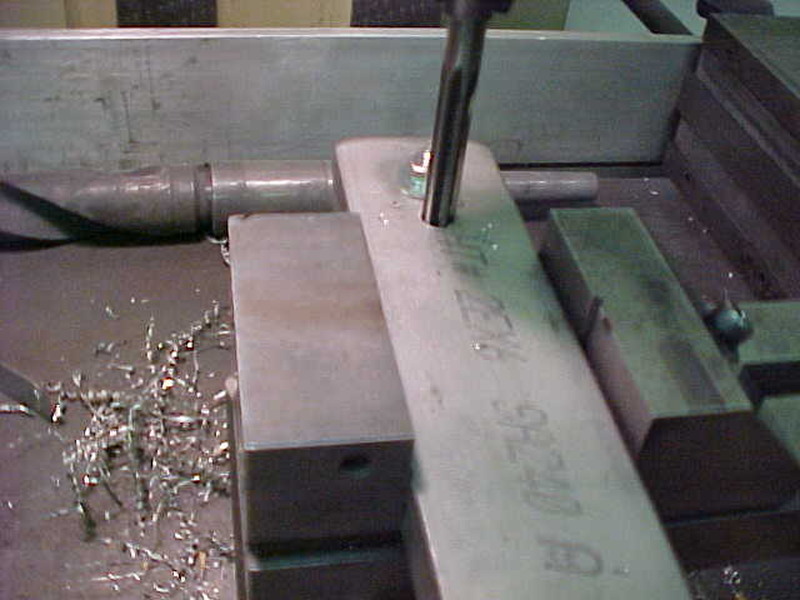
Marked a center hole and I'll do this on both ends. This will hold the together, evenly while I work them up.

MVC-009S.JPG


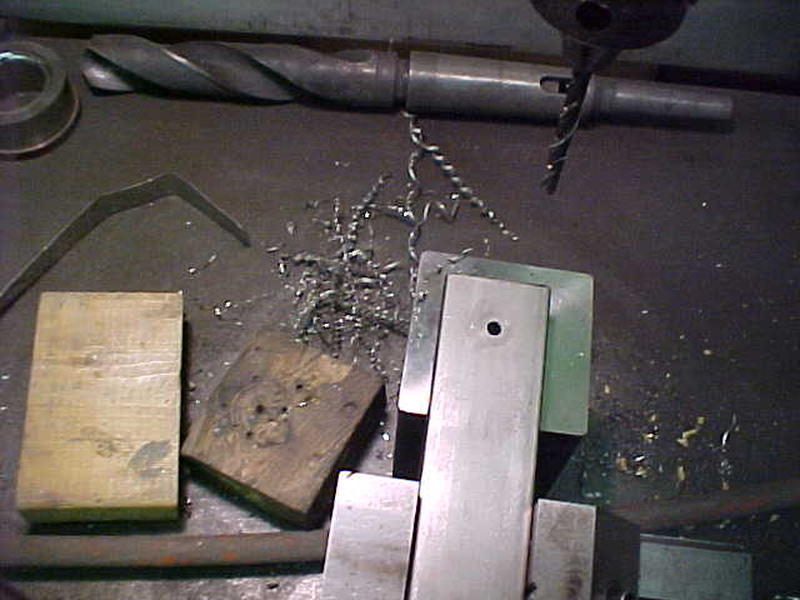
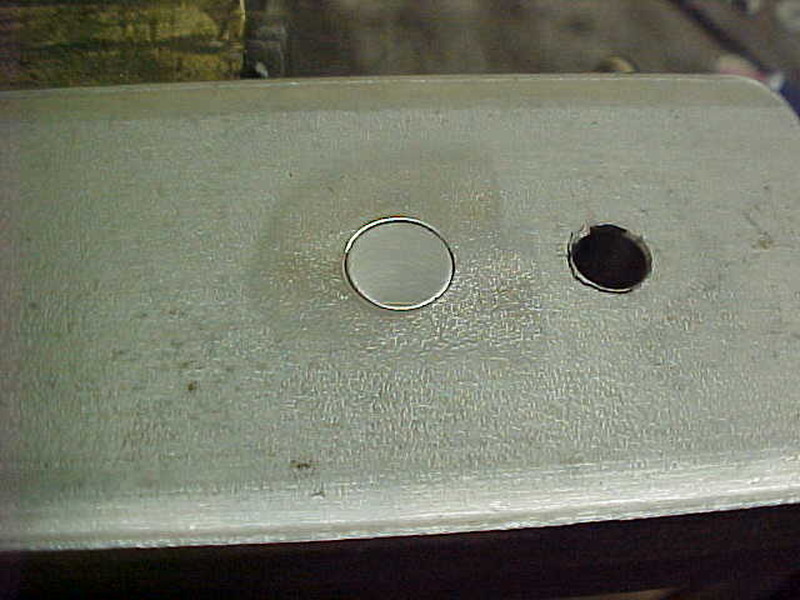
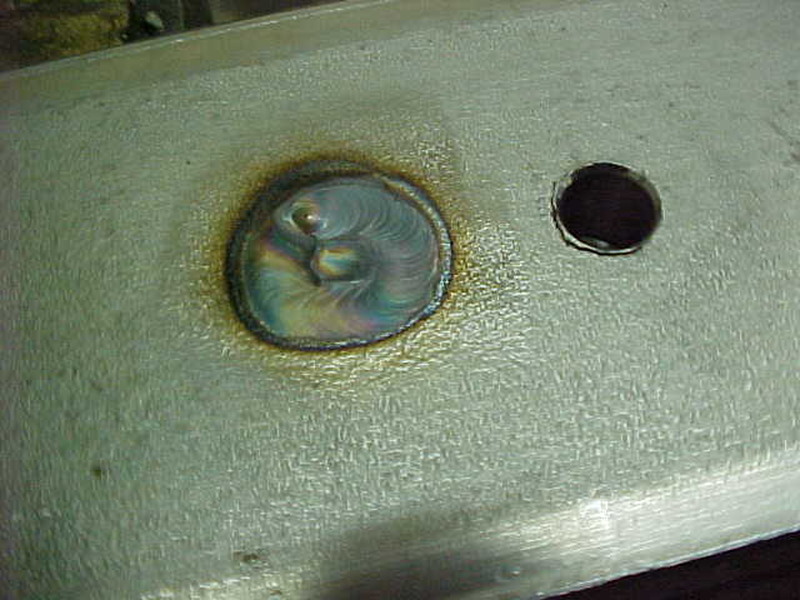
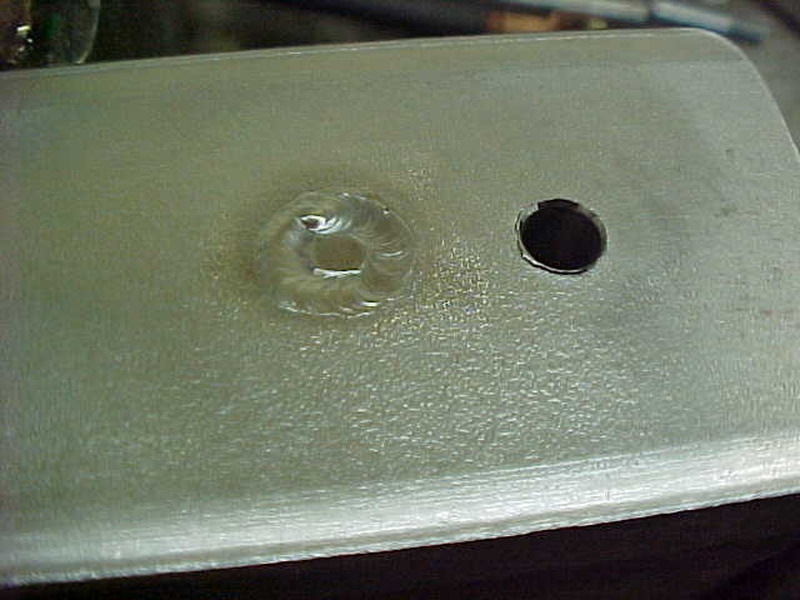
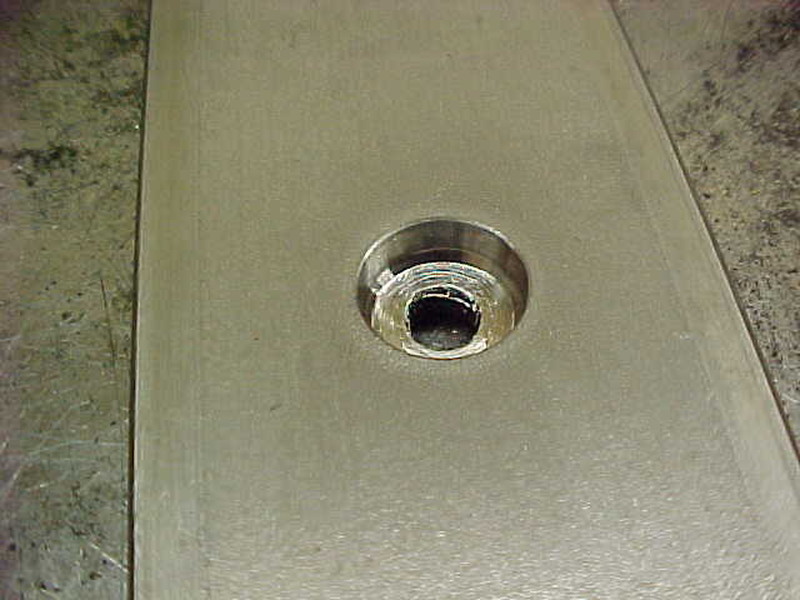
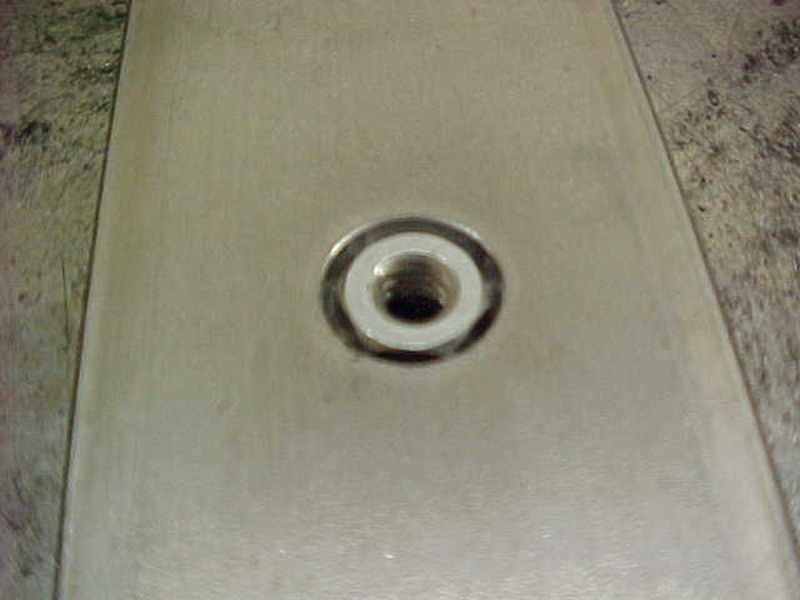
Center drilled and drilled all the holes.
 
MVC-010S.JPG


Now I put a round spacer between them and another spacer on the other end, bolting it together. Ink a line and will rough it in with an angle grinder, not touching the ink.

MVC-011S.JPG


Less than a minute to this.

MVC-013S.JPG


I then mounted a belt sander in a vise and bl;ended to the ink. Just barely touching it. You can see it makes a nice, even, rounded edge.

MVC-015S.JPG


Some 150 grit sandpaper on a soft back pad and you have this.


MVC-001S_1.JPG


I need something to align the 2 halves when the chain is in it so a couple of dowels are in order. I'll put them fairly close to the ends on center so i marked and drilled them a little undersize of the final .375 hole. I'm reaming it here to the final size.

MVC-002S_1.JPG


Cutting the dowels here in one swipo to 1.000 long. Touch of on the end of the rod and zero out. Move in 1.000 + .050 for the wheel and they are basically all the same.

MVC-003S_1.JPG


The readout will spoil you in a hurry! ;)

MVC-004S_1.JPG


Quick deburr and they're done.

MVC-006S_1.JPG


With both sides together I slide the dowel in to flush. If you are a little small and need a way to hold snug. Dimple it with a center punch on the end to be welded. An old trick that still works.
 
MVC-007S_1.JPG


TIG weld it in.

MVC-008S_1.JPG


No filler rod needed.

MVC-009S_1.JPG


Both sides are doweled here. On shorter chains I'll just need one side. On 18 inch and longer I wanted to have something that would hold the chain so it doesn't tangle and get caught on stuff. Just trying to cover a lot of different set ups while I'm doing it.

MVC-010S_1.JPG


For the back half I wanted an adjustment for width. Might not be needed but it's nice to have options. I first drilled and tapped a 1/4 -20 hole through both pieces. while they were together.

MVC-011S_1.JPG


Then drilled to .250 and counterbored with a .500 drill on the inside of the bar. This is so a nut can be flush when completely closed.

MVC-012S.JPG


I then reamed it to a flat bottom.

MVC-013S_1.JPG


Nut sits flush now and I can locktight to a wingnutted socket head cap screw. This way this half will spin and with threads on the other side, it will move in and out with the dowels keeping it inline.


MVC-014S.JPG


Here it is all together. Works really well.

MVC-001S_2.JPG


Now I need a couple pieces that will allow adjustment of the 2 halves. Decided to use a .750 x 2.000 bar stock and I'm cutting them here to 1.500 long.
 
MVC-002S_2.JPG


Using this system I can cut right to size.

MVC-003S_2.JPG


The 2 blocks done so now I'll drill and ream them to .440.

MVC-004S_2.JPG


Clamped them both together and drilling all the way through. Spacer block supports the bottom so it doesn't move and drill has a gap. Having a mill with a mounted vise would be nice....some day. ;)

MVC-005S_1.JPG


Reaming to size here and they should be real smooth when adjusting.

MVC-006S_2.JPG


Works fine and now I'll drill and tap for a wing nut socket head cap screw to hold the adjustment in place.

MVC-007S_2.JPG


Doing some layout here to see the best position. I'm shooting for 36 inches at full extend. I do have a 4 ft bar and chain on one saw but I'll either make up longer rods or let it hang. I'll cross that bridge when I get there.

MVC-008S_2.JPG


Need a thick piece for the upright so off to the scrap pile. Improvising on the cut. I do these by putting a large, true plate on the magnetic chuck, then clamp the cut material to that to get a straight edge. I can cut clear through this way with one set up.

MVC-009S_2.JPG

MVC-009S_2.JPG


With this edge I can just put it on the chuck and they will be parallel. I cut half way through, then flip it over and finish.

MVC-010S_2.JPG


Here you can see how it works. for the other 2 sides I'll use a straight edge square on the cut and it will be a true 90 degree cut.
 
I understand the chain holder, what are you going to grind with?
Surface grinder. I can dress any radius or portion of, any angle or radius to angle. Basically duplicate anything the factory has stamped to the original. Like I said before, overkill to most but I like to play in the shop. ;)


MVC-001S_16.JPG


MVC-002S_18.JPG


MVC-003S_11.JPG


I use an old Nielson chain grinder for the teeth but don't care for it with doing the rakers. This came from Grandpa's saw shop in the early 1950's
 
I have a Nielsen 100B and with a properly profiled wheel feel it does a good job.

However the best raker grinder I have ever seen was a Silvey that had a stationary grinding head, and the chain looped over the top of a bar shaped fixture and the fixture was rotated into the wheel. It worked very well.

xubcx.jpg


35jcdqs.jpg
 
Like I said before, overkill to most but I like to play in the shop.
Definitely overkill, especially since the depth gauges are just stamped out in the factory. I do round mine over with a unitized deburring wheel, when I am feeling fussy.

Your machining of chain might get the race chain guys all excited.

Very nice work as usual, and fun to watch.

Philbert
 
looks like7xx series Silvey in picture. I have 3xx floating round here some where. been using an old Folely for just doing the depth gauges, still playing with different kinds of wheels to find something I do not have dress every chain. Wheels do not last long that way. I just remembered i ordered a custom CBN wheel for the foley should be here next month. Tad pricey for an experiment. I like your digital depth read out on the surface grinder and your dust hood.
 
I could likely replicate a square grind on the vertical knee mill- but it would be an awful slow process. now depth gauges wouldn't be too bad to do on it though. Once you make the fixtures you can do about anything on a vertical mill, including replicating itself.
 
Back
Top