ropensaddle
Feel Lucky
Any word from the member in Dallas?
Not yet I pm'ed him to come check this thread out and what we were thinking!


Any word from the member in Dallas?
Not yet I pm'ed him to come check this thread out and what we were thinking!
My dealer just called and the parts are in.
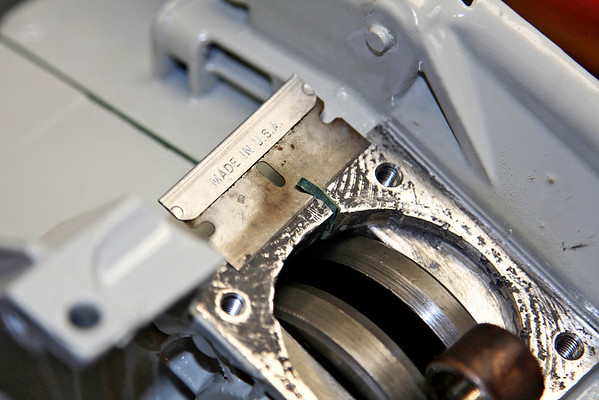
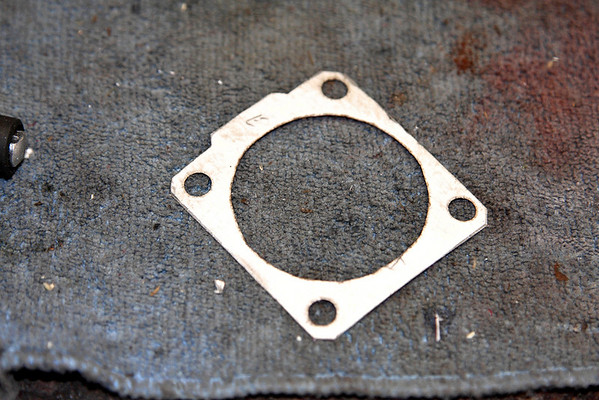
I think the .020 would be best and rivet it on.This is a chainsaw, not a dash in a car.The .005 w/adhesive probably wouldn't last long.
Just my 2 cents.......

Not yet I pm'ed him to come check this thread out...
 opcorn:
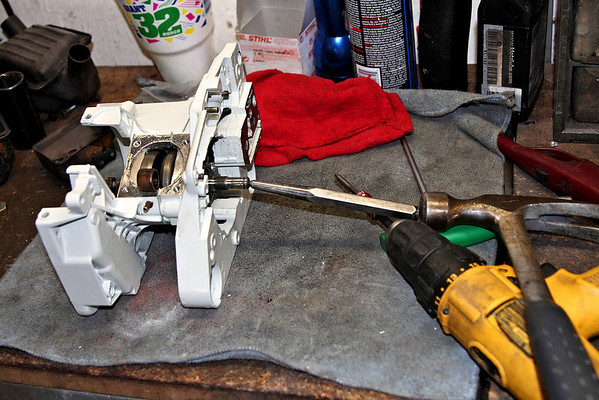
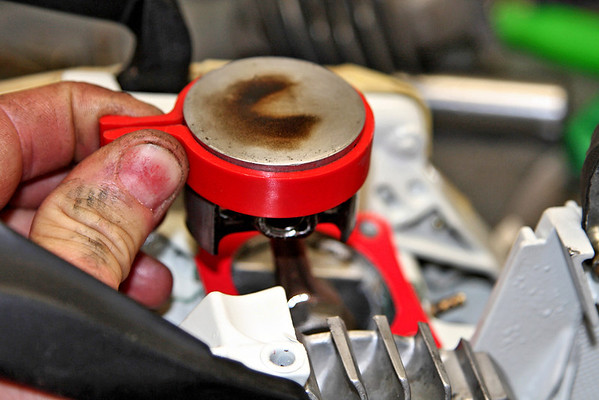
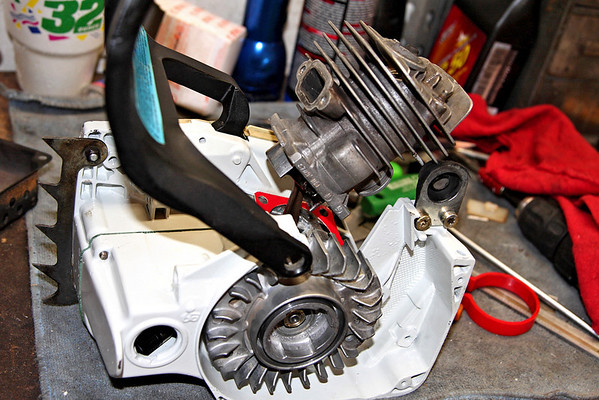
Time to head to the dealer and get the parts. I may temporarily through this P&C I have on the saw. That way I can get it running, verify the carb's good, and do a leak test. When the new P&C arrives in a day or two, all I'll have to do is swap them. The plastic should arrive any day as well. The aluminum for the plaque should be here by tomorrow or the next day. I think he's doing the design tonight. Pics and maybe video coming later tonight!
Time to head to the dealer and get the parts. I may temporarily through this P&C I have on the saw. That way I can get it running, verify the carb's good, and do a leak test. When the new P&C arrives in a day or two, all I'll have to do is swap them. The plastic should arrive any day as well. The aluminum for the plaque should be here by tomorrow or the next day. I think he's doing the design tonight. Pics and maybe video coming later tonight!

This might be silly to some. My wife says "things always happen for a reason". Maybe she's right..... This thread has become a source of pleasure for many of us, including the OP. Little did his BIL know that the destruction of one of his no doubt favorite tools would yield him a better tool and bring out so much goodwill and community amongst us! A special thanks to Super and Snelling for making this possible.
I just finished my Chipotle burrito, so it's time to edit those pics and........video
I just finished my Chipotle burrito, so it's time to edit those pics and........video
opcorn:opcorn:I just finished my Chipotle burrito, so it's time to edit those pics and........video
Enter your email address to join: