New Project 045 AV Super

Arborist Forum

Help Support Arborist Forum:

This site may earn a commission from merchant affiliate links, including eBay, Amazon, and others.
I'm still waiting on my crank seal and base gasket. I got the carb mounted on the fuel tank and new filter installed. I went ahead and installed the tank. I then decided I had to see this thing all put together. You can see the wrinkle and blisters still in the engine cover/handle. I hope to get that smoothed out later tonight. I've also got to do something with the top handle to make it black. I've thought about coating it with the spray on rubber coating for tools. Has anyone ever installed a new factory "tube"?

Really nice work Brad,,,,
 
I've also got to do something with the top handle to make it black. I've thought about coating it with the spray on rubber coating for tools. Has anyone ever installed a new factory "tube"?

If you have some rubber that's close, I'll dig up the bottle of rubber lube in the garage and shoot you the company. They give a way a free sample bottle and the stuff is amazing.

Another alternative is truck bed liner spray. I use that for various things and it holds up great. I just used a few cans spraying the floor on the dump truck. Don't know why utility vehicles come with carpet - they just hold water and rust out the floorboards. It also does a good job sealing the all metal shed that leaks... :biggrinbounce2: Seriously, it would be pretty darn durable and glvoes are for anti-vibe anyways......

Just remembered where I saw it originally - european car magazine... http://www.europeancarweb.com/auto_tools/0307ec_tool and the website for the manuf is http://www.ipcol.com...
 
Last edited:
The new rings are in along with the base gasket. Everything's totally assembled with the exception of the one crank seal. I also ordered new T27 bolts to replace all the exterior bolts with the correct length and a new fuel cap. My chain came in as well. If I had that elusive crank seal, she'd be running. If I'm lucky, maybe it'll come in the mail tomorrow.

I tested my kill switch and it's not working. If I disconnect the wire and hold it against the cylinder, it does kill the spark. If I hold it against a bare spot on the tank, it does not kill the spark. I think the problem is that I'm not getting a connection between the tank and the case due to all the newly painted surfaces. Where is this connection supposed to be? The kill switch wire is mounted on the stud of the condenser along with the other two leads, per pictures in the IPL. It then runs dirrectly to the switch.
 
There is also a braided grounding wire that runs from the top left cylinder shroud screw to the tank... early models connected to the "center" screw beneath the switch - later models near the left rear rubber mount.
 
If you only have TWO holes.. the wire is connencted to the tank next the left rear mount. The TWO holes are supposed to be to bolt the top shound on.
 
Are you talking abou the engine shroud? I don't believe I have a mount there. I've got one on the right front, back right in the carb area and then the long bolt through the bottom of the handle and through the tank. I'll have to take another look.
 
Are you talking abou the engine shroud? I don't believe I have a mount there. I've got one on the right front, back right in the carb area and then the long bolt through the bottom of the handle and through the tank. I'll have to take another look.

In that case your handle has the mounts broken off... There are three mount tabs on the rear top of the shroud - one to the right and two to the left just below the switch that mount with M5x18 screws to the tank. PITA to fix.. I have one just like that...


This pic show the two you are missing, and in this case, the outer right tab broken off.


attachment.php
 
If you're using pan head, just use a split driver and lock them on. Torx - put them on the long driver and just insert. There's room.
 
I sprayed my top handle with Duplicolor truck bed liner. It's looks good and dryed very quickly. I don't have a pic of it yet, but i'm happy with. I do wish it had the hose though just to keep it original looking. My crank seal didn't arrive today so I still haven't gotten to start it up yet.
 
I FINALLY got a chance to use this saw! I hadn't even run it with a chain on it to set the high RPM yet. I put the new 36" bar and skip chain on it and set it to 11,500. I then proceeded to drop the tree described later. She ran like an absolute dream. This wasn't hardwood but even still the 36" bar wasn't an issue at all.

My wife's sister lives in the panhandle of FL and they had a 95' pine that needed to come down. Since we were going down there on vacation and I had room in the vehicle, I threw all my saws in and did them a favor. It had died in the last couple of years since hurricane Ivan. The tree measured 36" DBH. I cut the notch, made a plunge cut and set the hinge. I then cut back away from the hinge, leaving a trigger. I drove wedges into the cut and then cut the trigger. It just sat there. I drove the wedges a little deeper and she slowly just started to open the gap, falling exactly where I wanted it. This was easily the largest tree I had ever fallen.

It was nice to finally get to run this old saw. As it turns out, the Stihl paint has no gas resistance at all. The vent for the fuel tank is in the tank so it's inevitable to get some on the tank, and then on the engine cover/handle when placed on it's side to fill the bar oil tank. I've got bare metal just from the little that has already gotten on it. I plan on stripping most of it back down to bare metal and then spraying it with acrylic enamel or some other automotive, fuel resistant paint. Until then, it just looks a little more like a work saw than I planned rather than the keep sake I had in mind.

176236001-M.jpg


176063479-M.jpg


176063542-M.jpg


Here's what became of the trunk:clap: 
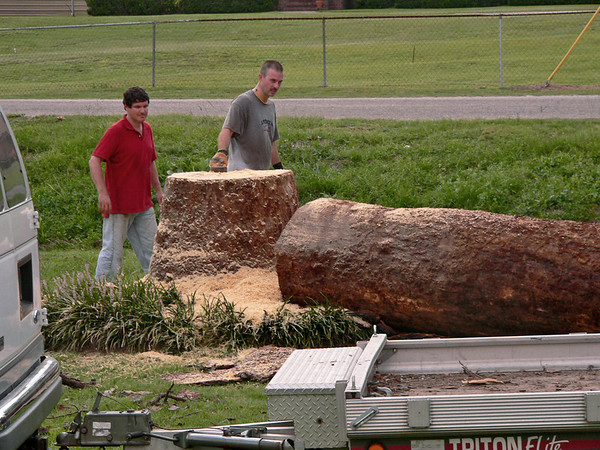
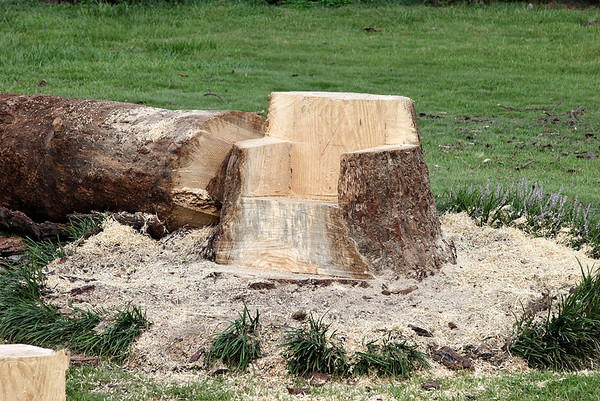
Believe me, cutting the chair out was more work than dropping the tree!
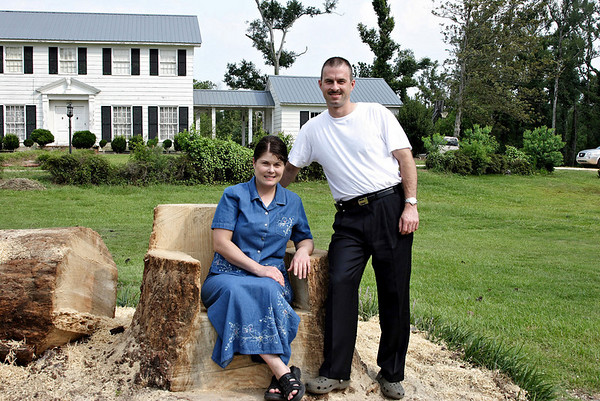
176063531-M.jpg


176063493-M.jpg
 
Great Pics!

As for the paint... I've found it to be not to bad for gas resistance once fully cured, but it sure is easy to soften for a month or so. Let us know what you finally settle on for paint, and your color mix (if you try to match exactly).
 
I'm going to take a bar cover or the like down and have it scanned to get the match as close as possible. What do you think about acrylic enamel?

BTW, I do have video of the saw cutting but no firewire port on my laptop. I'm going to head down to the local Best Buy and see what they've got.
 
This is my first attemp to post a video. Let me know if the quality is acceptable.

<object width="425" height="350"> <param name="movie" value="http://www.youtube.com/v/OUDDkq-iiWk"> </param> <embed src="http://www.youtube.com/v/OUDDkq-iiWk" type="application/x-shockwave-flash" width="425" height="350"> </embed> </object>
 
Last edited:
Back
Top