Wood hauler build

Arborist Forum

Help Support Arborist Forum:

This site may earn a commission from merchant affiliate links, including eBay, Amazon, and others.
MVC-003F_43.JPG


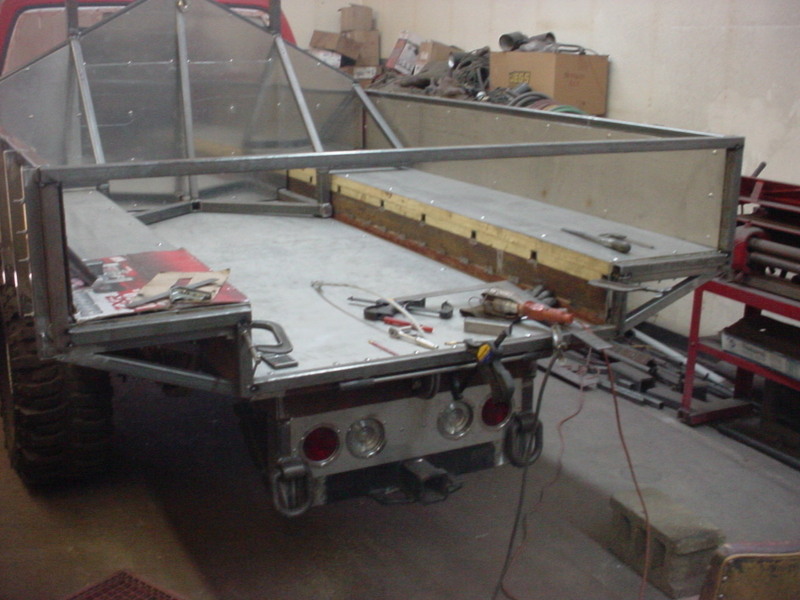
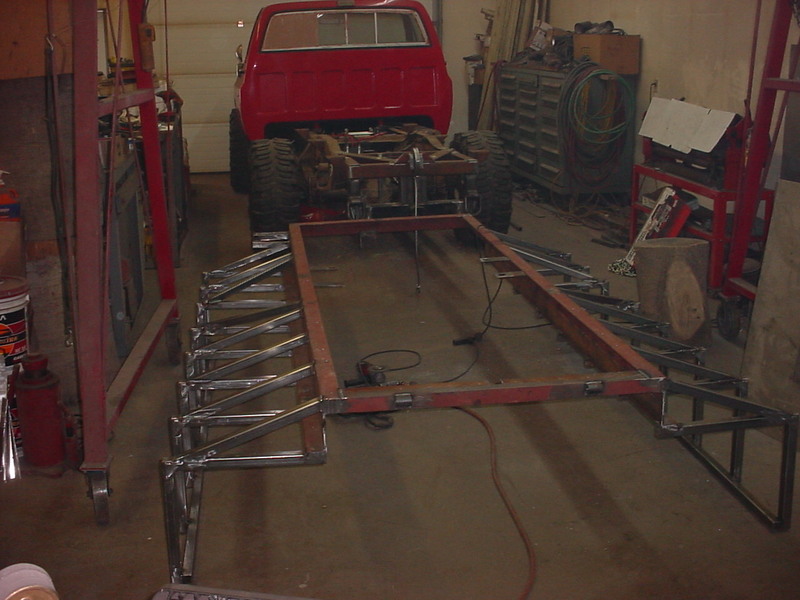
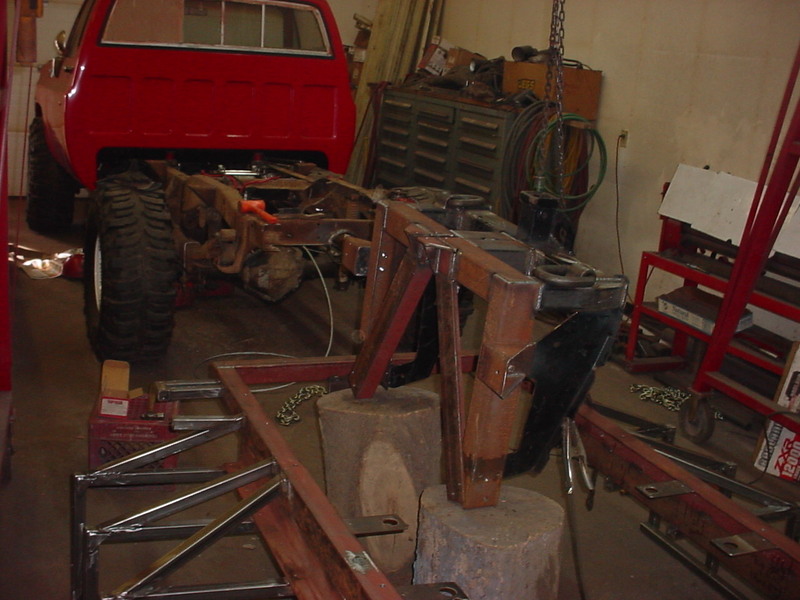
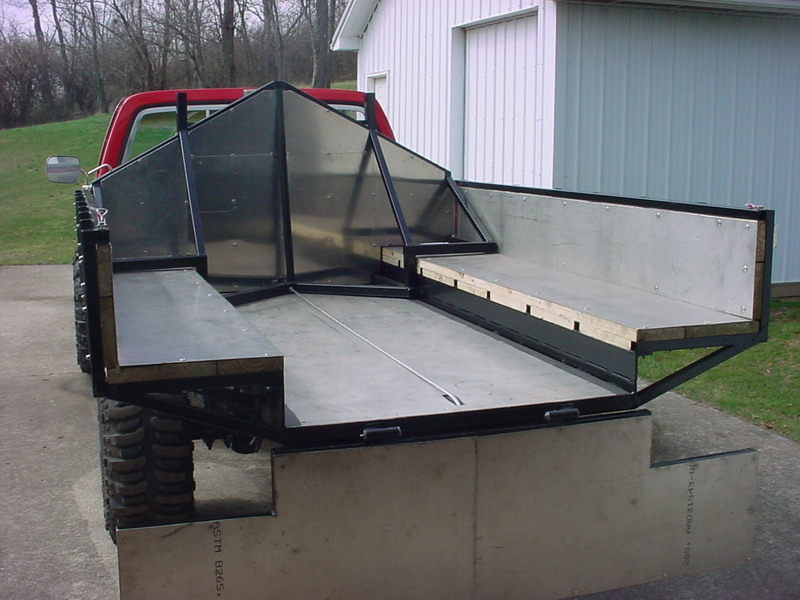
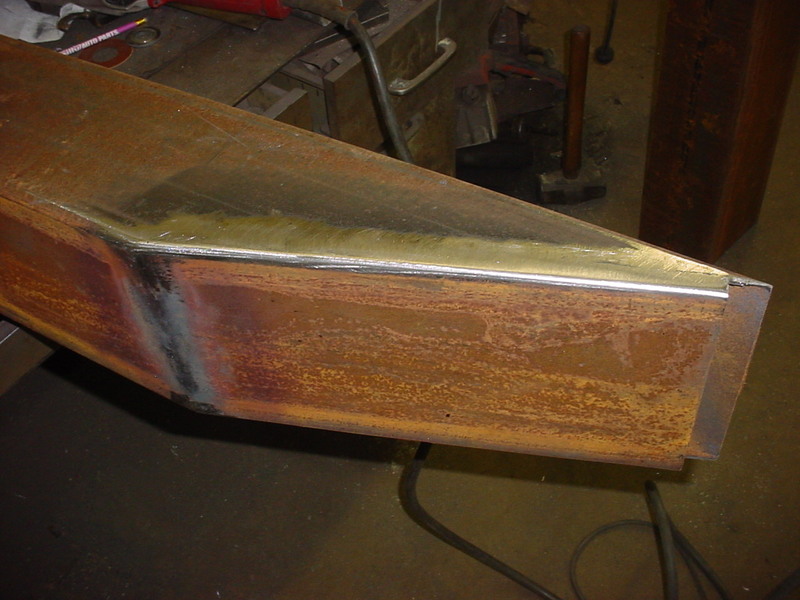
With this done I'll work on putting the aluminum wall in.

MVC-001F_57.JPG


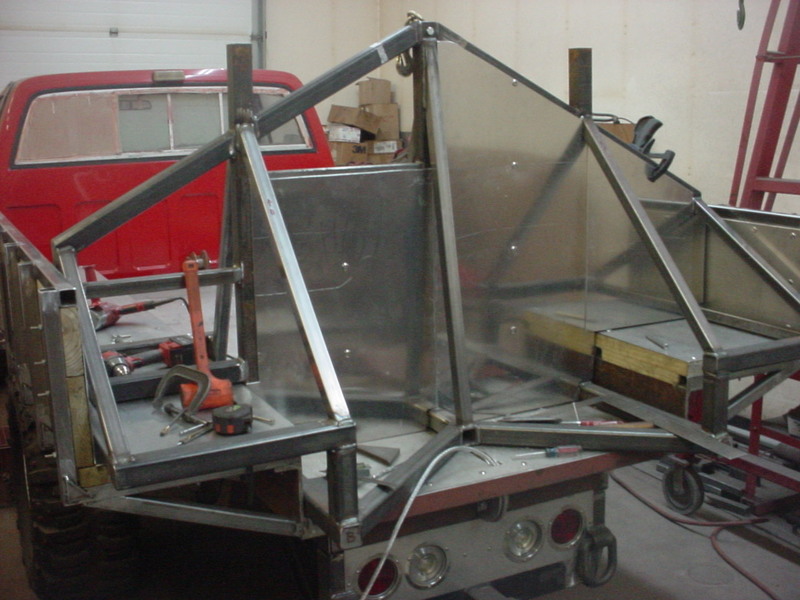
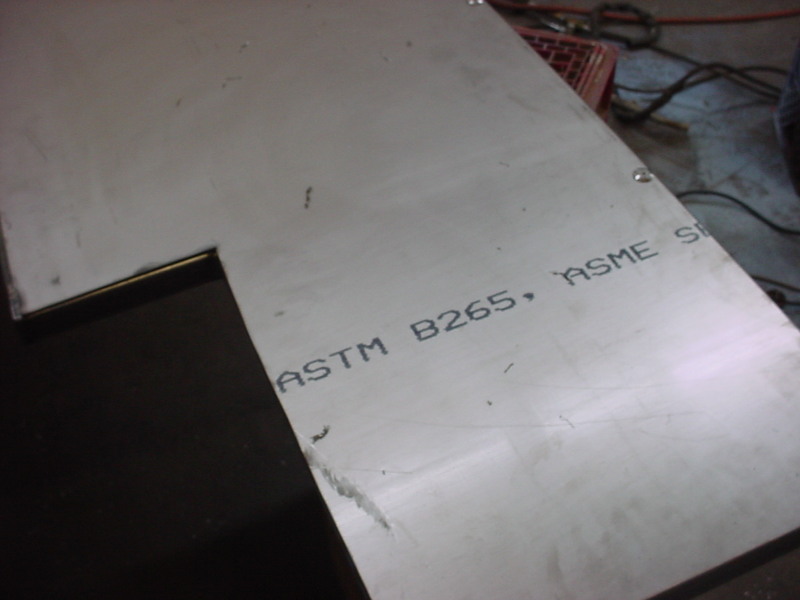
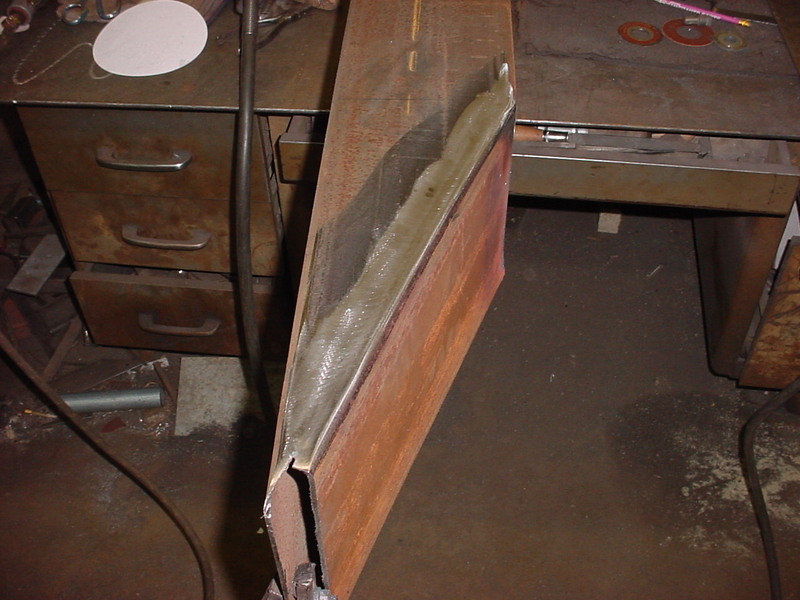
With the bracing there was no way to get it in with 1 or 2 pieces. Ended up having to make 6 pieces. I'm using 3/16" aluminum sheet.

MVC-002F_52.JPG


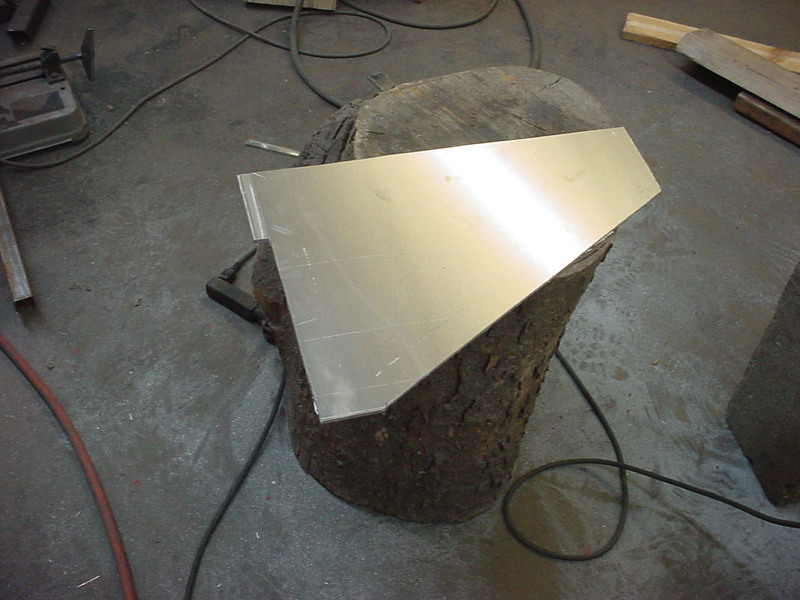
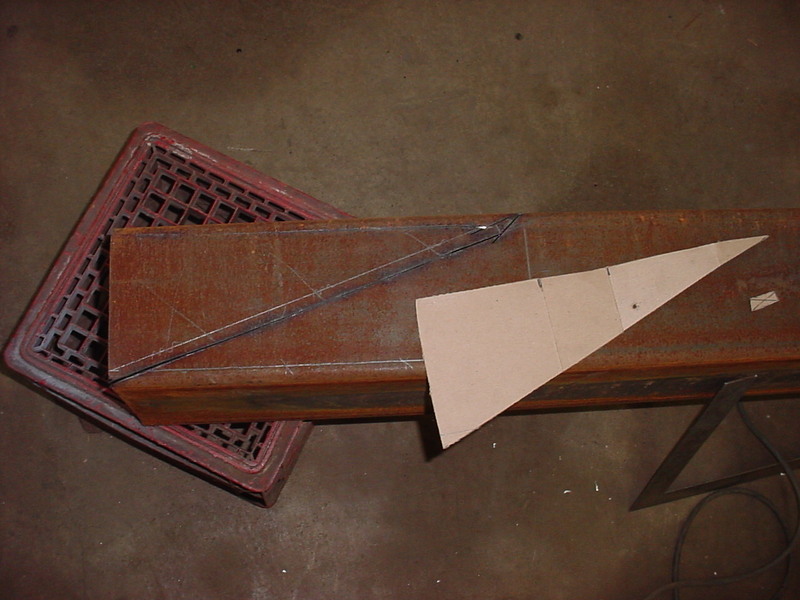
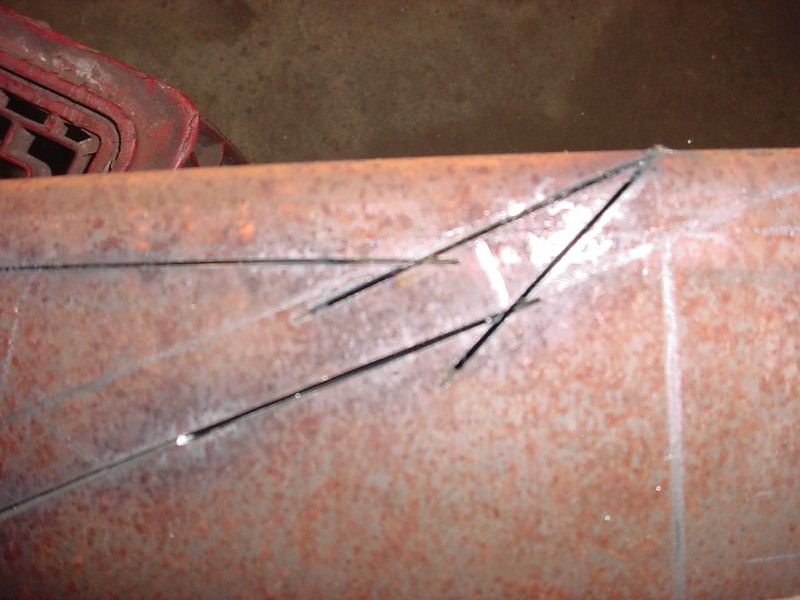
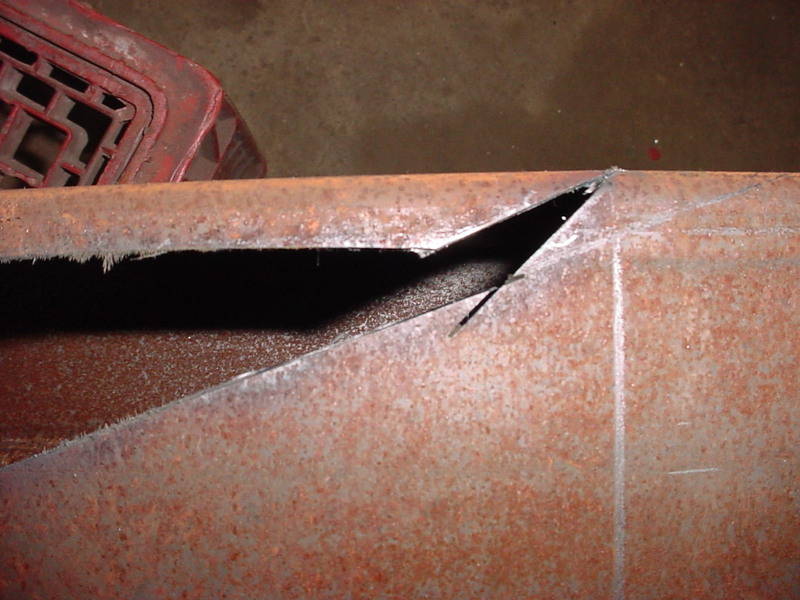
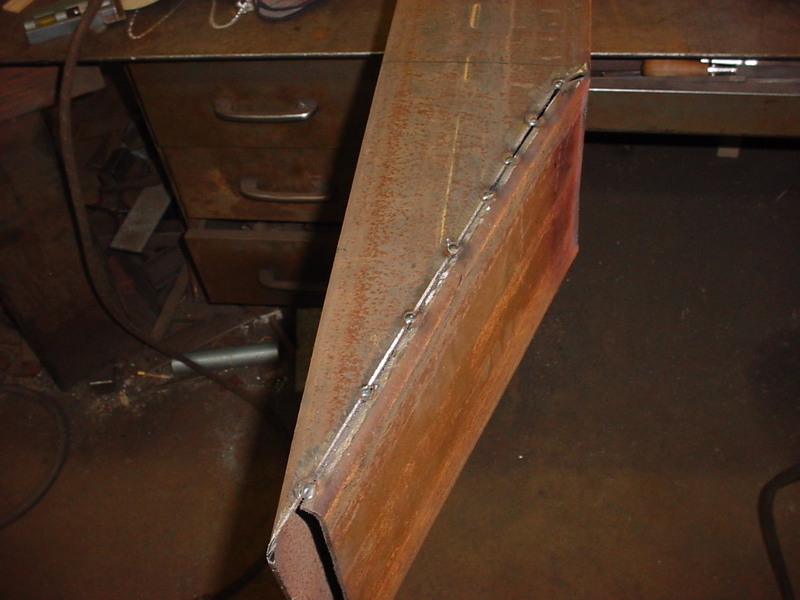
I'm cutting this freehand with a cut off wheel and angle grinder.

MVC-001F_58.JPG


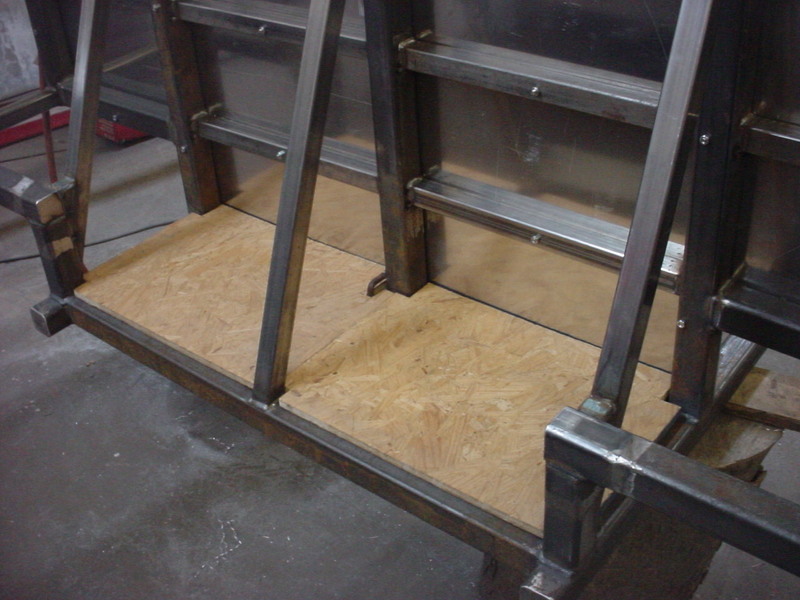
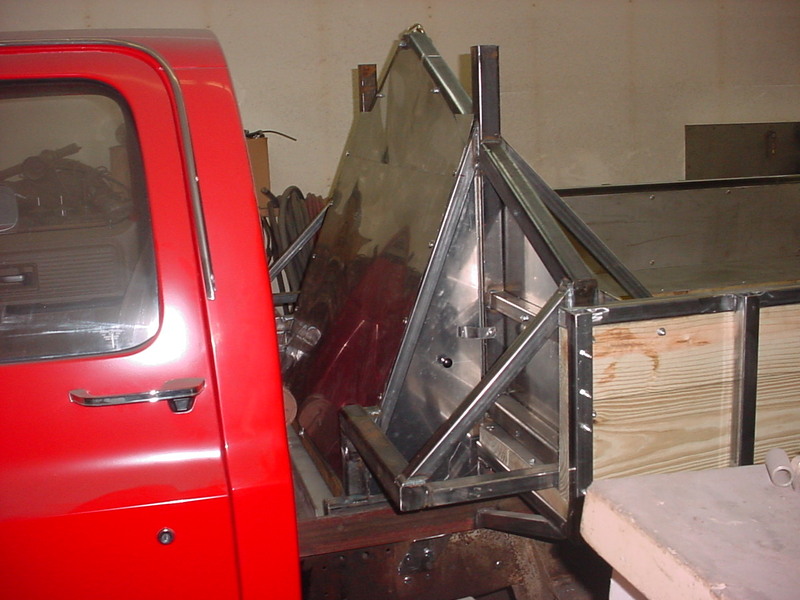
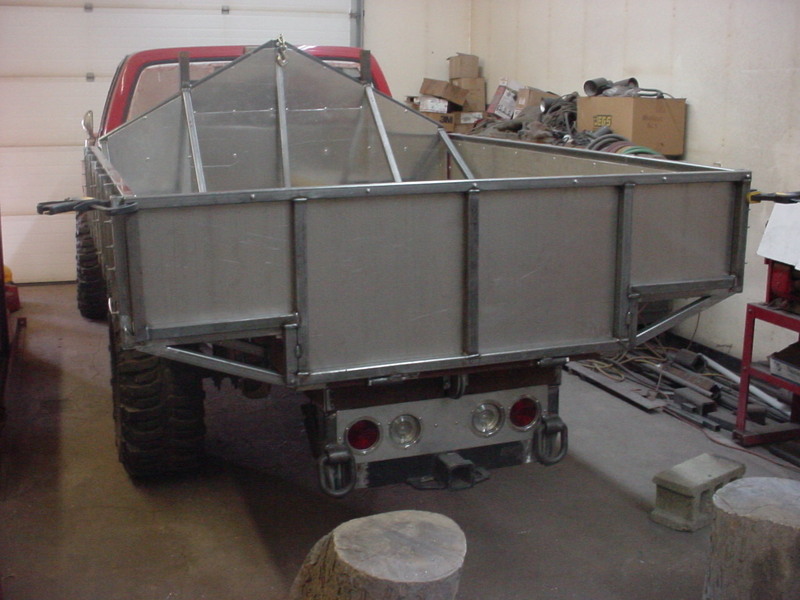
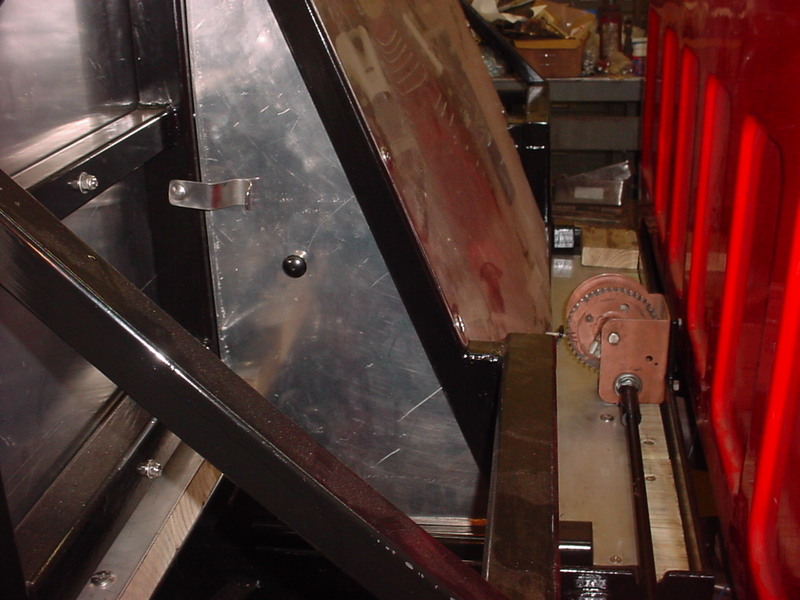
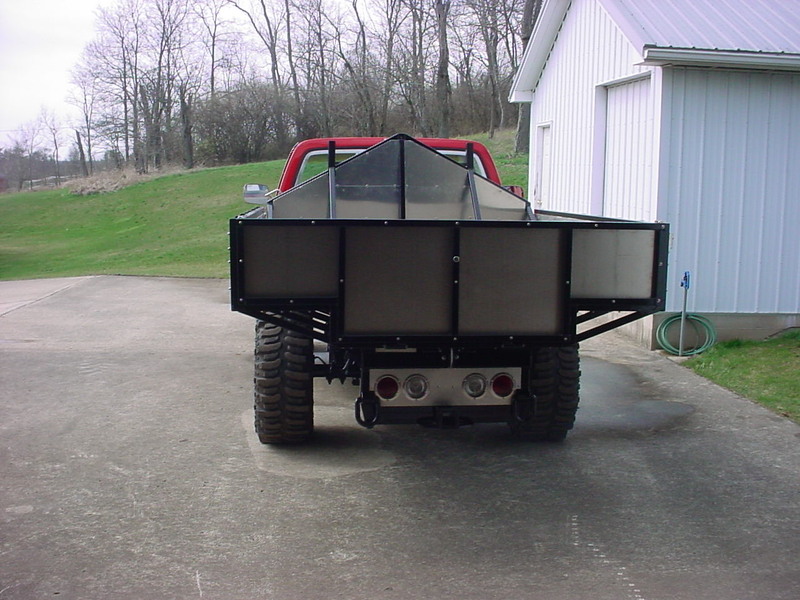
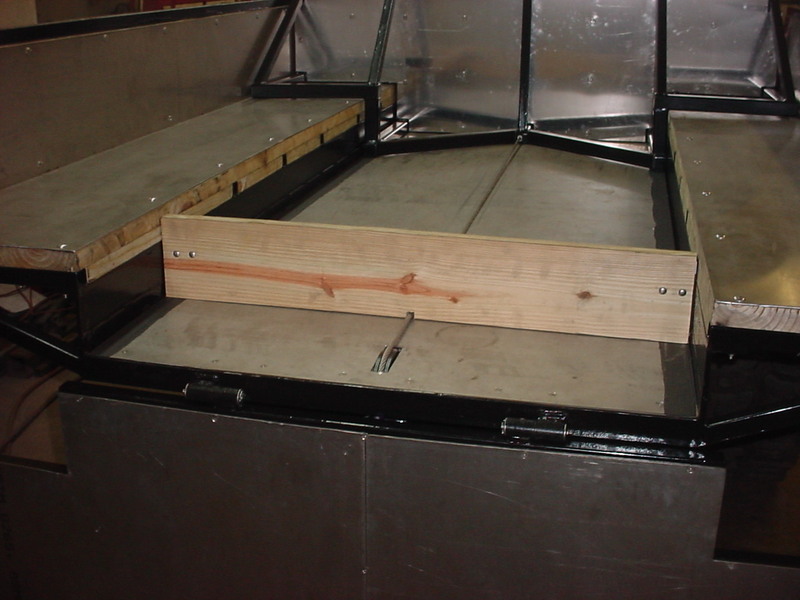
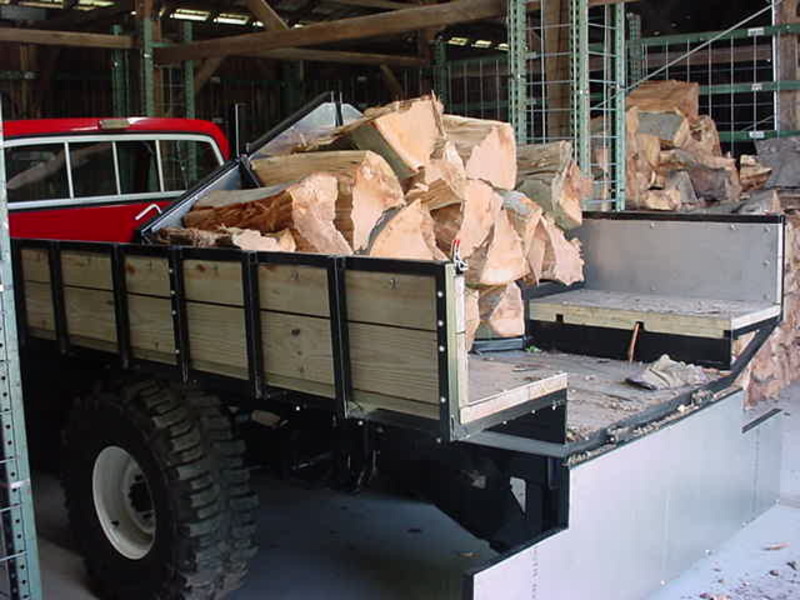
Wall is in and now working on enclosing the backside for some out of the weather/eyesight storage. Cut some OSB so it self locks for a floor.

MVC-002F_53.JPG


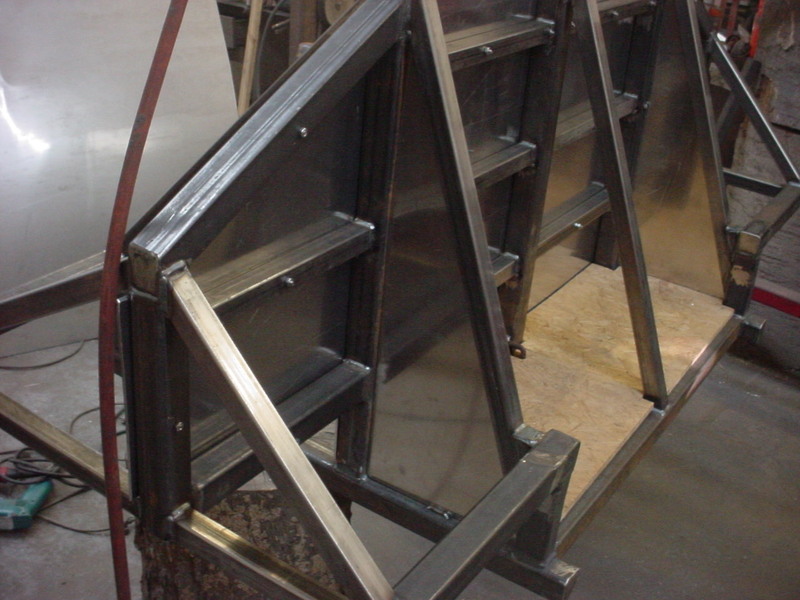
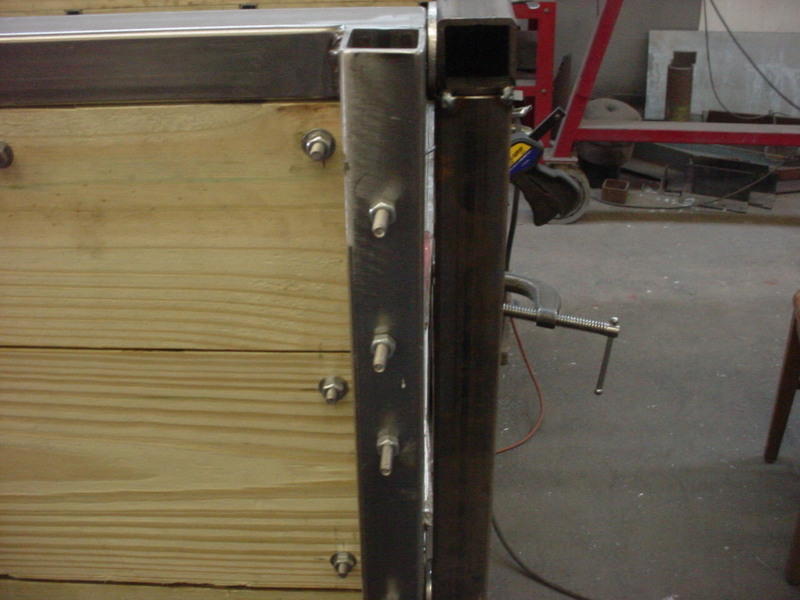
Cut some panels so they slide inside the back supports. The bolts for the upright wall and future back panel will keep them from sliding in.

MVC-002F_54.JPG


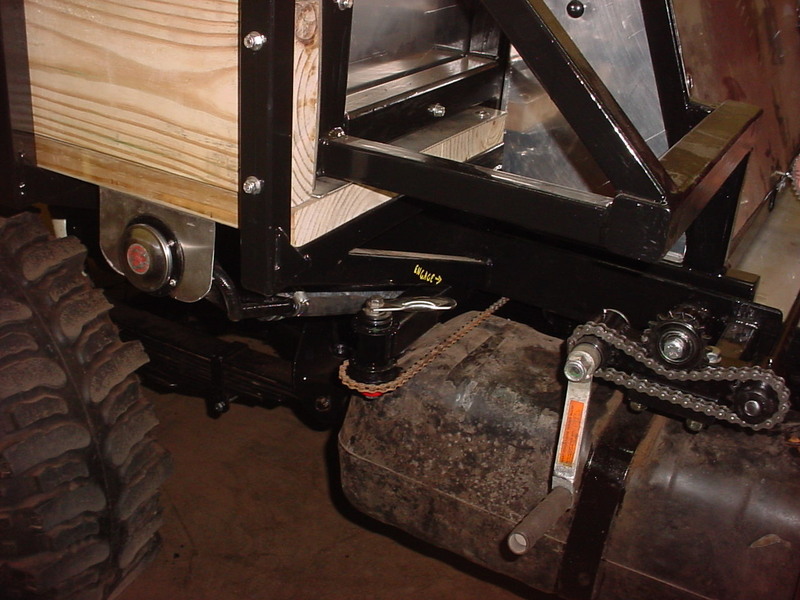
They will just lean out and lift up. Simple and secure.

MVC-001F_59.JPG


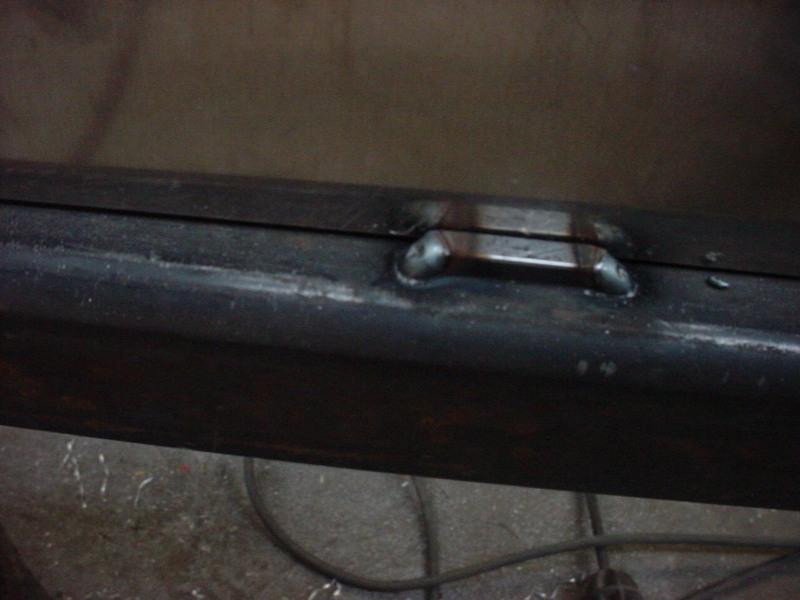
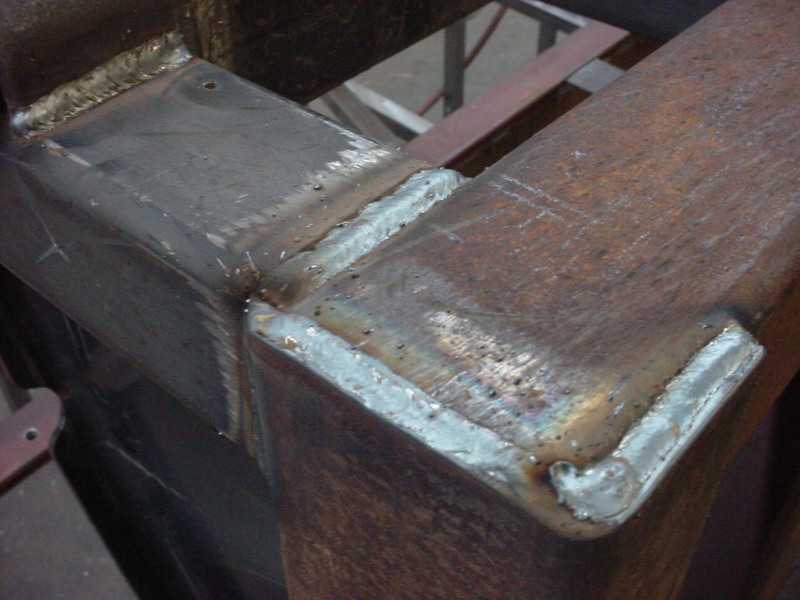
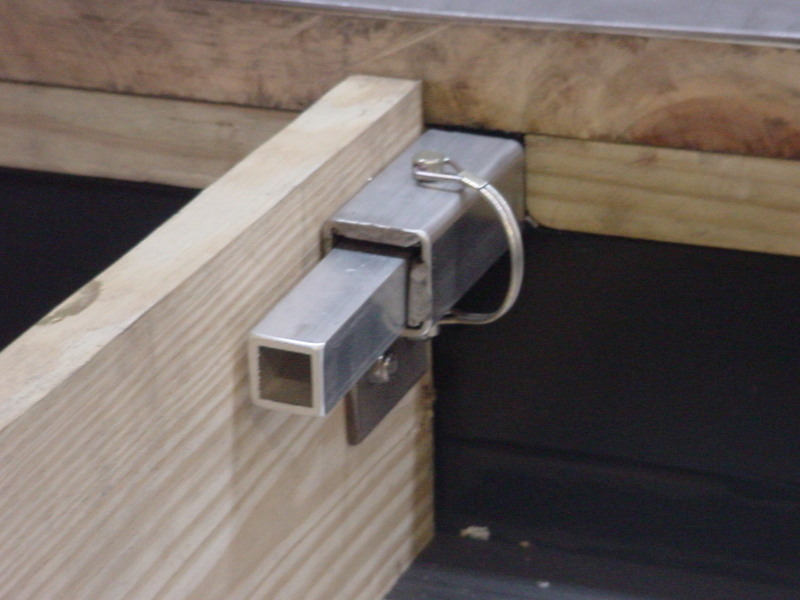
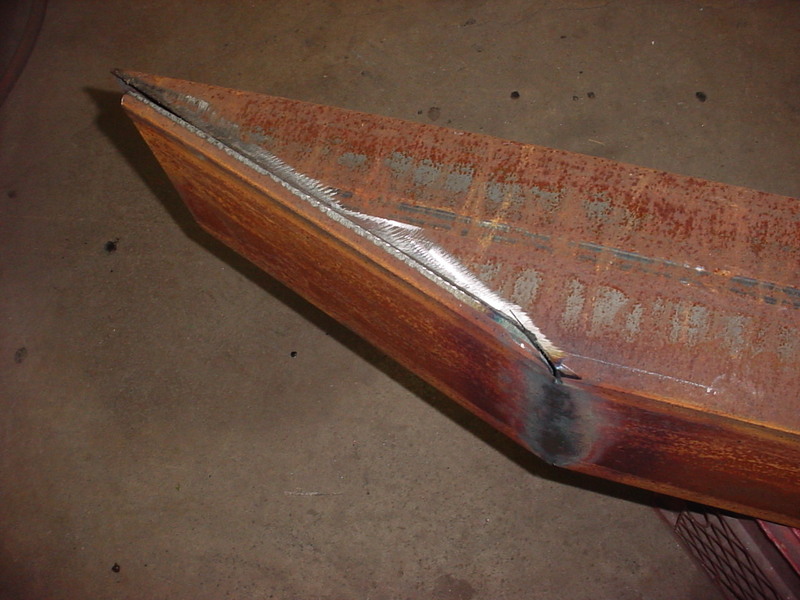
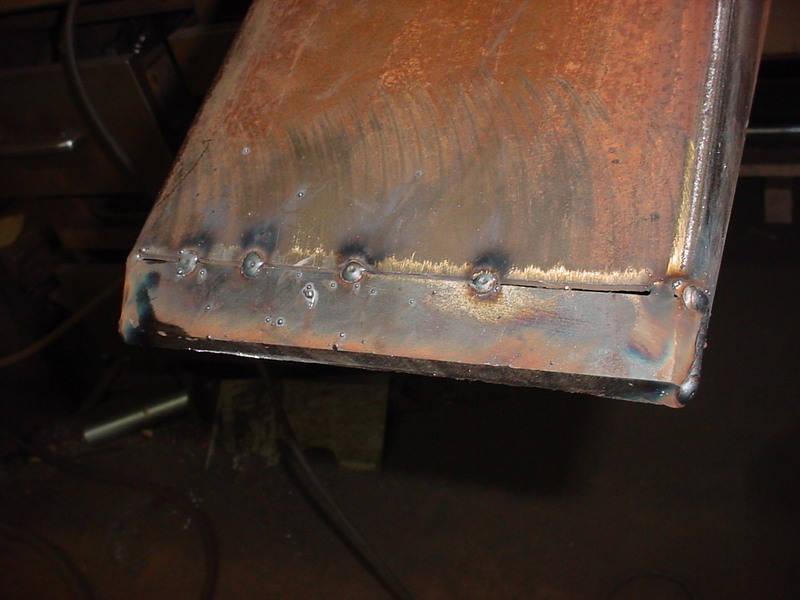
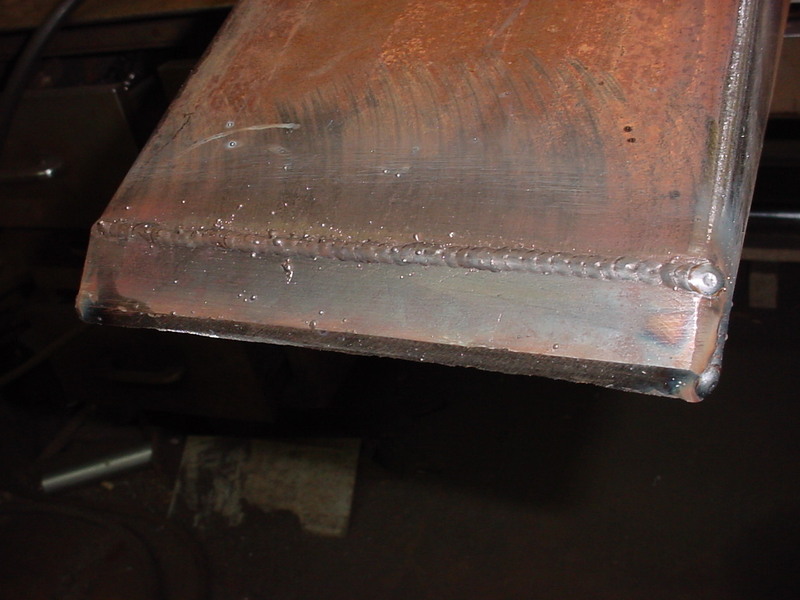
I just welded a small piece on the bottom edge and no way it can get over it when in positio

MVC-001F_60.JPG


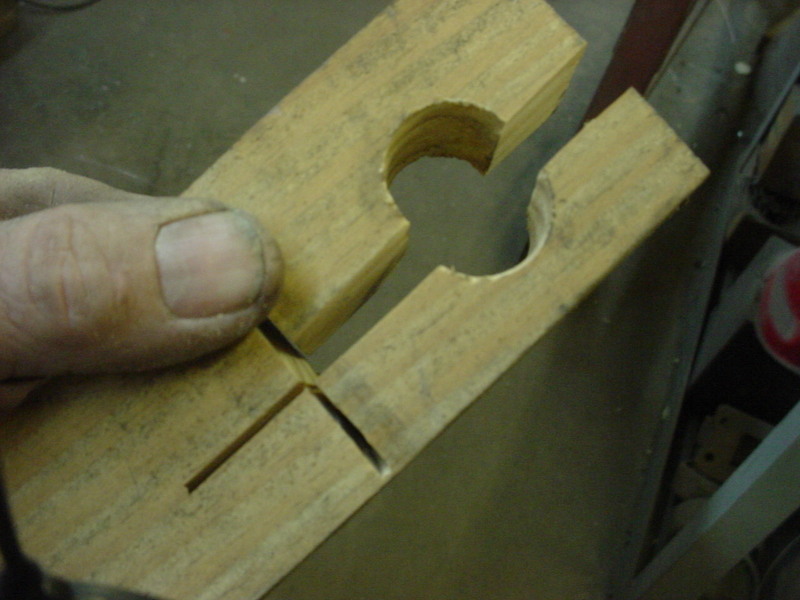
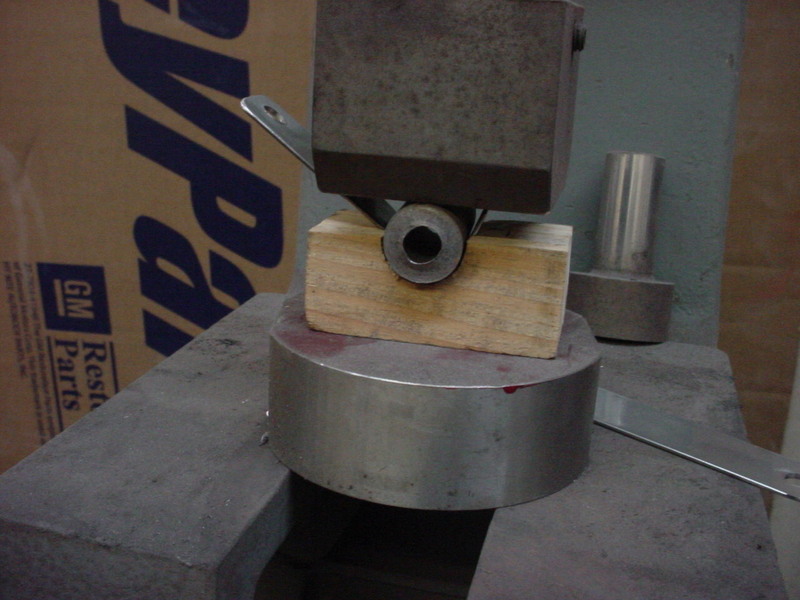
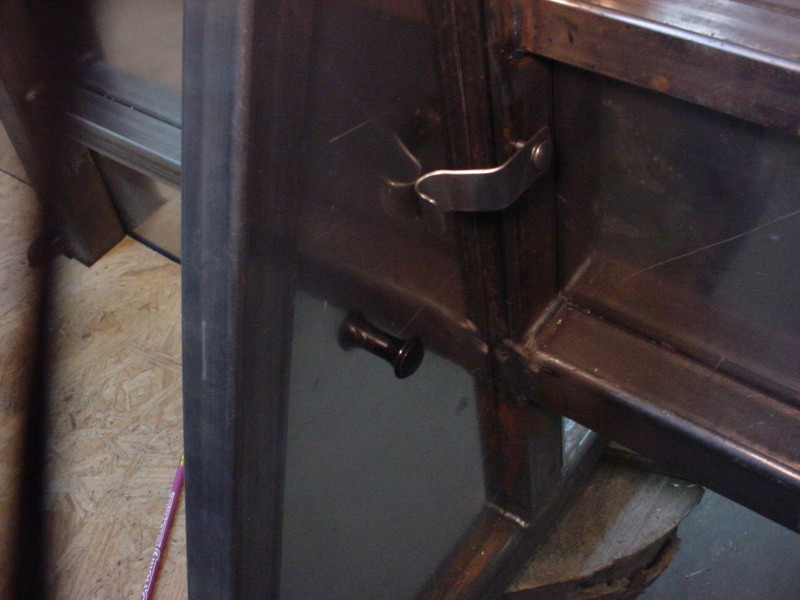
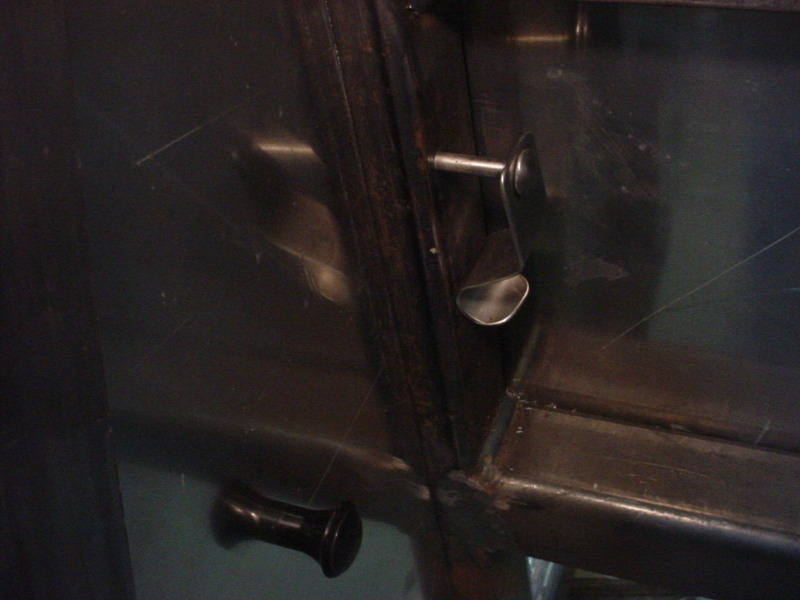
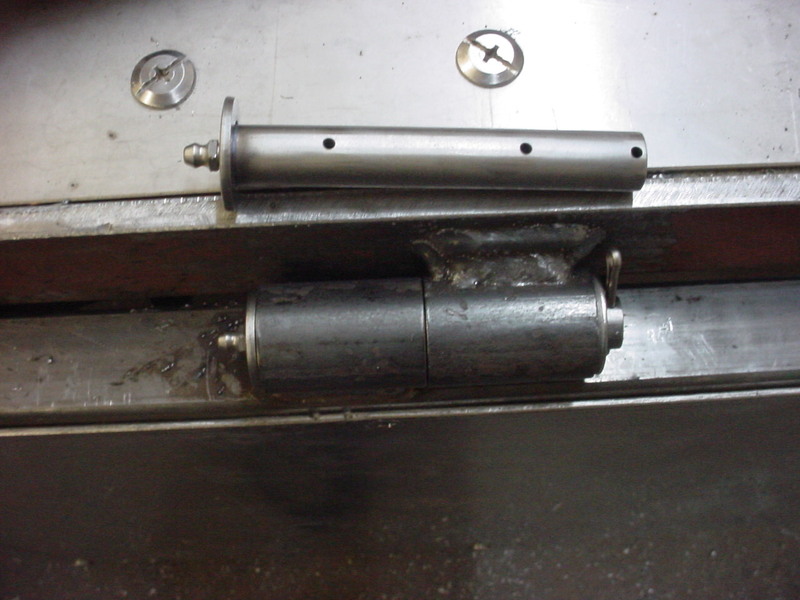
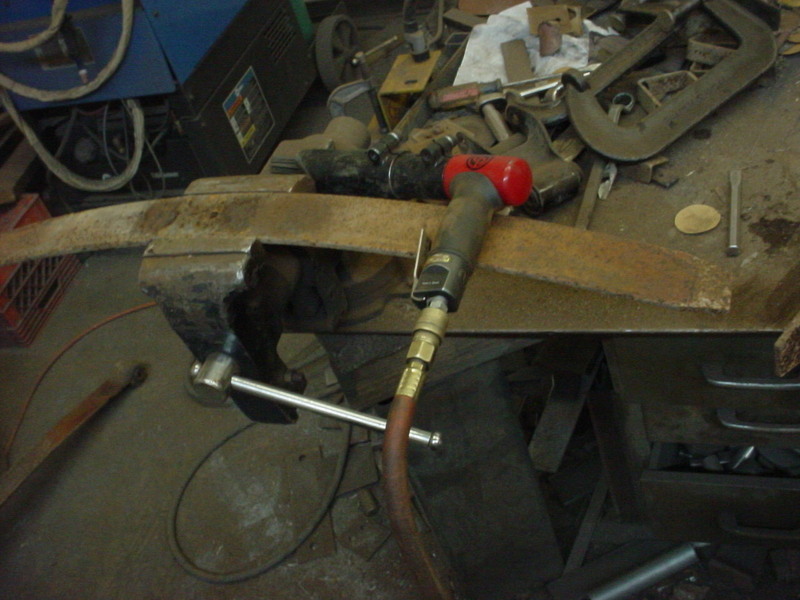
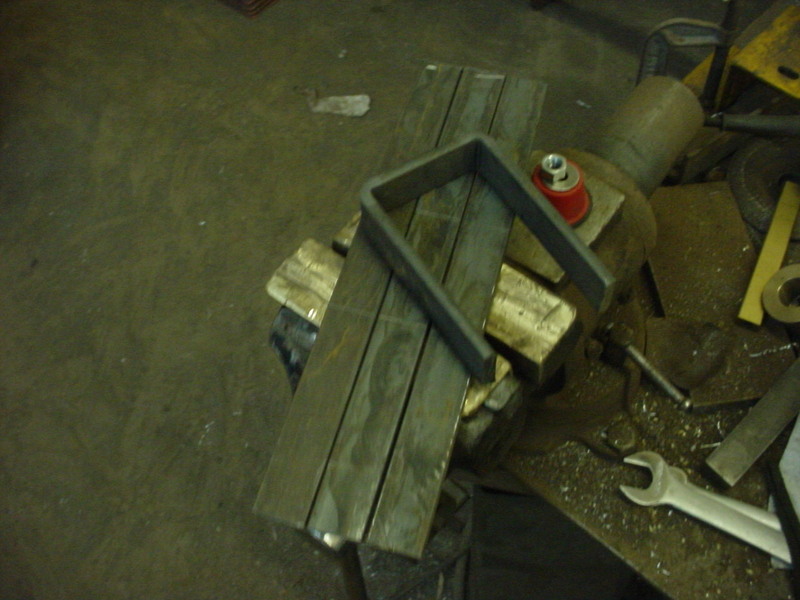
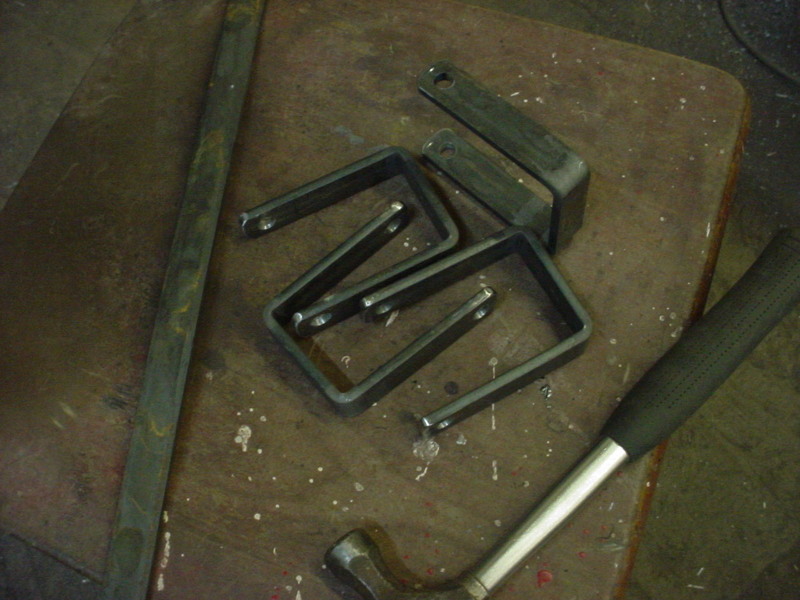
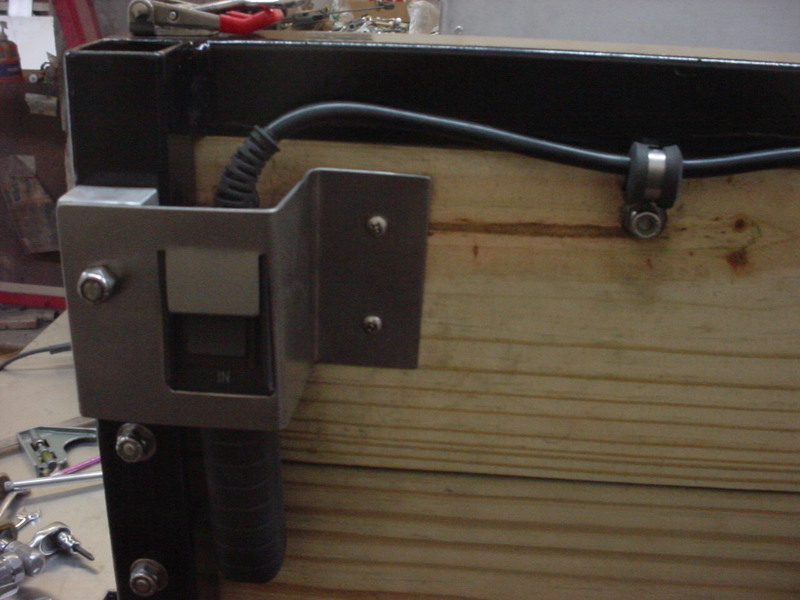
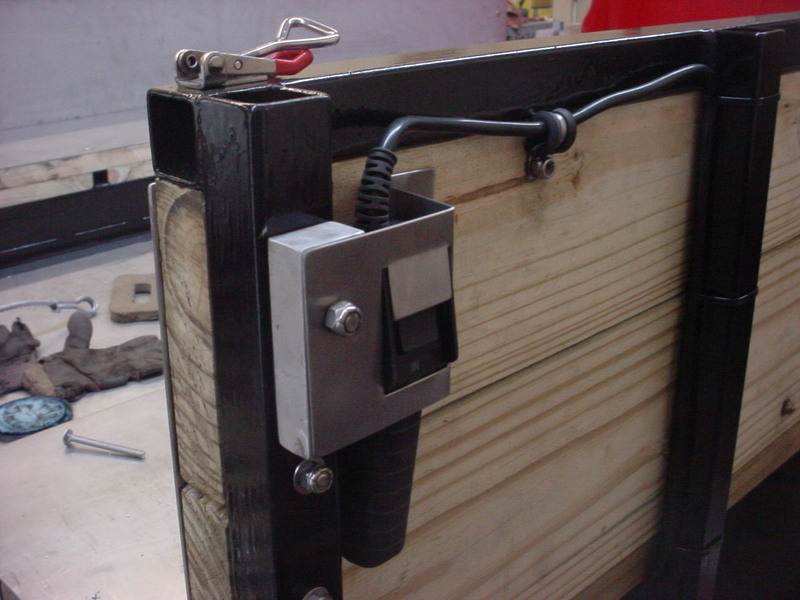
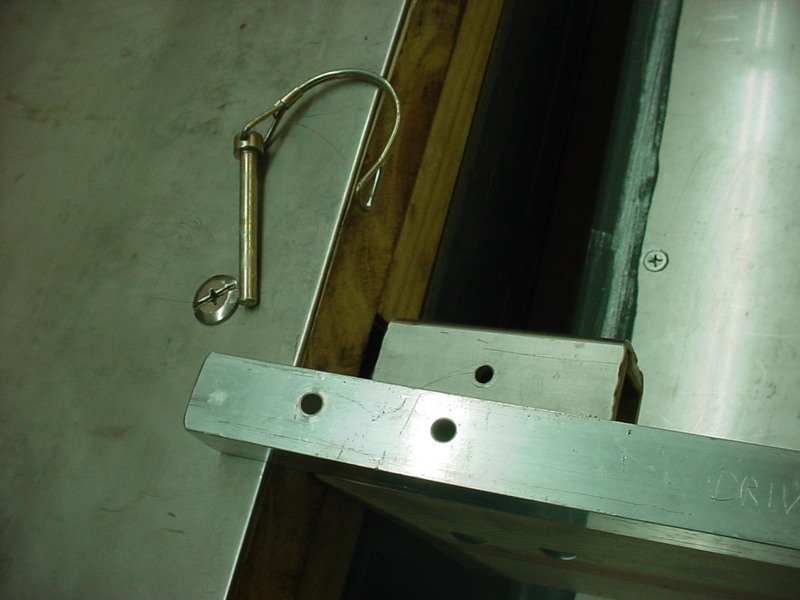
Figured I'd make an easy grab handle and a spring loaded hold down for the access panel. Just drill a hole that was a little bigger than the small piece of pipe I had laying around. Then cut it in half and off.
 
MVC-002F_55.JPG


Drilled a hole in a thinner piece of stainless a used an arbor press to form it. Wood works okay for just a couple pieces and thinner steel.

MVC-002F_56.JPG


View from the inside with the spring doing the work.

MVC-001F_61.JPG


Here it is holding it in place. You can also see the knob I put on to make it easy to pull the panel out.

MVC-001F_62.JPG


Here it is in the open position.

MVC-001F_63.JPG


I then cut some panels to enclose the front slant.

MVC-002F_57.JPG


Here I'm making the tailgate. I had drilled and reamed some solid bar stock with a 5/8" hole for hinges. Ran a bar through them and tacked them on. Building it on the truck to match. Leaving an 1/8" gap with washers as I'll use that thickness for the liner.

MVC-001F_64.JPG


Takes the guesswork out of it and gives you a nice pattern to build off of.

MVC-002F_58.JPG


Once everything was tacked and no issues, I took it off and final welded it all.
 
MVC-001F_65.JPG


Last time I went to my local steel yard I picked up the metal for the push wall and tailgate liner. This is the sheet I got for the tailgate. It was 4' x 5' and 1/8" thick. Went to cut it and it was unlike any stainless or aluminum I've worked with. Went online and ran the callout and found out that it's titainium!

MVC-002F_59.JPG


I guess it will make a nice tailgate! LOL

MVC-001F_66.JPG


Cut some 5/8" stock and then drilled about 3/4's of the length. Then crossed drilled it. Tapped the end and added a zerk. I Tig welded an 1/8" washer to one end and will use a cotter pin and washer on the other.

MVC-002F_60.JPG


With all the Fab work done I pulled it apart for final welding on the bottom. Flipped the main bed frame over here. Glad I have to winches above.

MVC-001F_67.JPG


Once that was done and cleaned up, I pulled the rear frame extension off too.

MVC-002F_61.JPG


Makes it a lot nicer. Used some wire on this project!

MVC-001F_69.JPG


With the weight this will haul along with what they bed weighs, I need more spring capacity. I had another set of 1 ton springs so I'll use those. Here I have taken it apart and am cleaning off the rust with a needle scaler. These work really well to get them cleaner.

MVC-002F_62.JPG


I used C clamps to bring it all back together. I had them on as well when I took them apart. I used the long phillips screwdriver to keep the center hole in line so I could insert the bolt. I put in 2 extra springs(The 2 longest below the top eye spring.) Now there are 10 springs plus the bottom overload. I did put new poly slip pads in.
 
MVC-002F_63.JPG


Here it is ready to be painted. Decided not to paint individual as I may add more later if needed.

MVC-001F_74.JPG


With the extra 1/2" of thickness I needed to make longer keepers. Copied what the originals had so I got some 1/4" x 1" strap. Cut them all to length and marked the width for bends.

MVC-002F_67.JPG


Using the compact bender for this.

MVC-001F_75.JPG


Took about 5 minutes to bend all 4 of them. Handy tool.

MVC-002F_68.JPG


Slid each one on and marked the 3/8" holes. I then drilled them all and rounded the corners.

MVC-001F_76.JPG


Painted and installed them all. I measured the before and after and it has 2 inches less squat with all of the bed installed but no load in the bed.

MVC-001F_68.JPG


Cleaned the frame up and brush painted it. Using hardener in the paint so it dries nicer and is more solvent resistant.

MVC-001F_70.JPG


Painted as much as I could of the frame extension while it was off. Getting ready to slide it back in here. With the bed frame, I painted the bottom while it was flipped over and will paint the rest when it's installed back on the truck.
 
MVC-002F_64.JPG


Bed frame installed and painted and painted the floor crossmembers while they were out as well.

MVC-001F_71.JPG


Next was to paint the push wall. I painted the bottom of the box tubing where it will slide with Graphite paint.

MVC-001F_72.JPG


Also painted the floor where it will ride. This stuff really does help. Most farm implement dealers stock it.


Using these for a tailgate latches. They are adjustable and each are rated at 400 lbs of pull.

MVC-002F_66.JPG


Doing the electric stuff and wanted to hard mount the winch control. Put it at the back as high as I could and panel blocks the reverse option. Don't want an uncoil mess from someone else using it...or me forgetting so it can only be switched one way now. LOL

MVC-001F_73.JPG


Tried to keep it from sticking out as much as possible. Most time will be loading from the back so it shouldn't be in the way or get beat on too much.

MVC-003F_44.JPG


Put in some blocks to cushion in a panic stop situation.

MVC-002F_69.JPG


Installed the gas tank and the filler neck. Went to the auto parts store and searched the rack till I found the 2 sizes of preformed hose I needed. Makes it nice a clean.
 
MVC-003F_45.JPG


Had a warmer day and decided to give it a bath. Happy with the results so far and just a few things left to do.

MVC-002F_70.JPG


MVC-001F_77.JPG


MVC-001F_78.JPG


MVC-002F_71.JPG


MVC-001F_79.JPG


With the slick floor, putting anything at the back would be an instant slide forward with a stop or hill. I'm using those opening for an adjustable panel stop when hauling smaller things like buckets, gas cans, saws, etc.

MVC-003F_46.JPG


Using a small piece of box tubing with a welded tab to attach to the board. Another smaller box tube will slide through to the sides. Being that the square "locks" it in postion, it won't swing out at the bottom. Just drilled 2 holes for in or out. Spring pins make it quick and easy and pieces won't get lost.

MVC-002F_72.JPG


Seems to work well.
 
MVC-004F_34.JPG


Next will be the front bumper. I want something bigger than stock and want to be able to stand/kneel on it when working in the engine compartment.

MVC-005F_22.JPG


Went to the scrap yard and they had what I wanted. a 6" x 8" box beam.

MVC-001F_80.JPG


I cut the length to what I wanted and made a pattern where I needed the angle back at. The tight angle can't be cut as shown on the pattern and retain the rounded corner.

MVC-002F_73.JPG


After looking at it and some sketching on what should work, I cut the lines with a cut off wheel.

MVC-003F_47.JPG


Knocked the waste out and will trim any spurs.

MVC-004F_35.JPG


Cut the other side and reasdy to bend. I'll heat the hinge point to bend.

MVC-005F_23.JPG


Held the torch, moving back and forth with one hand and pushed down with the other. Came together and I have the weld gap I wanted for filling.

MVC-002F_74.JPG


Tacked it up first paying attention that the edges were flush.
 
MVC-003F_48.JPG


Here it is after welding, grinding and sanding out.

MVC-001F_81.JPG


Continues the rolled edge like I wanted to have. Did the other side the same and now I'll do the outer ends.

MVC-001F_82.JPG


Cut a section out of what I had left over and angled it more to the edge. Doing the same with tack welds.

MVC-002F_75.JPG


Burst welded all the gaps.

MVC-003F_49.JPG


Ground and rounded all the corners and edges. Nothing to gouge into a leg. LOL

MVC-002F_76.JPG


Brushed painted it as well and once dry, I put it on.

MVC-003F_50.JPG


MVC-001F_83.JPG
 
MVC-001F_84.JPG


Got some antislip tape for sidewalks and cut it to fit the top of the bumper. Hopefully it'll keep me from slipping off while standing/kneeling on it. Generally use some foam on rop but with slick paint, they can slide off at the wrong time.

MVC-002F_77.JPG


MVC-004S_53.JPG


First load of wood on it for a test. This is Beech do it weighs about 4500 lbs wet. Just split it enough to be able to lift chunks and will split the rest of the way in the barn before final stacking.

MVC-003S_56.JPG


MVC-002S_59.JPG


Squats more than I want so will probably add a few more leafs when I come across a set. I have a good bit of weight far behind the rear axle.

MVC-005S_50.JPG


First unload test so here we go. Drop the tailgate and I'll unload the first rick.

MVC-006S_48.JPG


Hit the button and the 3 ricks moved with ease to the back. Success!

MVC-007S_40.JPG


Repeat the process and it only gets easier. The whole system worked really well and I'm happy about that.
 
After cutting/hauling a bunch of loads in while it was dry, we finally got some rain so now I'll start splitting all the bigger stuff. Have the small rounds final stacked and will work on the rest now. Stacks go 8ft high for some scale.

MVC-004F_36.JPG


MVC-005F_24.JPG


MVC-003F_51.JPG


MVC-002F_78.JPG


I was getting to the point where I was running out of room for to be split stuff anyway. Neighbor is letting me clean up his dead ash so less limb wood than normal. I had also cut at Dad'sPrior and had some bigger beech over there.
 
Fantastic job, you should be well pleased with all the hard work you have done. Others will follow what you have done, photos were firstclass showing the different parts of the build. Well done!
VERY happy with it. Splitting now as it's finally raining and dumping all the trash in the back of it. Will be nice to hit the button and watch it all unload. LOL Sweeping it clean after that is a breeze after that with the smooth floor.
 

Latest posts

Back
Top