


Mastermind
Work Saw Specialist
I've done this saw once before....not too long ago either. Something happened to it and it ended up slightly scored. Well Brian (trx250r180) was cool enough to let us use his saw as a testbed.
Here's some pics......
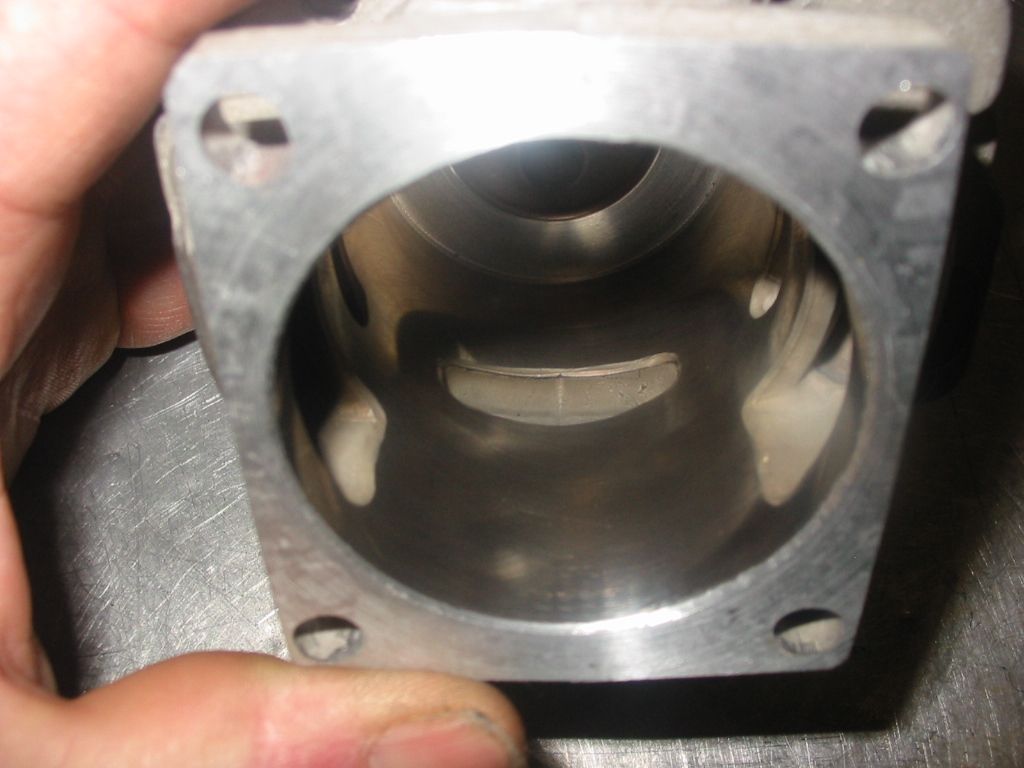
The squish has been cut as well as the base already but in these next two shots you can get a look at the stock port shapes.....
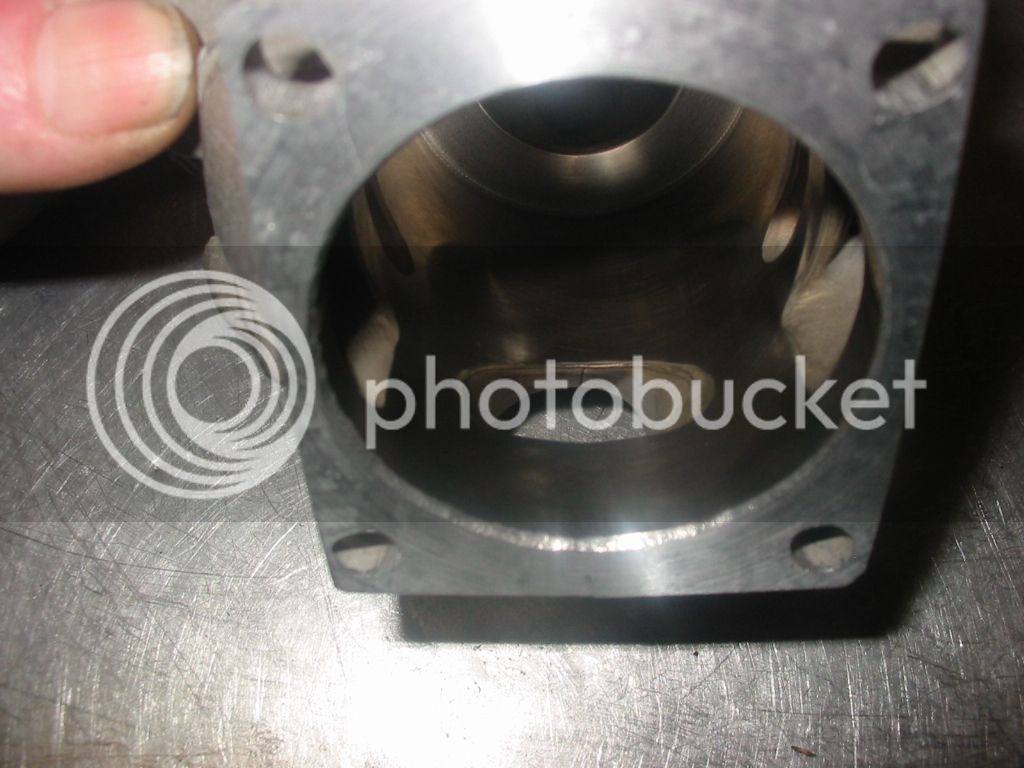
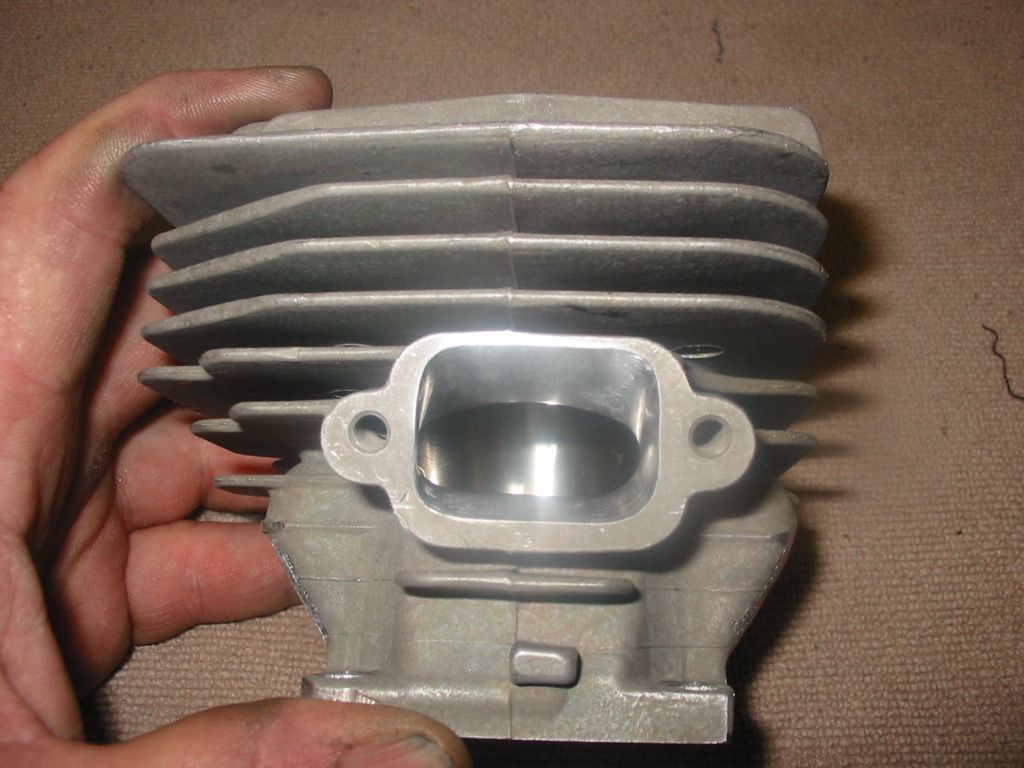
The bore side of the port is roughed in but here's a look at the factory exhaust outlet shape. Keep in mind that this muffler is from a saw that has been ported so it's got a non-stock opening.
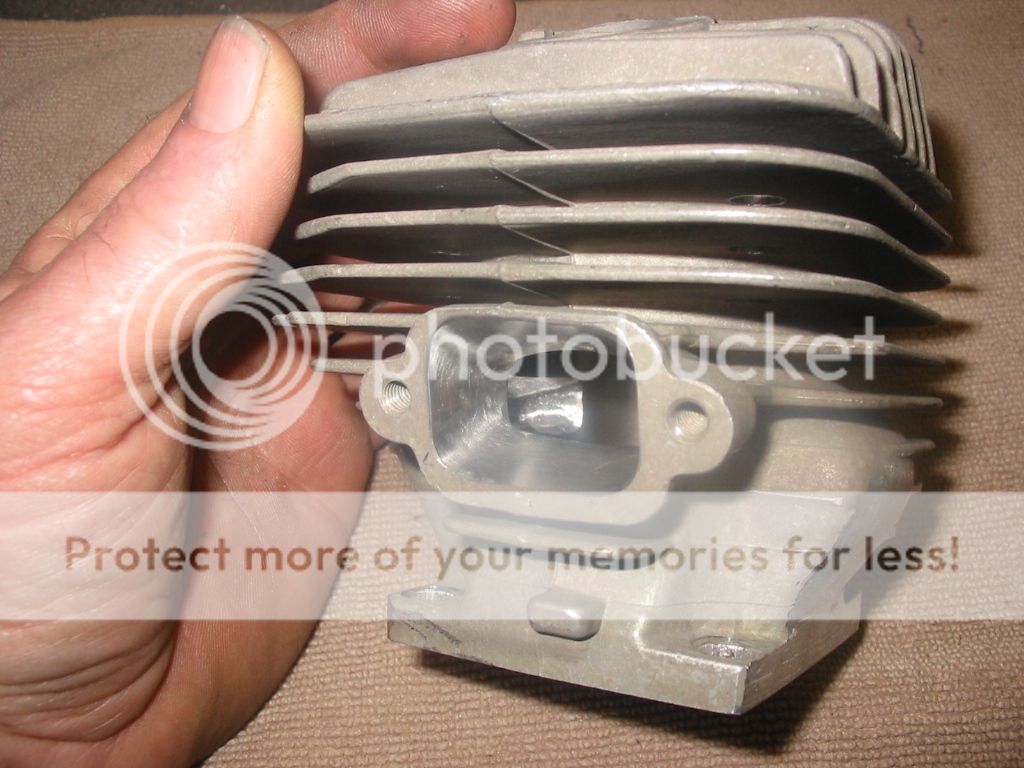
The shape here isn't a real good fit to the stock one either though.

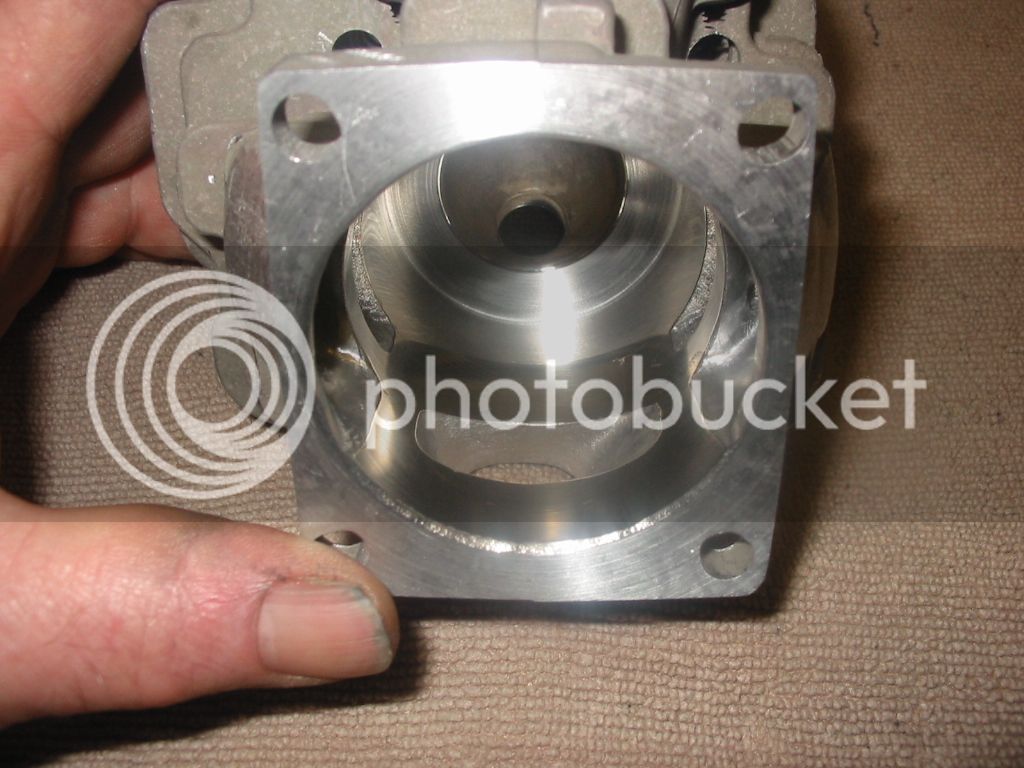
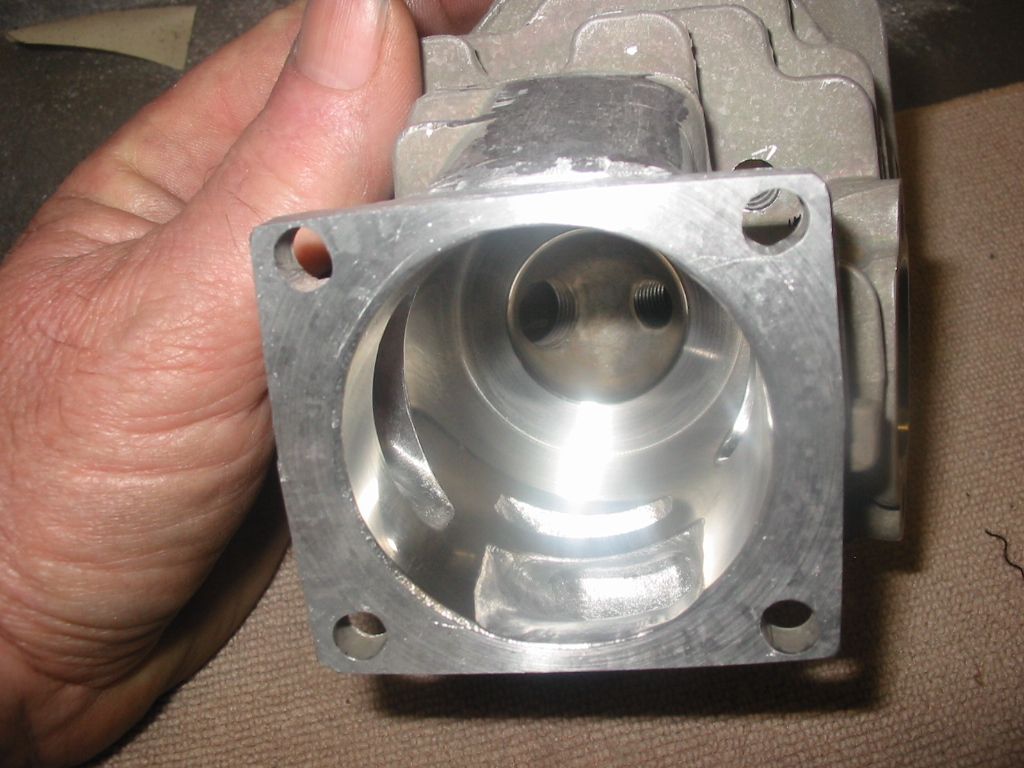
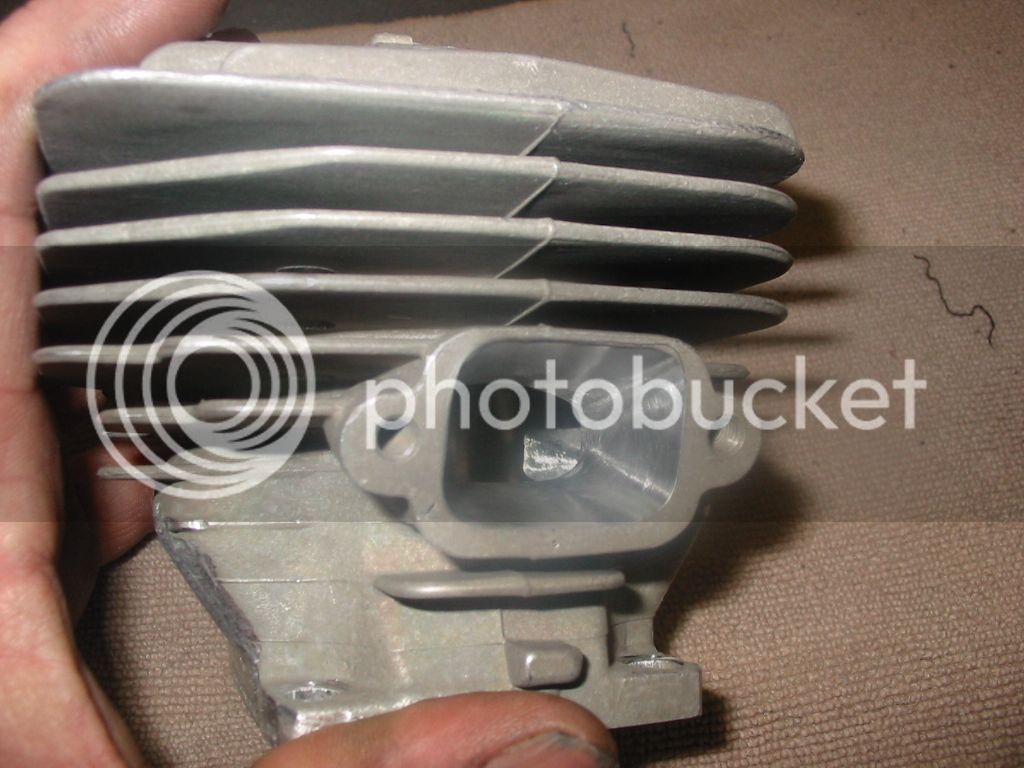
Now the intake after port work.
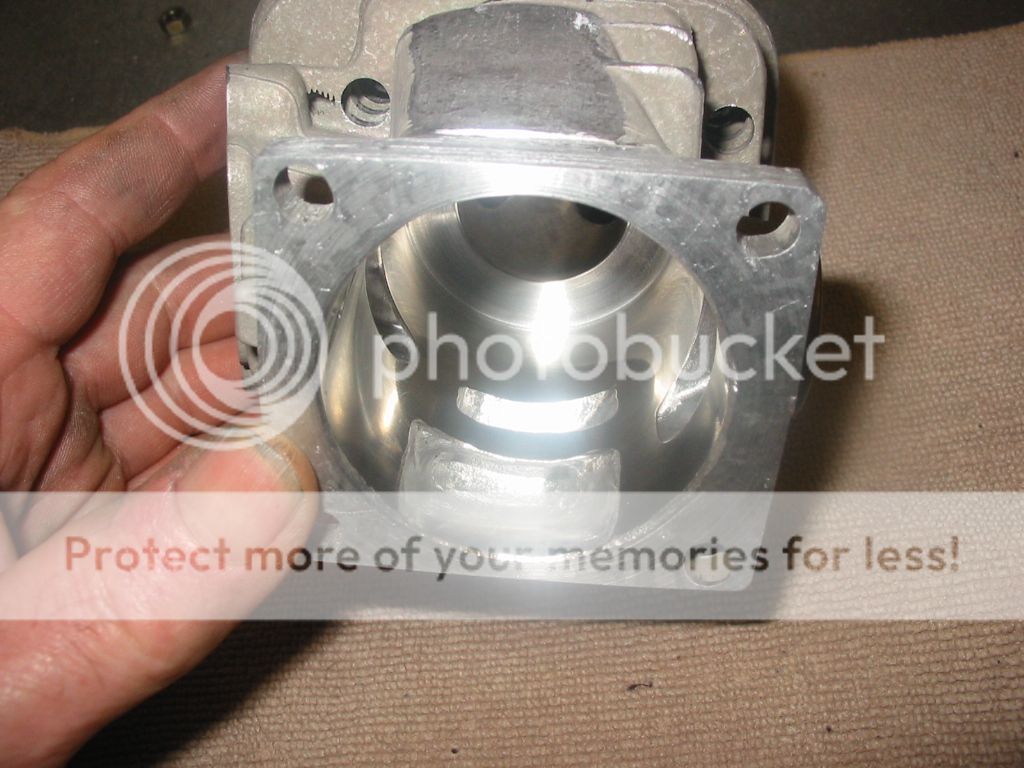
Transfers....you may notice a bit of change in the upper transfer shape from what I was doing a while back. It was pointed out to me that the tighter I can keep those upper corners the more time/area I have. I like good advice.
One thing I noticed on the 460 kit is that the exhaust floor is much higher that a stock 460. I've run into free porting on the 460 in the pass so I was happy to see this.
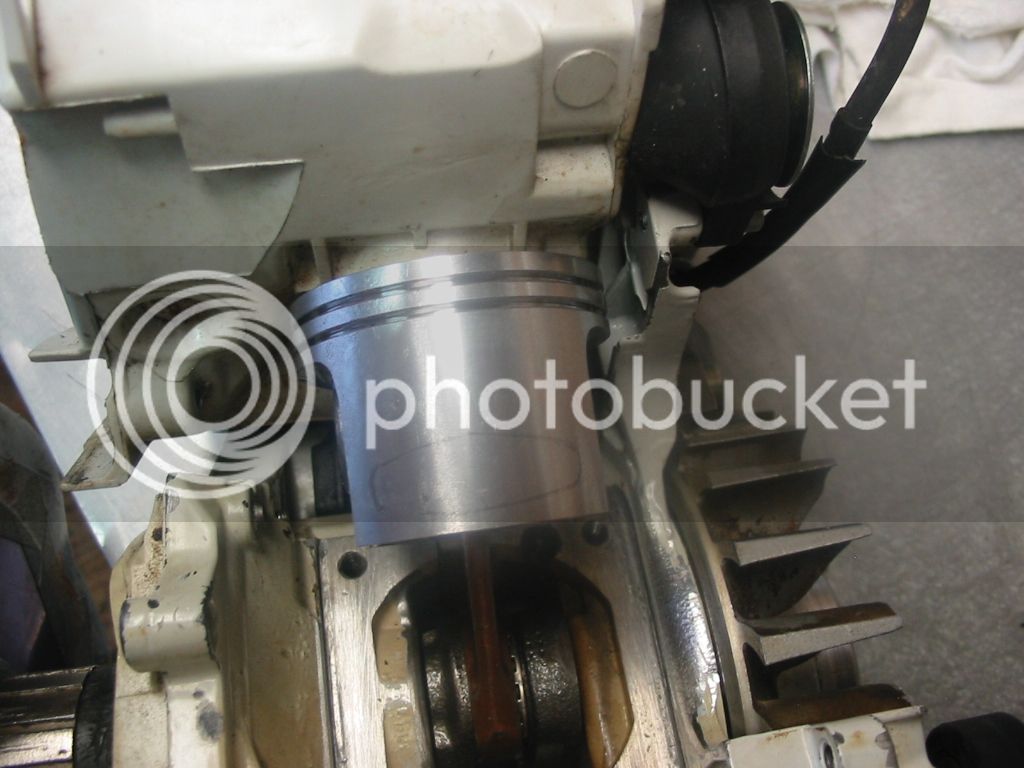
Here's some pics......
The squish has been cut as well as the base already but in these next two shots you can get a look at the stock port shapes.....
The bore side of the port is roughed in but here's a look at the factory exhaust outlet shape. Keep in mind that this muffler is from a saw that has been ported so it's got a non-stock opening.
The shape here isn't a real good fit to the stock one either though.
Now the intake after port work.
Transfers....you may notice a bit of change in the upper transfer shape from what I was doing a while back. It was pointed out to me that the tighter I can keep those upper corners the more time/area I have. I like good advice.
One thing I noticed on the 460 kit is that the exhaust floor is much higher that a stock 460. I've run into free porting on the 460 in the pass so I was happy to see this.
 opcorn:
 , but apart from that? :msp_confused: