you dirty old man you
I despise every post you make because on every post, the girl in your avatar still hasn't moved her arm. :msp_angry:


you dirty old man you
I despise every post you make because on every post, the girl in your avatar still hasn't moved her arm. :msp_angry:
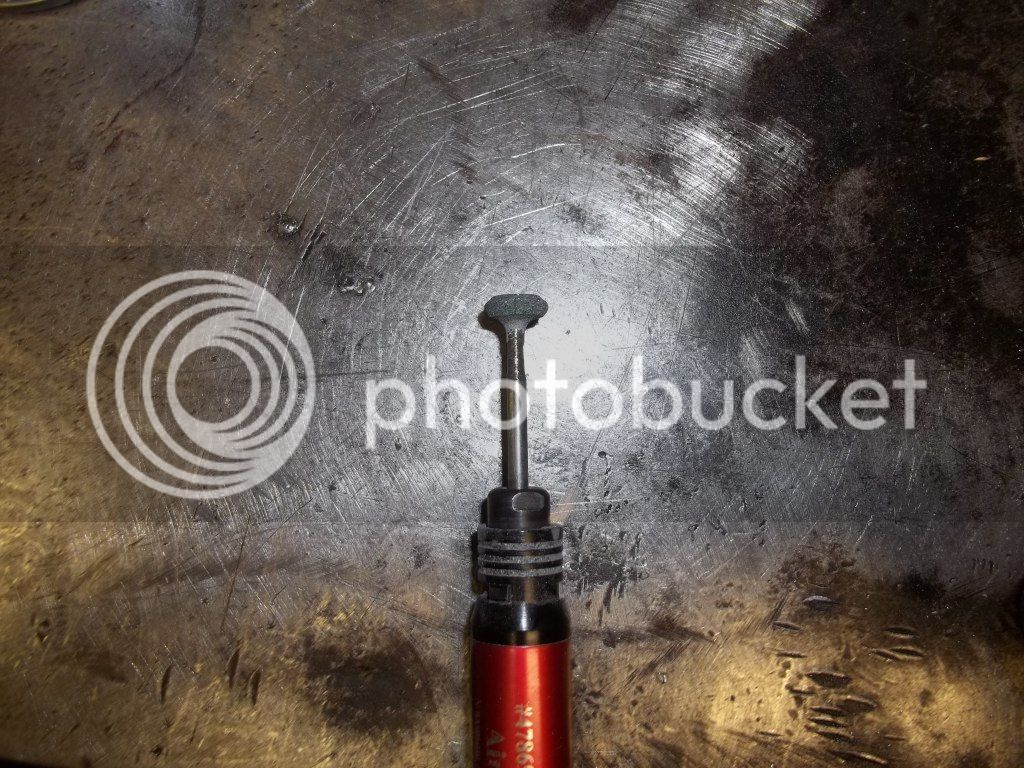
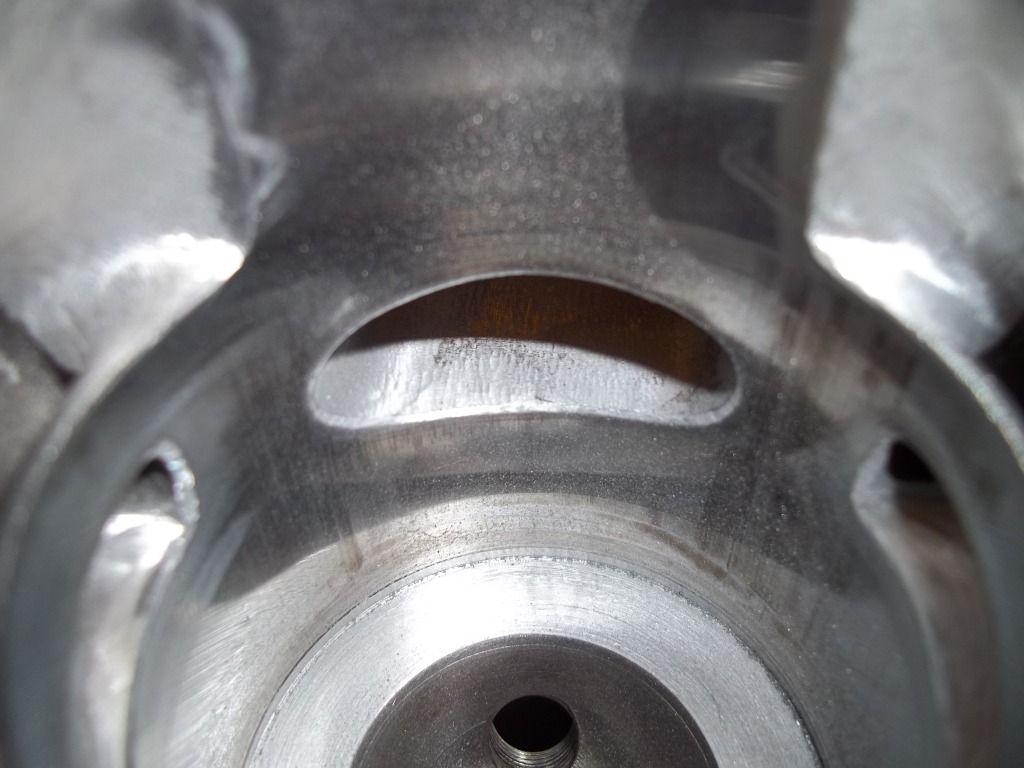
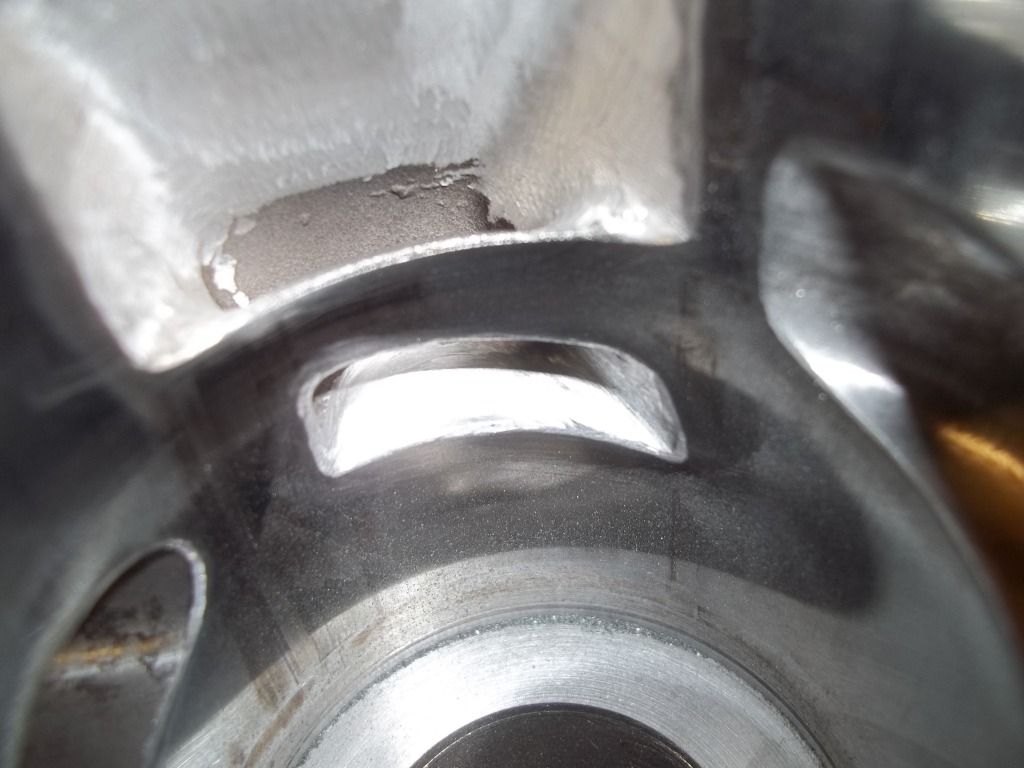
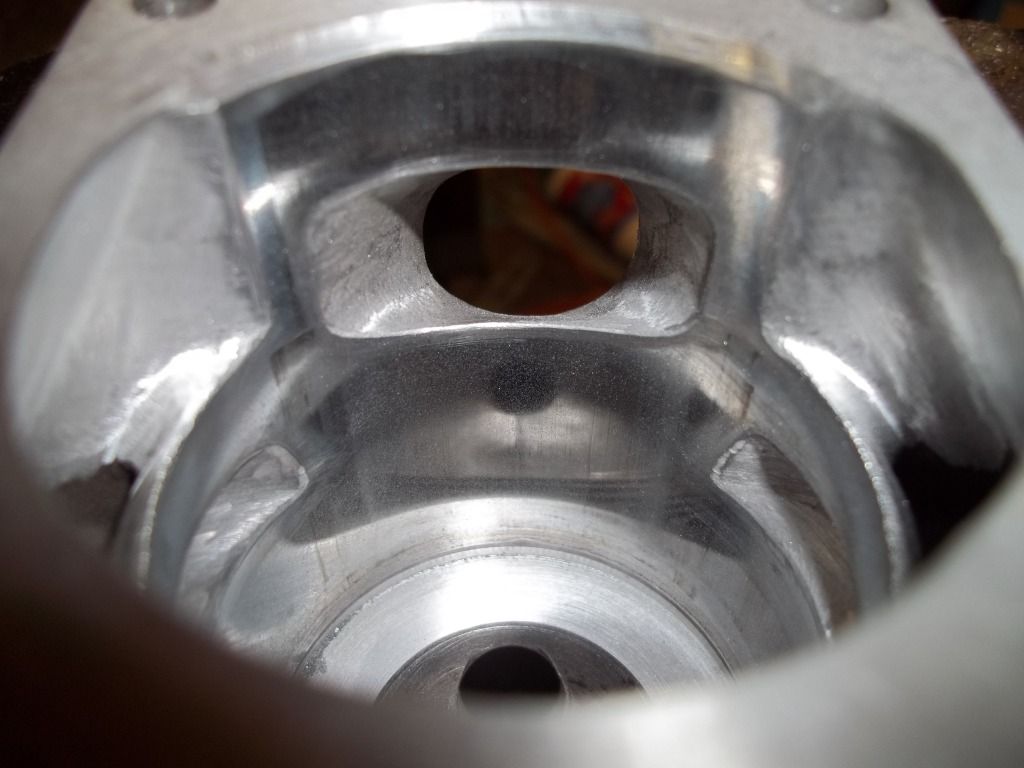

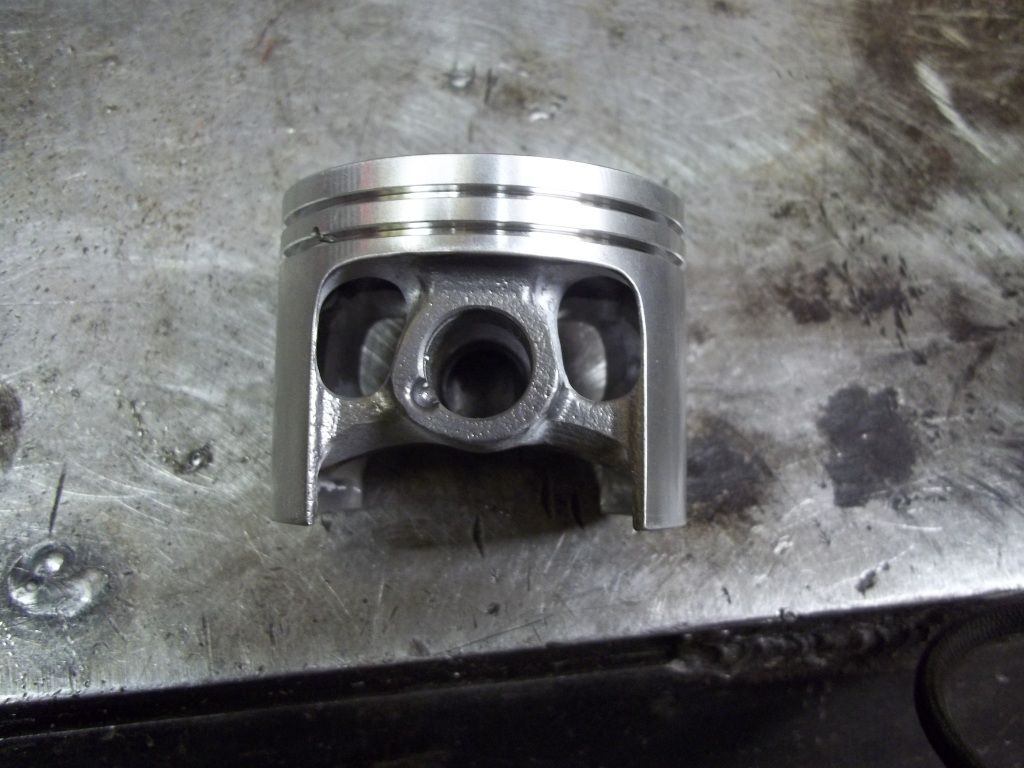
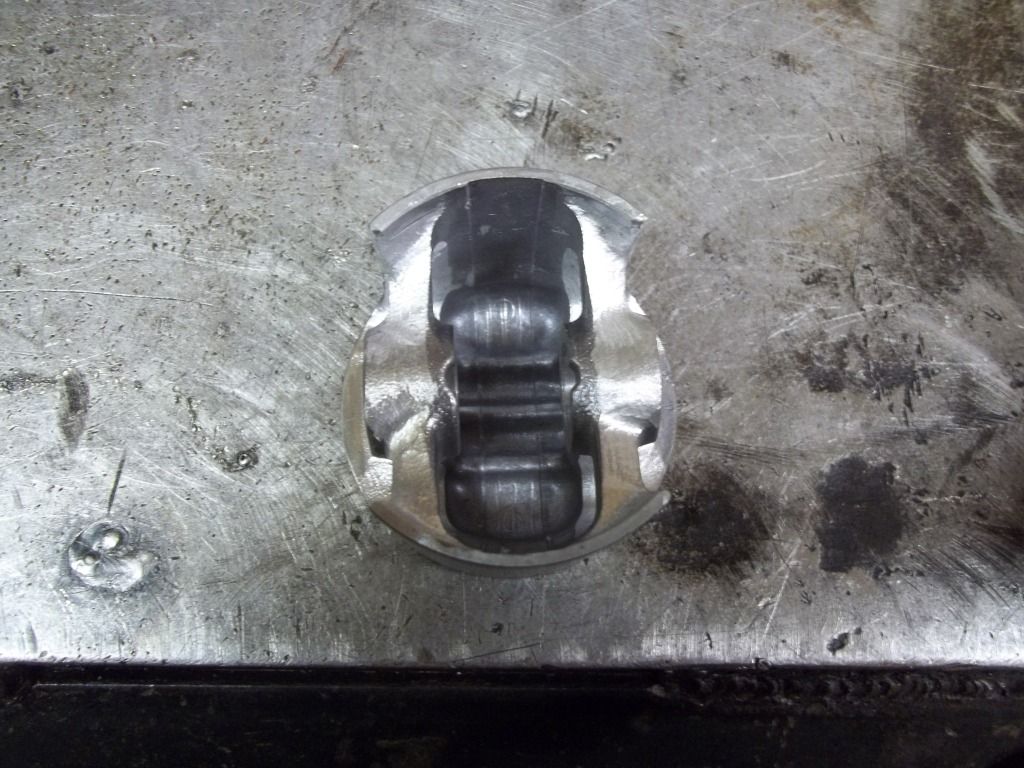
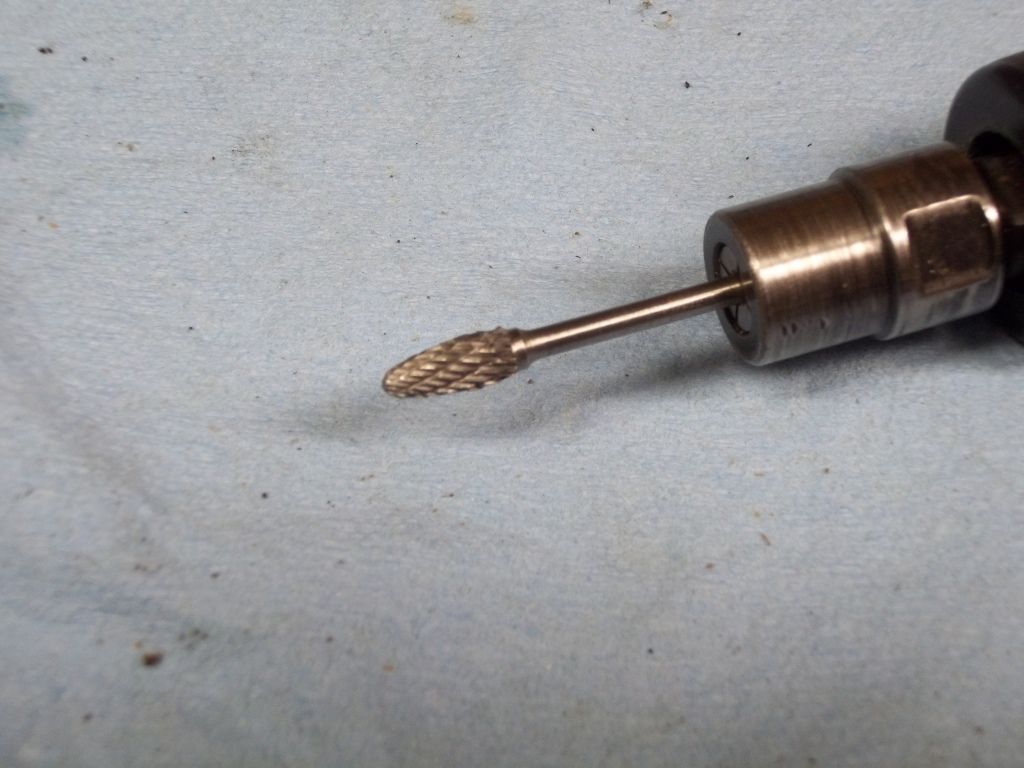
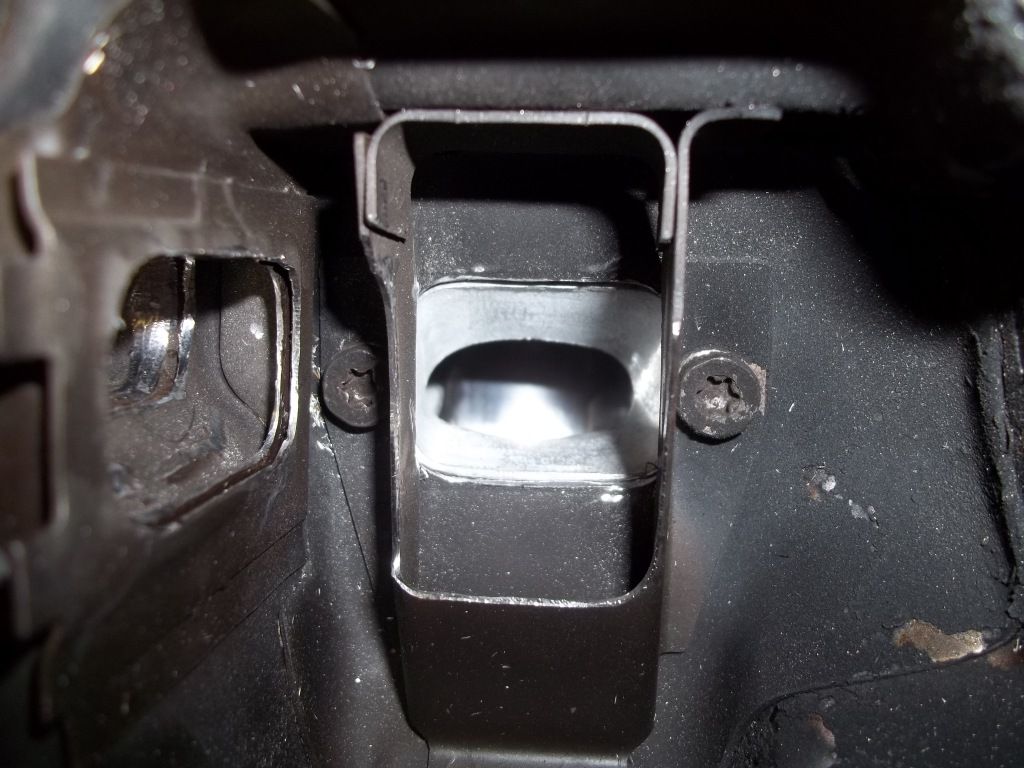
Whats used to clean the flash from the piston and clean the windows?
My hat is off to ya......:cowboy:

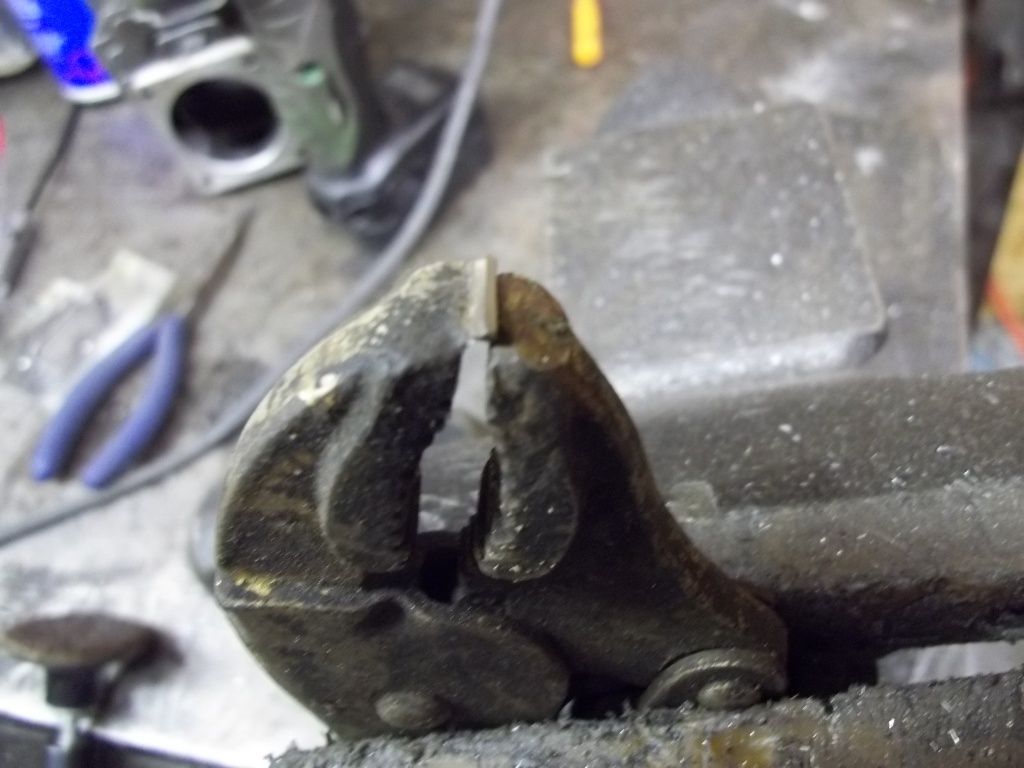
Whats used to clean the flash from the piston and clean the windows?
My hat is off to ya......:cowboy:
outstanding thread ,thanks for sharing
Enter your email address to join: