Kingsley
ArboristSite Guru
That made my day! How cool. Thank you for sharing and well done video.
I can't wait to see it cut wood!
I can't wait to see it cut wood!


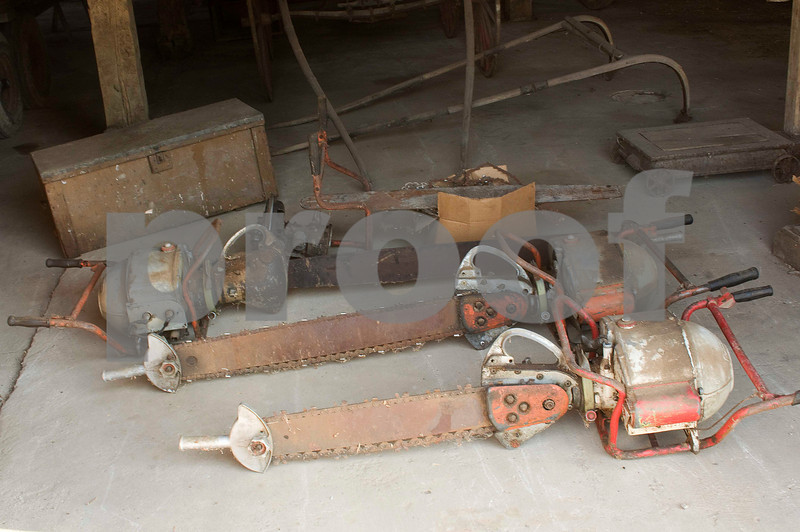
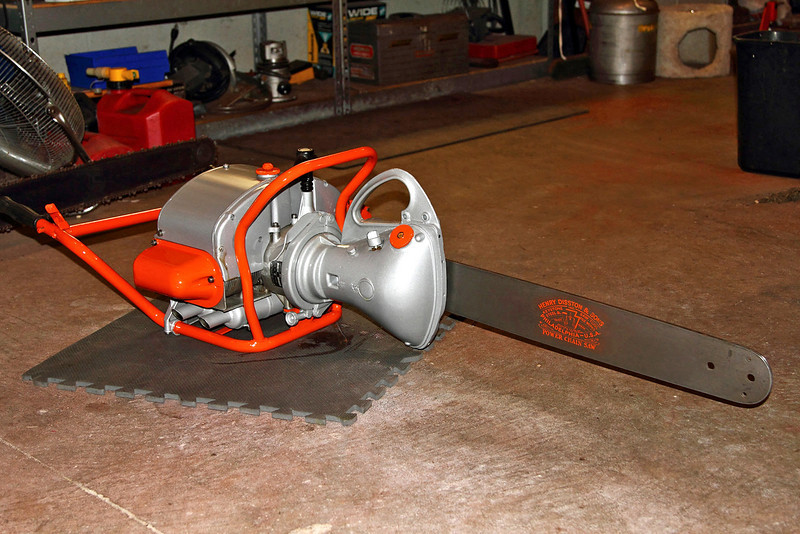
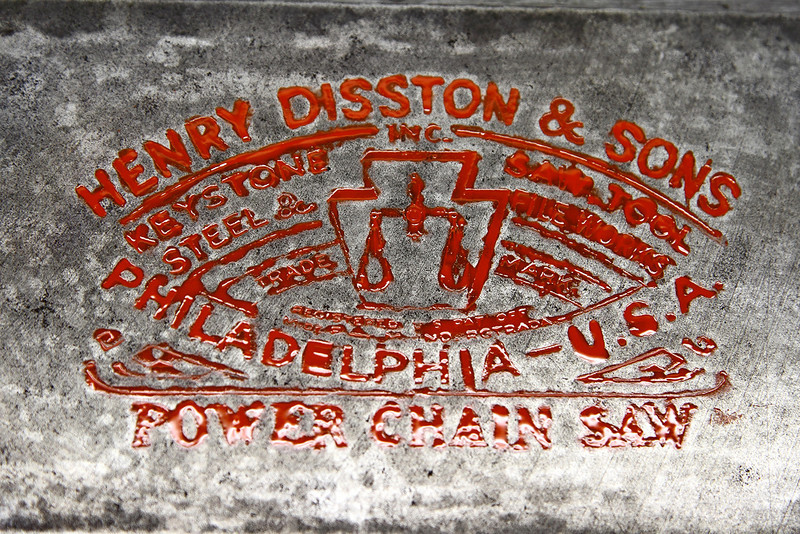
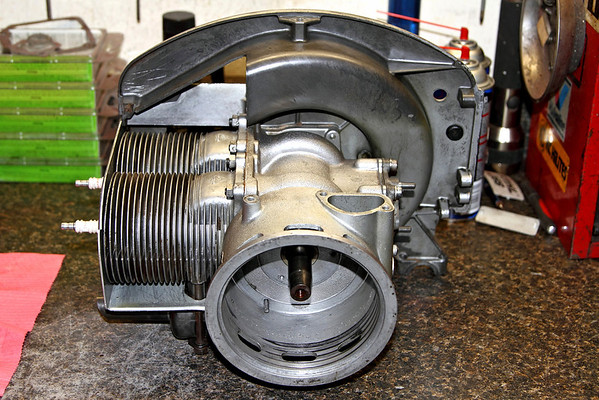
I finally put it in some wood again this weekend. This was the first since being torn back down for painting. It ran like a champ. The wood is Red Oak.
<object width="640" height="385"><param name="movie" value="http://www.youtube.com/v/M43Hrvd9xTk&hl=en_US&fs=1&rel=0"></param><param name="allowFullScreen" value="true"></param><param name="allowscriptaccess" value="always"></param><embed src="http://www.youtube.com/v/M43Hrvd9xTk&hl=en_US&fs=1&rel=0" type="application/x-shockwave-flash" allowscriptaccess="always" allowfullscreen="true" width="640" height="385"></embed></object>

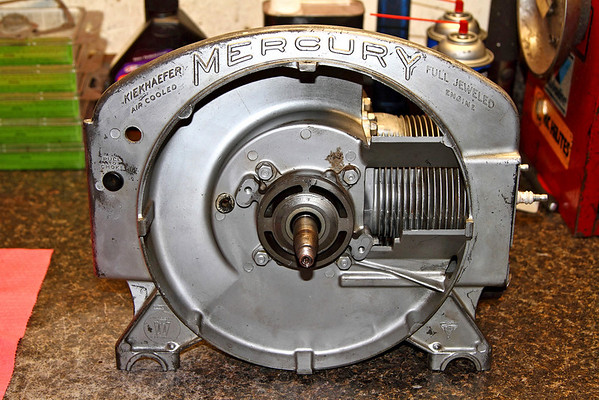
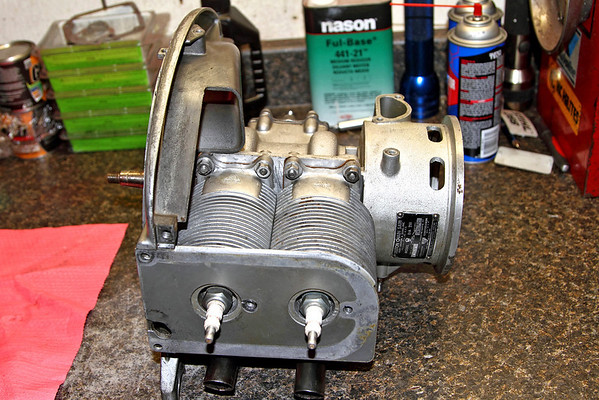
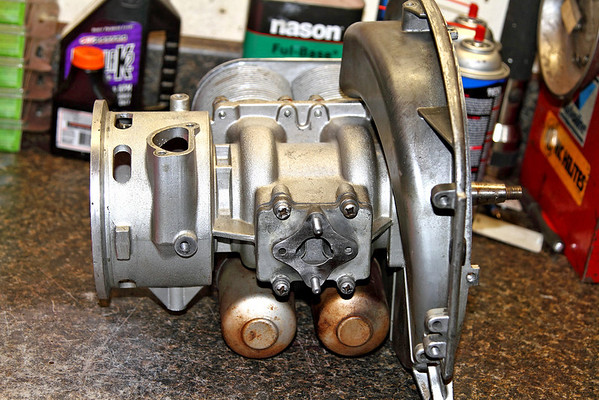
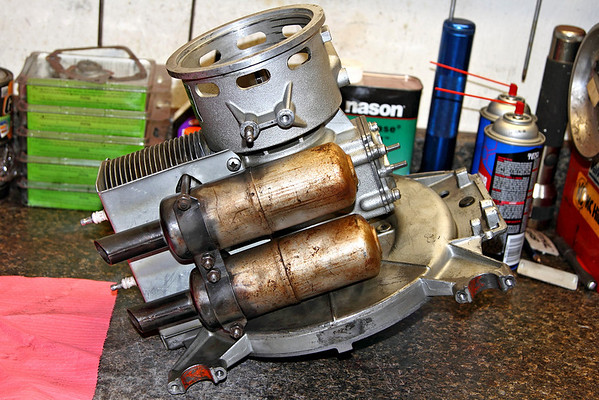
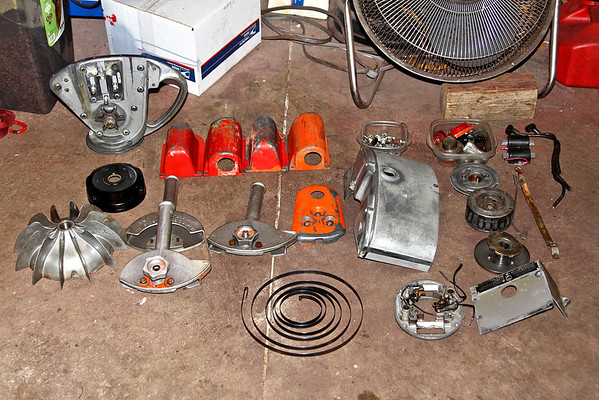
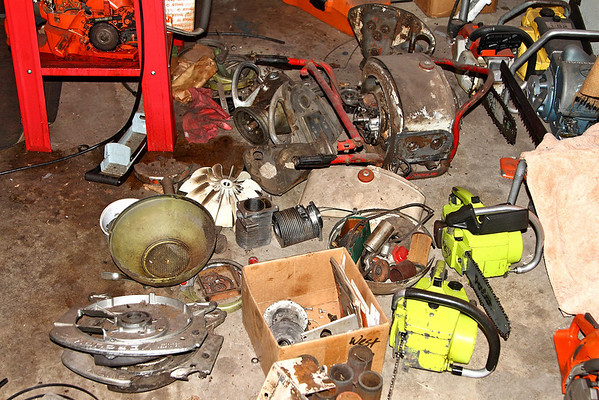
") I'm making a trade for it, runner for runner. I will not be doing a paint job on either one of these last two, just going through them, cleaning them up, and getting them running.
I'm making a trade for it, runner for runner. I will not be doing a paint job on either one of these last two, just going through them, cleaning them up, and getting them running.Anyone know the solution for bad condensers on these 211's.
I replaced both coils on mine but still have intermitent spark.
Lee
Anyone know the solution for bad condensers on these 211's.
I replaced both coils on mine but still have intermitent spark.
Lee
I agree Tim. I'm always impressed with Brad's attention to detail and his meticulous ways of doing things. I'm actually the one trading him a Mac 797 for a running DA-211. Hopefully I'll have time to post pics of it as I go.
This deal has been in the works for two years now. I've just been too burnt out to get back on these after doing the first one. They're a TON more work than a small modern saw, not to mention buried under piles of grit and grime.I thought you were supposed to be training

You gonna post vids of that 797, right?
Enter your email address to join: