Yukon Husky-eagle 1 heat exchanger replacement

Arborist Forum

Help Support Arborist Forum:

This site may earn a commission from merchant affiliate links, including eBay, Amazon, and others.
Thanks again for making this thread.
Showing that you can take these apart and being able to rebuild them rebuild them after so many decades is not something that is normal in the industry. Normally you'd have to buy a brand new furnace.

"Old Husky's never die....they just get reincarnated"
 
Well, the firebox arrived today to my surprise. I'm a little upset about it. Its absolutely nothing that Yukon-eagle did or the Alpha-American company. I'm upset with the freight service. They never called me so I was not ready for it to come. I did not take the truck to work because they didn't call therefore my brand-new firebox is sitting at the shop right now for everyone to poke at. I left early today because its my daughters first day at school and it was delivered when i wasn't there so I haven't seen it yet. Again its nothing that Keith or the company did, just the freight service. Now onto finishing my potato salad then i'll post pics.
 
As far as the "Old huskies never die" thing, I can vouch for that. I'm finished making my potato salad now and the pics are uploadeed so here goes.

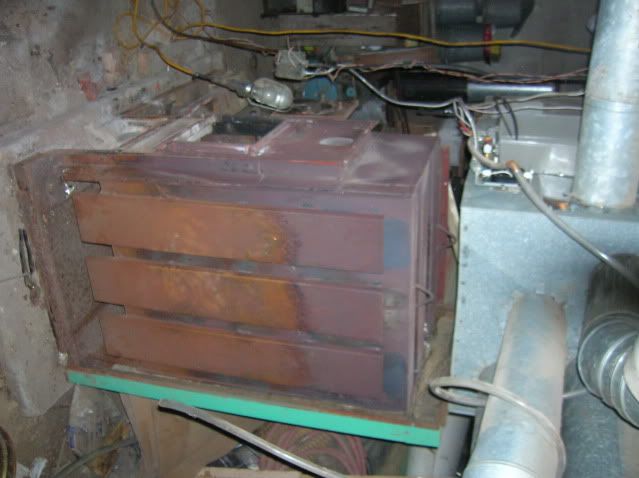
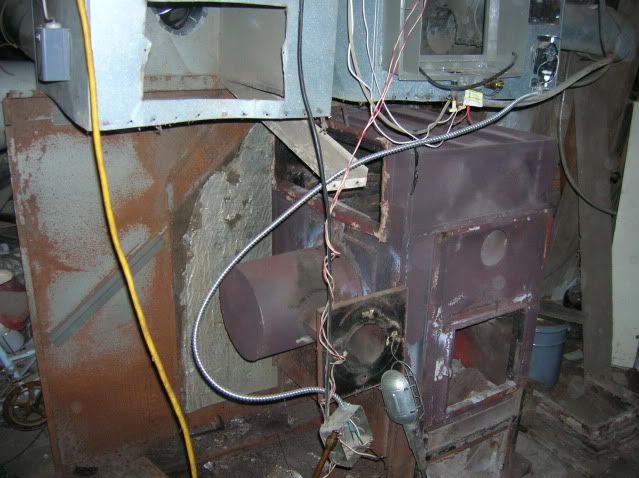
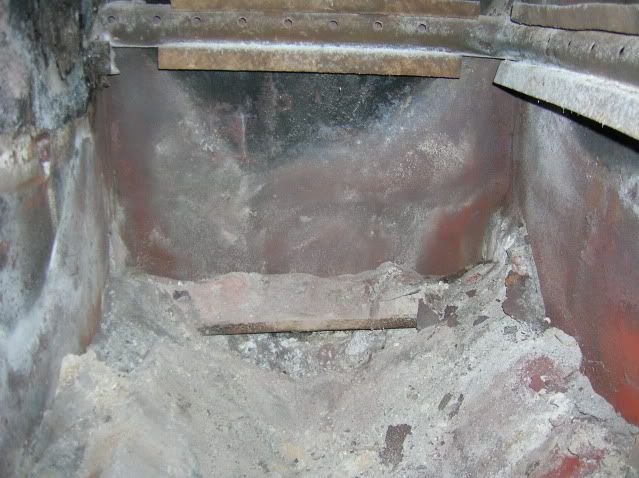
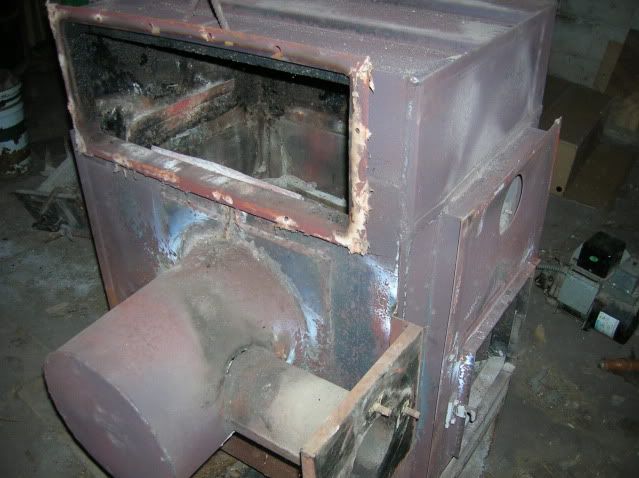
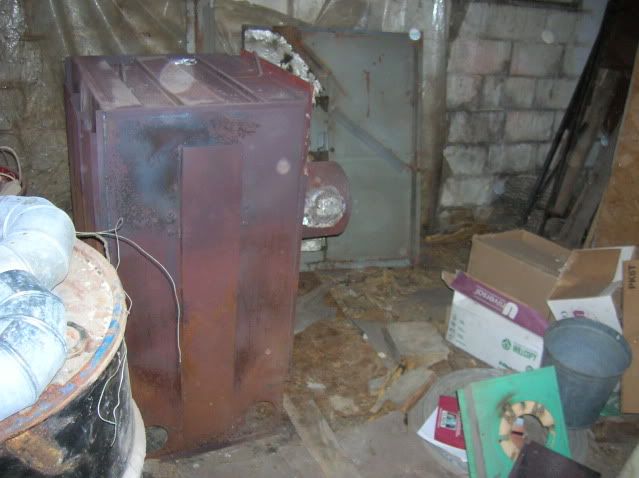
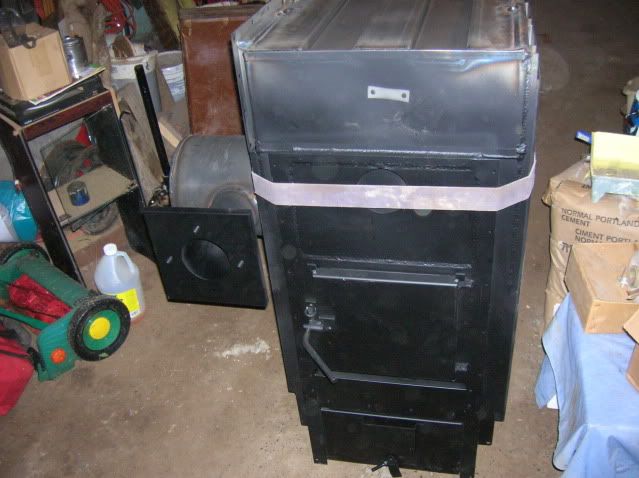
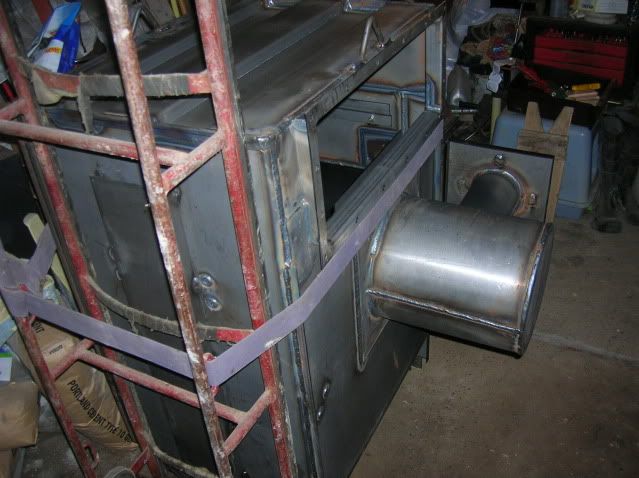
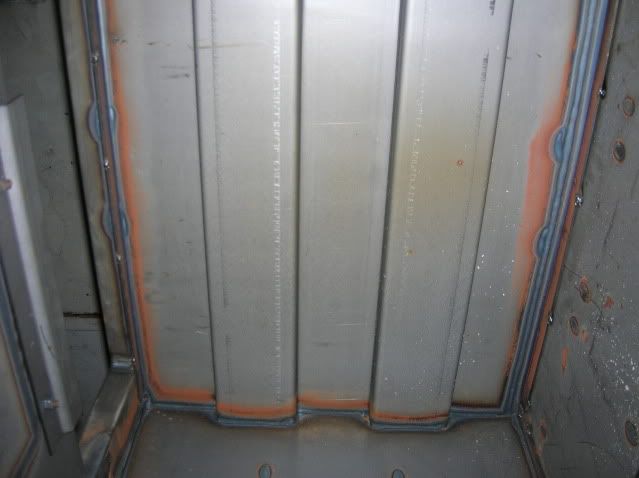
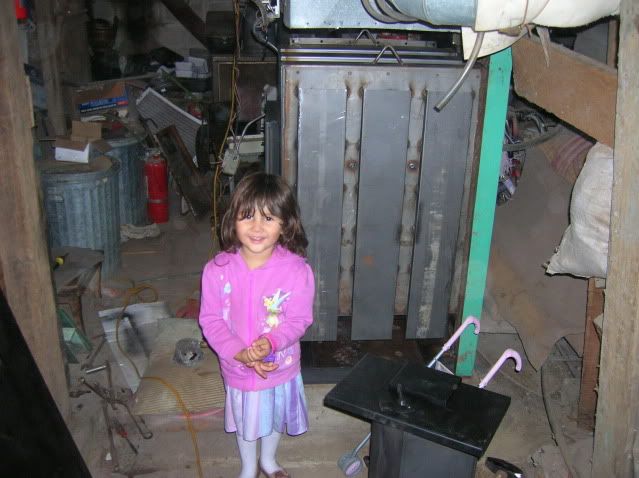
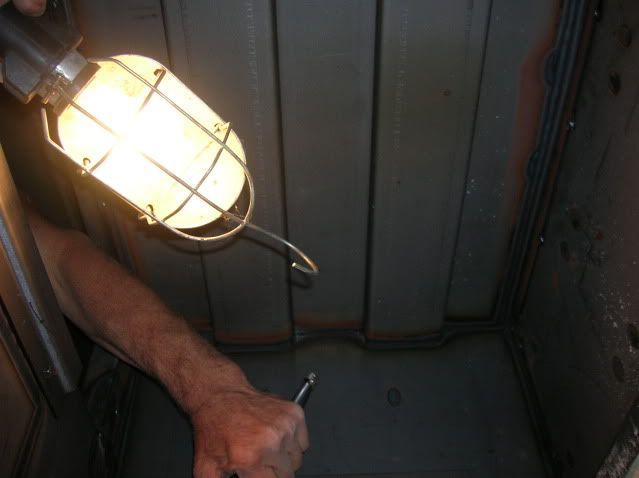
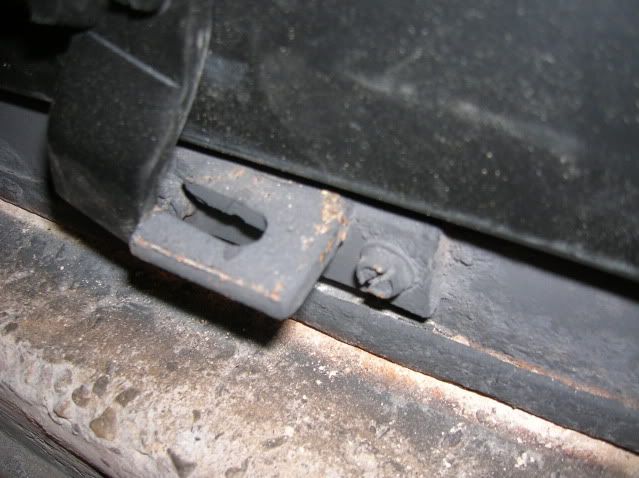
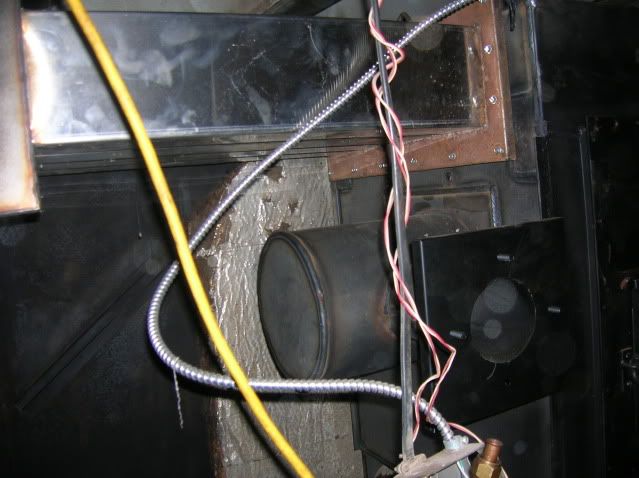
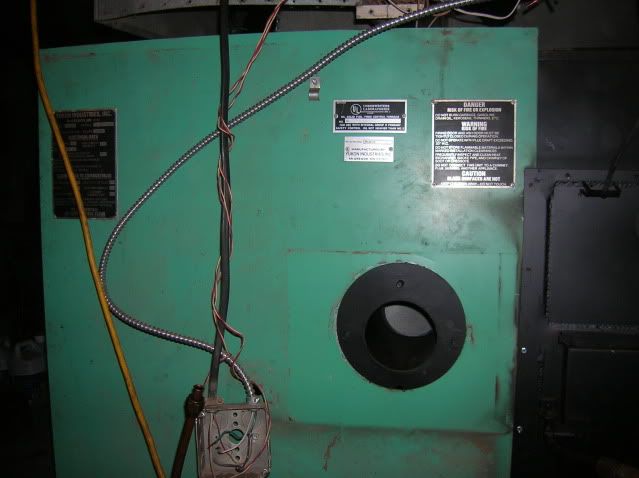
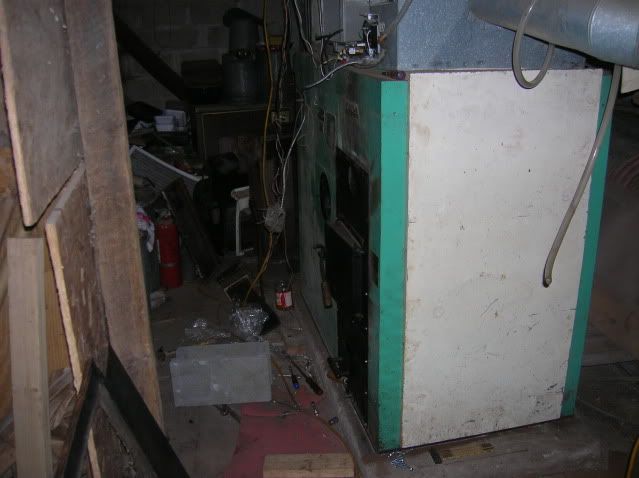
In order to continue with getting the firebox out of the furnace(can't really call it a furnace now tho) The paneling needs to be removed. I do not have pics of each panel coming off as they all come apart at once(atleast mine did) The plenum needs to be lifted to get the paneling off(only about an inch) to allow you to get the paneling out from under it. So however your plenums attach needs to be undone, mine were pop-riveted so I drilled them all out. There are 2 screws between the plenums on a panel that need to be removed before anything. I removed the side panel next, I think 6 screws hold it if my memory is right. the one that covers the side of the firebox. Once this one was removed all of the rest of them fell off. I left the rear panel there to help support the weight of the plenums but you can remove it as well as long as you secure the plenums. Here are a few different angles of the paneling removed.

DSCN1640.jpg


DSCN1643.jpg


DSCN1636.jpg


DSCN1641.jpg


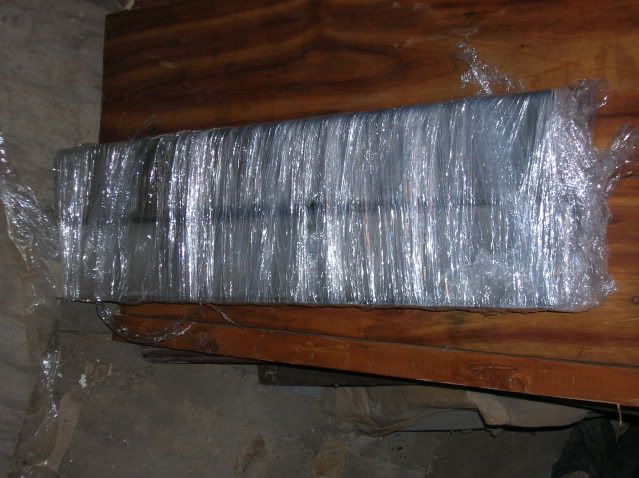
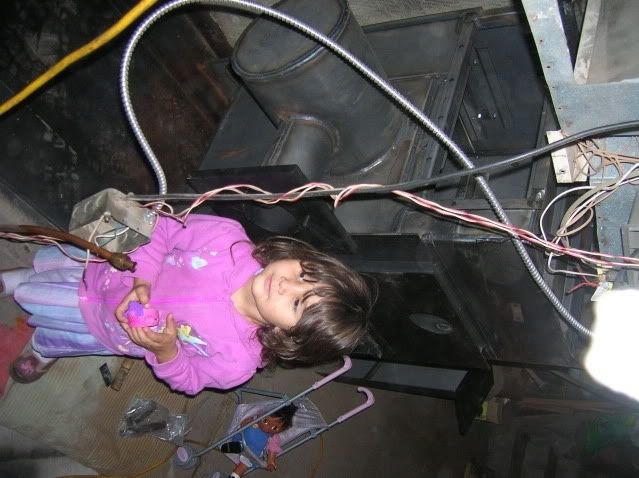
and a section of paneling

DSCN1636.jpg


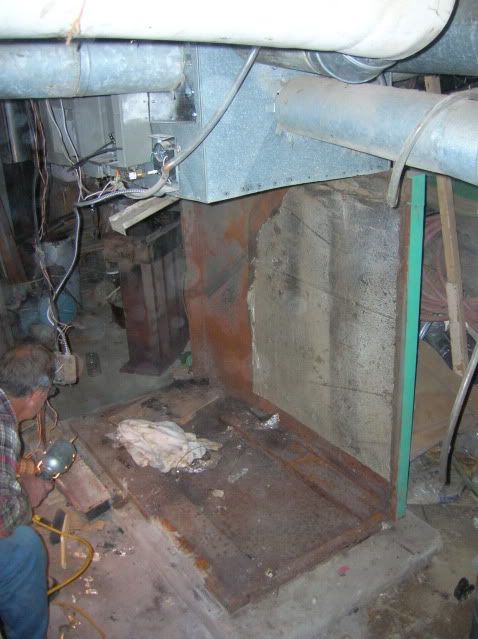
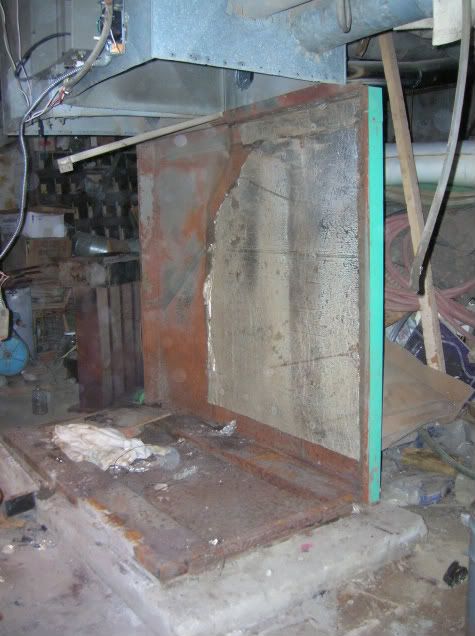
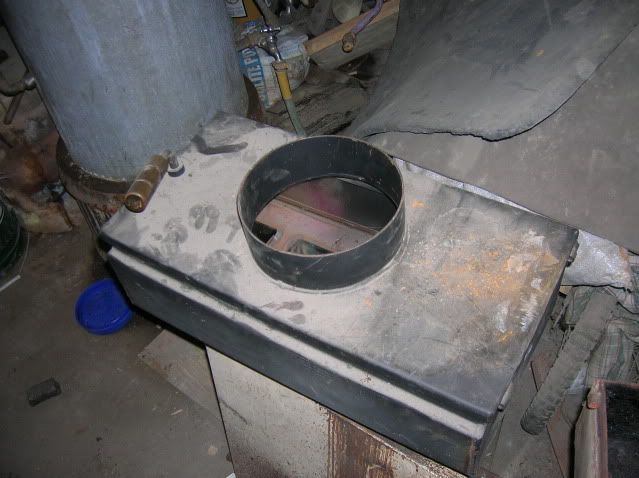
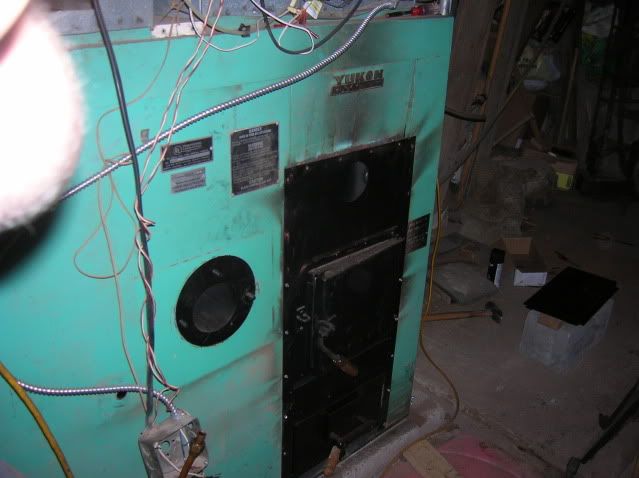
So now all of the paneling is removed, now to drag the firebox out, HOLY*&$%^##%^&%$#@!$^(&%#%^$##%^&$# is it ever heavy, now onto operation lighten firebox.

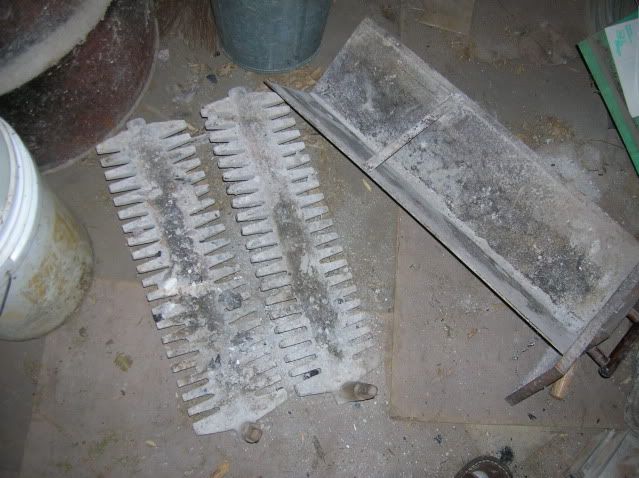
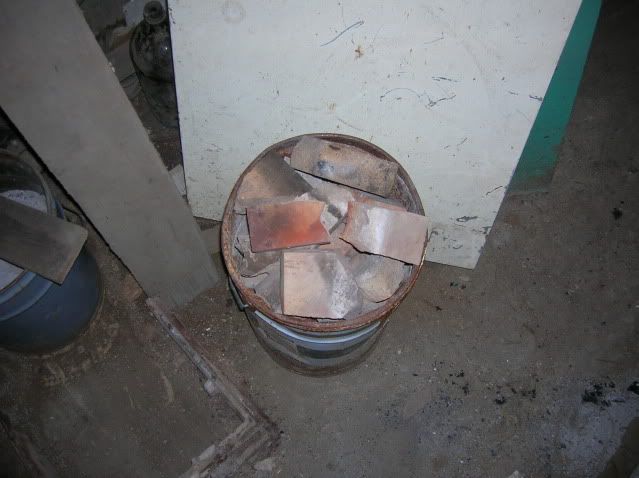
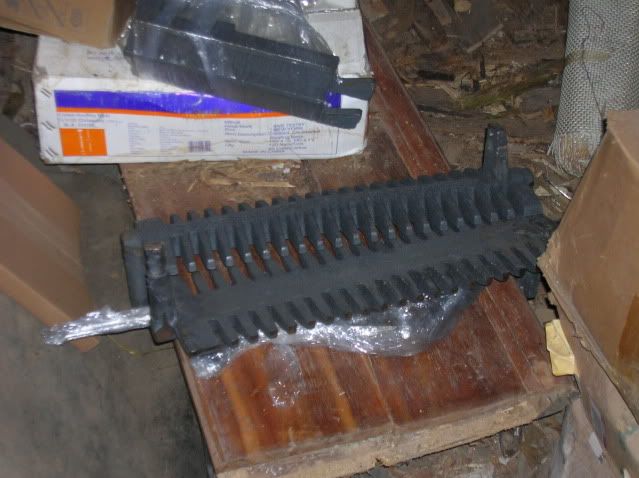
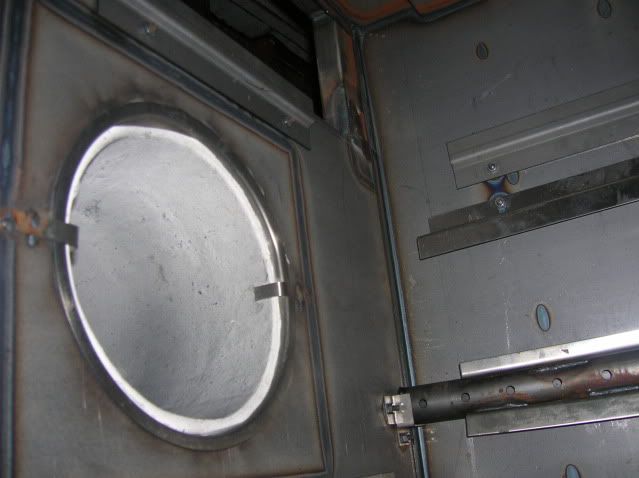
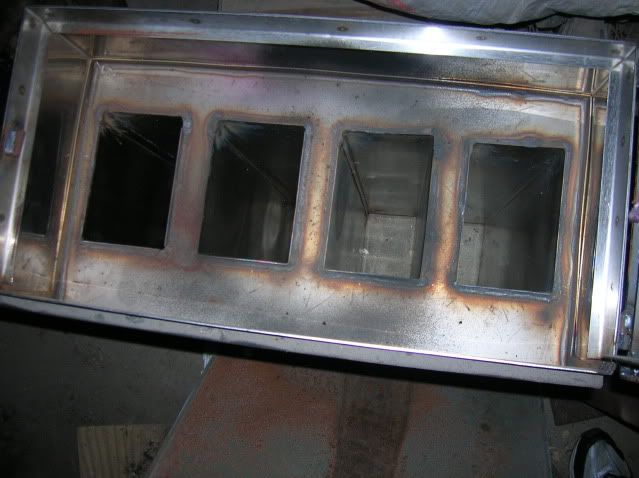
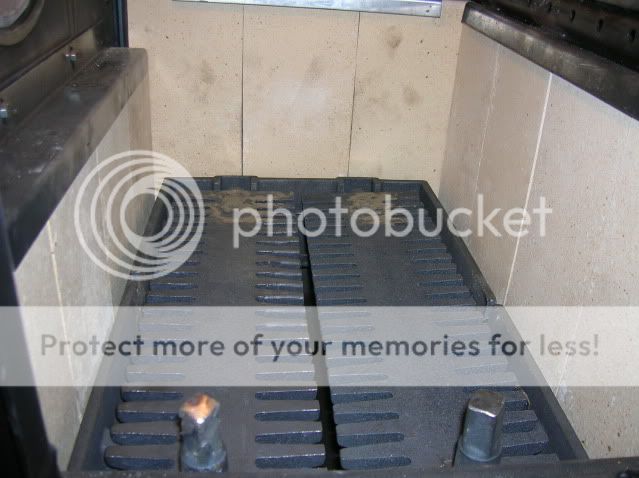
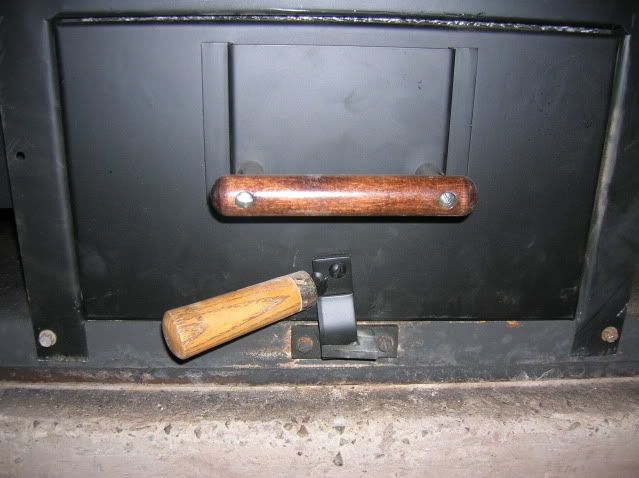
First thing I did was remove the shaker grates, most of these furnaces just had a stationary set of grates unless it was used for coal. In my opinion the shaker grates are awesome for shaking the ash thru to the pan as well. All of these furnaces should have been sold with shaker grates. the shaker grates just lift up and slide out the door, they have to be removed in a pair as there is a bar that hooks then together. I had to turn mine diagonal to get them thru, careful as they are heavy.

The grates next to the ash pan

DSCN1635.jpg


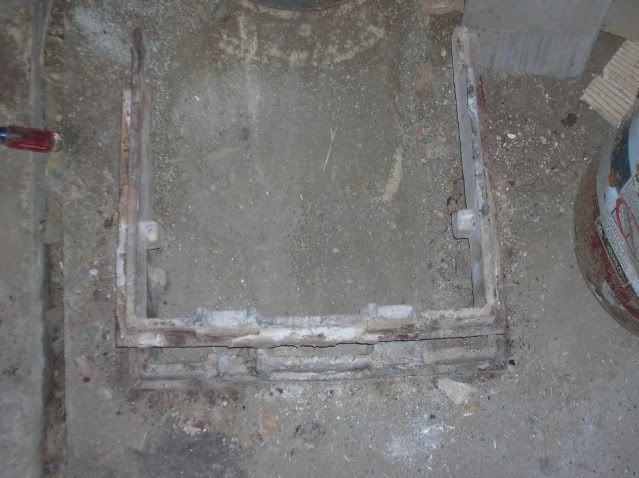
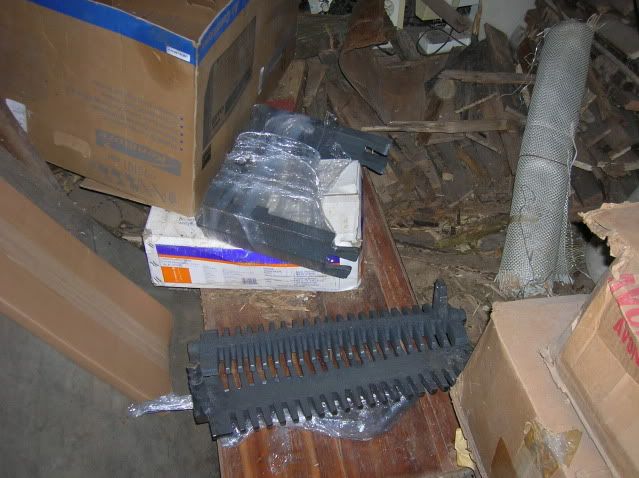
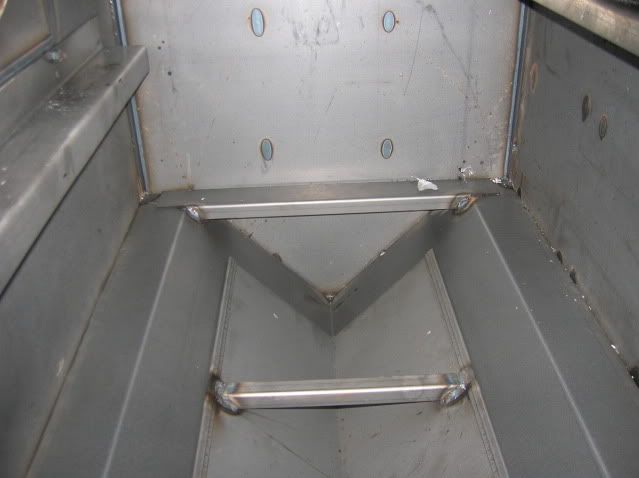
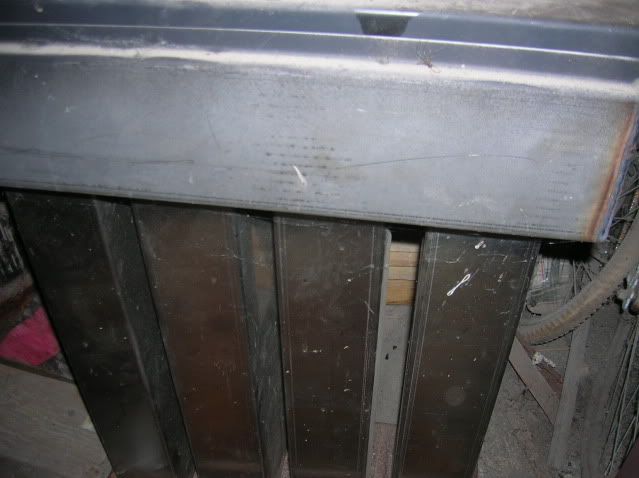
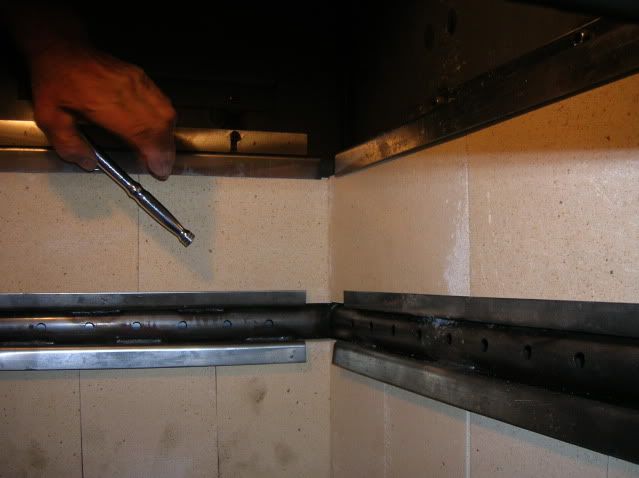
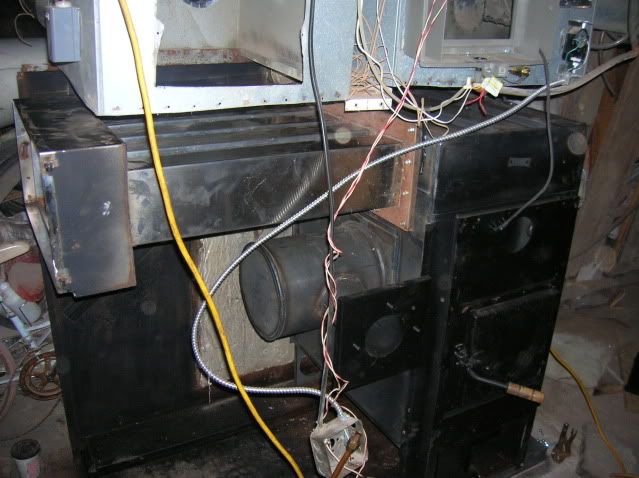
Once the grates are out you can remove the frame for the grates, in theory it just lifts out and pivots at the center, mine needed a little help to do this action but they do come out. Be careful as I think they are only cast-iron and will break easy(mine didn't)especially if hit with a hammer, just use a little finess and a pry-bar and they will come out.

The frame(2 pieces stacked on top of each other.

DSCN1638.jpg
 
So now those are out, time for the firebrick. Most of mine was junk but the top 4 bricks that are 3 decades old(older than me) were intact so i twisted off the retainer studs and carefully removed them and wrapped them in some newspaper for future use(doubt it but I'm a packrat and the bricks aren't cheap) For all of you wondering the bricks said "OLIVE HILL" on them. As for the lower row of bricks, they were all broken so remember when you used the finess to get the frame out, throw that away and get a hammer. I just finished breaking them out. I can say this tho, those bricks are much tougher than I thought, It took some hard blows to break them.

The bricks(whats left of them anyway)

DSCN1639.jpg


and the now-empty firebox

DSCN1642-1.jpg


I think thats as much weight that can be removed from it so now for the brute strength part. Go to the store and get some beer(if you haven't already) and call up some buddys and tell them to come over for a few beers. When they arrive have a couple with them and be like, hey I wanna show you something and take them to see the furnace. Explain to them how much of a pain it is and so on and so on, just get them worked up a bit. Then proceed to try and move it and be like man this is heavy and pretend that you are strugling with it, then say "hey man can you grab that side and get another guy to grab it, and another. Then once everyone has it be like "Lets see if we can get it over there" and pick it up and carry it out. Well, that process worked for me anyway. Just remember when you re-install the new firebox that you find a different group of people, as these ones are now smarter and know what you will try and do, atleast thats what i'm going to try.:givebeer:

Thats as far as I've made it so far until I get the firebox that came in wednesday from the shop to my home.
 
Your doing a fine job.
Imagine the thousands of labor dollars you're not spending.

Sorry about the freight carrier. From time to time I'll hear about the 24 hour call thing.I wish I had more control over them.
 
I guess I forgot to add that there are 2 screws in the back of the firebox that need to be removed in order to move the firebox. I found them in my picture folder.

There are access holes there to get to them as well, someone was smart when they designed this one.

DSCN1645.jpg


DSCN1650.jpg


Now the old firebox wasn't all that heavy atleast for me but its 14awg, new one is 10awg, should be heavier.

The firebox moved out of the way

DSCN1655.jpg


DSCN1656.jpg


Now we are left with one sad and lonely furnace, if you can still call it a furnace.

DSCN1651.jpg


DSCN1654.jpg
 
Now for some pictures of the new parts

The shaker grates

DSCN1646.jpg


DSCN1647.jpg


And the boxes of new firebrick

DSCN1648.jpg


New smoke baffles

DSCN1649.jpg


I do not have any pics of the new firebox yet as it is not at my house yet but I will shortly
 
I wire brushed it all to loosen any rust. I vacuumes it and applied POR or Rust encapsulator, whatever you want to call it to the furnace tonight.
 
Well, had a chance tonight to do some work on the furnace. First thing I had to do was get the firebox to the furnace. I won't tell the steps in doing this as all houses are different, your on your own on this one. Mine was a straight shot down the steps and in the basement it went.

Here is the firebox set in place and bolted in. My daughter wanted to get in these pics too, hope you don't mind.

DSCN1752.jpg


DSCN1751.jpg


Now to save weight in moving the firebox from truck to ground and to furnace I removed everything from inside the firebox. This is after everything in installed. NOTE: don't forget to re-install the smoke baffles or you will burn more wood to get the same heat.

The brick and grates installed
DSCN1754.jpg


Top row of bricks
DSCN1756.jpg


An arm, don't forget to tighten down brick retainers as the bricks aren't cheap(atleast the good ones aren't)
DSCN1755.jpg


I slid the ash pan in and it wouldn't fit, the 30 yr old hook is of a slightly different design as the "new" ashpan, luckily I can put my grinder away on this one as they are nice enough to provide me with a new one.

DSCN1753.jpg


The ash pan with the handles and new "hook" installed. I did not like the new handle that cane with the new ashpan so I re-used the old one.

DSCN1757.jpg
 
Now this time I decided to bolt the HX to the firebox WITHOUT the paneling on it. Because it was a new HX I did not have to mess around with anything but if you are just changing the firebox and not a HX then you may need new bolts, mine came with new bolts and screw plates. Stand the HX on end and put your gasket in place. I chose to punch a hole thru the gasket for each bolthole to make instalation a bit easier(the gasket holds the bolts). This was done a little after moving the firebox so I was more than happy to pick it up and set it there. Once it was in place because all the bolts are already there and i put some glue on the screwplates to hold them in place, I ran the top ones in with an air ratchet. That was enough to hold the HX in place. I went around it, snuging up them all first before the final tightening. Once they are all snug, me being an auto tech i started in the center and criss crossed to the outside to pull the HX even to the firebox as I do not want any leaks there. This is where I stopped for the night as kids have school tomorrow(can't make too much noise)

Picture of the HX bolted to the firebox.

DSCN1758.jpg


DSCN1759.jpg
 
I had a few things to add to this.

1. efore I installed the firebox the furnace floor was cleaned up and sprayed with "rust encapsulator" to help deter from it rotting out. It was then sprayed with some hi=temp black paint and let cure. I went over it with my heat gun to "bake" it on.

2. I don't know if it matters or not but my old firebox had an additional support plate attaching the burner mount to the firebox, this one does not.

3. The new firedoor had these square pieces of metal welded to the top of it, they had to be trimmed 1/8th of an inch on the top to allow the door to close or it would hit the "afterburner" air intake. The one on the rear of the door at the hinge had to be trimmed off a little extra as once the "afterburner" air intake plate was bolted on, the door could not be removed and when I clean the furnace in the January melt and the spring melt I remove the door to do so as it is easier for me. I trimmed off just enough to be able to remove the door.
 
2. I don't know if it matters or not but my old firebox had an additional support plate attaching the burner mount to the firebox, this one does not.


That part has been beefed up so the support is no longer needed.
 
Back
Top