Yukon Husky-eagle 1 heat exchanger replacement

Arborist Forum

Help Support Arborist Forum:

This site may earn a commission from merchant affiliate links, including eBay, Amazon, and others.
Got a little more done.
.
Installed the draft tube. The 2 screws behind it are a pita to get in but otherwise its straight forward.

DSCN1765.jpg


Installed the inside panel, it just slides in the groove.

DSCN1764.jpg


Installed the HX divider things that seperate the hot side of the furnace with the cold side.

DSCN1766.jpg


DSCN1767.jpg


And lastly I got the outlet box shroud installed.

DSCN1768.jpg


I only worked on it for maybee 30 min so this is all I got done.
 
Managed to get a little more done.

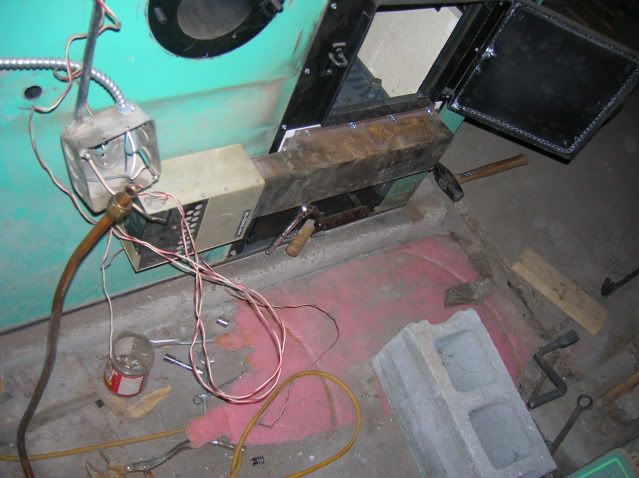
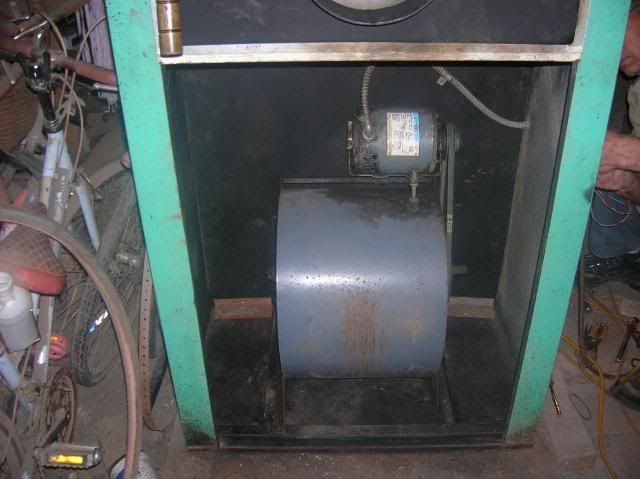
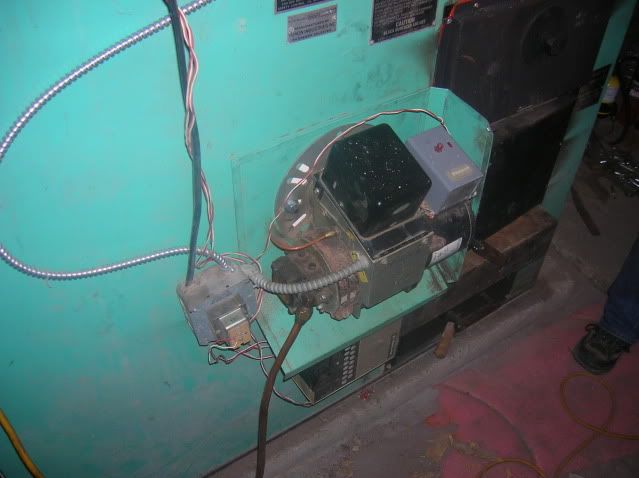
I picked up some new rubber bushings for the blower assembly as the old ones were getting close to nothing. Those just pop into place. You need 4 of them. Once those are in you can put the assembly into the furnace. Just slide it in the cut-out and be gentle as not to tear the bushings. It will sit over 2-studs on the back bushings. I do not use a nut on the blower because if there is one then it makes noise. Its been used lke that for 20 years with no problems.

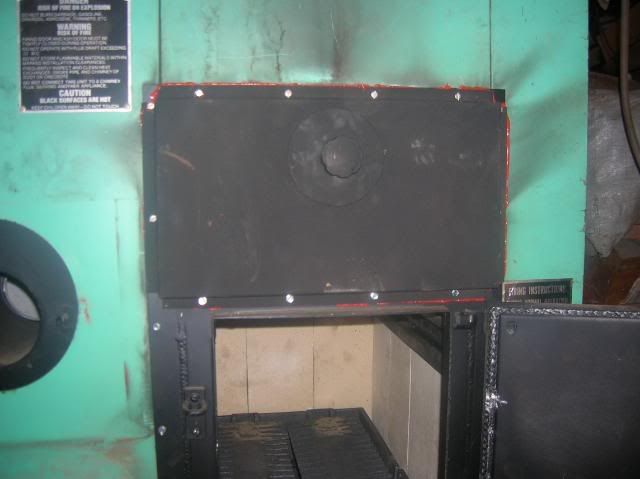
Pic of the blower assembly installed.
DSCN1771.jpg


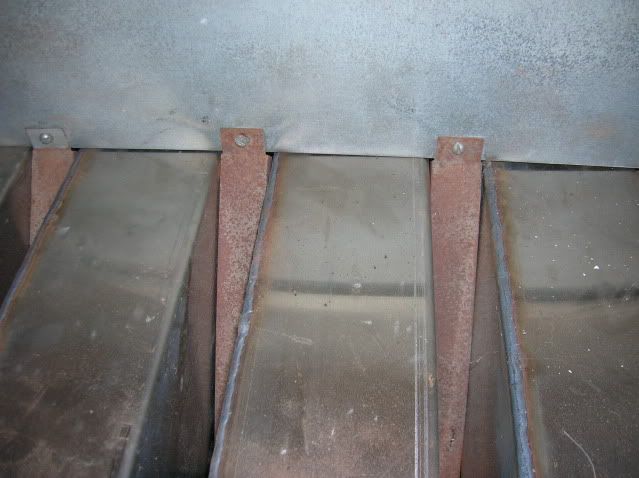
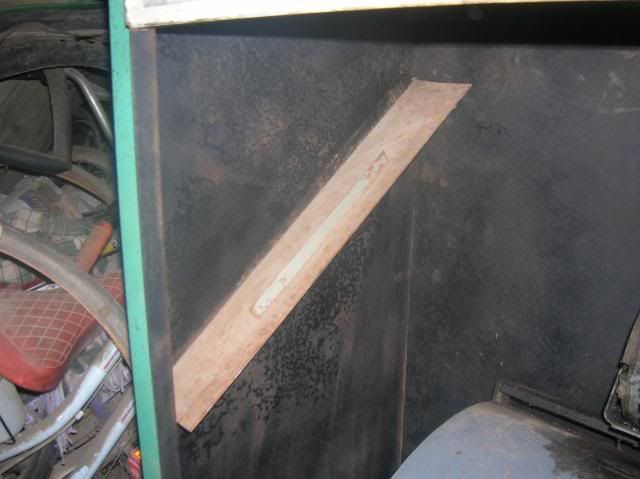
Once the blower is in you can put the rear lower door on and the filter supports.

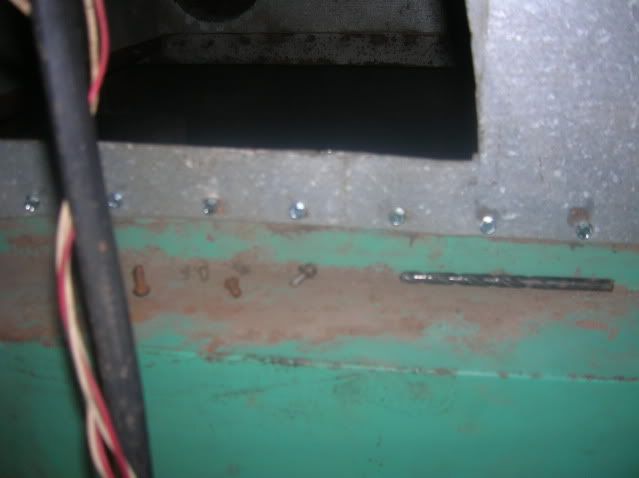
Filter supports installed
DSCN1772.jpg


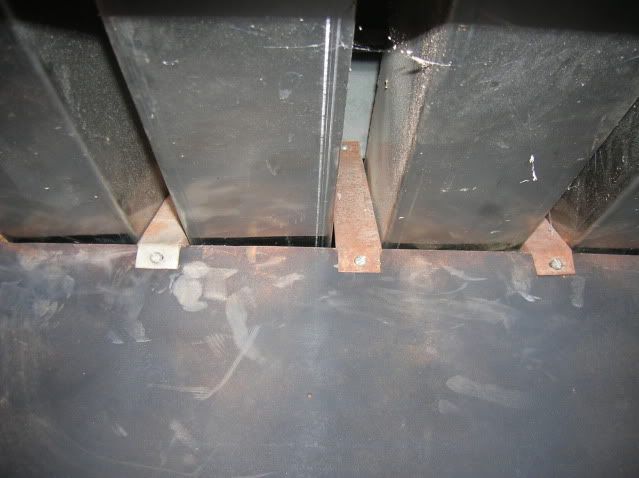
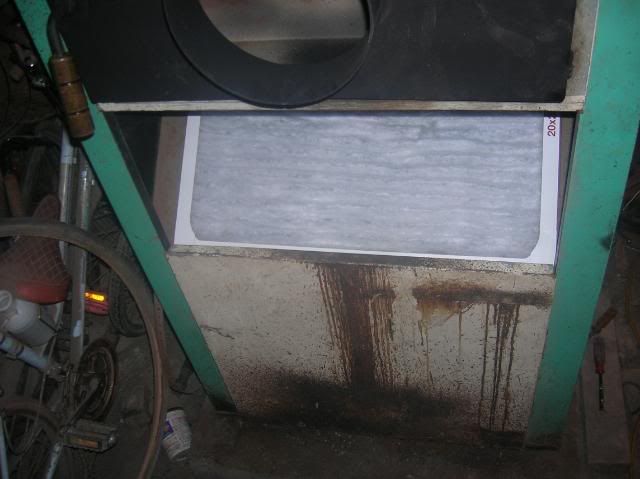
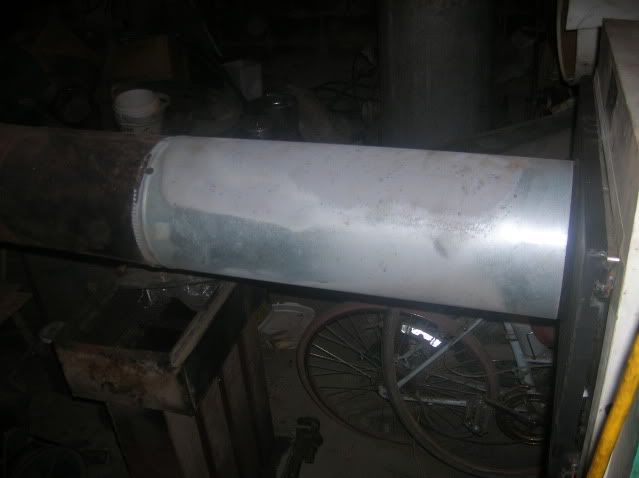
Lower door installed with filter in.
DSCN1773.jpg


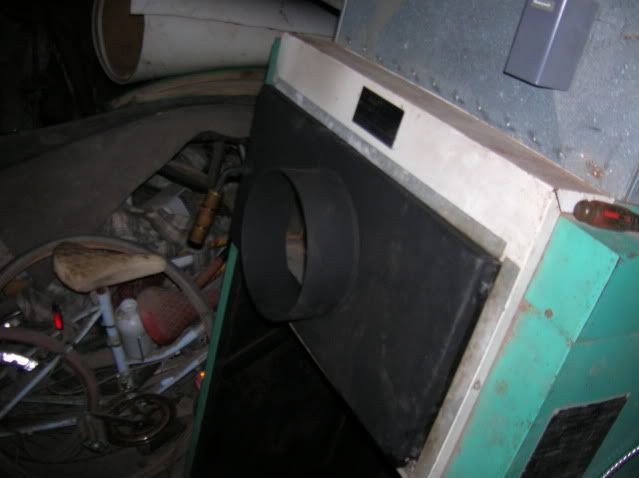
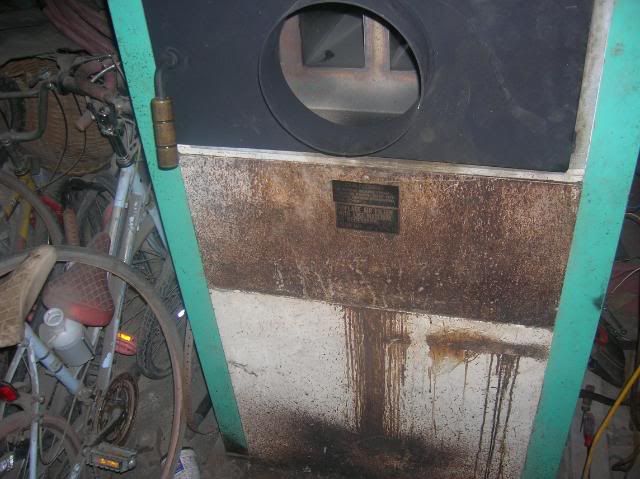
Now the filter access door can be put on. This door always used to be a pita to put on but now it just slides right in easy, guess it pays off to make sure all the paneling is lined up right.

DSCN1774.jpg


Next I installed the Secondary air burn air control plate. Just straight forward on this one.

DSCN1778.jpg


Next the drip shield around the burner was set in place. Now while the burner is out, i'd be a good time to clean and set the electrodes. Now I know what I set mine to to make it work however I'm not exactly sure what Yukon says to set them to so I'll let Keith chime in here. After the burner is throughly cleaned and has the electrodes set (I replaced the nozzle too) Its time for Installation. Put the new gasket on the 3 studs so they hold it in place sorta. Then slide the burner into the hole and tighten the 3 nuts holding it. When you get the 3 nuts tightened you can hook your wiring up and attach your oil supply line. I will get into bleeding the system later.

DSCN1779.jpg


Thats as far as I go tonight. Hopefully more tomorrow.
 
By the way I'm human so I forgot to mention that there are 2 l-brackets at the bottom of the inside panel that need to be installed. If you look at the pic of the blower assembly you can see them.
 
The gap out to 1/8" apart and 1/8" beyond the nozzle.
The nozzle should have been a 1.0 GPH 80 degree hollow.
After bleeding the line you should set the air adjustment so that the tips of the flame are bright orange.
Retard the air so the flame is white then adjust the air to so that the flame goes orange with black smoke tips then back the ait off so that the black tip go away. Without a gauge this is the way to set the air.

Lastly the barometric draft regulator needs to be set with a manometer so the it reads .03" of water column.
This test is done in the flue pipe off of the end of the furnace but before the barometric draft regulator.

Here's the MSR oil burner manual for all of the info relating to the burner...
http://www.waynecombustion.com/pdfs/22019_MSR.pdf

Here's the furnace manual for info on setting the BDR...
http://www.yukon-eagle.com/Portals/0/manuals/Yukon Manual_Eagle 1_2.pdf

I'm outta here at noon and will be gone tommorow.
My other job is calling.
DSC03782.jpg

DSC03790.jpg

DSC03765.jpg
 
Got down there to do some more work to the furnace.

Next step was to secure the plenums to the top of the furnace. It was held there last time with pop rivets and now it is held with screws. The pop rivets were a pita to get out.

Plenums with screws holding it.
DSCN1788.jpg


I have one of those whole house humidifiers so that needed to be installed as well.

Picture of the humidifier.
DSCN1789.jpg


The pipes were hooked up next. I put some supports on the pipes as it is such a long span to get to the wall.

Pipes on furnace
DSCN1786.jpg


Pipes going to wall

DSCN1787.jpg


The pipes were hooked up to the burner. They are still not bled tho.

DSCN1790.jpg


Last but not least.........


DSCN1791.jpg


Thank you Crapiekeith and to those who followed this thread. I will get this on the Yukon forum as well once I get the chance to.
 
I did not see a barometric draft regulator installed???????????
This furnace will run way to hot and you'll not get the burn times without one.
It is also going to be very inefficient on the oil as well.
The furnace is UL listed to have one installed.

Other than that your pipe is a long run but it slopes.
I saw cresote staining on your cabinet which the long pipe or wet wood caused.

Other than that it all looks good.
????? Is that humidifier made of plastic?


The house sits at the bottom of a hill and when the winter wind blows it goes right over the top of the chimney and will lose all draft with a barometric draft regulator installed. We never use the oil anyway. The creosote staining is from not having a chimney cap. There used to be one but it kept getting blown off. We made a permanent one and it broke and fell down the chimney destroying the flues on its way down so it gets operated without one. Yes the humidifier is made of plastic. It has been there for 4 years now and there are no signs of melting.

By the way, before using this furnace after a firebox replacement, open all doors and windows before you light it, it stinks like heck.
 
hoping that someone had some ideas on it. I'll try and install the baro draft regulator and go from there. I also went up the chimney and made it 3 blocks higher, hope that'll help with the wind issue.
 
I'd replace the galvanized flue sections with black flue pipe. Some of the galvanized coating has already burned off. It produces toxic fumes when this happens, and isn't safe. Galvanized is not meant to be used as flue pipe, unless its for a water heater flue, or oil furnace.
 
ok, thanks, I had planned on doing that before the furnace went into full swing. All of the pipes are going to be replaced just trying to work out the bugs first. The blocks should be dry enough by now. I am going to check the draft and see what it is now. Also the cleanout door at the bottom of the chimney was rotten so I am losing draft thru there as well. The new door is ordered and awaiting arrival.
 
Replaced those 3 sections of galvanized pipe with black flue pipe and added the barometric draft regulator. Its been hot for 48 hours now. They even got snow just north of here in ottawa today according to the radio.
 
Just for the record, before I went 3 more blocks up with my chimney, it had .04 inches of water vacuum. I put 3 more blocks up there to add 1 more flue and it went to .07 inches of water. I put the barometric draft regulator on and set it to .03 and when the burner runs or when first lighting the fire manually it will just about be horizontal. Just thought I'd like to add that. I'm hoping to get a little more burn time out of this thing now. Only had maybee 4 hours in the dead of the winter before, hopefully will get around 5.
 
Back
Top