Just got a reply from cheapstihl parts. He has 5 complete 07Ss. Two are going to be restored. Until he sorts that out, I guess I'll have to wait. I may need your help on this one Andy.
You are using an out of date browser. It may not display this or other websites correctly.
You should upgrade or use an alternative browser.
You should upgrade or use an alternative browser.
I finally got my 07S!!!
- Thread starter blsnelling
- Start date


Help Support Arborist Forum:
This site may earn a commission from merchant affiliate
links, including eBay, Amazon, and others.
Lakeside53
Stihl Wrenching
Uh oh.... I mght have talked him into that....
Let me see what i can do...
Let me see what i can do...
Andy - while I'm on a roll (ha ha....) with bearings, can I stray OT and ask a question about 070 bearings? None of my old or new 070 bearings has any marking on them at all. Measurements (and the IPL) confirm that these are 18mm bore x 30mm diameter x 24mm depth. If I search for these I get: "RNAO 18x30x24" bearings that look right....but no C3 option. Now these needle bearings are slacker than the caged ball bearings anyway, so is this a problem?
Example of what I found is here:
http://simplybearings.co.uk/shop/p8....html?osCsid=7718761e7064bf17d41971f226c99230
"POA" - sounds ugly!
Example of what I found is here:
http://simplybearings.co.uk/shop/p8....html?osCsid=7718761e7064bf17d41971f226c99230
"POA" - sounds ugly!
Lakeside53
Stihl Wrenching
I'm not up on the fine details of needle roller bearings.. pita.. usually from Torrington etc and can be expensive.
Yes... the "c3" etc applies to deep groove bearings, not rollers. They are a relatively loose fit in the case, and allow axial expansion of the crank.
Are yours "two piece" each side, or one? I assume one (the later type).
You might just want to find oem... or, take your orginals to a Bearing House and have the counter guys match them. Get a price quote - you might get lucky. The MSRP over here is $63 each.
Last edited:
RiverRat2
Serio Tree Freak
Yet again, Lake demonstrates the knowledge...
Yay Lake!
Thats why He be Numero Uno!!!!!! LOL!!!!
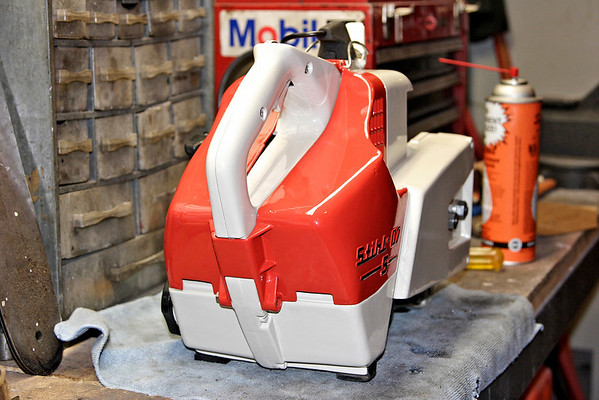
Here are a few pics from tonight. All the paint is done.
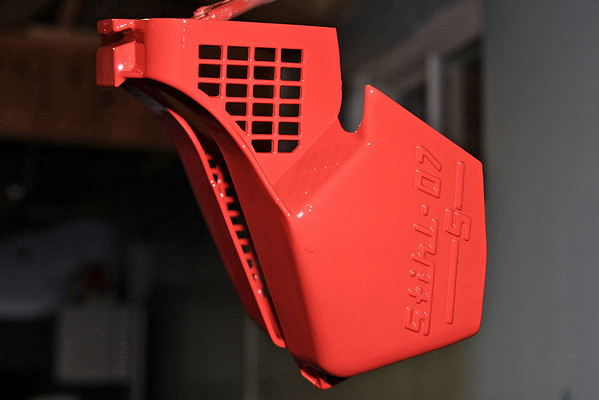
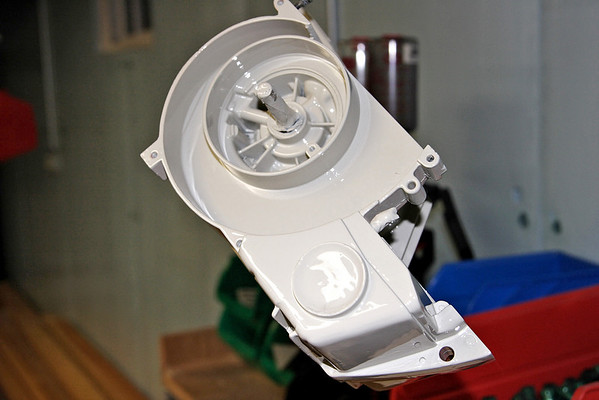
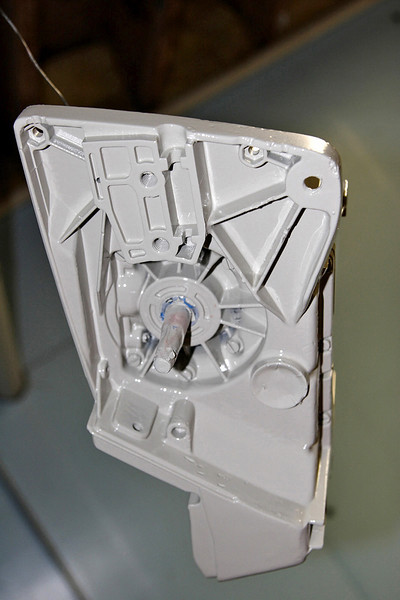
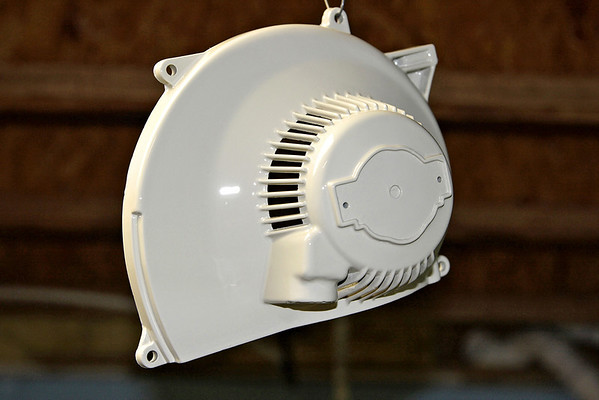
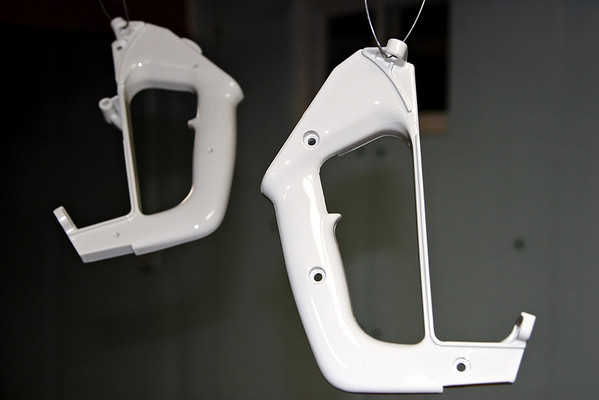
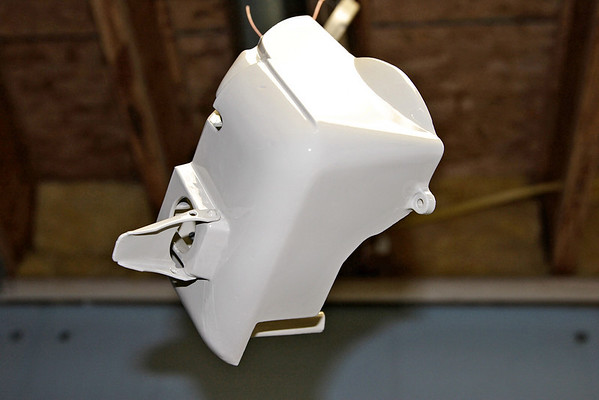
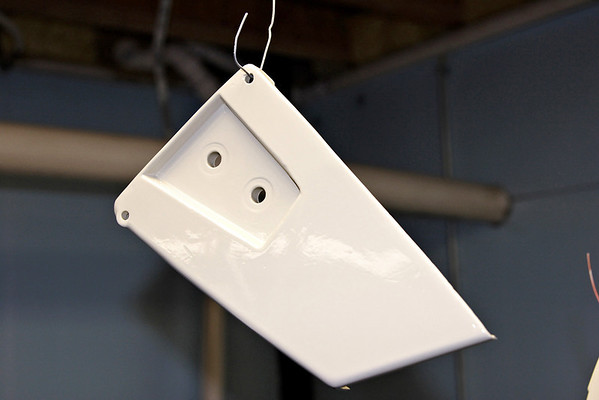
Curing in my heated basement.
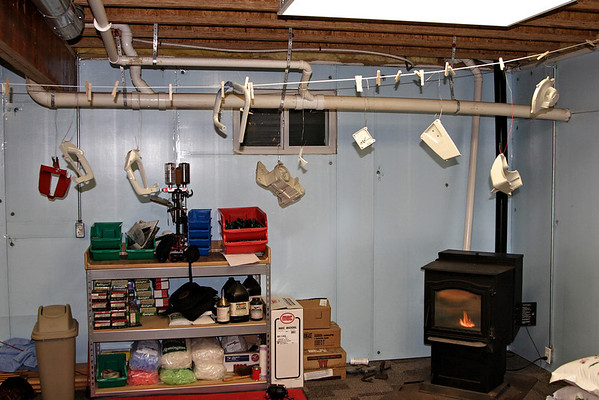
Curing in my heated basement.
Your looks better than mine! Lovely paint (as usual), and I am rather jealous of a person with a wood stove in his workshop.
Here's what was my parts saw:

Someone painted it with green hammerite (badly), so I've dunked it in paint stripper - the worst is now off. I'll make up some wooden protection pieces, then hit it with the sandblaster.
There's a lot to do. The bore will need flex-honing and new rings. Someone has hogged out several of the threads in the case from M5 to M8 (!!), so it is probably time to learn how to do time/big-serts. Thankfully they are not structural - starter housing and the like. I'll need to make all the gaskets - the case one looks pretty complex. I'll let you post on how to make the head gasket...!
Here's what was my parts saw:
Someone painted it with green hammerite (badly), so I've dunked it in paint stripper - the worst is now off. I'll make up some wooden protection pieces, then hit it with the sandblaster.
There's a lot to do. The bore will need flex-honing and new rings. Someone has hogged out several of the threads in the case from M5 to M8 (!!), so it is probably time to learn how to do time/big-serts. Thankfully they are not structural - starter housing and the like. I'll need to make all the gaskets - the case one looks pretty complex. I'll let you post on how to make the head gasket...!
Hey, I need that handle!!!
I got a lot done on the saw tonight. It's pretty much all back together except for the carb, spikes, and oil pump. I'm waiting on the gaskets and spike from rxe to get her from the UK. I've got one starter bolt hole to repair, it's stripped out. I've also yet to find a handle. Supposedly cheapstihlparts has one, but I've yet to confirm or make those arrangements.
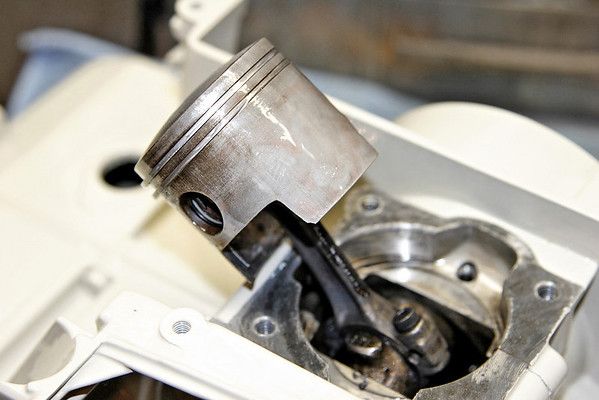
Here I install the big end rod bearing with grease to hold it in place. It splits in half. That also leaves to loose needles, one on each side between the halves.
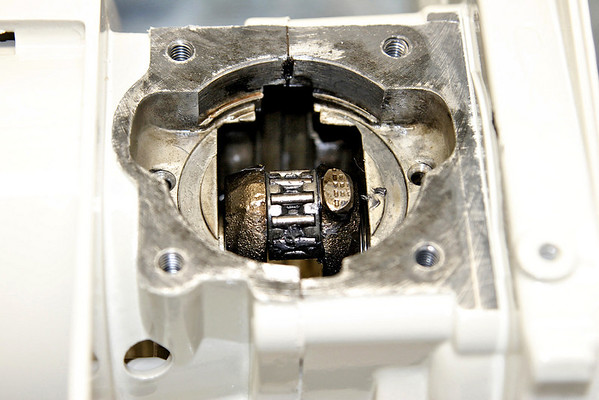
Notice the two piece rod. I know it's not standard procedure, but I reassembled with red Loctite.
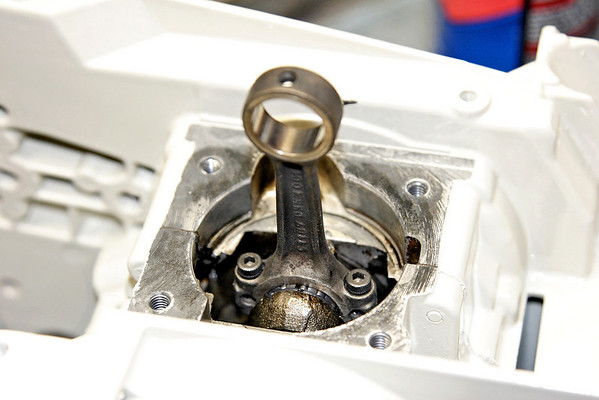
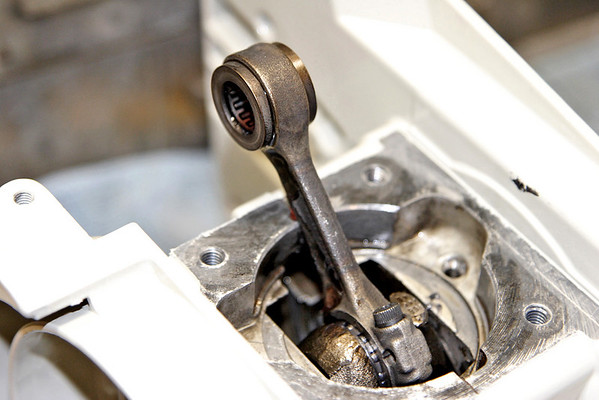
Put plenty of 2-stroke lube on the wrist pin bearing. Notice the washers that go on each side of the rod. The protrude slightly into the rod.
Make sure that snap ring's in there good and indexed at 6 or 12 o'clock.
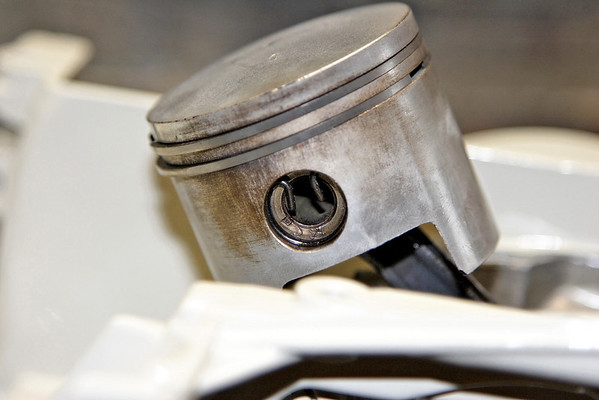
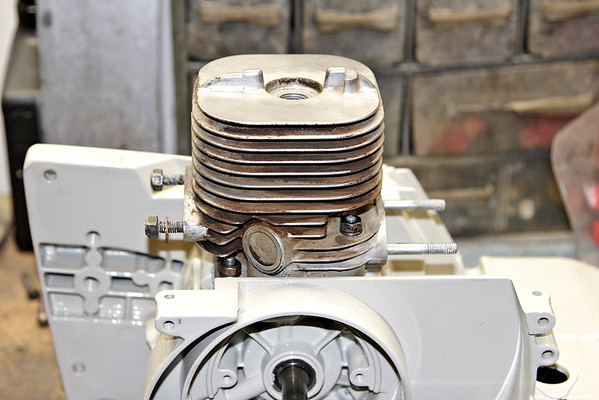
Slather a little 2-stroke lube on the P&C.
I made a base gasket from a Mountain Dew carton and put ThreeBond on both sides.
I cannot cut with this saw until I source a new spur sprocket. I've never seen one so bad.

I always mark the backing plate for the points and the case before disassembly. That eliminates a lot of guessing on reassembly.
Here I install the big end rod bearing with grease to hold it in place. It splits in half. That also leaves to loose needles, one on each side between the halves.
Notice the two piece rod. I know it's not standard procedure, but I reassembled with red Loctite.
Put plenty of 2-stroke lube on the wrist pin bearing. Notice the washers that go on each side of the rod. The protrude slightly into the rod.
Make sure that snap ring's in there good and indexed at 6 or 12 o'clock.
Slather a little 2-stroke lube on the P&C.
I made a base gasket from a Mountain Dew carton and put ThreeBond on both sides.
I cannot cut with this saw until I source a new spur sprocket. I've never seen one so bad.
I always mark the backing plate for the points and the case before disassembly. That eliminates a lot of guessing on reassembly.
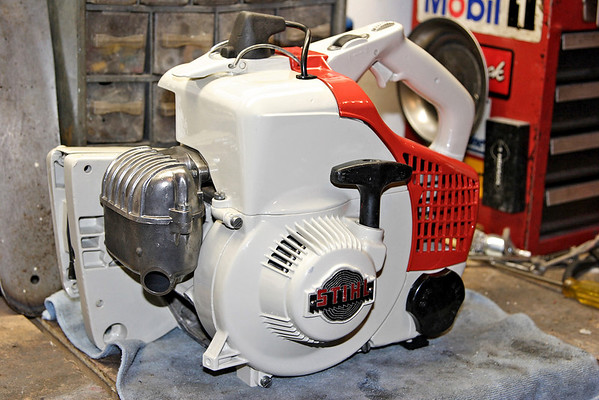
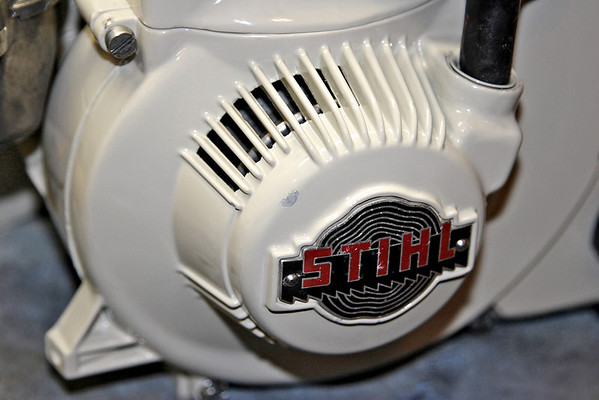
And here she is!
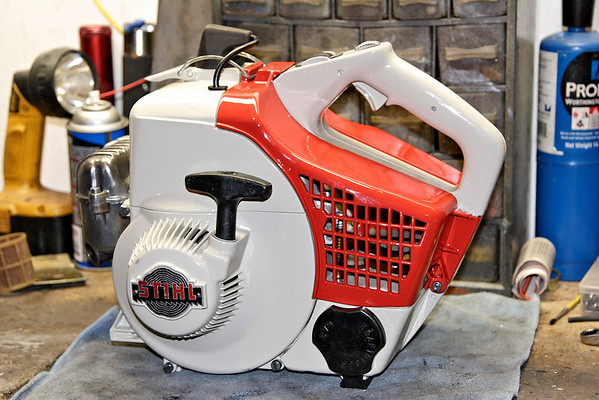
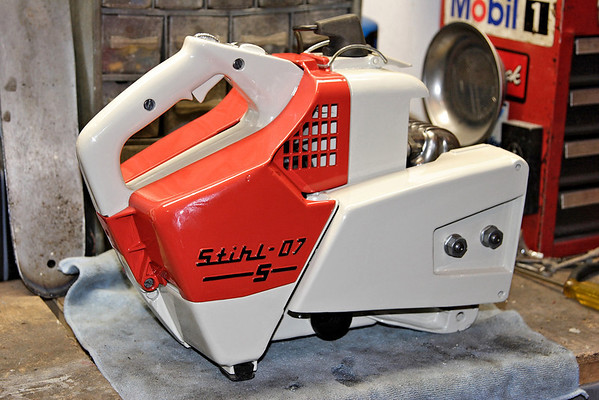
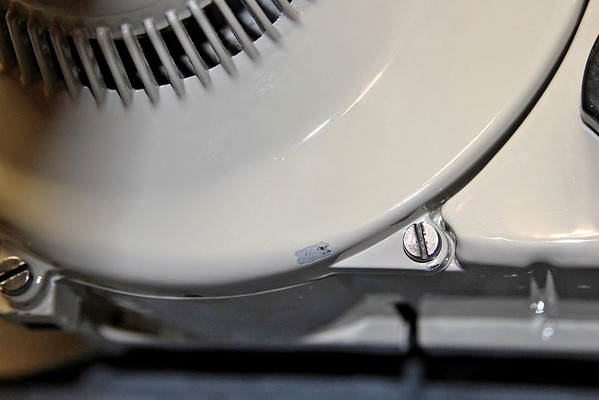
Am I going to be a true extravert and tell my sickening accident? Of course I am! I dropped the recoil housing and chipped it in several places. I was absolutely sick! I'm hoping I can touch it up with out it showing too much.

Lakeside53
Stihl Wrenching
looking good....
I'm still watching for another new rubber foot, a loop handle, and a spur sprocket. The sprocket on it is a Windsor ST 41 B7, but I can't do anything with that number on Google. Andy, I sent Bryce another message about the handle but haven't heard back. I need a handle before the April 19 GTG.
Dapper Dan
ArboristSite Operative
DO-OVER
You can't leave those obovious mistakes and you know it!
(from one "anal" guy to another)
You can't leave those obovious mistakes and you know it!
(from one "anal" guy to another)
DO-OVER
You can't leave those obovious mistakes and you know it!
(from one "anal" guy to another)
I know, I know. But you see, if I hadn't told you, you'd probably have never noticed after I properly touched it up. I will try touching it up first. I'll post the results. I'd have to strip it to get the same finish. I don't want to just keep building up material on it.
Lakeside53
Stihl Wrenching
sand, fill, prime, plaint.... lololol
Sorry...
Sorry...
Dapper Dan
ArboristSite Operative
I know, I know. But you see, if I hadn't told you, you'd probably have never noticed after I properly touched it up. I will try touching it up first. I'll post the results. I'd have to strip it to get the same finish. I don't want to just keep building up material on it.
No you won't....if it's cured just feather the chips out, spot prime, scotch bright the whole panel, dust a little color over the primer and recoat the whole piece with clear.
Sorry...
I'm REALLY sorry. I wanted to cry before it even hit the concrete.
 Guess I'll have to start building over carpet.
Good thing it didn't break something when it fell. Another beautiful saw!!!!!!!!
Looking good.
If it bothers you that bad, You could try leveling the chip out with 400 grit wet/dry, than respray the sanded area. If you do that you may need to blend in the fresh paint. You can do that by spraying some straight reducer around the edges of the fresh paint.
Honestly I'd just touch it up and be done with it.
Similar threads
- Replies
- 3
- Views
- 894
- Replies
- 25
- Views
- 2K