Building the ultimate sleeper saw.... 46cc Craftsman into a ported 72cc
- Thread starter Arrowhead
- Start date


I got me a craftsman like that. Cool bananas.
Are you going to put an 056 Magnum top end on yours?
Hmmmm, must be sleeping in this morning...:msp_sleep:
I've been fighting with the stomach flu all week.... I think it won this morning. :msp_sad:
I am very impressed with the work so far and your vision for doing such a Mod. It shows your over all knowlege of many different brands of saws and your skills as a mechanic and machinist. I like it.
I tried to rep you but I have to spread some around.
Nice work, Ed! That Craftsman looks familiar. :msp_wink:

Do your bushings have a lip to contain the piston pin? Then the circlips hold the bushing?
Thank you, but I'm not a machinist, just a beginner trying to learn. My friend is the experienced machinist, he was coaching me.
Yep.
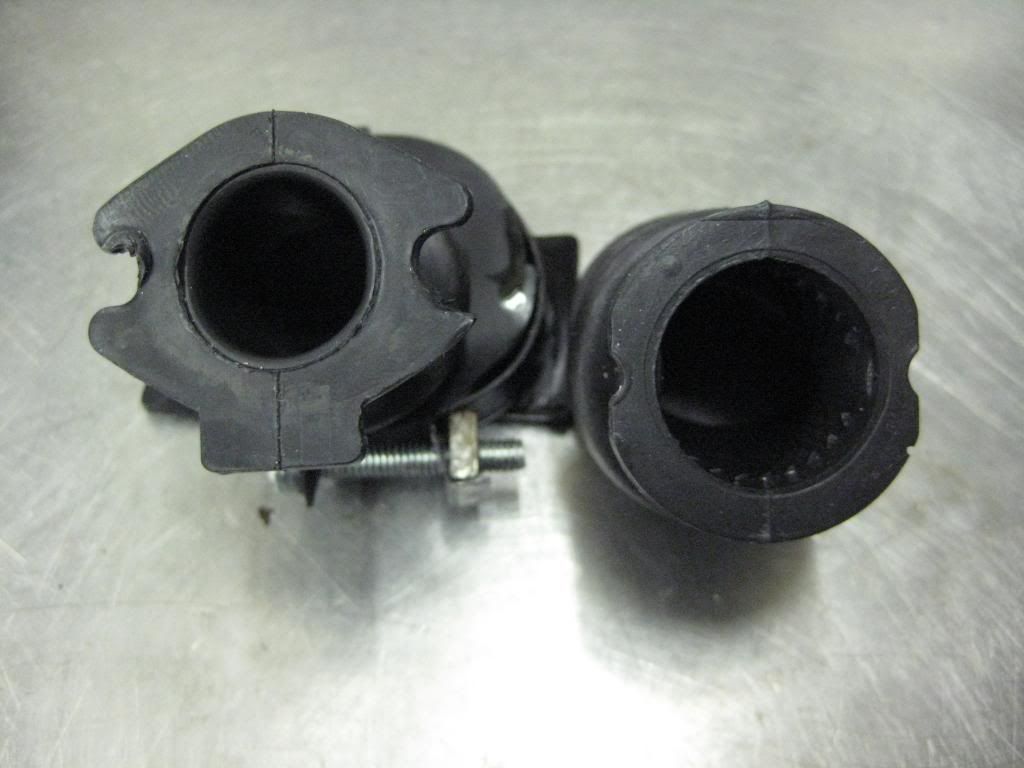
Tom, the bushings has a very slight taper on the end. They get installed from the center of the piston with the taper towards the rod. They basically lock into place.
So, what numbers did ya end up with? Cutting the skirt take your intake way up?
Also, What was the stroke difference between em?
opcorn:...
Enter your email address to join: