You are using an out of date browser. It may not display this or other websites correctly.
You should upgrade or use an alternative browser.
You should upgrade or use an alternative browser.
Huztl FarmerTec 070 Build Thread with upgrade info and completed saw
- Thread starter Bedford T
- Start date


Help Support Arborist Forum:
This site may earn a commission from merchant affiliate
links, including eBay, Amazon, and others.
Mac&Homelite
Addicted to ArboristSite
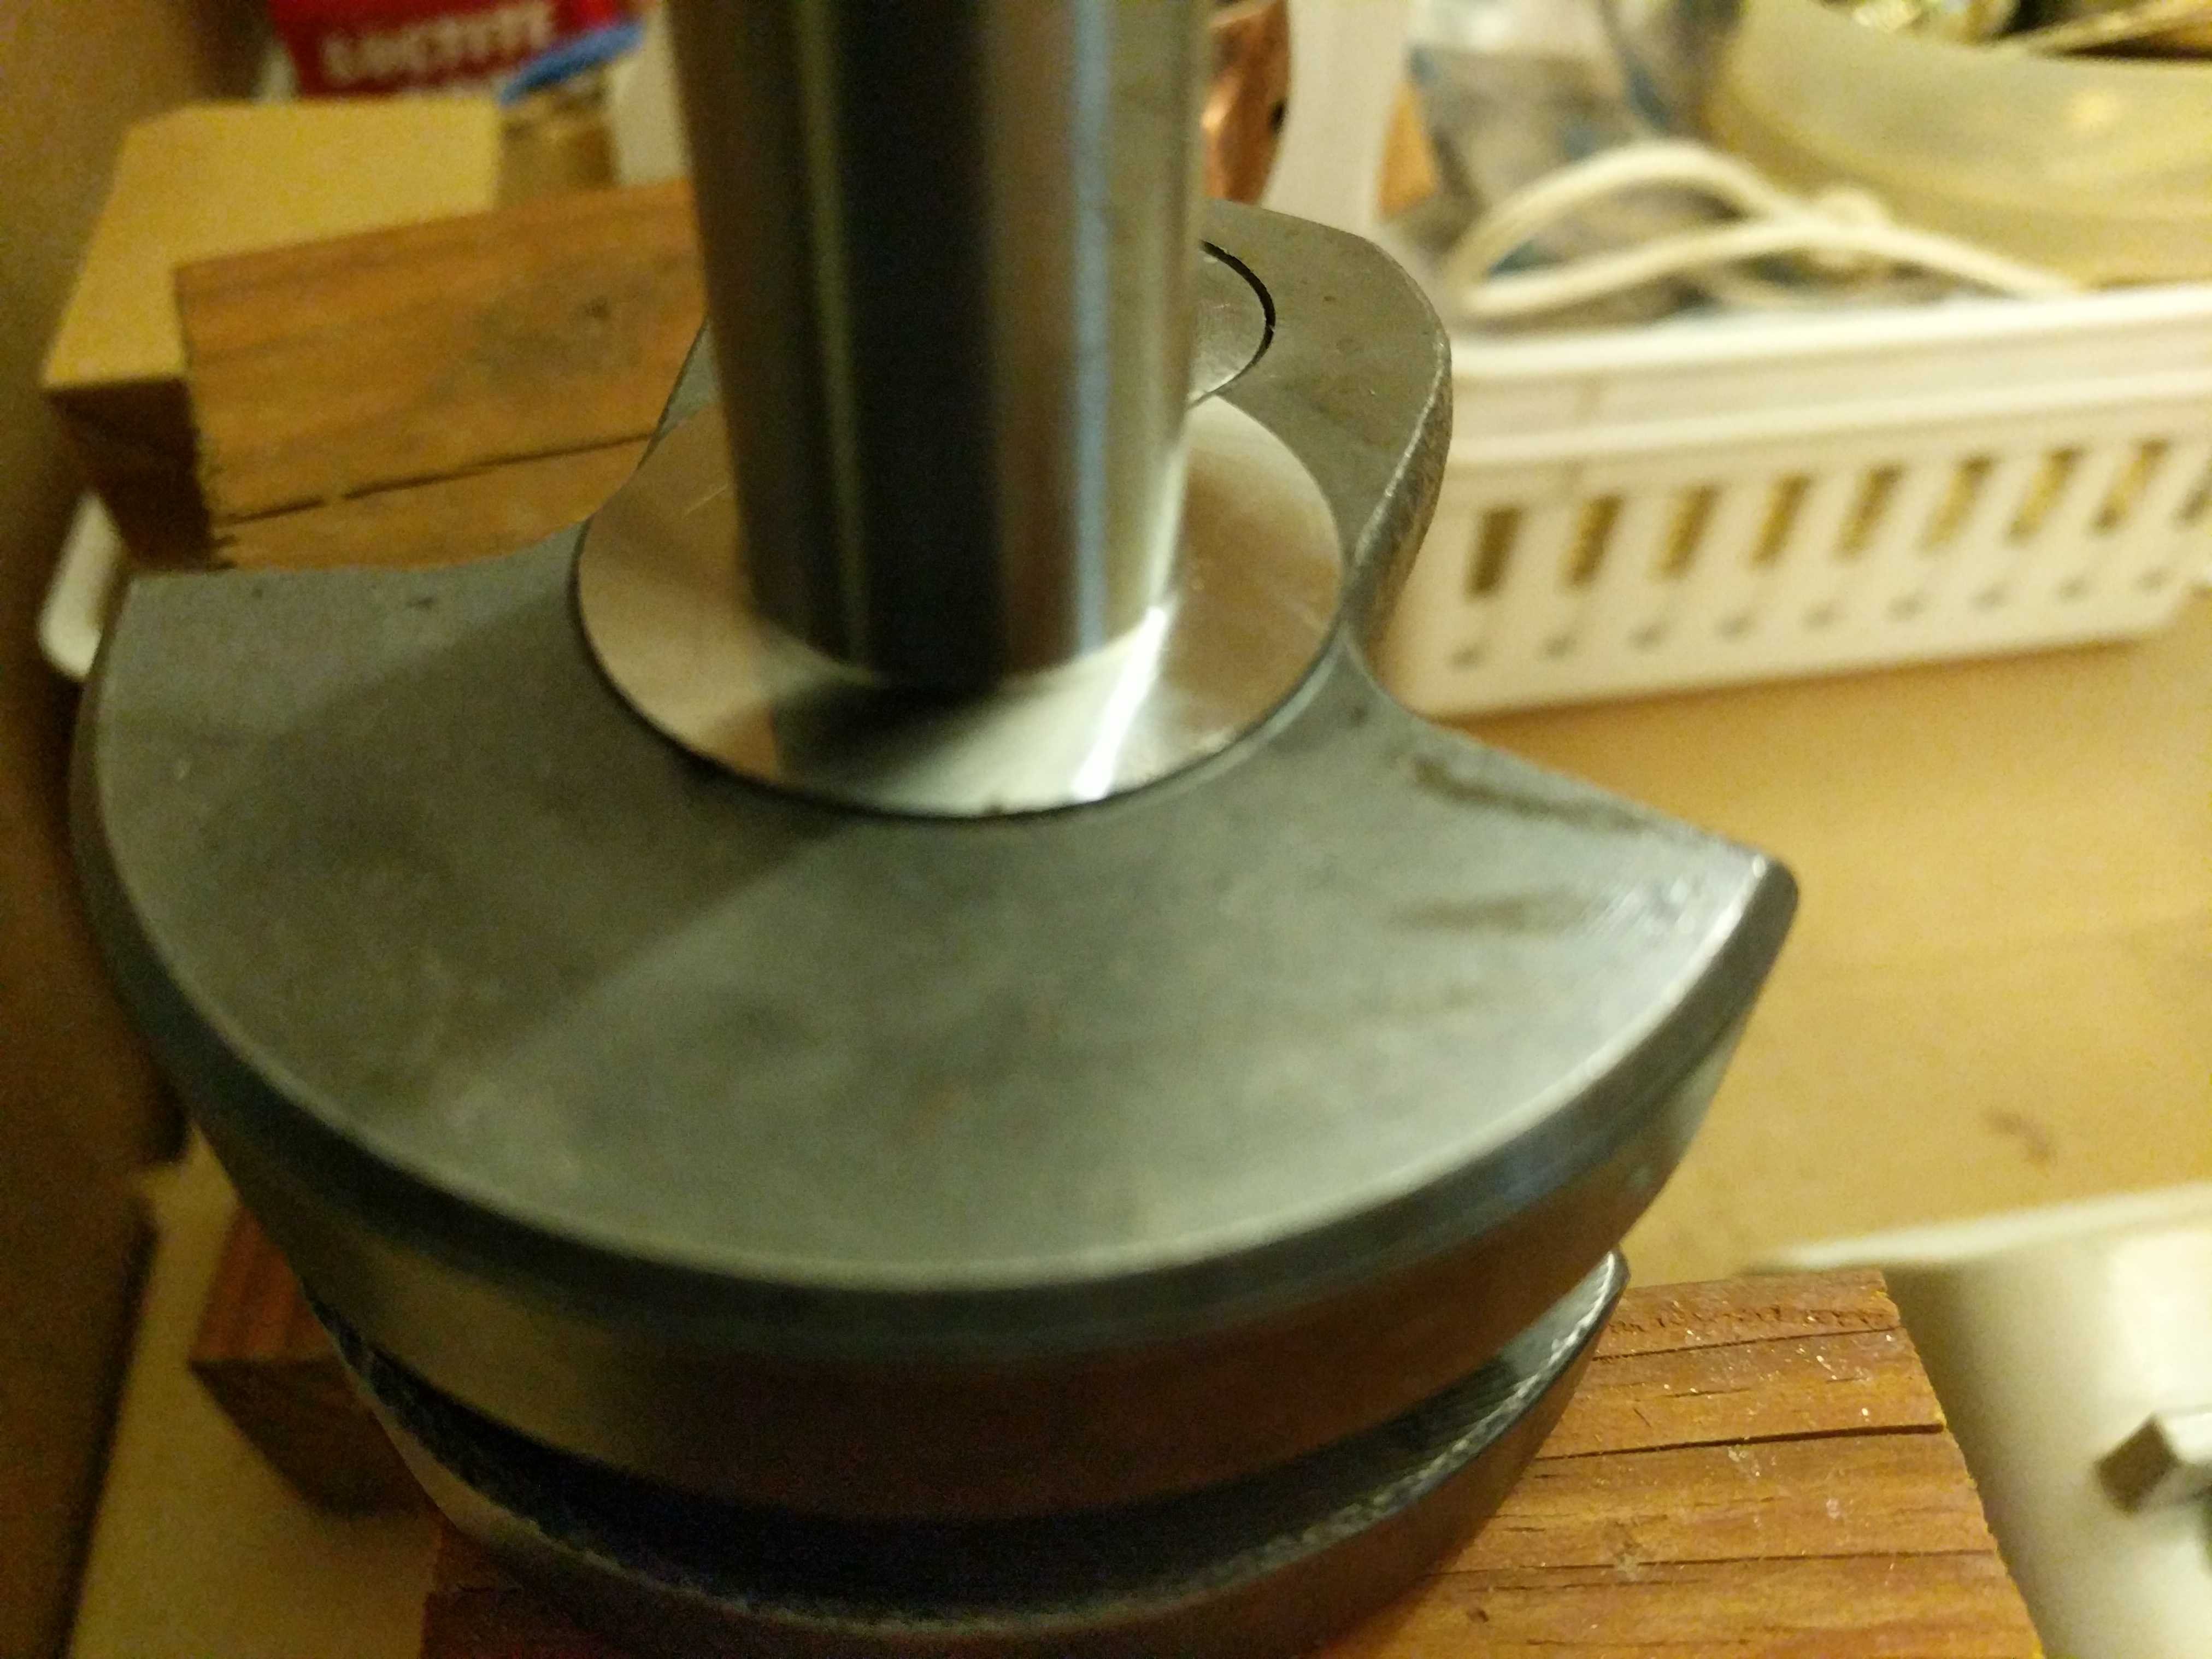
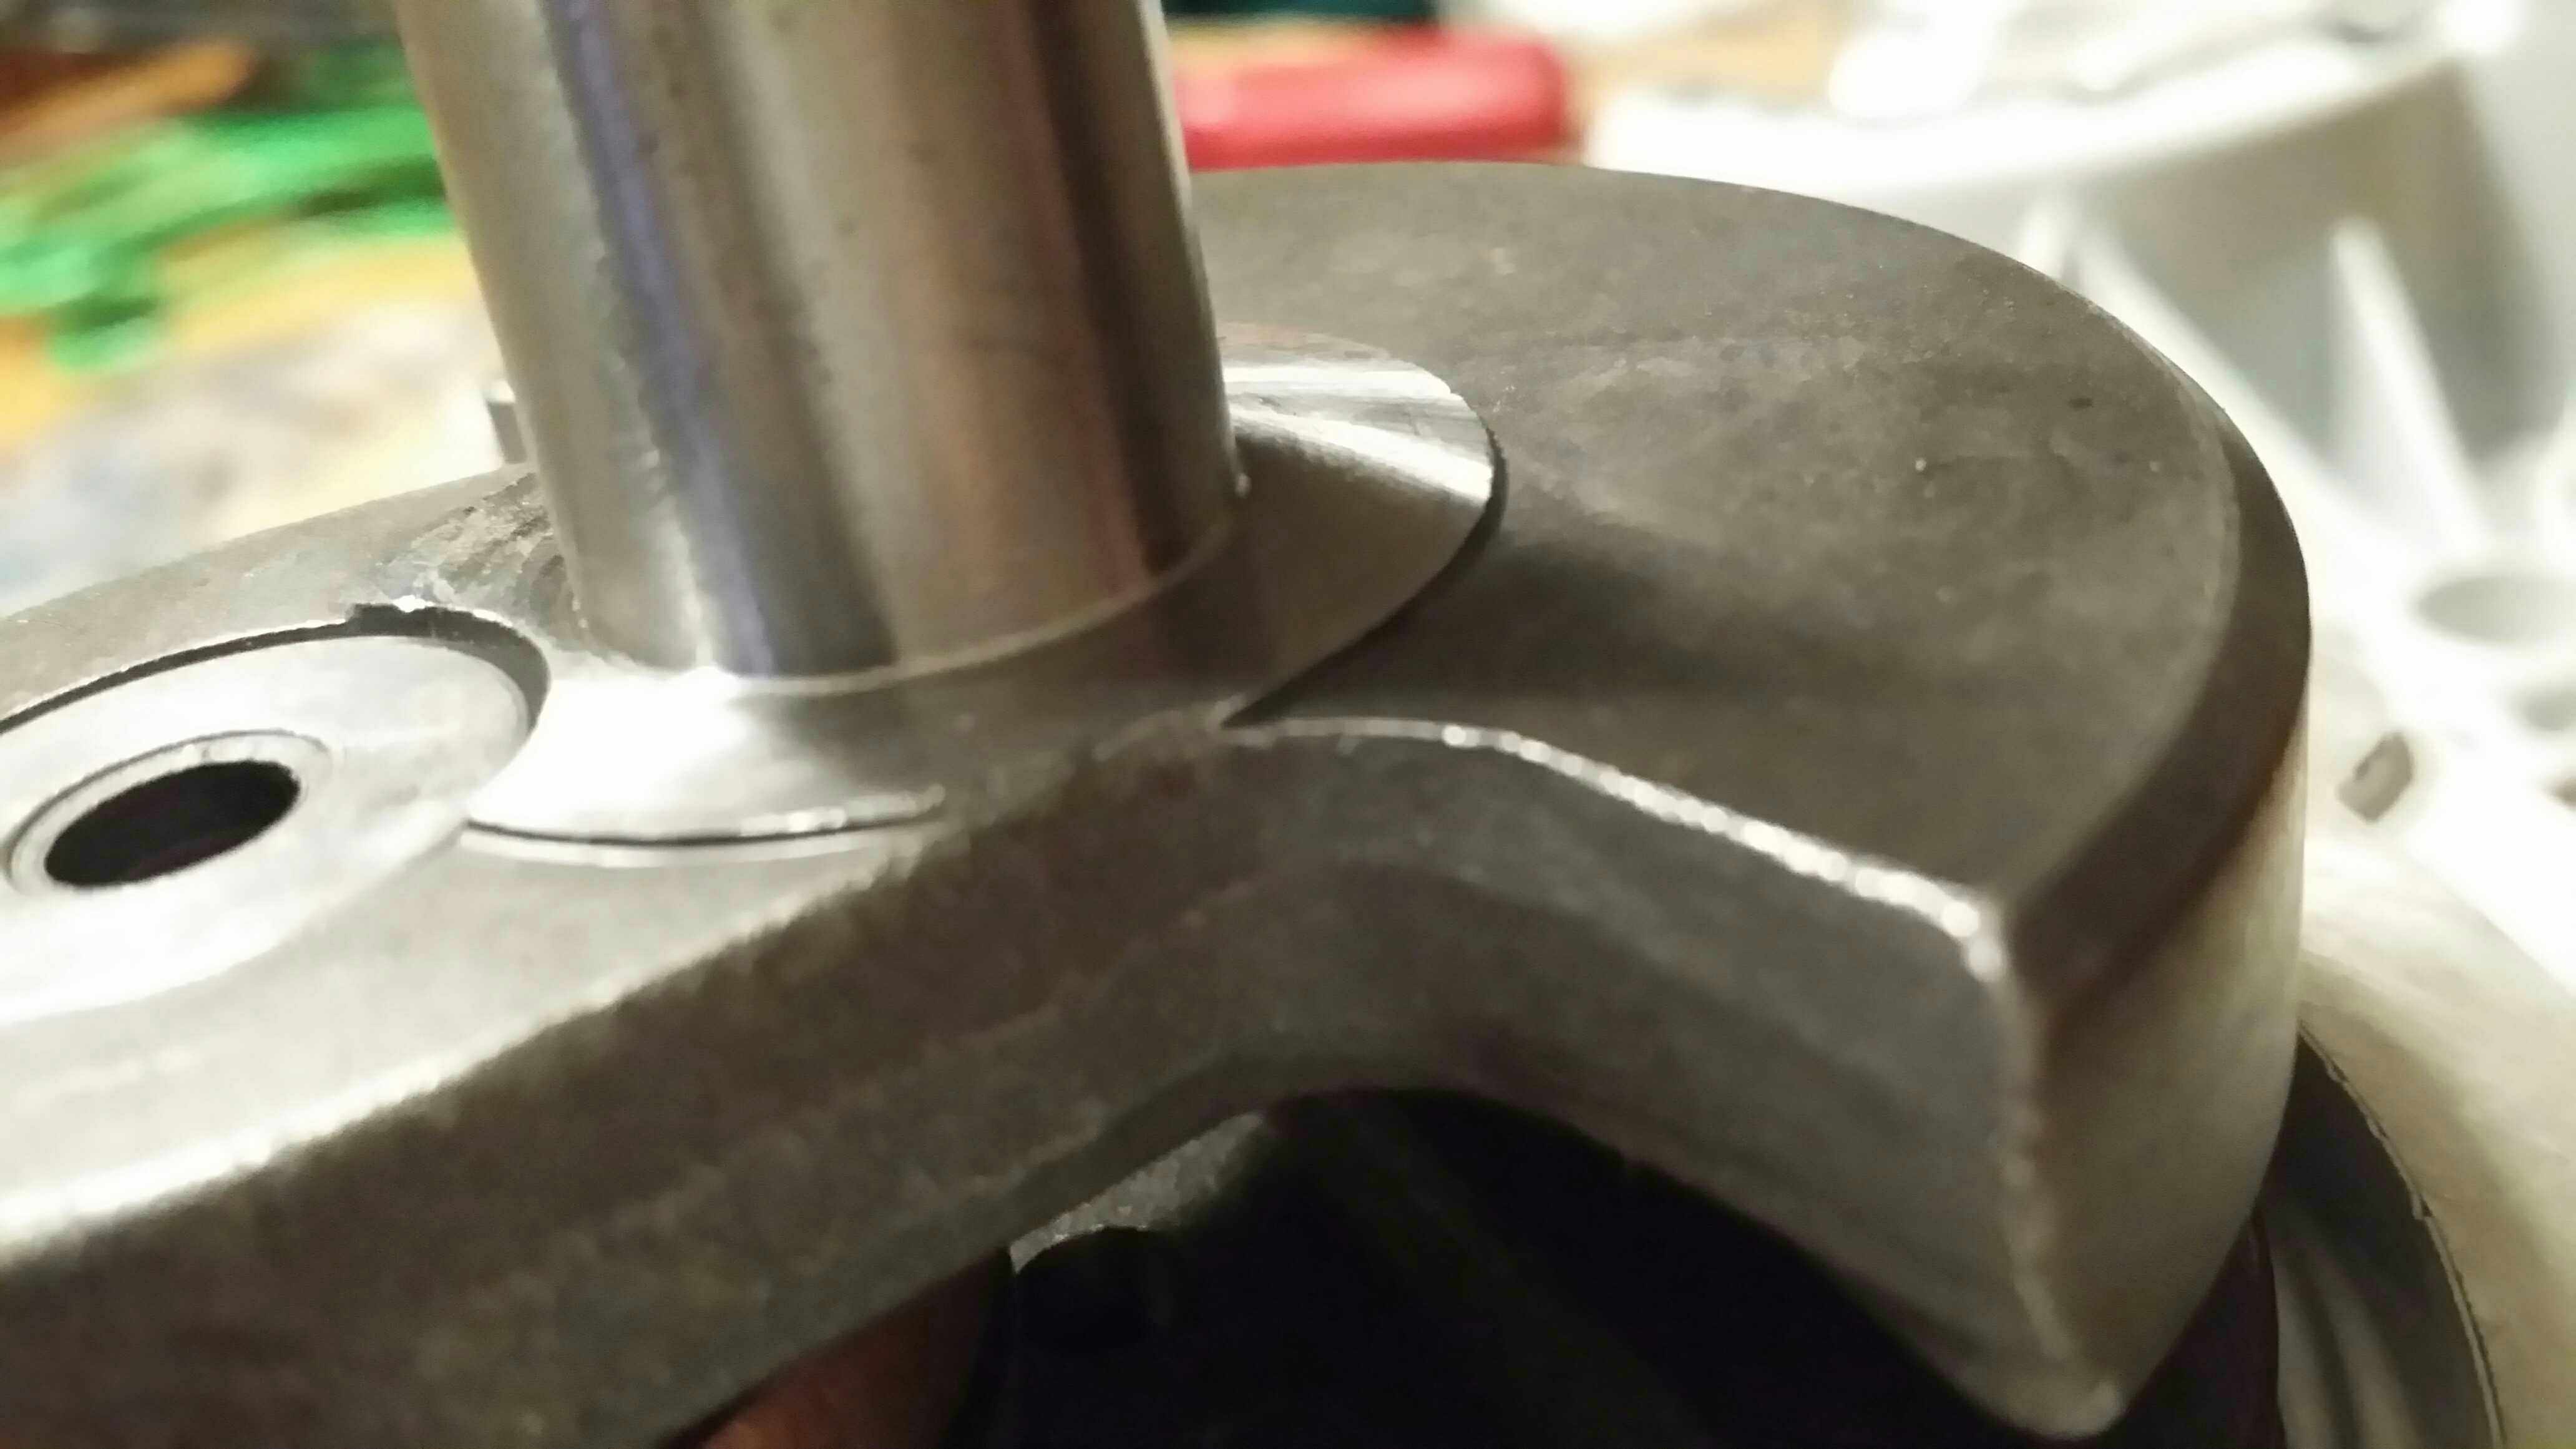
Gee, I don't really know? Is there a any radius between the shaft and the counterweight?So what's your guess on the position?
Me neither, we would be guessing using gut instinct. The beveled is towards youGee, I don't really know? Is there a any radius between the shaft and the counterweight?
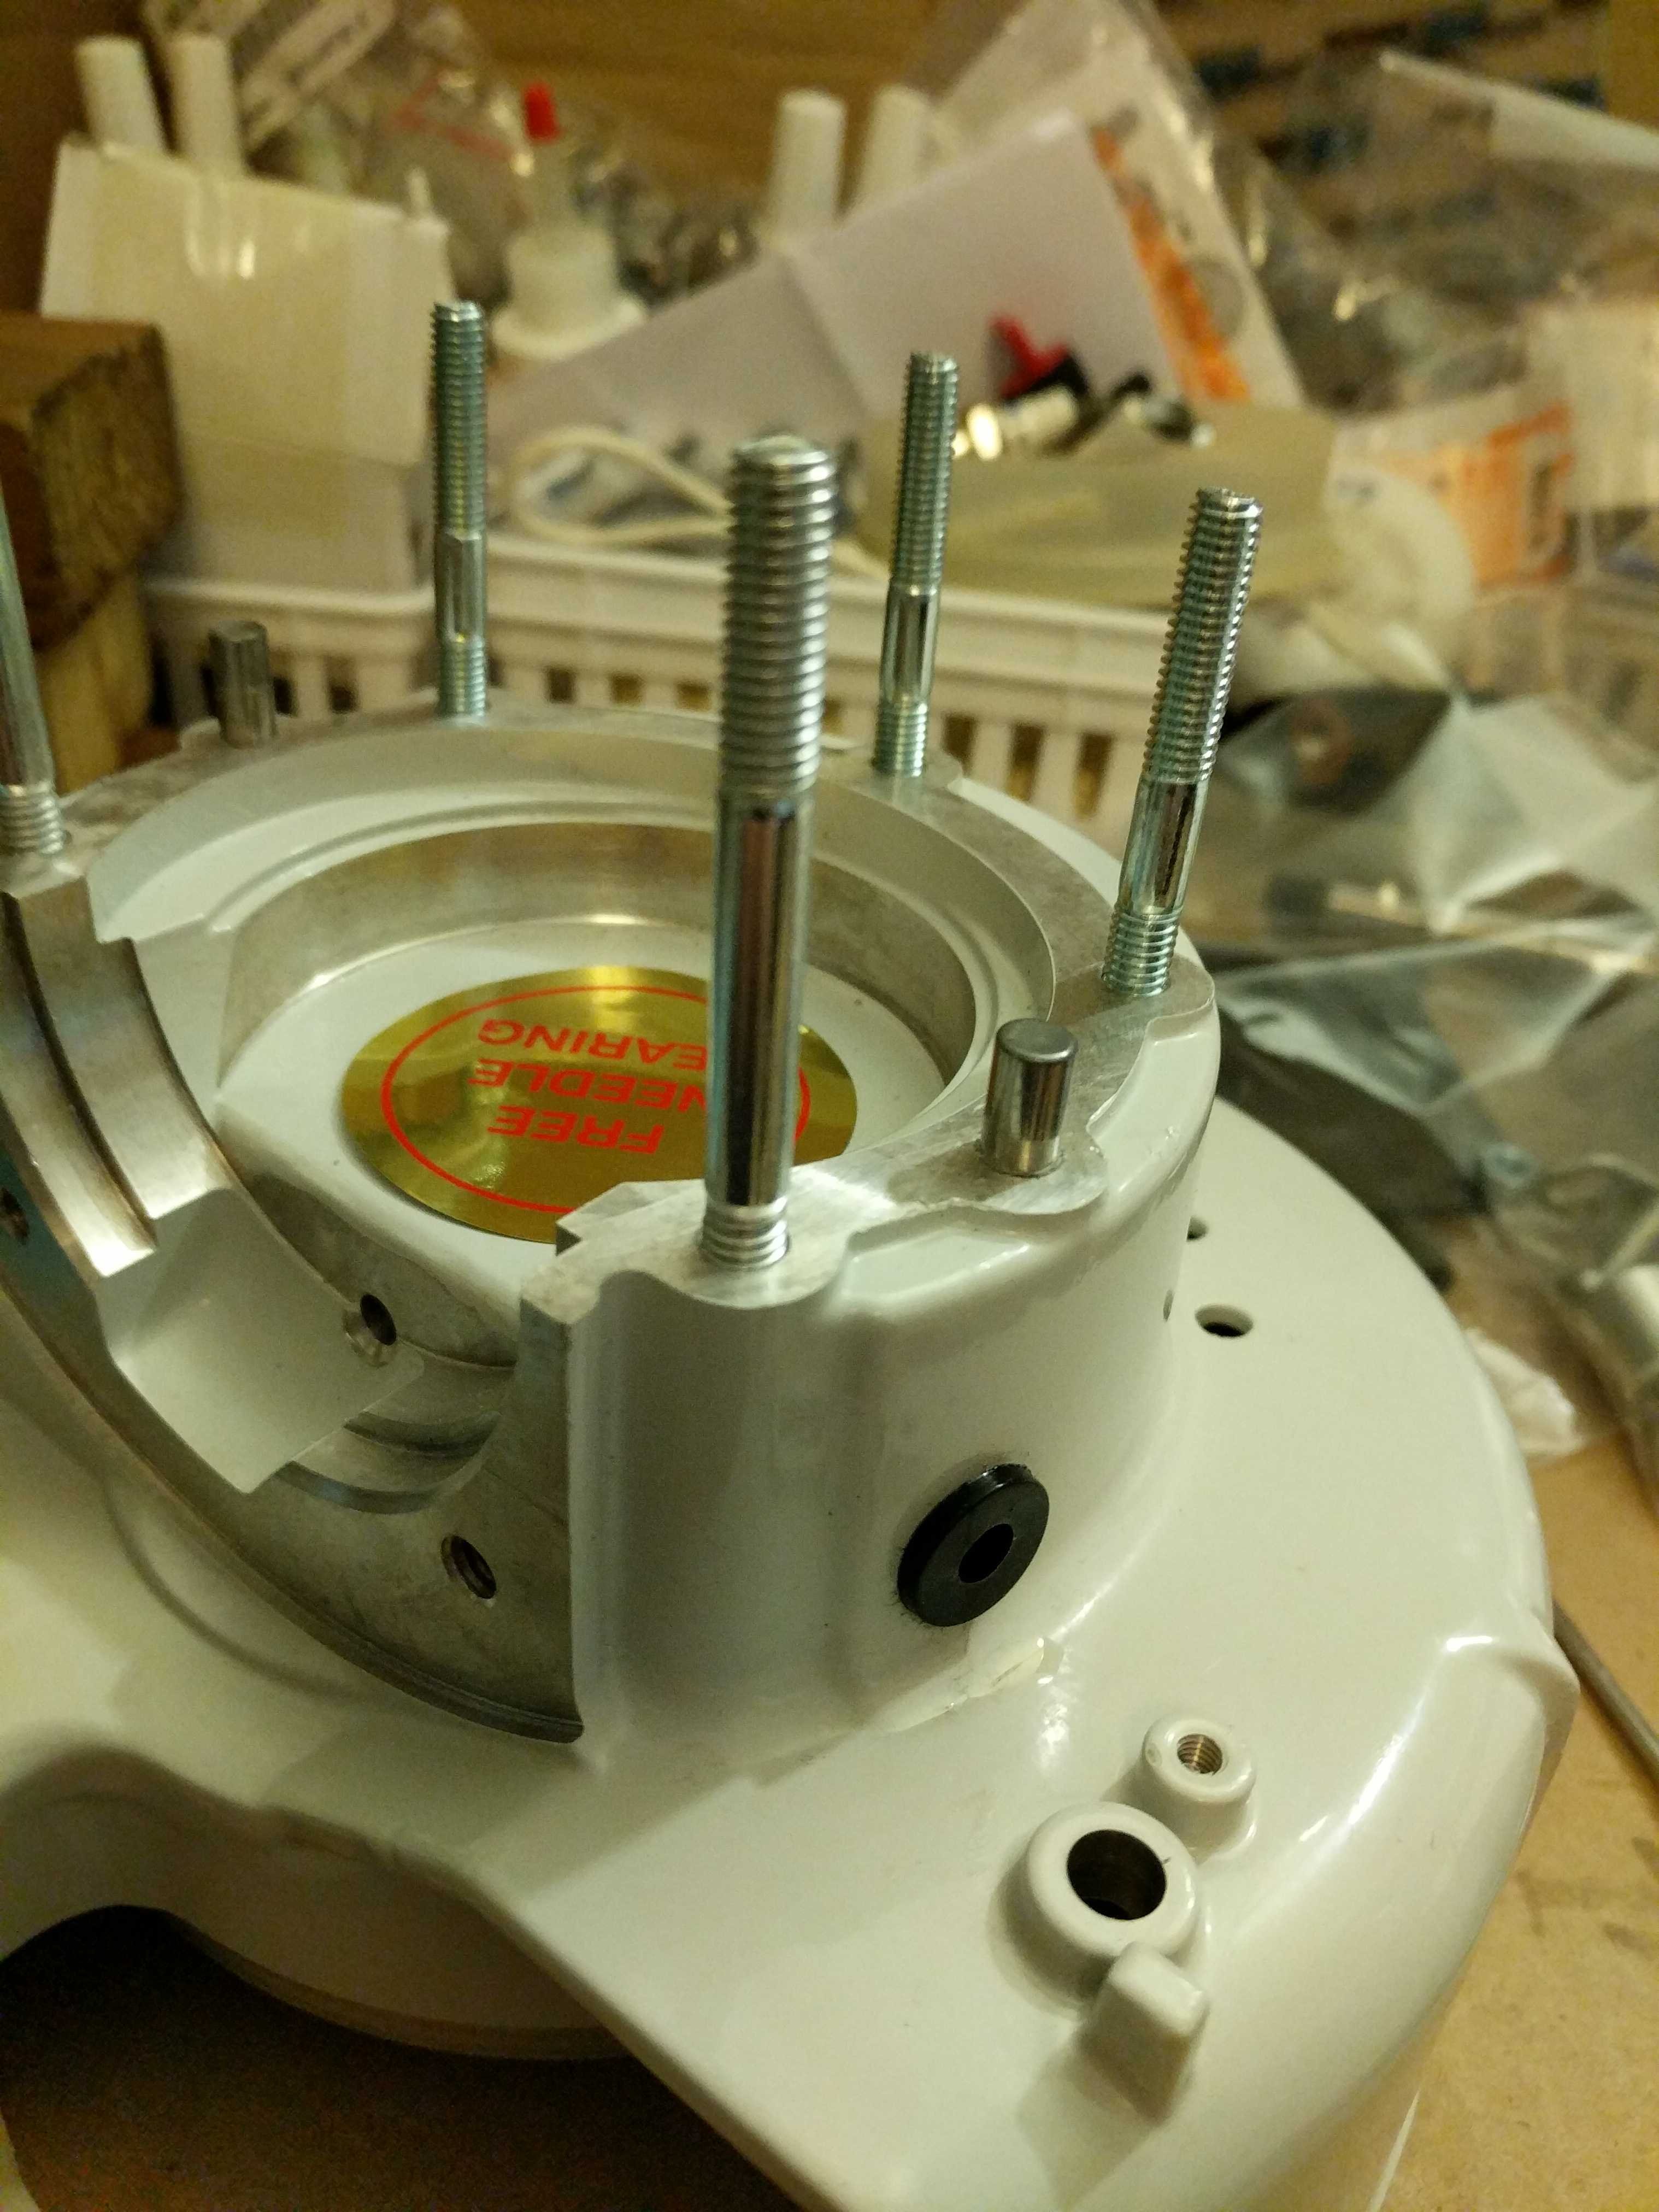
It looks like my next step will be to record the thread position and remove and coat them with 243 and replace them. I looked at the service manual and not one word I found related to my questions on those bolts. I will let the loctite dry overnight to prevent a mess.
Then since the case half's are separate and most accessible I will fit the governor.
not a single clear reference to the leather washer installation in the manual, either.
It might be much simpler than that on the studs, meaning they get turned all the way down and then slipped in the other case half and tightened with crank in place with gasket on then secured by spring washer and nuts. Its hard to tell at this point but that might be the final stud position. .
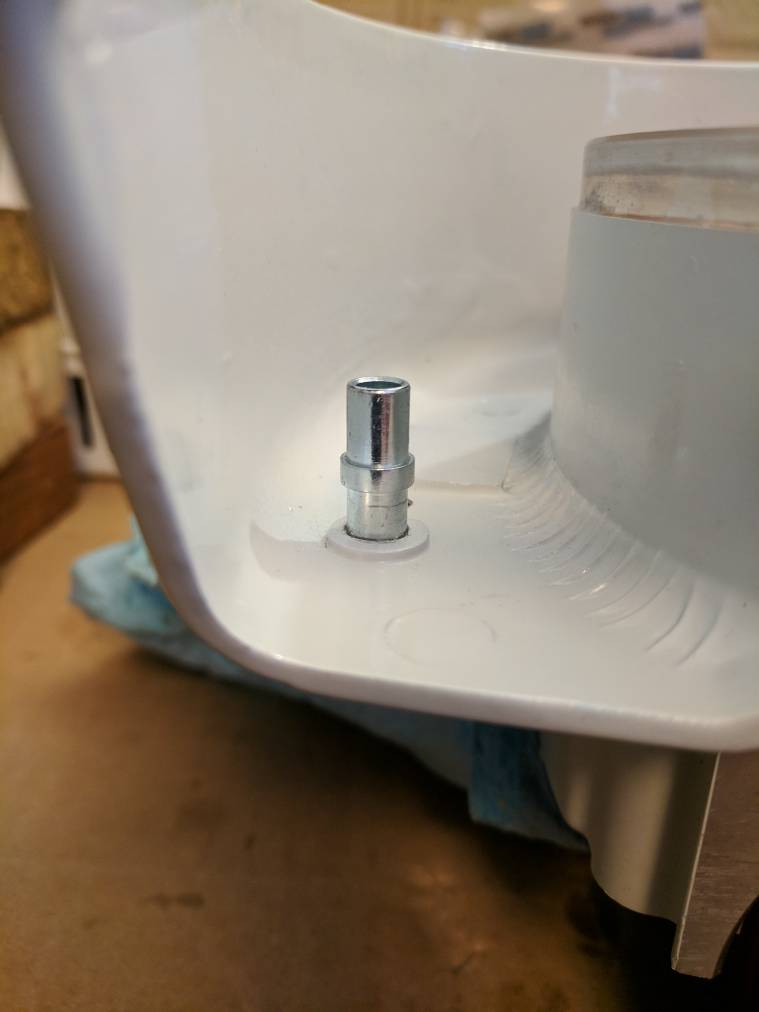
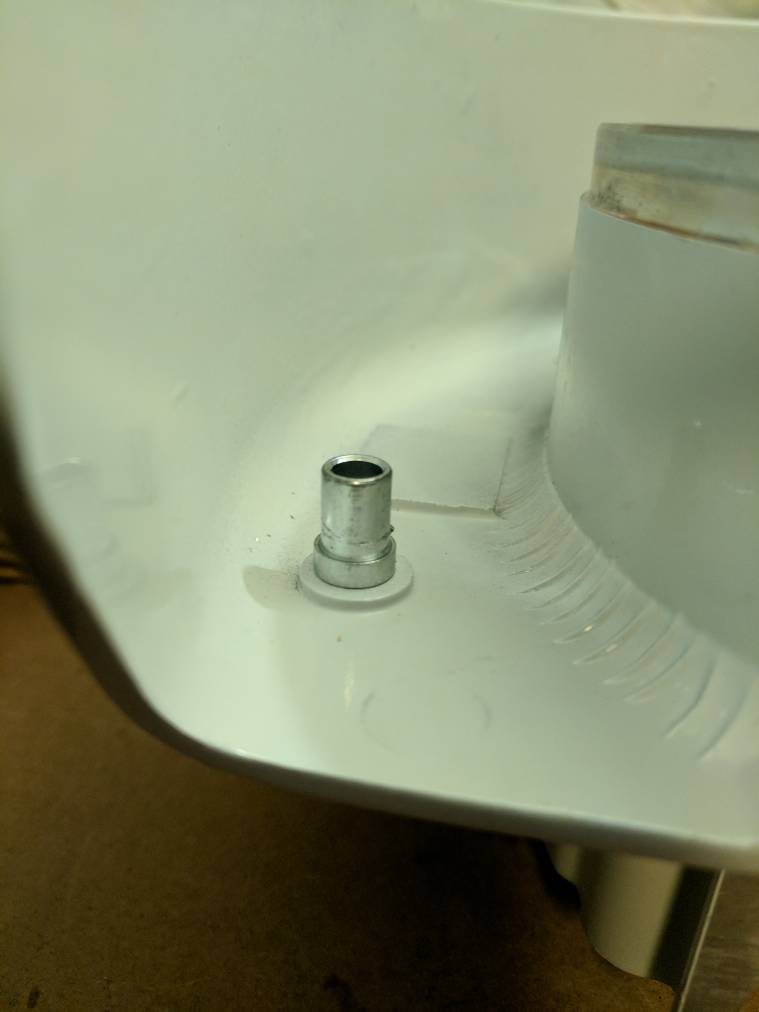
I am going to gamble this bushing needs to be pushed whacked caljoled into place. Think I will verify that before preceding by looking at the complete one. It's going to be a tight fit.
Heat is your friend on these cases
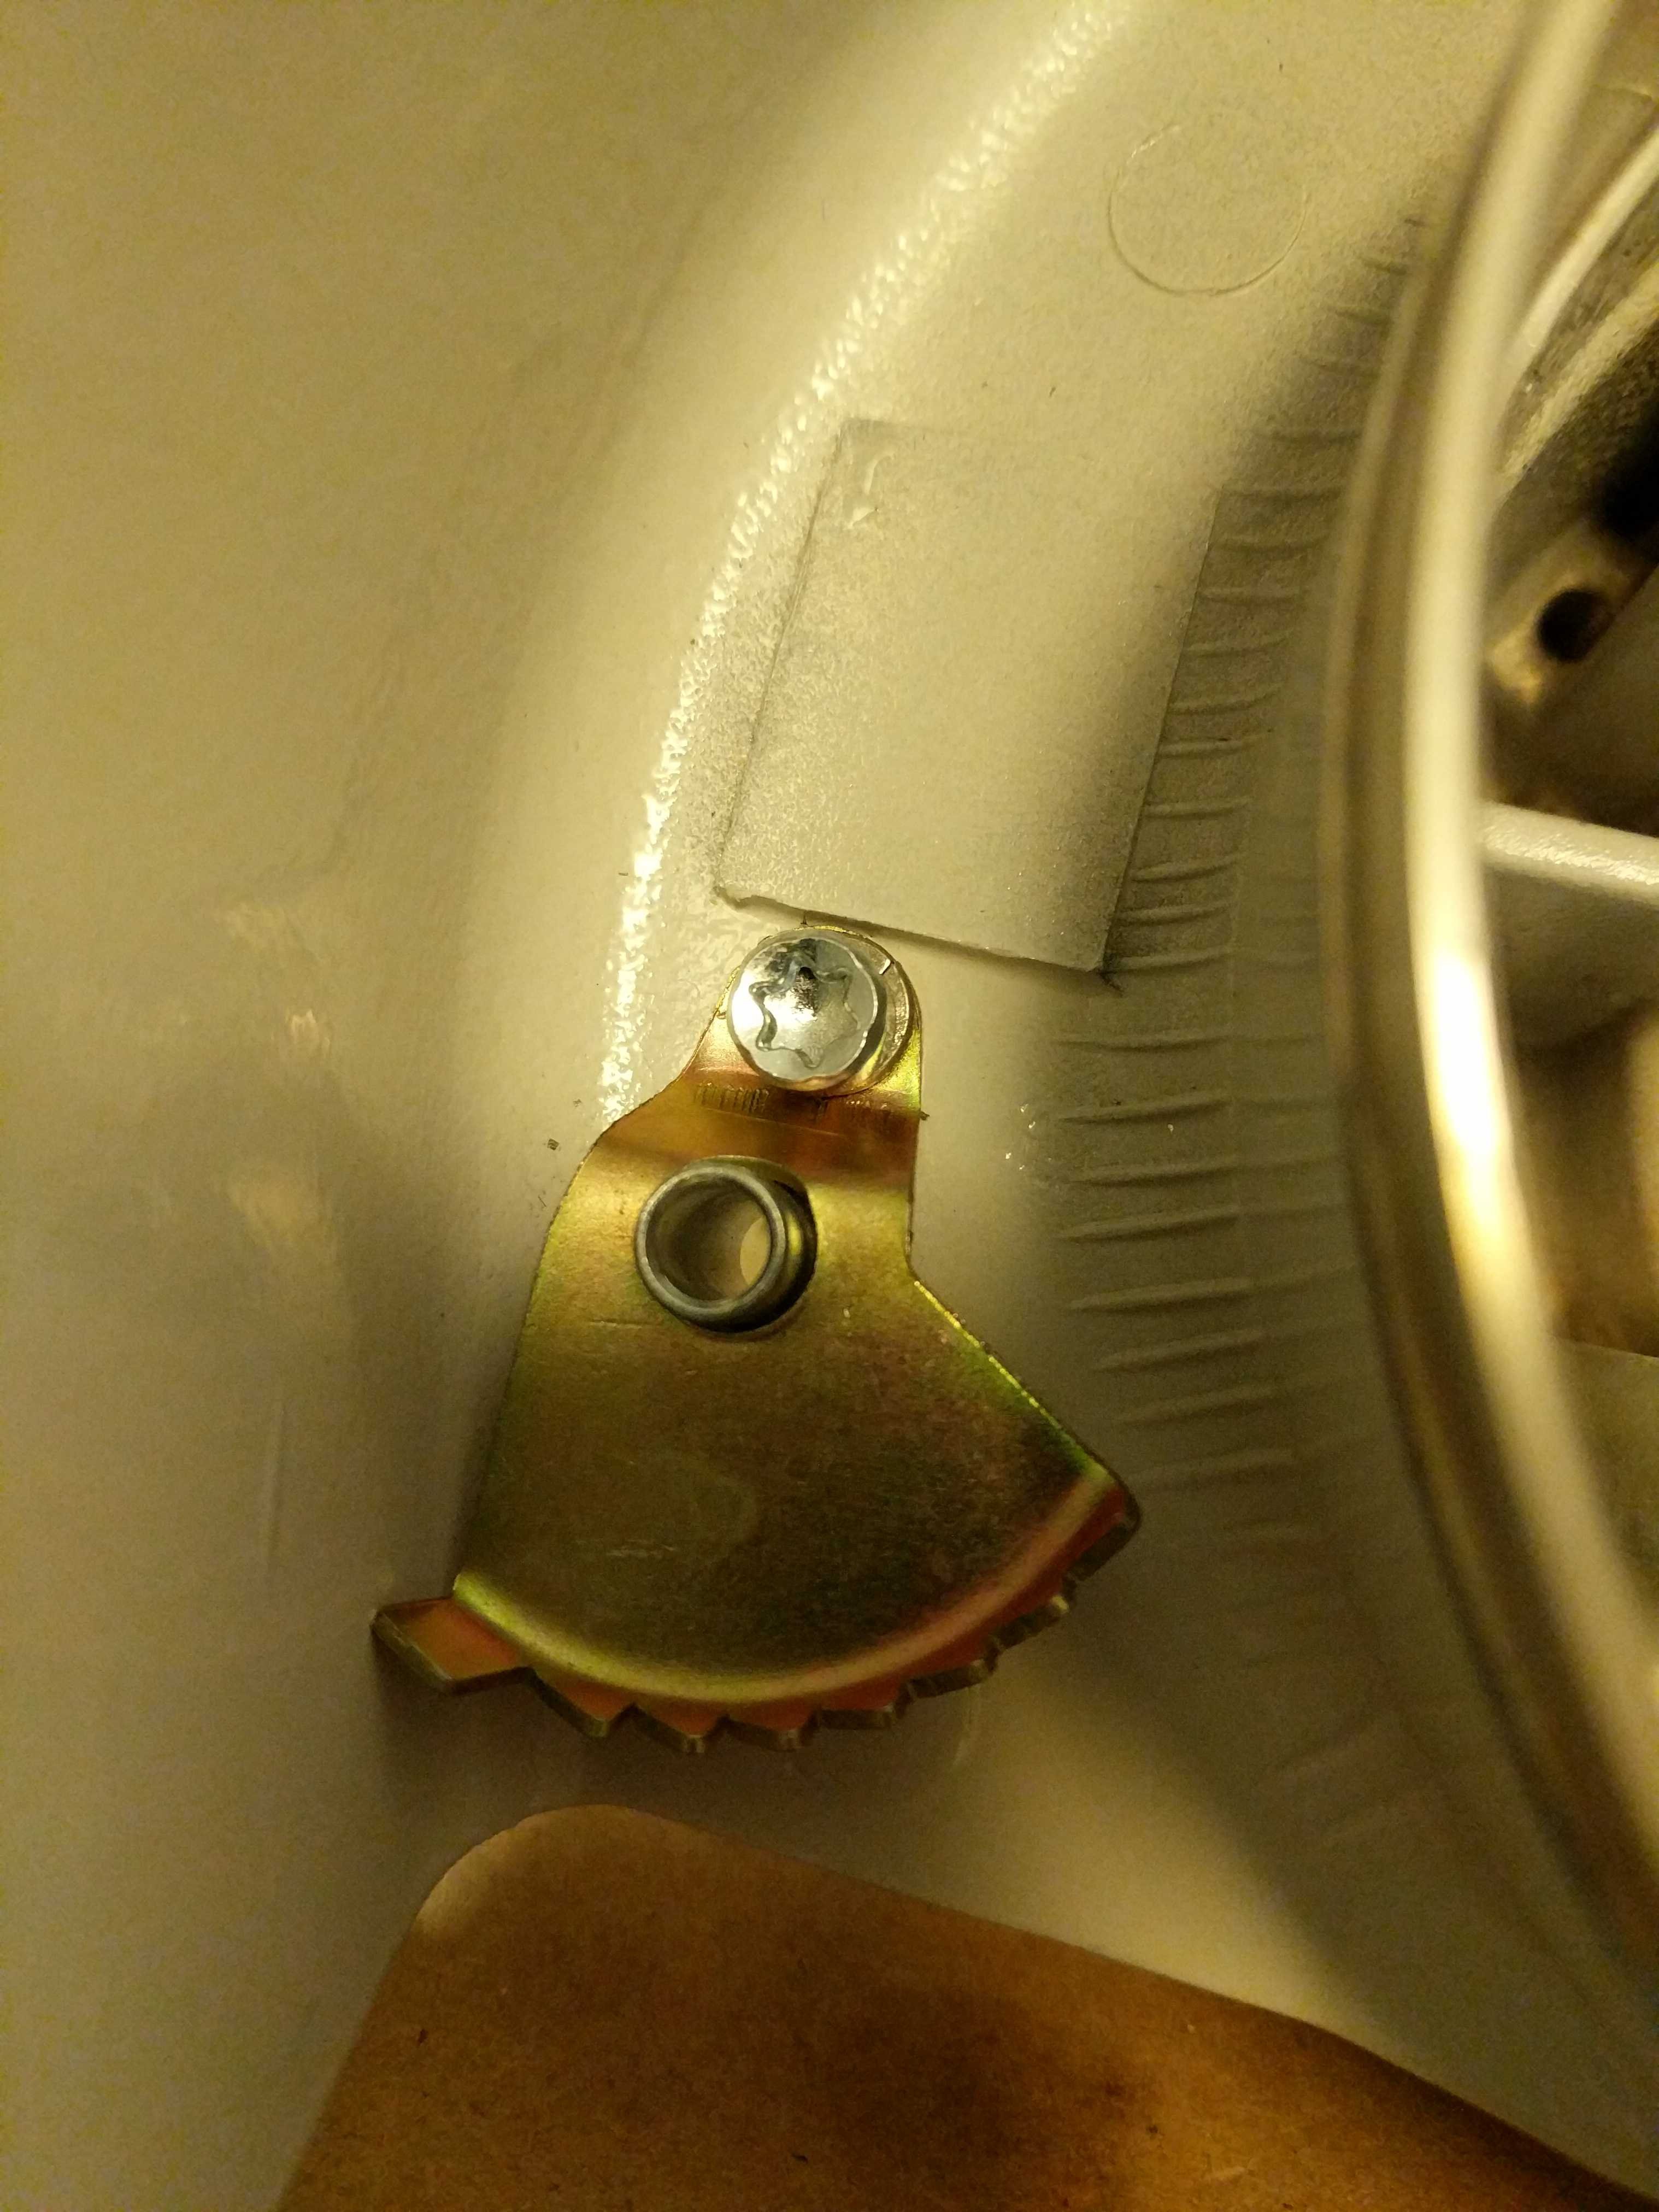
That t27 was all alone in a bag 4mx10. I put a lock washer with it.
Heat is your friend on these cases
That t27 was all alone in a bag 4mx10. I put a lock washer with it.
Mac&Homelite
Addicted to ArboristSite
Thanks Bedford for doing all this experimental work for us so that when I get a kit somewhere down the road I will have it put together in an afternoon. I do think that the threaded rods get threaded in completely. As for the other stuff, your guess is better than mine as I do not have a kit to reference off of. Send me one though and I will see what I can do about that lol
I do think that the threaded rods get threaded in completely. As for the other stuff, your guess is better than mine as I do not have a kit to reference off of. Send me one though and I will see what I can do about that lolLol, if I could we all would have one. It's been a long time since someone built one out loud.
And when someone else buys one they can see me stumble and back up and go forward. It's all good.
I put the cases close together and I think the studs go all the way now.
And when someone else buys one they can see me stumble and back up and go forward. It's all good.
I put the cases close together and I think the studs go all the way now.
Mac&Homelite
Addicted to ArboristSite
See! You just come on here to talk to us. You don't need our help lol!Lol, if I could we all would have one. It's been a long time since someone built one out loud.
And when someone else buys one they can see me stumble and back up and go forward. It's all good.
I put the cases close together and I think the studs go all the way now.
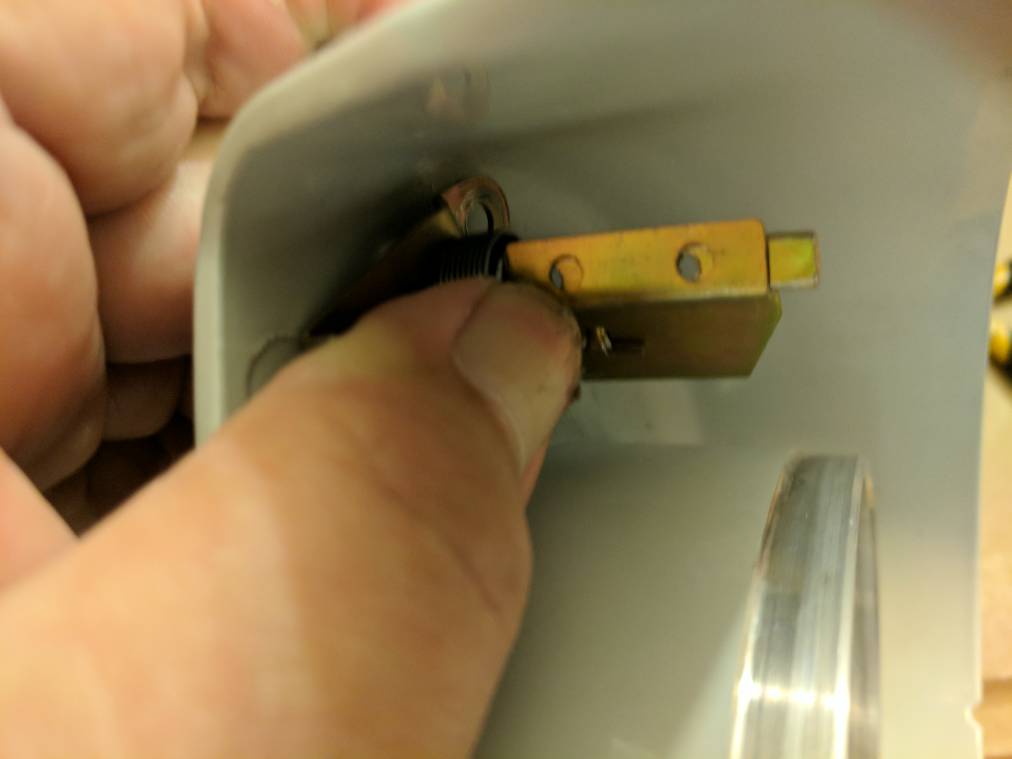
You might run into the holes not aligning on the flap and shaft. I thought bushing might have had a longer side but they are equal. So either the holes are wrong on the shaft or the shutter and I want to believe it's the shutter because it will be easiest to correct.
OTAlucard
ArboristSite Operative
It was that new old stock 18 inch Sabre hard nose bar that I bought from ebay.Was that a cannon, they have the holes drilled so it can be flexible. A Stihl will not work, I have not seen anything larger than a 20 in FarmerTec, yet. Will order more soon.
I picked up that 33 inch armor tip oregon bar for 55 dollars shipped. He was asking 100 at one point. It has dual holes for mounting. But the 42 inch armor tip bar has the same mount pattern as the old school 18 inch bar. I sware the 42 inch bar is as heavy as the chainsaw.
I got the shutter reshaped and worked out with what I think is a better idea on it's assembly if I can be over confident. I will post it all tomorrow after I rest this evening. There is very little detailed info on that governor on the web.
I also order a few parts like the tank protector and shutter for my 660 build and while I was there I ordered the test flange for the 070 pressure test. Stihl said it was in stock so I should have that in a week.
I also order a few parts like the tank protector and shutter for my 660 build and while I was there I ordered the test flange for the 070 pressure test. Stihl said it was in stock so I should have that in a week.
I started on the build. Did we resolve the crank washer question yet? My governor flag holes did line up with the shaft just fine.So I took step one to get my crank installed. These are quite a bit different, meaning less stressful to install.
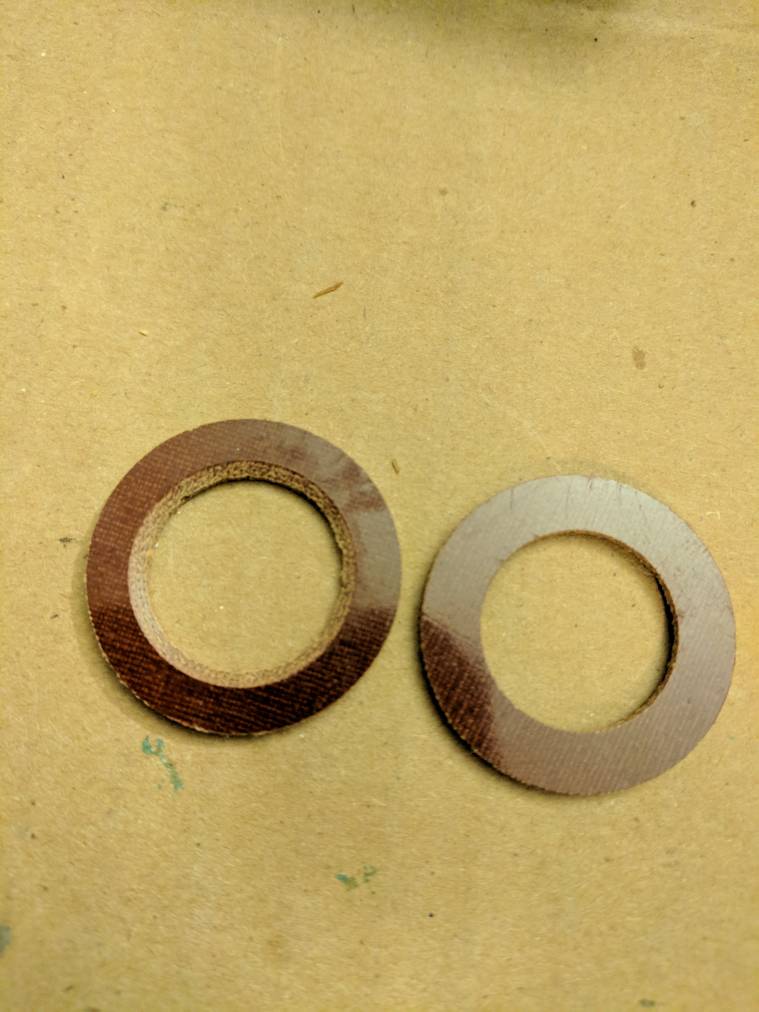
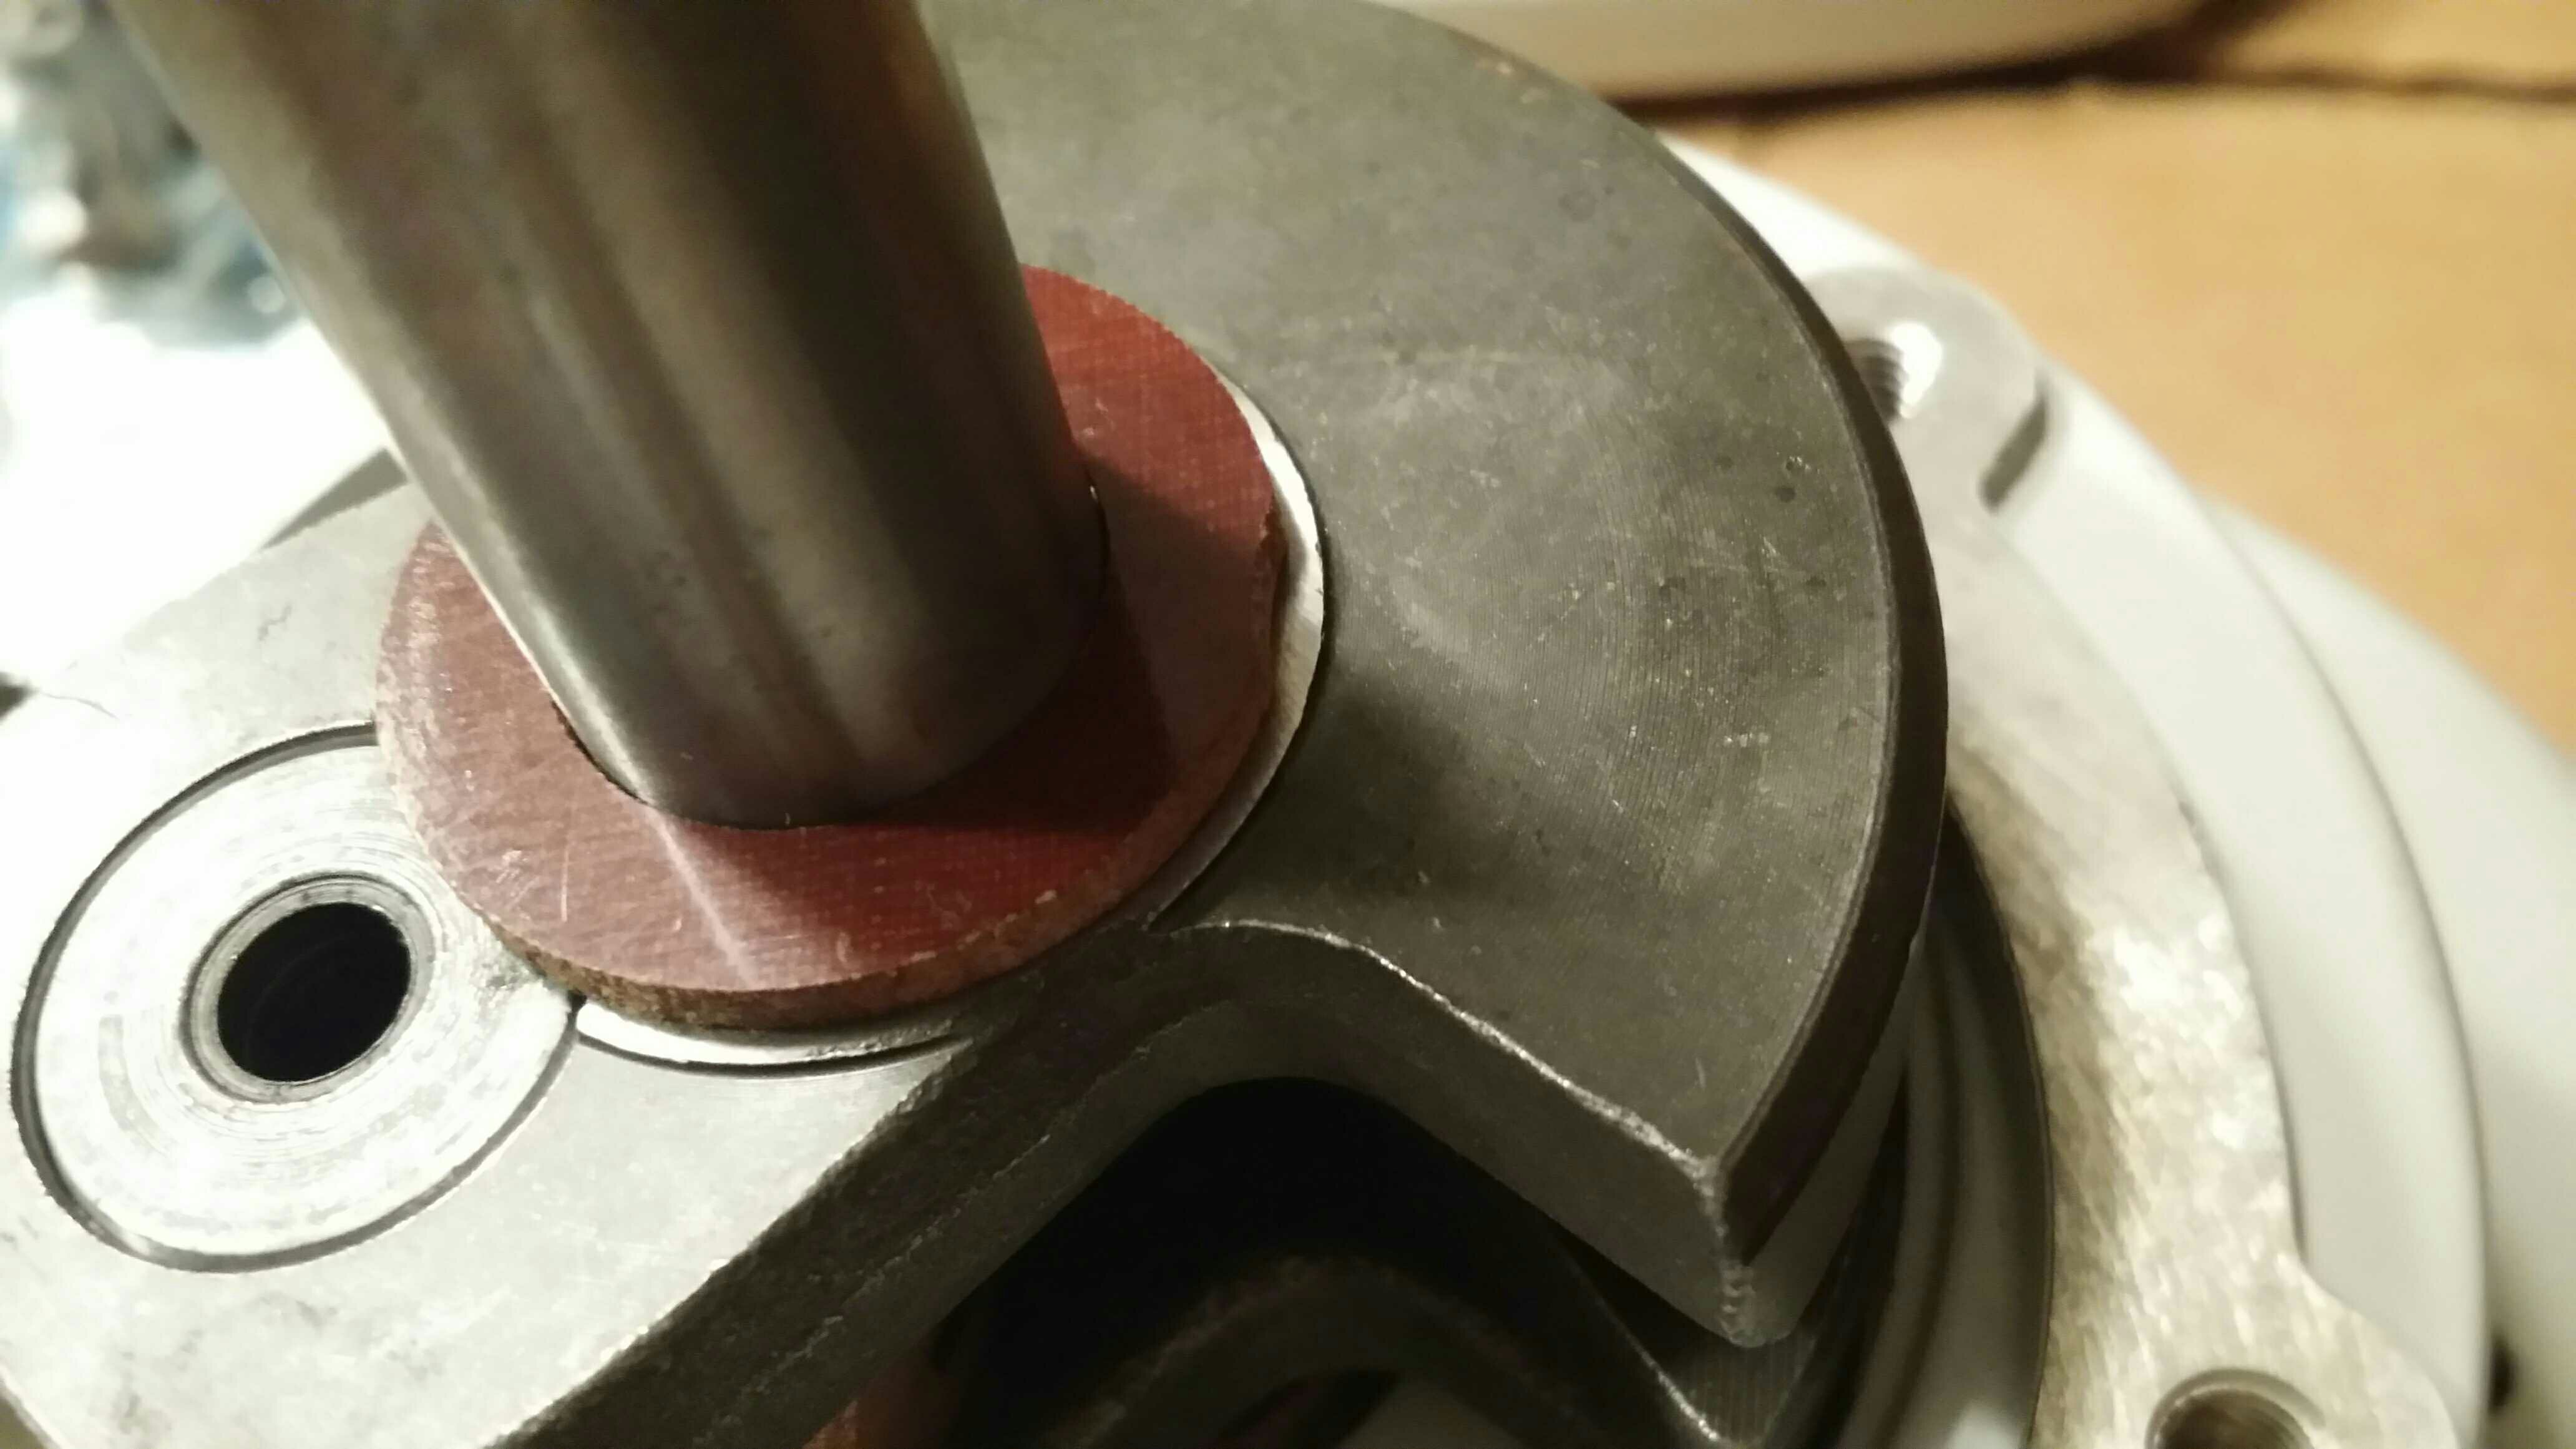
I have run up on my first question. Since no one has experience what would be your best guess and why?
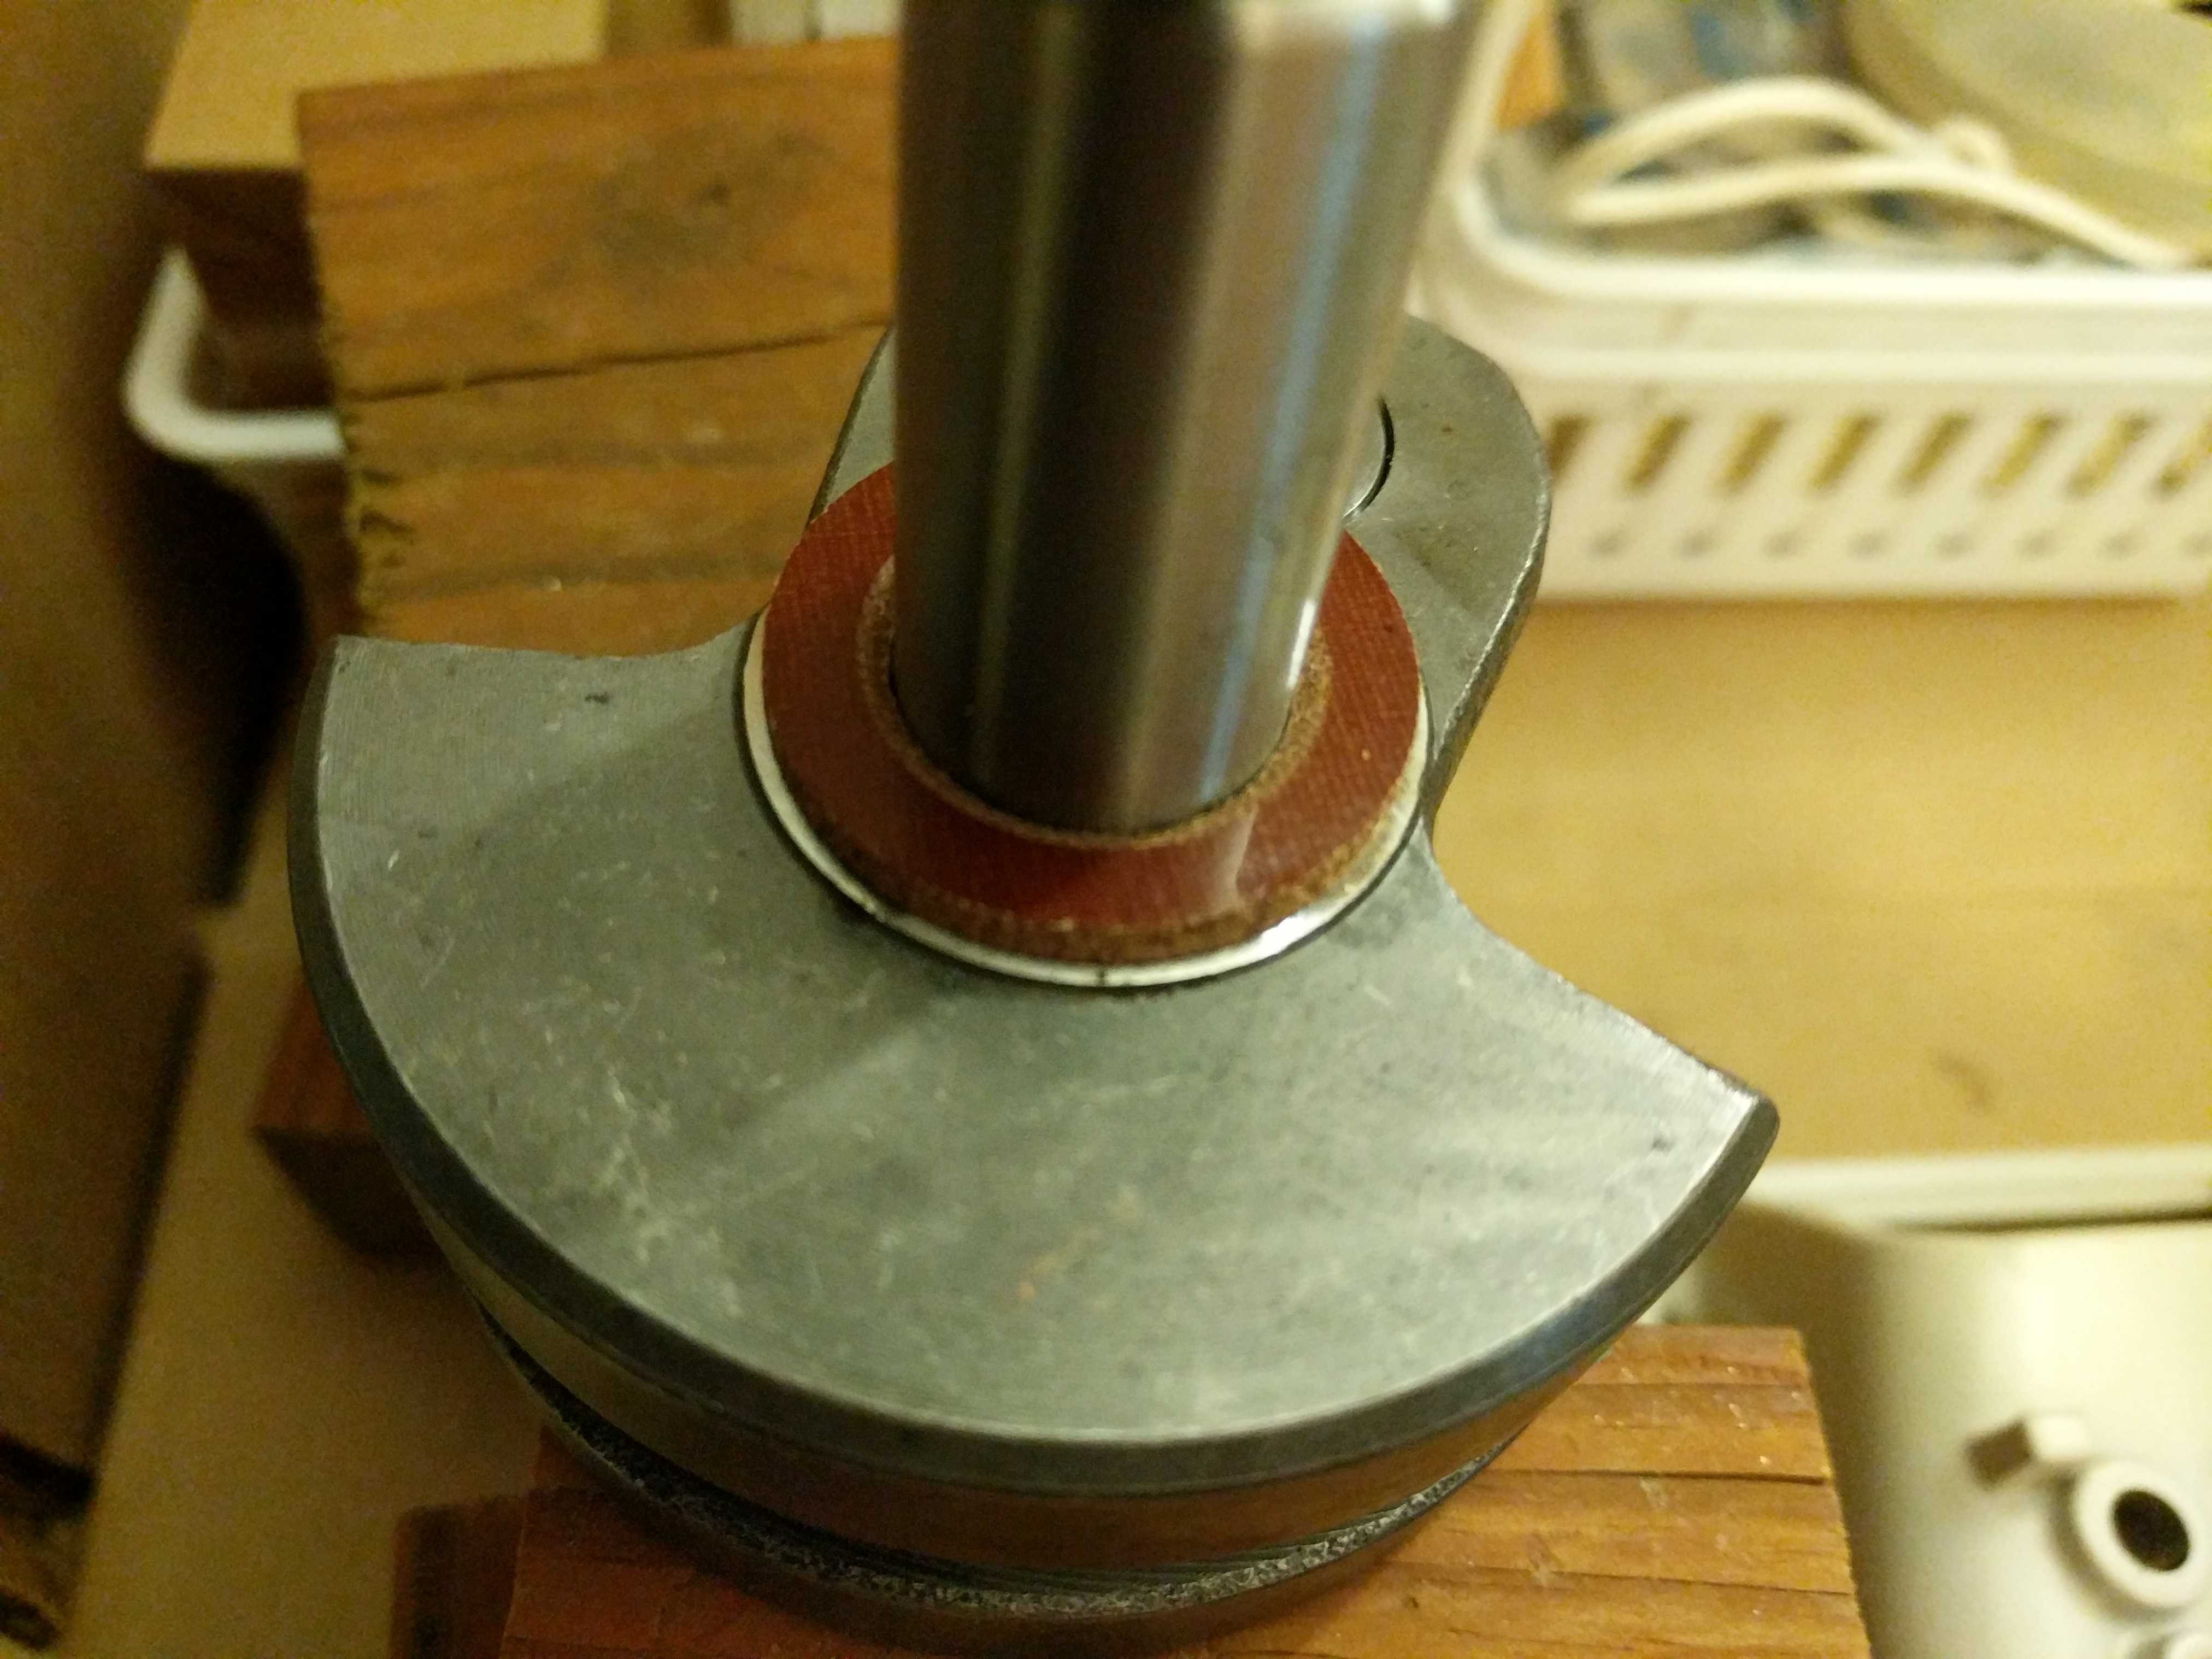
I am thinking the beveled edge would go to the case and the flat side to the crank. Feels like it's made of leather

I started on the build. Did we resolve the crank washer question yet? My governor flag holes did line up with the shaft just fine.
What was your input on it? I could not find anything on it, nothing detailed. The photos I provided show the crank side as flat and the bearing side as not. So I guessed the beveled would go towards the uneven but flat bearing side. That's great your flap lined up, mine was off about 2 mm for some reason. It's perfect now.
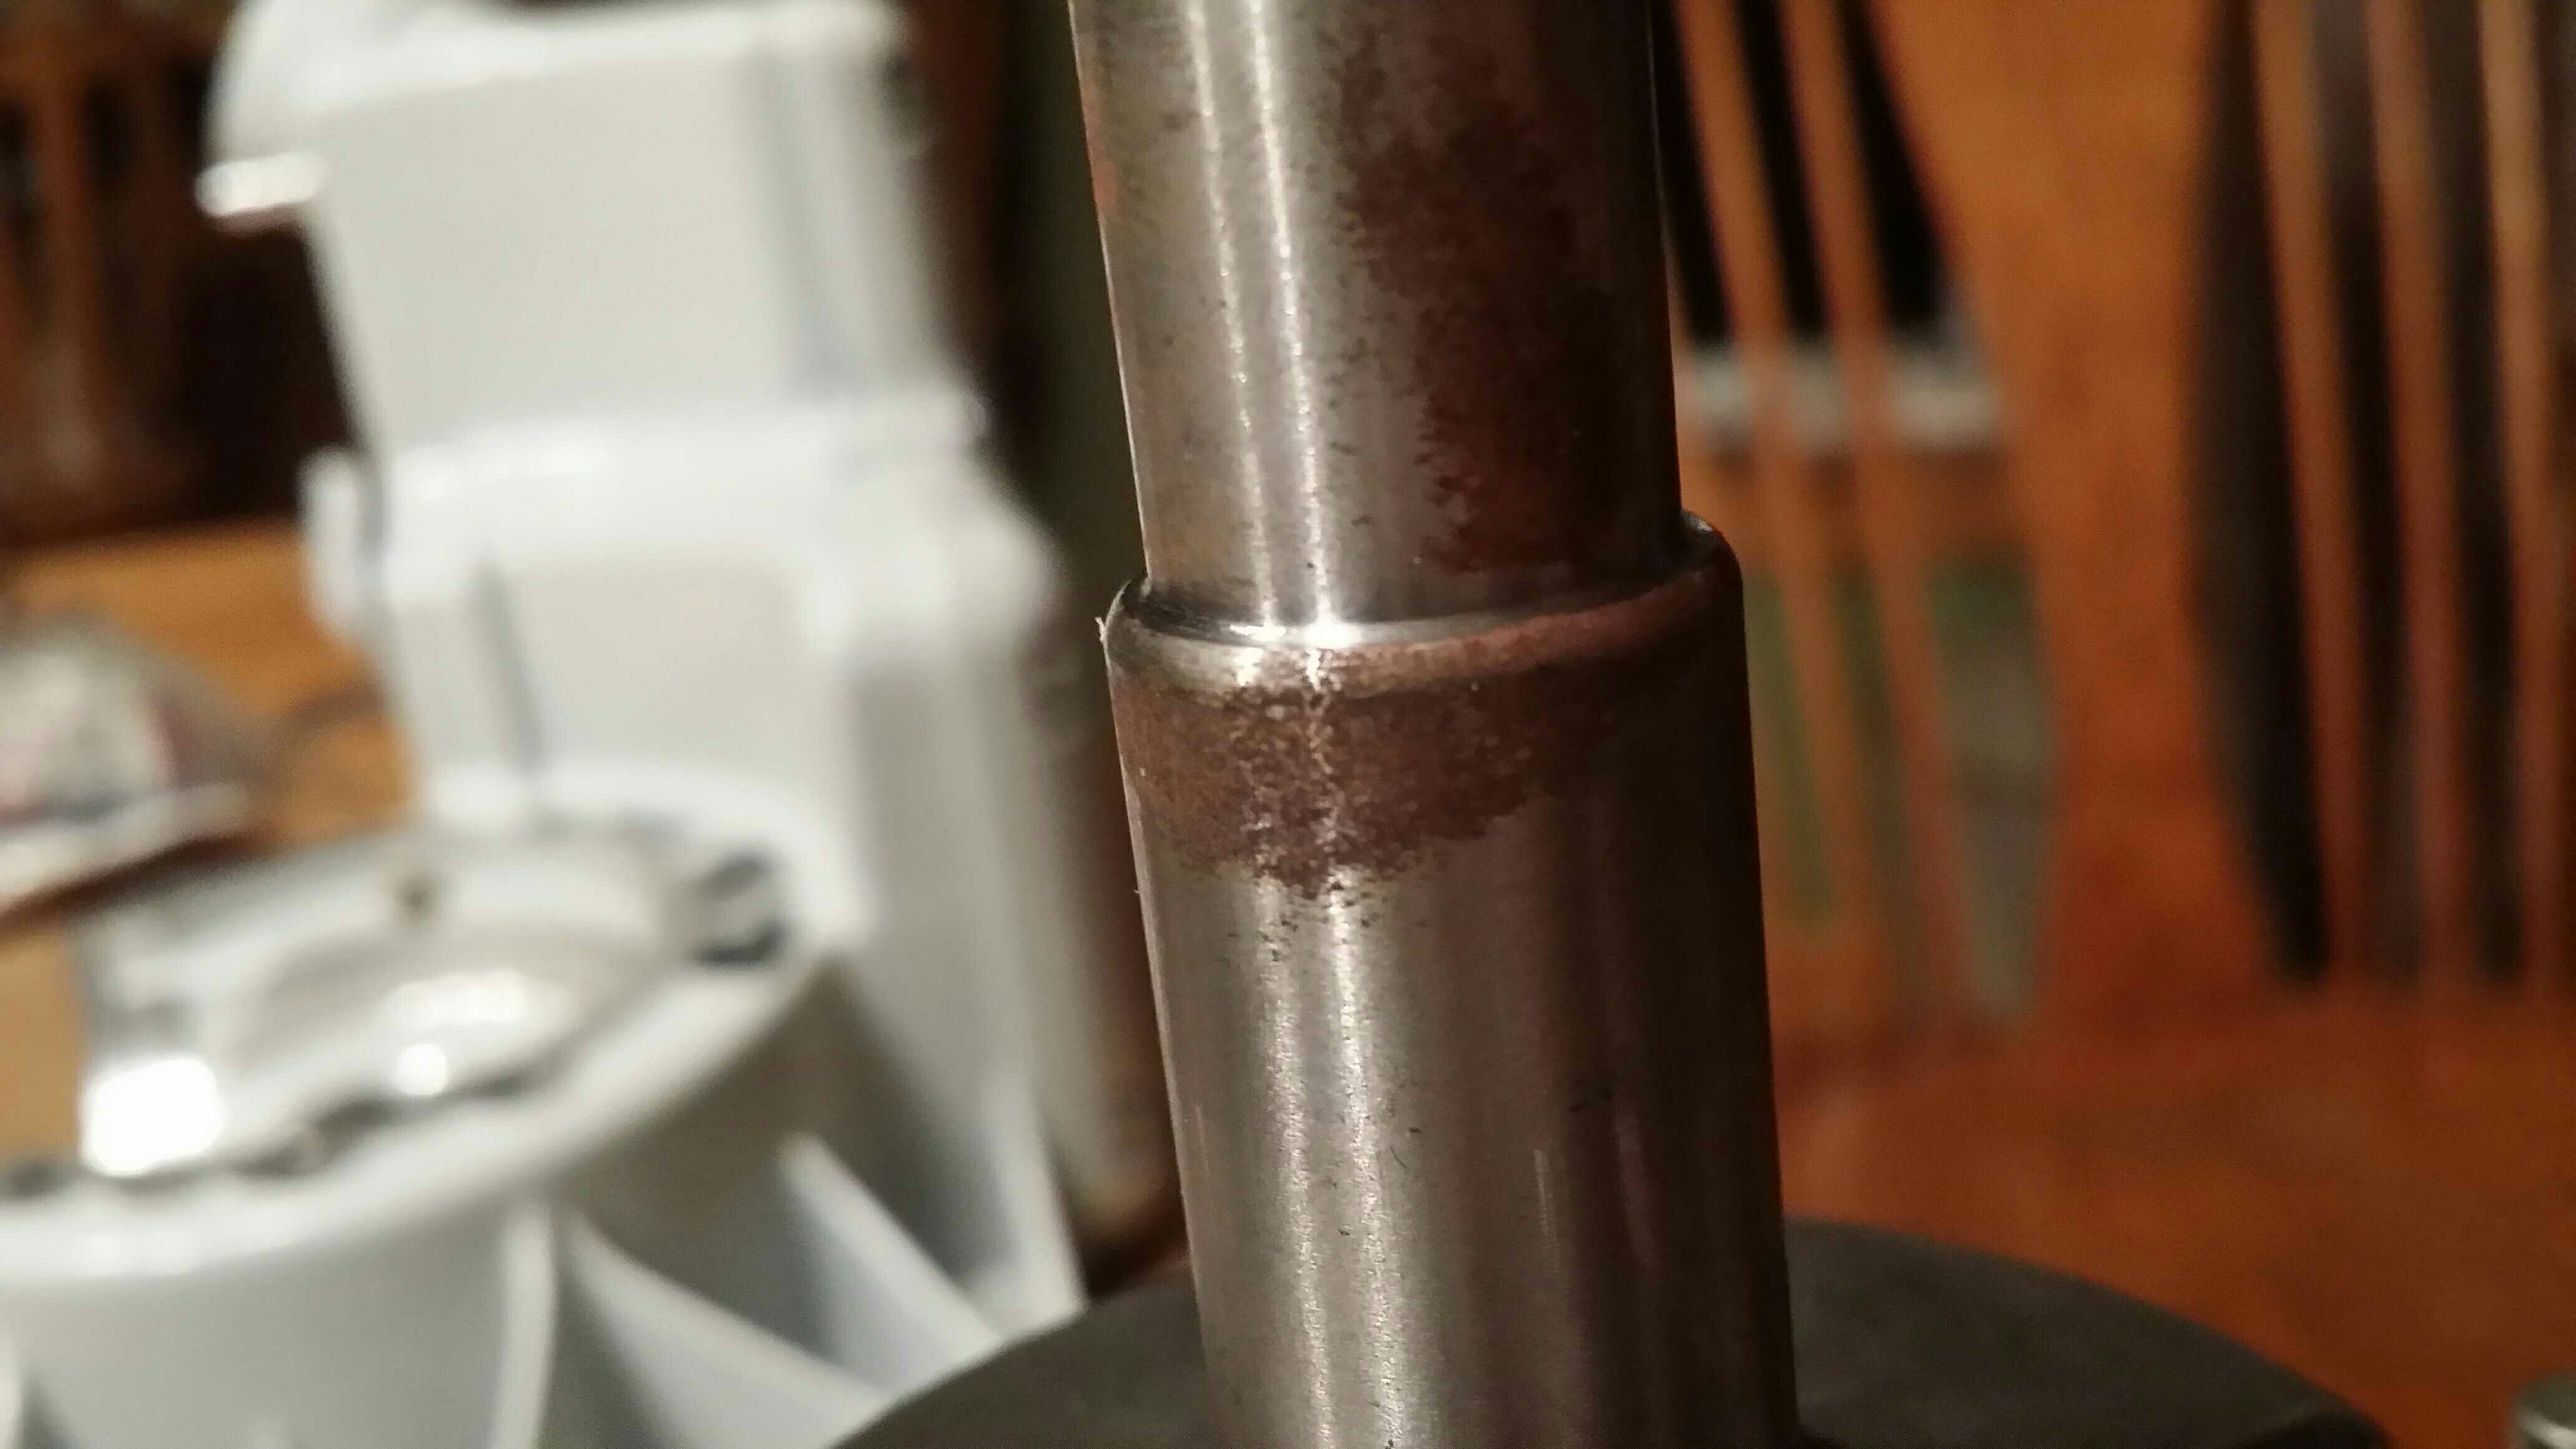
I think the bevel goes inward towards the crank lobes. The reason I say this that there is a small chamfer where the shaft connects to the lobes. I also have some rust on the crankshaft right where the oil seal sits. I'll have to smooth that up some.What was your input on it? I could not find anything on it, nothing detailed. The photos I provided show the crank side as flat and the bearing side as not. So I guessed the beveled would go towards the uneven but flat bearing side. That's great your flap lined up, mine was off about 2 mm for some reason. It's perfect now.
Sent from my SM-N900V using Tapatalk
diezelsmoke
ArboristSite Operative
My guess would have been bevel towards the seal. Reasoning is the bevel would not hit the seal lips.
Similar threads
- Replies
- 6
- Views
- 4K
- Replies
- 456
- Views
- 33K
- Replies
- 572
- Views
- 53K